Laminated Salt and Pepper Mills | How to Turn
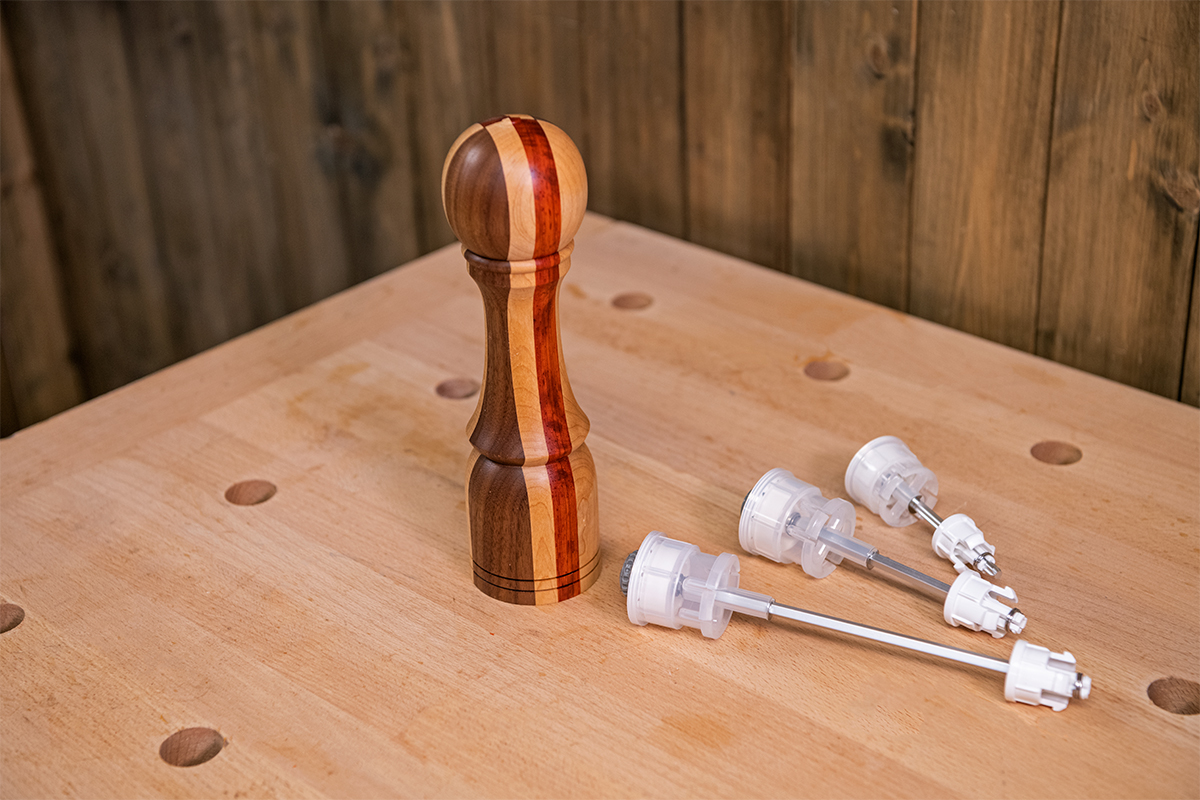
What you'll need
Salt and pepper mills are a craft fair staple. And a great gift to make for friends or family for any occasion.
Watch Colwin in our Woodworking Wisdom demo, or follow the steps below, to turn your own set of laminated salt and pepper mills.
They can be made from timber or resin. In this demo, Colwin shows you how to make your own blank using lamination techniques and scraps or timber.
Prepare your blank
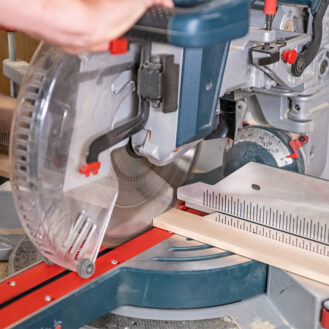
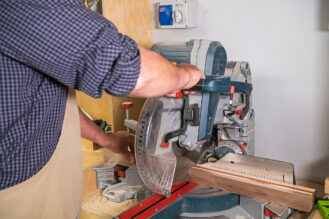
Cut your pieces of scrap wood to the same lengths, then trim them to the same widths.
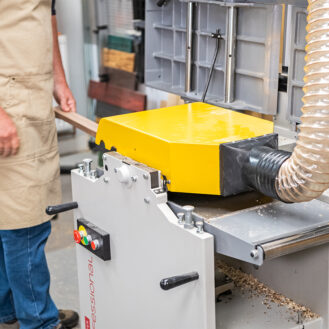
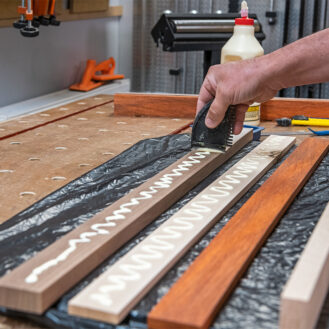
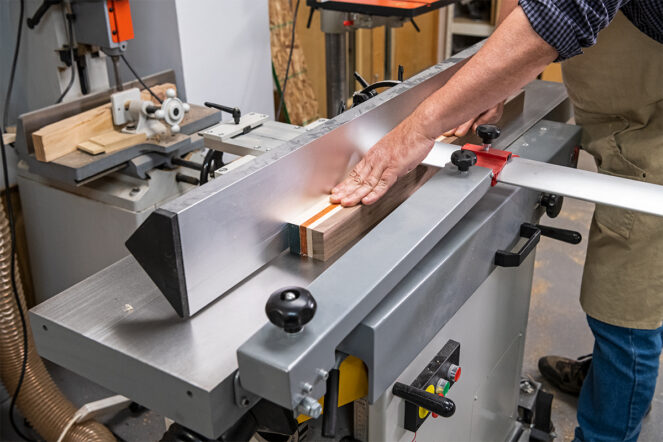
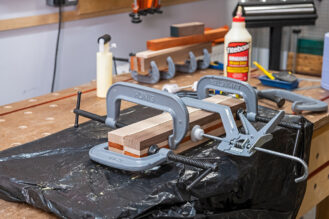
Next, surface plane and thickness to prep for gluing together. Lay the pieces out on the bench and add glue, spreading it out evenly.
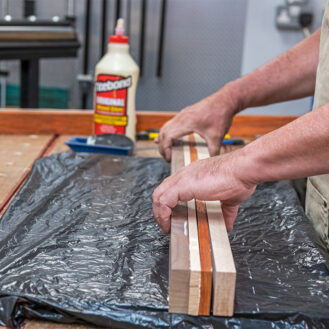
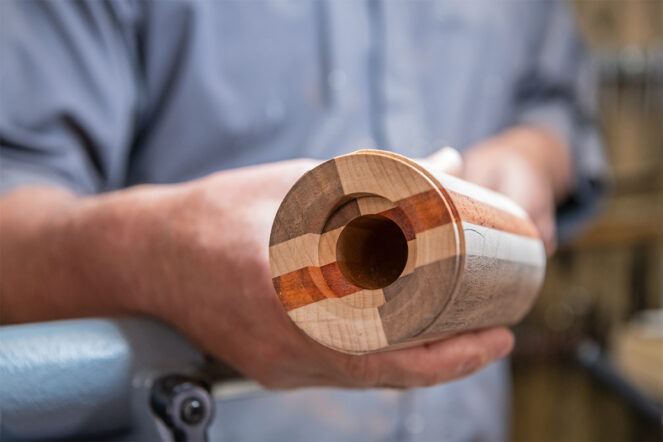
Then, stack the pieces together in the order that looks most striking.
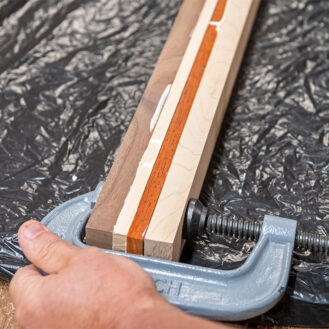
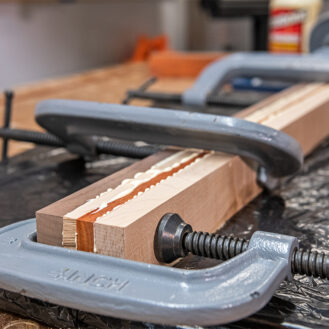
Add your clamps starting with gentle pressure and adding more, as more clamps are added.
Then leave for 24 hours for the glue to fully cure
Once dry, and if you are adding another lamination, surface plane the face to adding more. Once again, trim to length, or in half, if re-joining.
Separate the top and bottom
When the glue is fully dry, cut the blank to length for your chosen salt or pepper mill kit.
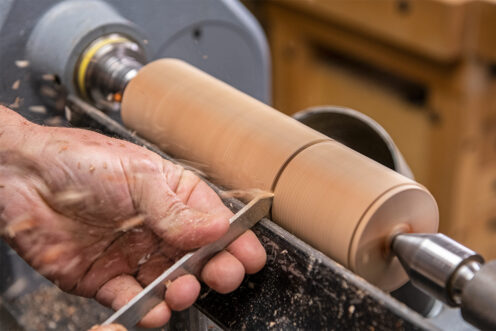
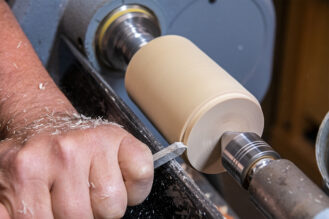
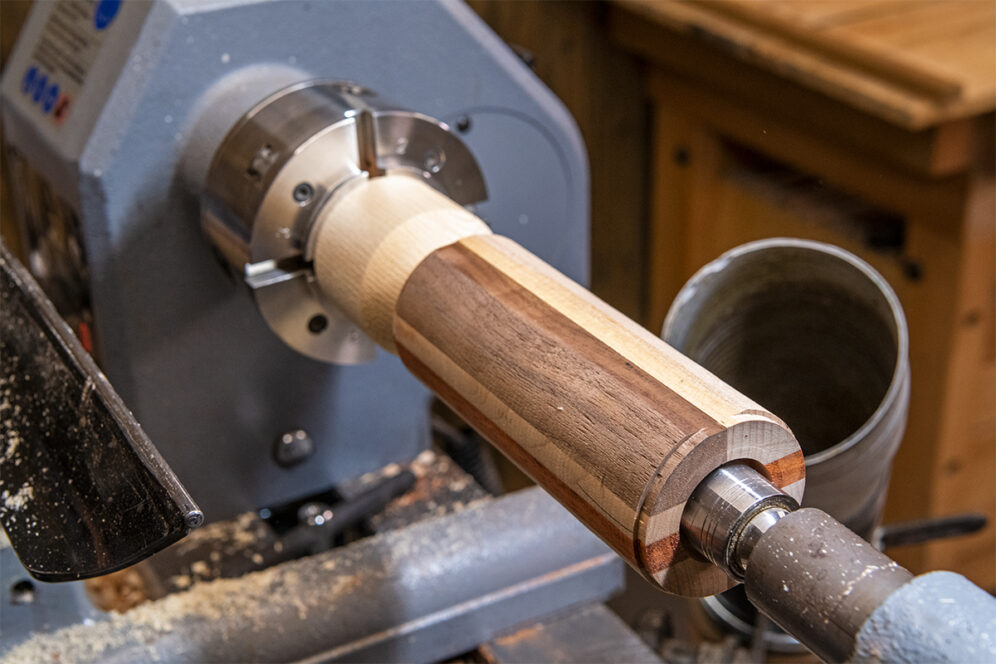
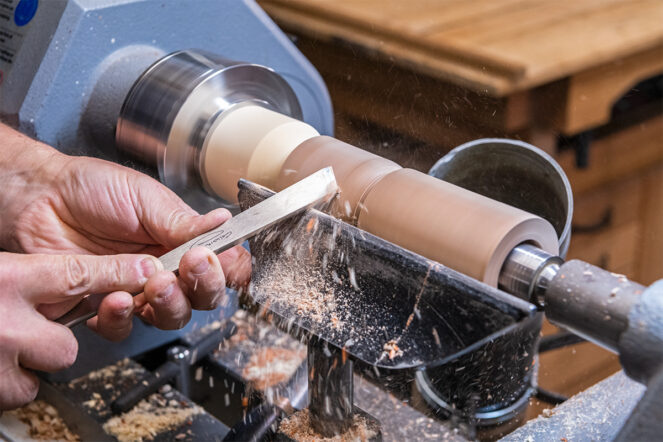
Mount between centres and rough down to a cylinder.
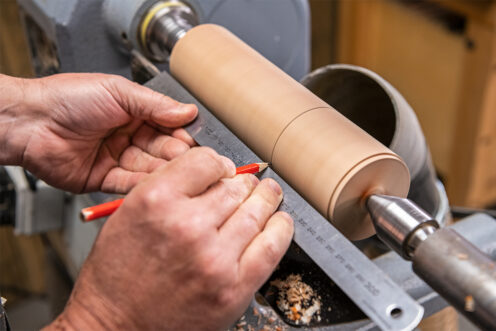
Once round mark the point where the grinder is going to be cut to separate the top and bottom.
Don’t forget to include enough timber on the top for a tenon to insert into the bottom.
Also make a chucking point on each end in preparation to hold for drilling.
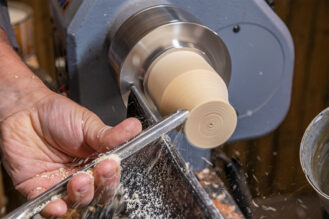
Part down 3/4 of the thickness ready to separate. Do not try and part all the way through as the blank would pinch.
Finish the separation by cutting through with a pull saw.
Drill for the mechanism
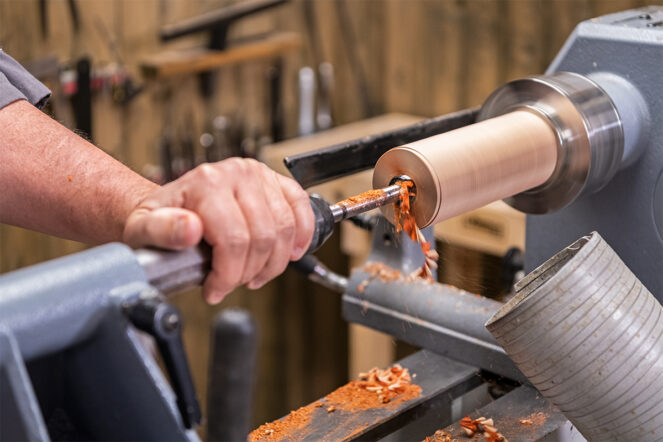
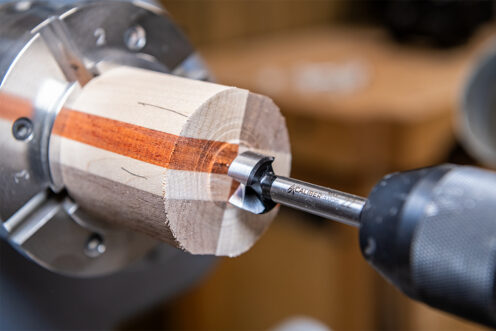
The bottom section will need a 25mm hole drilled through its length. Use a long shank saw tooth drill bit, as you are cutting through end grain timber. Drill 3/4 of the way through from this side before turning the piece over and cutting through the rest of the way. Your hole though should be clean and ready to take the mill drill.
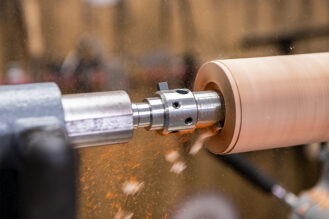
Follow the instructions for the cutter protrusion for the various crush grind mechanisms, and mill out the bottom of the main section. This will have a specific depth to go to, so once again follow the instructions for this.
Now turn the blank over and mill out the top of the main section, this will later accept the mortise of the top section. To drive the mill you will need to make a wooden drive.
Take a piece of timber around 70mm x 75mm. Prep one end for the chuck and the other to a taper small enough to go into the hole in the centre of the pre milled blanks.
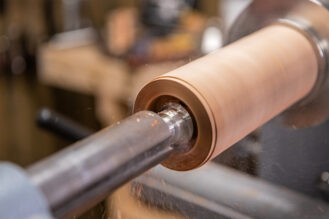
Here’s an example of how this all looks mounted and ready to be turned.
Turn your body
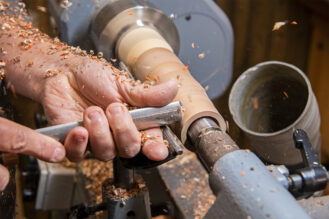
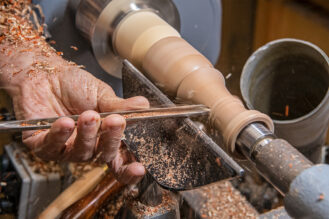
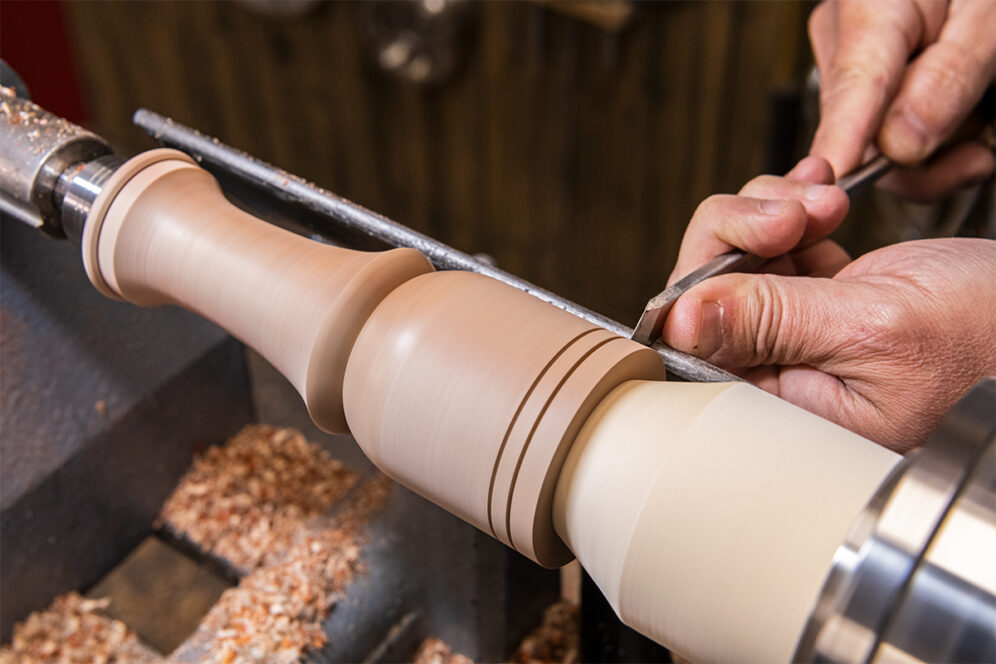
Rough the piece down to a true cylinder. Start to shape your mill, remembering you have different sizes of hole running through the piece.
Add details, embellishments and finishing touches and sand to a good finish. Then add your finish. Here, we are using Hampshire sheen finishing oil.
Turn the top
The top section is similar to the main section, except there's no need to drill all the way through. Instead just 3/4, and hold in the chuck, drilling with a 22mm sawtooth drill bit.
Now mount onto the lathe in the same way we did the body, and turning a wooden taper held in the chuck to drive.
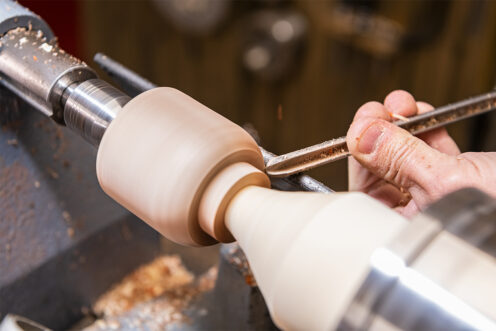
Then, turn to your desired shape.
Finish by removing the tailstock and carefully taking away the remaining waste wood. Be careful to take small cuts and have a taper and a very slight angle to help with grip.
Once finished and you’re happy with the shape, sand to a good finish before oiling with the same oil as the base.
Add the mechanism
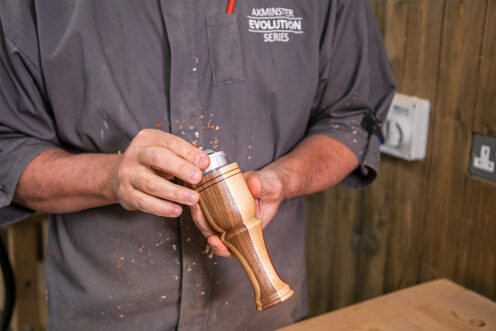
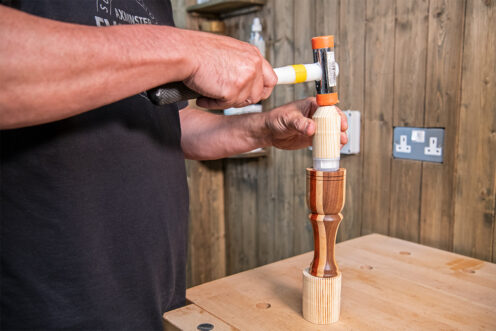
To add the mechanism, push with a little force. Colwin as made a couple of little jigs to make this process easier, and to avoid damaging the ceramic centre. The mechanisms will need to be tapped in with a nylon mallet. Do the same this the top.
There you are a lovely pepper grinder ready to be filled and used. Repeat to make a matching set of salt and pepper mills.


