Biscuit Jointers And How To Use Them Correctly
Introduction
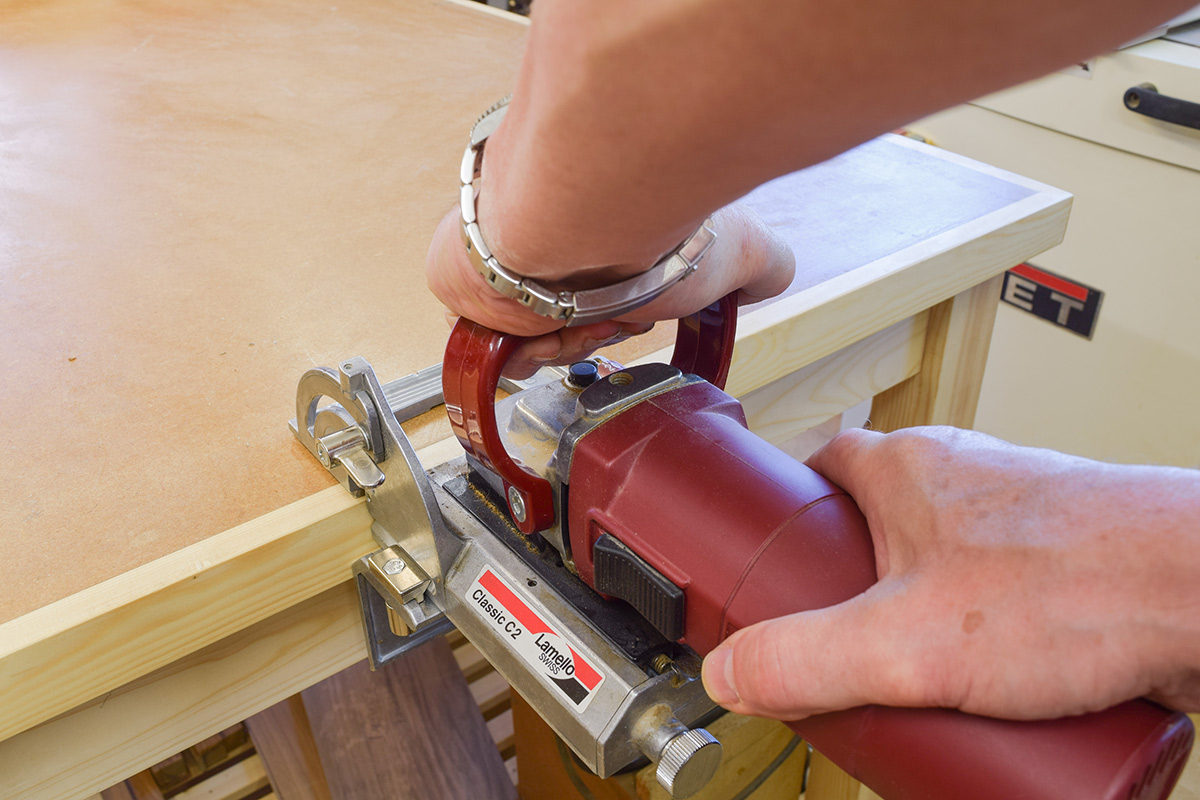
The biscuit jointer is one of those power tools which has been around for a number of years, having first been developed in the early 60s by Swiss woodworker, Hermann Steiner who formed Lamello, unquestionably the market leader for these extremely versatile machines.
As most know, the basic principle is very simple, being similar to the way in which an angle grinder works. Rather than a diamond or abrasive cutter, there’s a tct blade instead and the addition of a couple of fences turns it into a very rudimentary biscuit jointer.
Although biscuit jointers are nowadays capable of very sophisticated ways of joining and hinging, the basic operation remains the same: a very quick and easy method of construction.
How To Obtain The Best Performance?
The motor assembly slides along a machined aluminium base and it’s always worthwhile ensuring that the sliding parts are well lubricated before use.
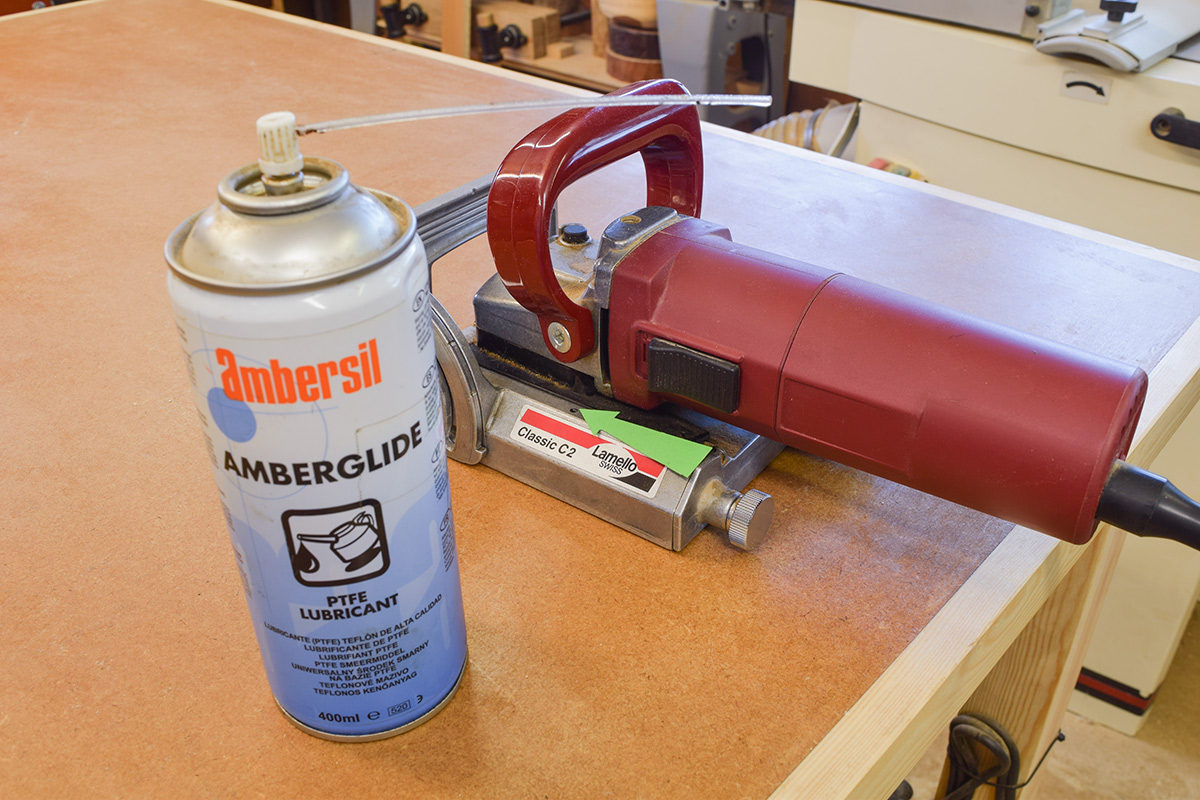
Use a couple of squirts of PTFE dry lubricant in the slide holes (arrowed) to make sure that both sections of the machine run smoothly together.
The biscuit jointer can be used to join two pieces of timber edge to edge but the main purpose of the biscuit in this instance is to provide alignment. Provided the edge joint has been made correctly, it will be strong enough and adding biscuits may provide additional problems as well as entailing extra work. The real advantage is when joints at 90° need to be made; with biscuits a simple butt joint, as might be used in a box, can be turned very quickly into something far stronger. Most machines have the facility on the fence setting for mitre joints cut at 45°, but biscuits work best when the machine is perfectly aligned. If the two slots are even a fraction out, the error is doubled and the resultant joint won’t be accurate.
Most of the errors with a biscuit jointer come from holding and using it incorrectly which results in misalignment of the slots. The small discrepancies in alignment as the tool is used account for nearly all the errors that a user is likely to come across, but there are a few strategies which make life much easier and also ensure complete accuracy.
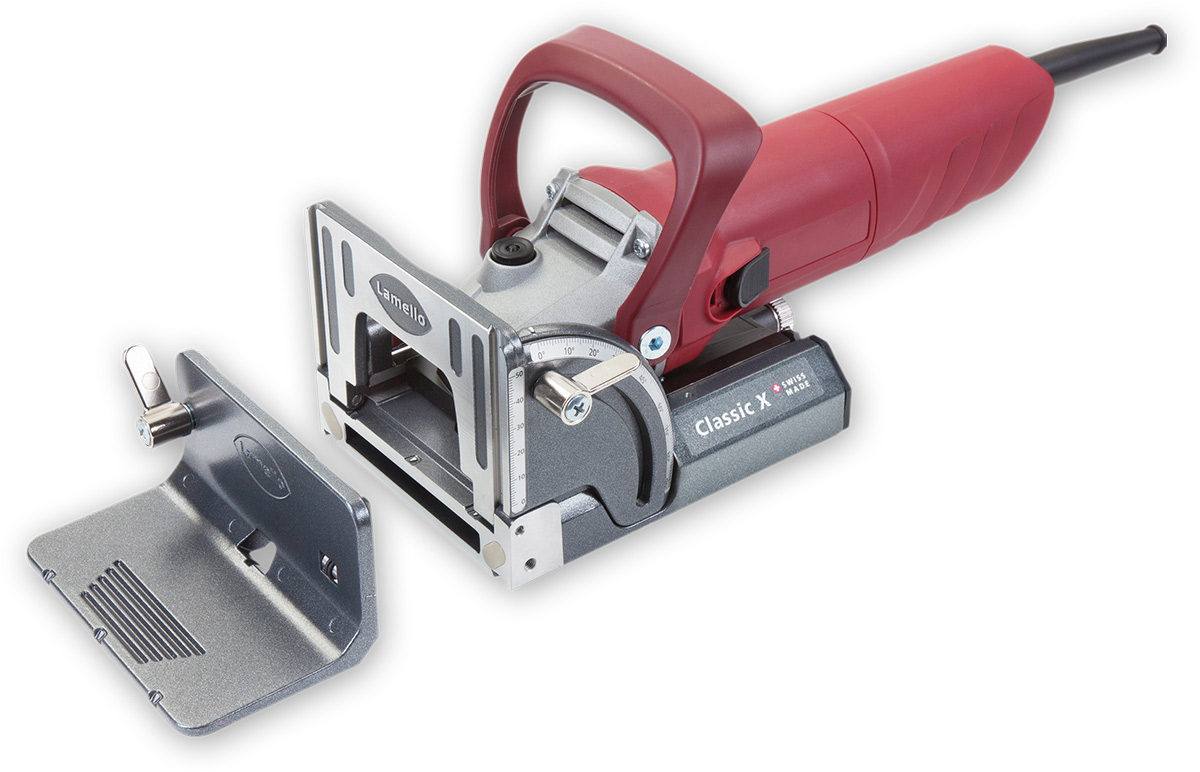
Firstly, the cutter doesn’t have to be centred in the thickness of the material; somewhere around the middle is good enough. Some very sophisticated machines such as the Lamello Top 21 do have the facility to adjust the blade and it can be advantageous when thinner boards are being joined. The Classic X also has 6 preset depths which is a useful feature.
Secondly, the pencil indexing lines aren’t crucial as there’s always a certain amount of lateral ‘give’ (arrowed) in the slots.
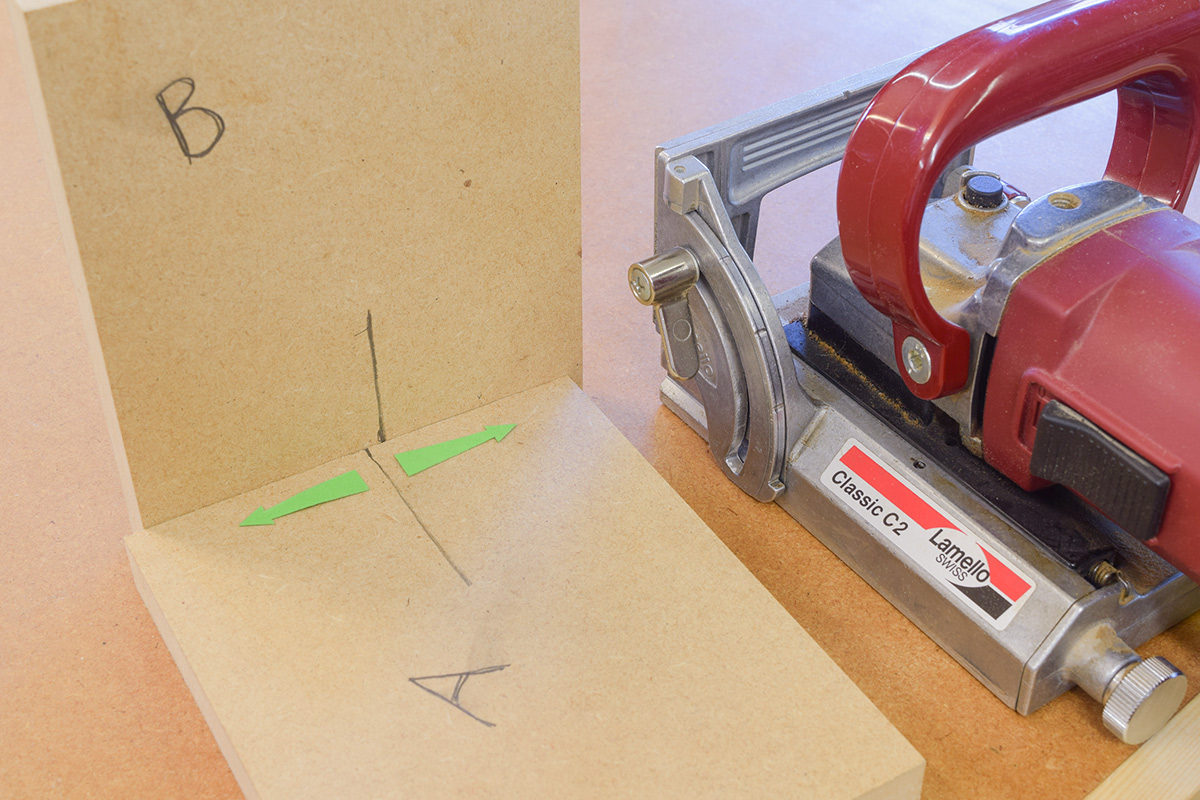
There’s no need for them to be positioned with pin-point accuracy and it won’t make any difference if there’s a little variation in the distance from slot to slot, however one should never be positioned too close to an edge so that it subsequently breaks through.
Workshop Jig
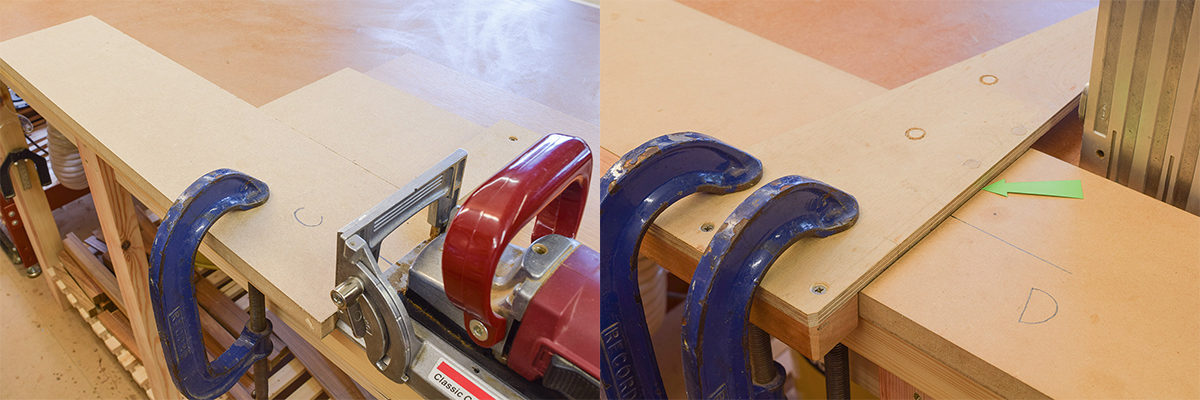
A very useful jig can easily be constructed from oddments of workshop ply or mdf which will allow the machine to be used so that it’s indexed off the base (and thus used flat) rather than the fence.
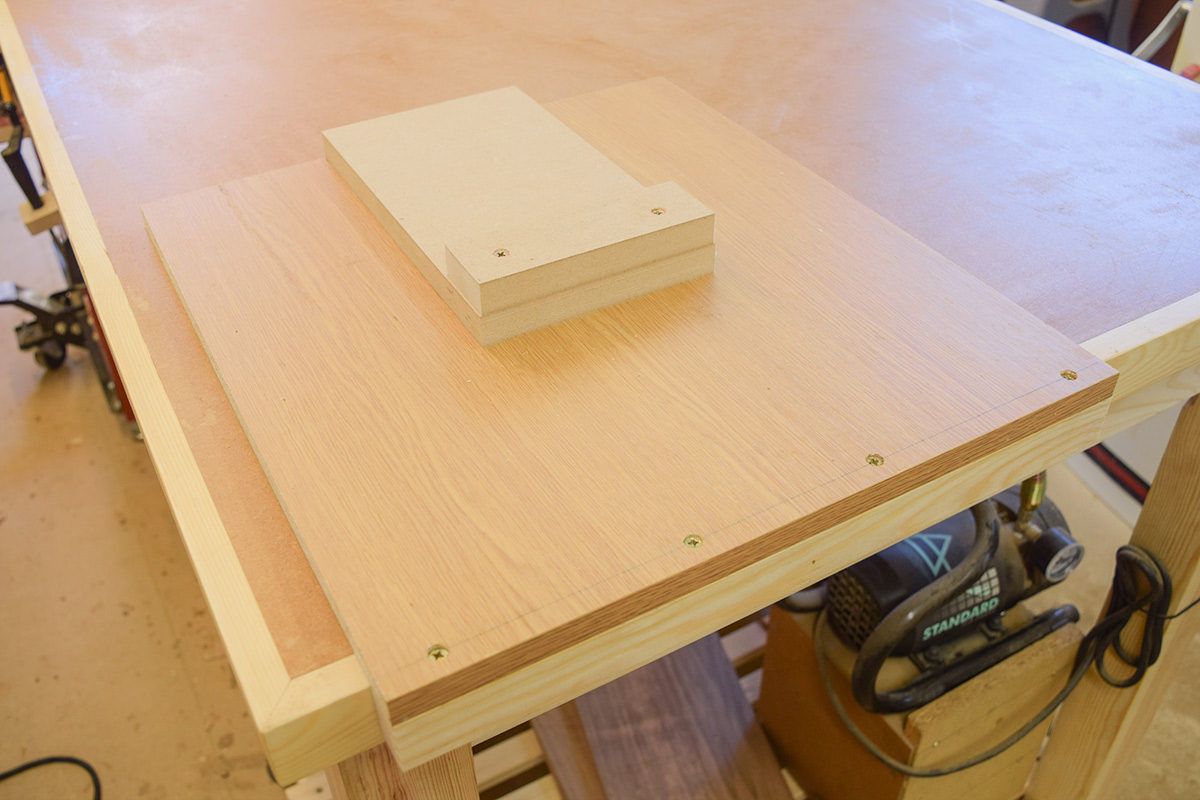
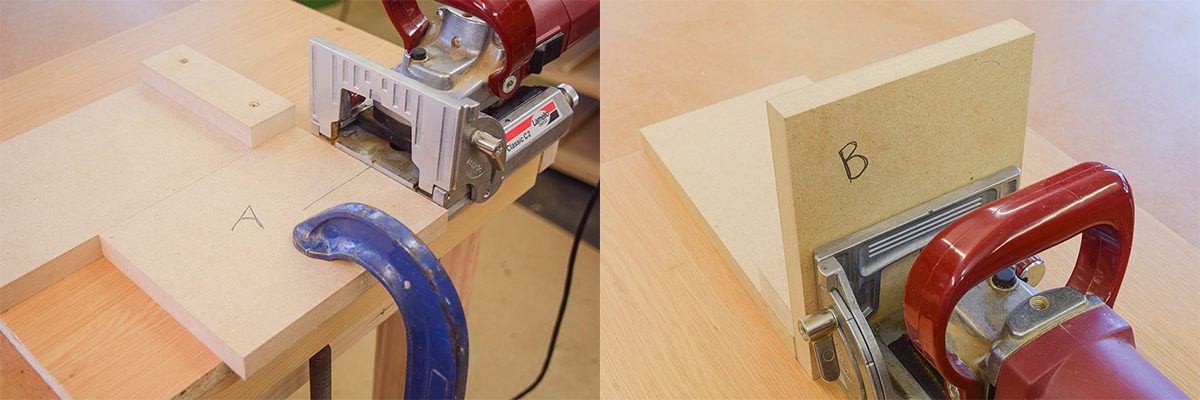
The jig also enables both hands to be used to keep it flat; one on the handle pressing down and the other pushing the blade into the workpiece which allows much greater control over the machine. Gripping the work with one hand and holding the machine with the other sacrifices half the control. Many users tend to ignore the handle and hold the fence down with one hand which may encourage the tool to tilt as the plunge is made; this is one of the commonest reasons for misalignment. It also exposes the operator to some risk as his or her hand is now in front of the spinning saw blade.
In the first example, section ‘A’ is firmly clamped to the bench and the jig, whilst section ‘B’ is held vertically against the large central stop whilst the second slot is machined. As can be seen, the simple box corner shown is perfectly aligned.
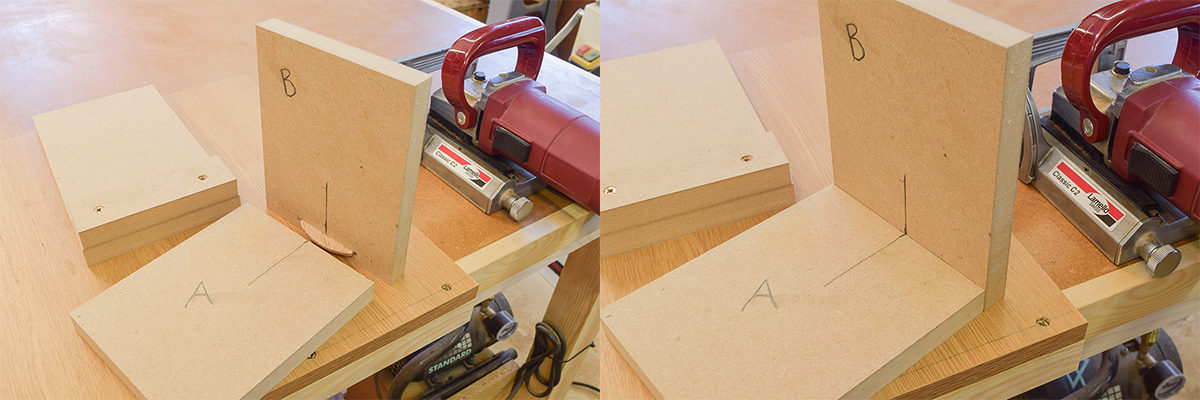
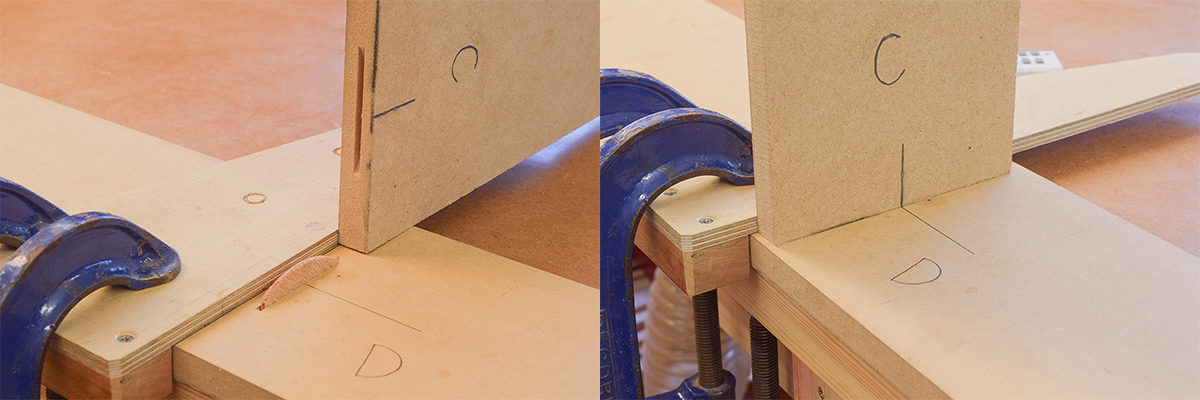
Placing a board in the middle of the workpiece, such as a fixed shelf in a bookcase, poses another difficulty which is easily overcome by using a guide block, in this case a pair of accurately made left and right handed squares which can be clamped onto the edge of the job.
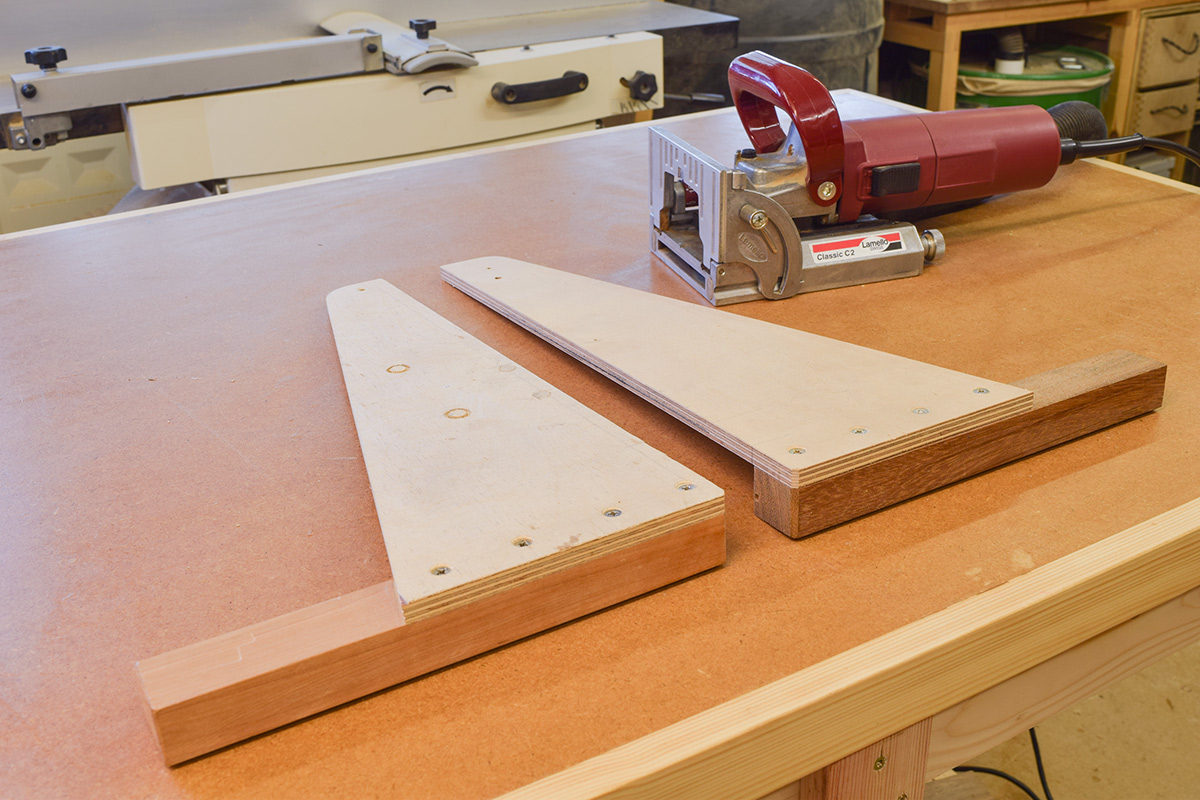
In the second example, the slot is made in the shelf ‘C’ using the jig and the ‘shop made square clamped against the exact location of the underside (arrowed) of the shelf on cabinet side ‘D’. The jig registers the cut and allows precise location of the shelf.
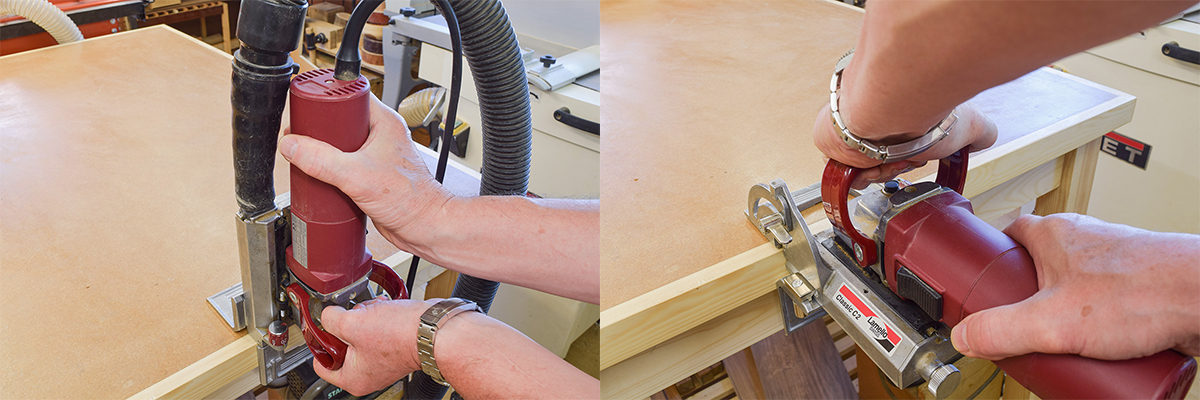
The two fences that are supplied with all biscuit jointers are used when the machine needs to be used on a larger workpiece, where it’s impossible to use a jig. As before, both hands should be used, one on the motor casing and the other on the handle. In the vertical position, it’s essential to keep the extraction hose attached to the machine as without it, the debris is blown vertically into the operator’s eyes.
Extraction
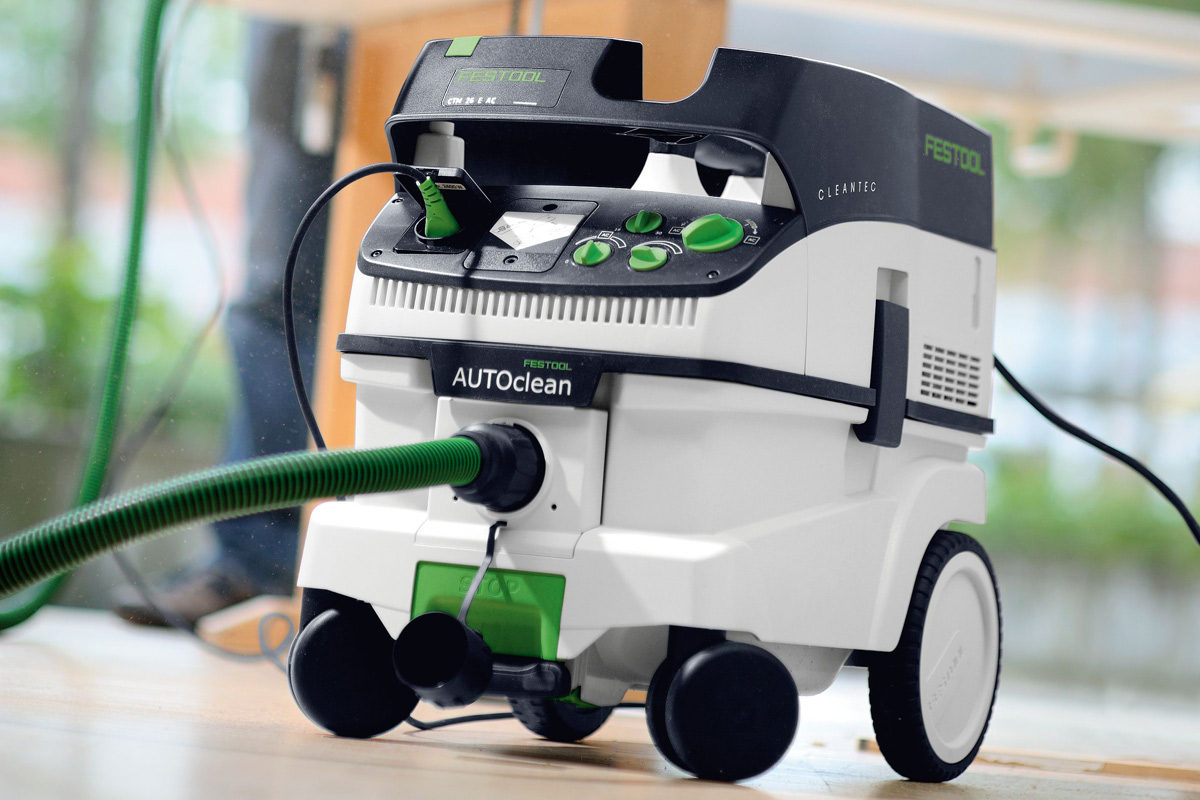
All machines are equipped with a port for dust extraction and it’s recommended that this be used at all times with a workshop vacuum especially if mdf is being worked on. Machining without efficient extraction will clog the machine’s interior very rapidly with the result that it will need to be taken apart and cleaned more often.
Biscuits
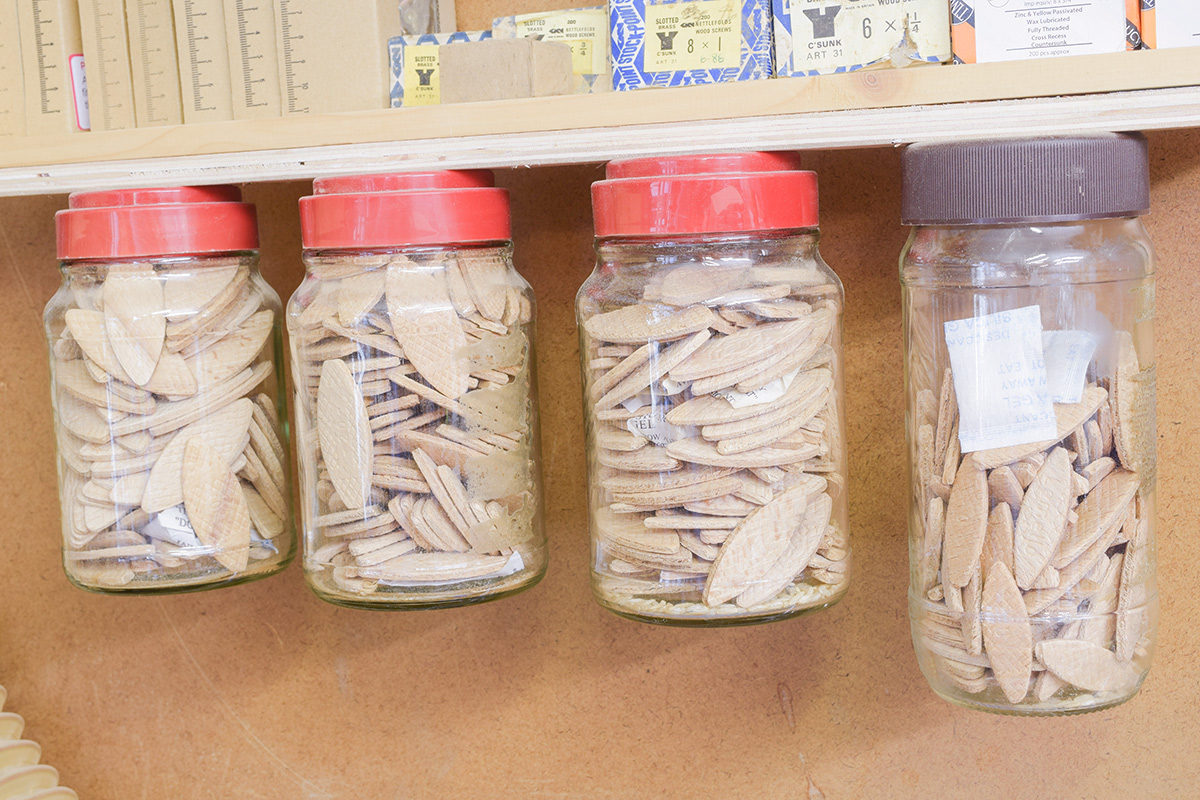
Depending on application, biscuits are available in a number of different sizes and the depth of slot for each can easily be regulated on the machine. They’re compressed during manufacture and are a loose fit in the slot when inserted dry. The application of a water based glue causes the wood to immediately swell after assembly, but this also has a disadvantage as if they’re stored in damp or humid conditions, it then becomes very difficult to insert them. Biscuits should be kept in an airtight container together with a silica gel bag or a few grains of rice which will absorb any moisture in the air.
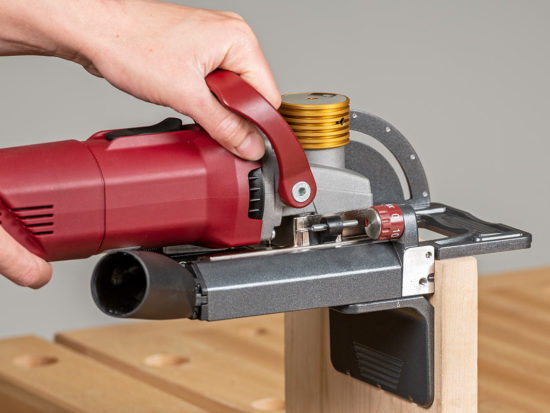
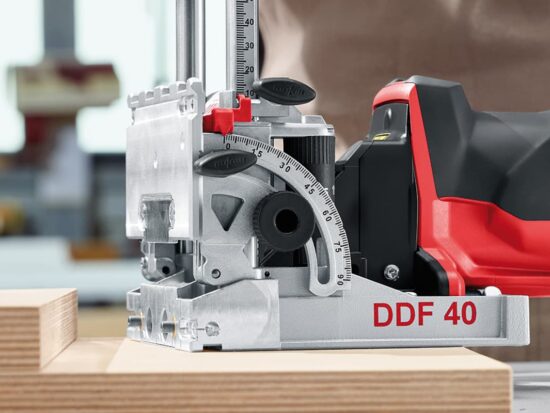
In addition to wood biscuits, Lamello also offer a variety of connectors which give you different options for your joinery. Specialist connectors such as the Clamex S can be used without glue and are detachable. This is a great option to have as furniture can be assembled and disassembled without noticeable wear.

Fixing Mistakes
It’s inevitable that an alignment mistake will occur from time to time, but with biscuit jointed construction, it’s quite easy to rectify. Glue a biscuit into the offending slot and allow to thoroughly dry, then remove the upper half and plane flush, after which it’s an easy matter to re-cut the slot in the correct position.
Conclusion
In recent years, the biscuit jointer may have become sidelined by another jointing system. Nonetheless, the biscuit jointer should not be discounted as it’s still a valuable, quick and more importantly, a very economic method of joining material together.
If you haven’t got one in your workshop, it definitely deserves a place in the power tool cupboard.


every tool i use needs very careful contemplation before i take the plunge - over the years 90% of my investments have proven to be as i had hoped.
Investing in a lamello was a big step. They are not cheap.
On thought was why should i need a biscuit jointer when there are so many alternatives, dowels to name but one.
Over the last 20 years the lamello has opened many doors for me - jobs i would have found difficult and stressful became far easier and fun - my lamello has been used for everything from boat building, carpentry and joinery to fine craft work.
Thanks for your comment, Bertram and yes, I agree, every tool needs careful consideration before the 'submit purchase' icon is depressed! It's true as well, that there are lots of alternative ways of jointing and a biscuit jointer is still a very useful bit of kit to have in the armoury. I certainly don't use my C2 much now that I've got a Festool Domino, but that said, I still wouldn't get rid of it. Dowels are also a great way of joining material, but you need a fiendishly accurate jig to use them properly; I use the metric version of 'Dowelmax' which is probably one of the most precise and easy to use systems currently available. The worst thing about doweling and the thing which you can't control is the size of the dowels...some are oversize and some loose, so it's useful to have a variety of twist bits to drill exactly the right sized holes.
will be having a peek at dowelmax - but that said i often make my own dowels and jigs - a recent job was making a stand with glass inserts the legs and rails were 12mm - some years ago i installed a loft floor in my workshop in the uk - needed 25mm dia dowels - making marking pins with a nail centred made for an accurate job - dowelmax
hmm cant find dowelmax on your site - wolfcraft got that one.
'Dowelmax' is not a piece of equipment sold by a tool supplier such as ourselves or, to the best of my knowledge, any one else. However, a Google search will bring up the website and it can be ordered from the internet. If you have some back copies of Furniture & Cabinetmaking magazine, the system was very favourably reviewed by the editor, Derek Jones and if you were interested, I'm sure that Derek would let you have further information.