Carved Tiki Masks
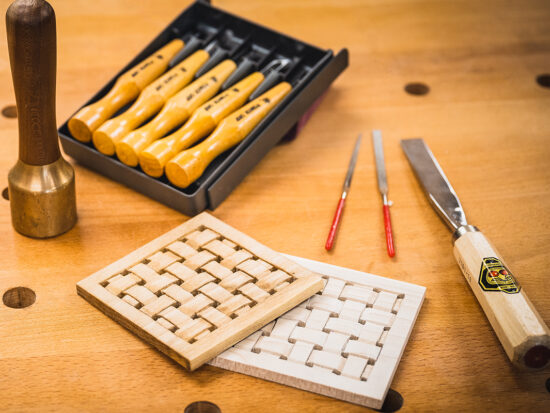
What you'll need
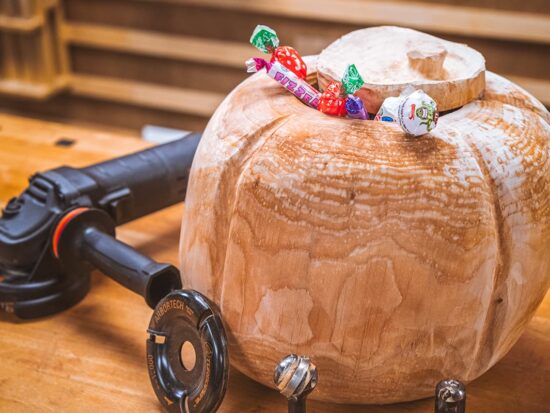
Carved Tiki Masks are a fun woodworking project and are a great way to liven up a home or garden space. Put your creative carving skills to the test and make your very own miniature Tiki Masks.
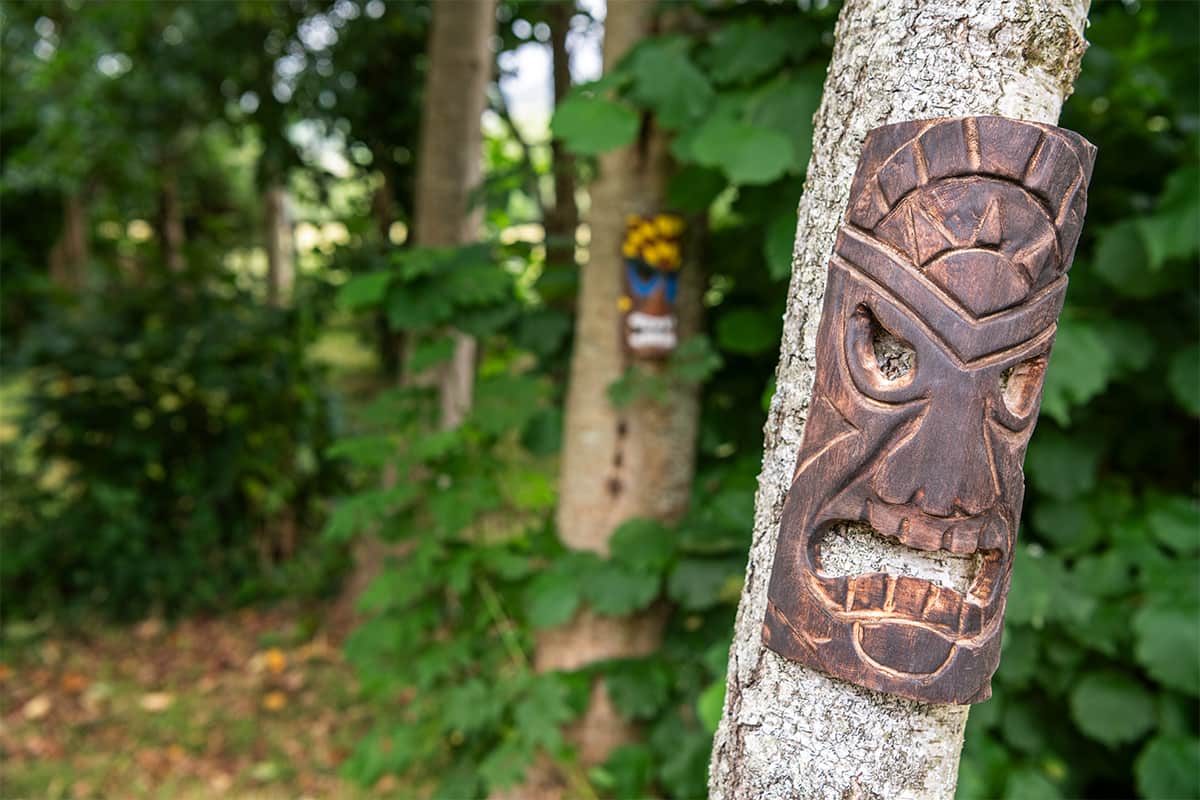
Traditional Tiki Masks are hand carved wooden masks that originate from the Polynesian Islands in Maori culture and were carved to protect users from harm and bring them luck. Tiki Masks often depict wild, elaborate face designs and bright colours, and are a popular ornament to hang in homes or as statues in gardens.
Join Colwin as he shows you how to carve your own mini Tiki Masks in our Woodworking Wisdom demo or follow our step by step guide below.
Prepare your timber
For this project we used a piece of green Birch, but most timbers work well. Start by either cutting or splitting your timber through its length to get two halves around 150mm across by 300 long.
To make the shaping of the mask a little easier, and to allow us to manipulate the piece around, we have used a carver's clamp and started by attaching the faceplate to the timber using 30mm screws.


Using the PROXXON LHW Long Neck Angle Grinder clean off the surface bark to create a smooth canvas for marking. Once the first side has been done flip the piece around to tackle the other side, then unscrew from the carving clamp.


Create the hollow
Fix your workpiece down to the bench and hold securely. Here we are using bench dogs and the bench vice.
Continue using the angle grinder to remove the centre of the log to create the hollow mask.


Begin carving
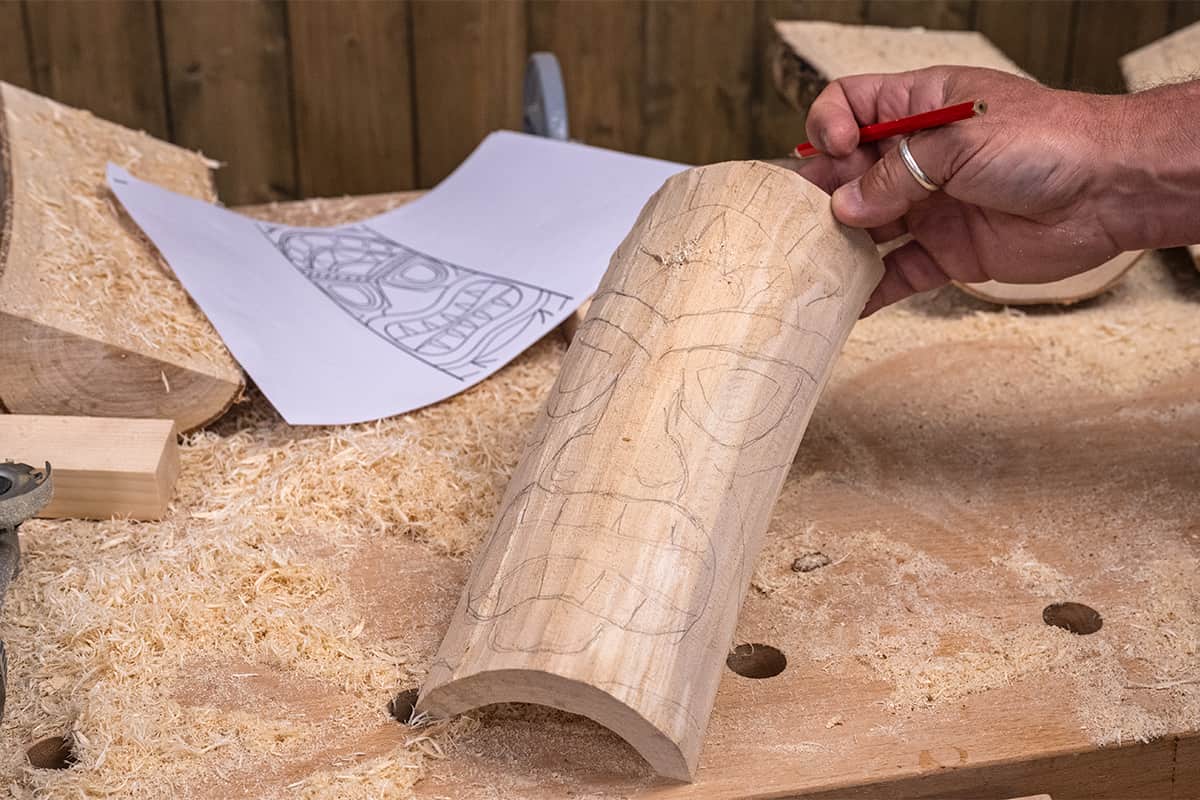
Next, let your your imagination go as you draw on your Tiki Mask design. We downloaded a free Tiki image online to use as a template.
Attach the mask to the carving clamp with a piece of scrap wood screwed to the clamp then hotmelt glue to the mask.
To make it easier, start by drilling holes strategically where the eyes and mouth need to be removed. Then, using a jigsaw, remove the eyes and mouth starting with the jigsaw blade inserted into the previously drilled holes.


Using a carving blade, cut out the outline of the face, then start layering and taking away areas to highlight the features.
Finish by moving onto a smaller, fine rotary tool.


Decorate your carved Tiki masks
We made two masks to try out different finished. For this one we charred the outside surface with a blowtorch, highlighting the high spots, leaving the sunken areas light.
Next, using a wire brush, brush the charred surface to take off any loose carbon and finish by sealing the surface with a coat of finishing oil and leave to dry before hanging.
If you want to paint your mask, use a sanding sealer instead of the oil before painting.


Liked this? Try this!
If you enjoyed this project, why not have a go at these decorative carving and scorch techniques to elevate and embellish your projects. Or have ago at a larger power carving project and try these decorative garden toadstools.
If you've had a go at this project then why not share it with us, we would love to see what you have made. Snap it, share it and tag it on our social media channels. Search for @axminstertools on Instagram or Facebook. Or upload to our online gallery to be feature on our website.