Decorative Clock Face and Panels | How To
What you'll need
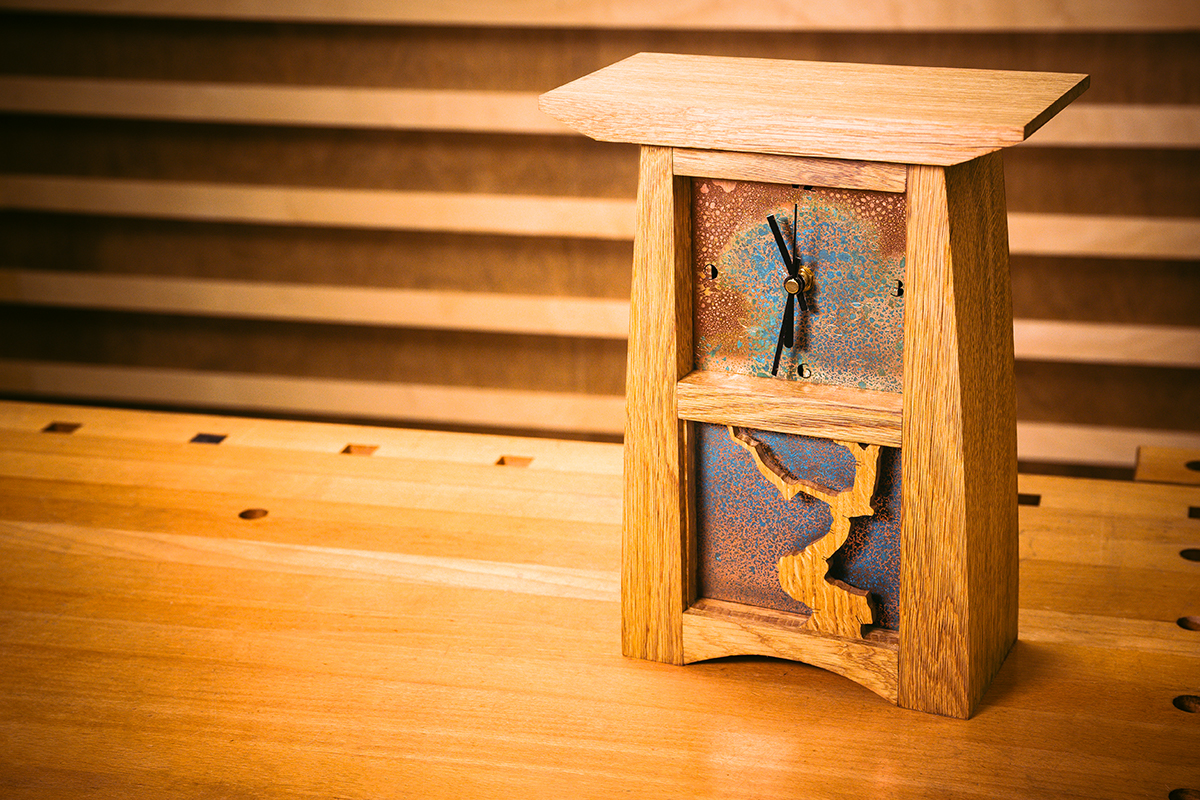
In this blog we show you how to make a decorative clock face and panel to fit our mission style clock case. In our Woodworking Wisdom video below, Ben shows you how to cut a decorative tree panel as well as a copper clock face, and finish it using Chroma Craft Rustina™ Aging Solution for an authentic patina effect.
Watch our Woodworking Wisdom video or read our step by step guide to learn how to make yours.
Cut your wooden panel
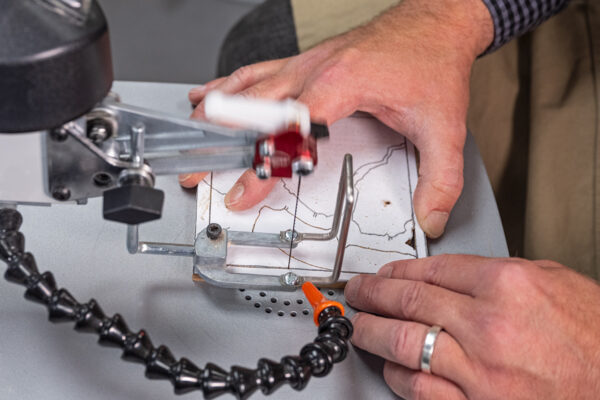
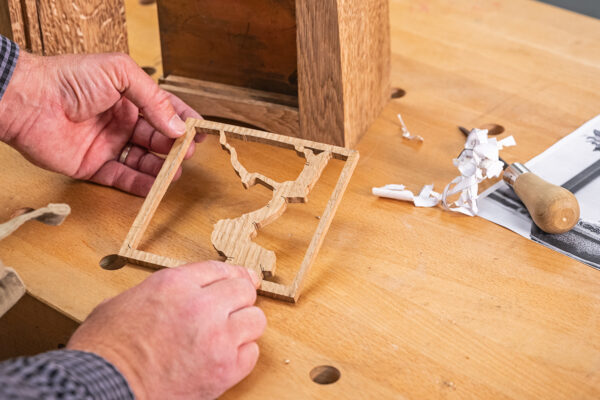
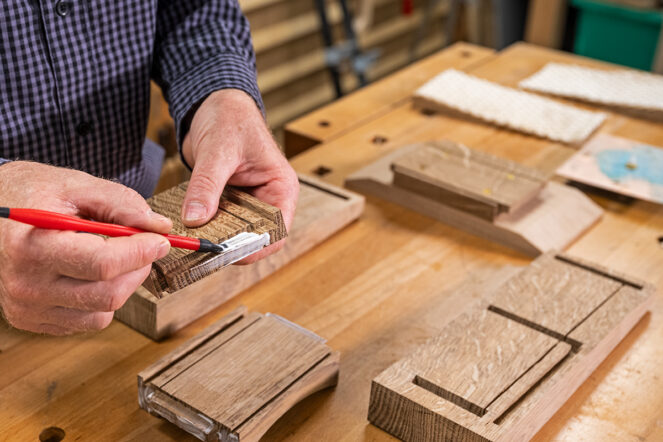
Choose your design. We have a tree trunk on the bottom panel and the canopy of the tree on the top panel. Transfer or freehand draw your chosen design onto your wooden panel and cut on the scroll saw.
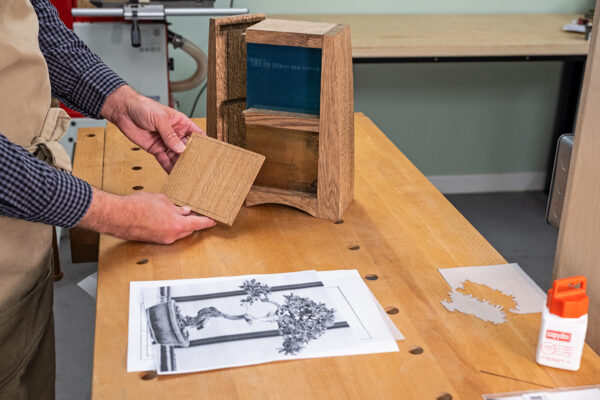
Remember, there will need to be some material left on the outside to frame the panel. This will sit in the channel cut in the clock's body.
Make the clock face
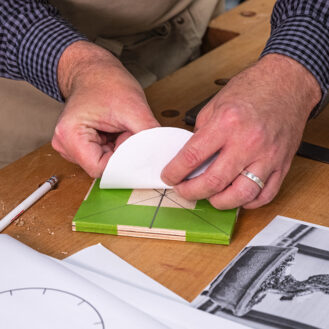
Size your copper sheets to suit your clock and take two pieces of thin ply to sandwich one of your copper sheets between. This will give you more material to hold onto, plus it will protect the table of your scroll saw.
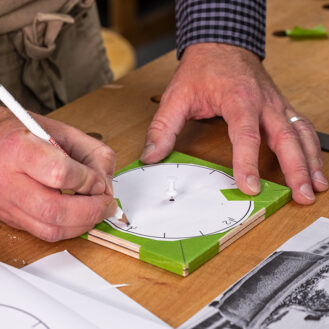
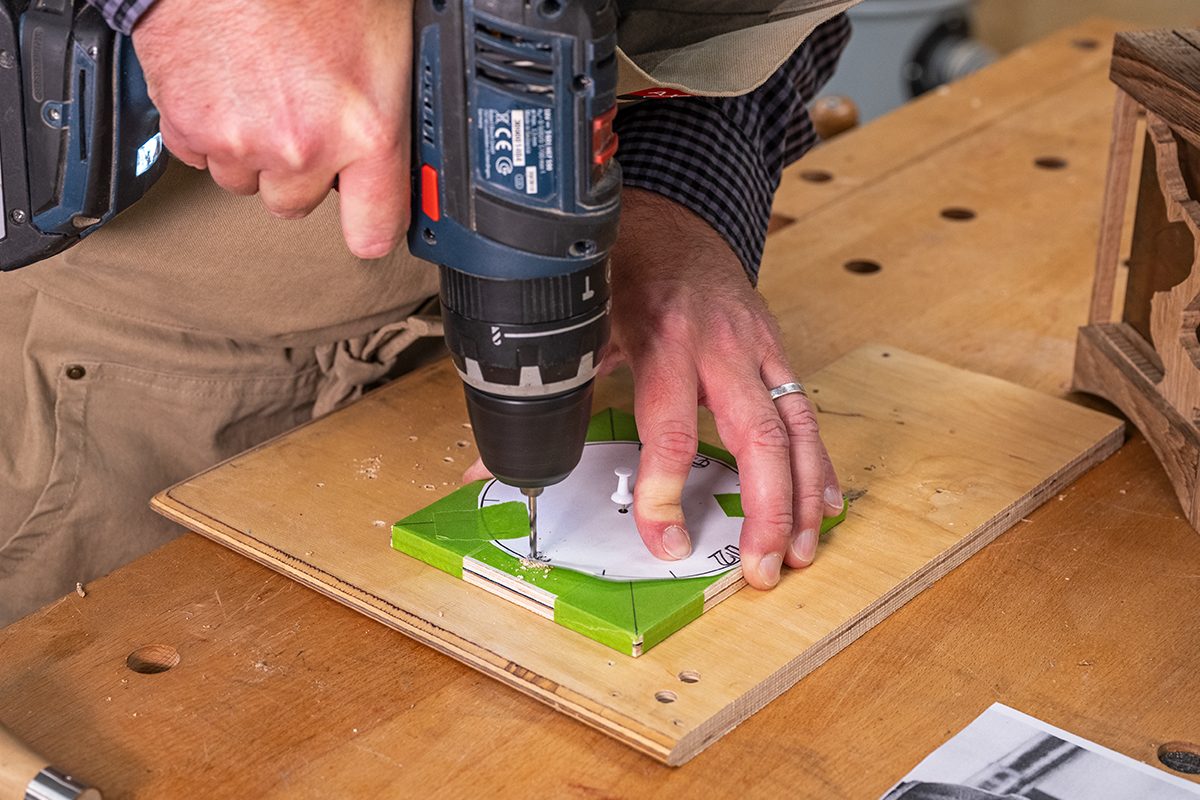
Using a paper clock face template, find centre then mark off the locations for the hours, 12 and 6 sitting on the centre line. Mark out your numbers on the paper face. We used 12, 3, 6 and 9 but you can change this design if you wish. Drill the centre hole for the clock mechanism to go through. Ours had an 8mm shaft.
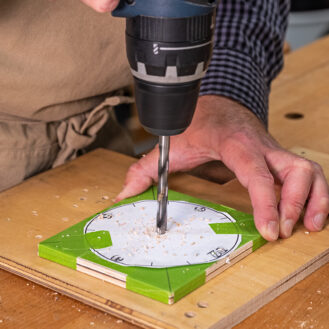
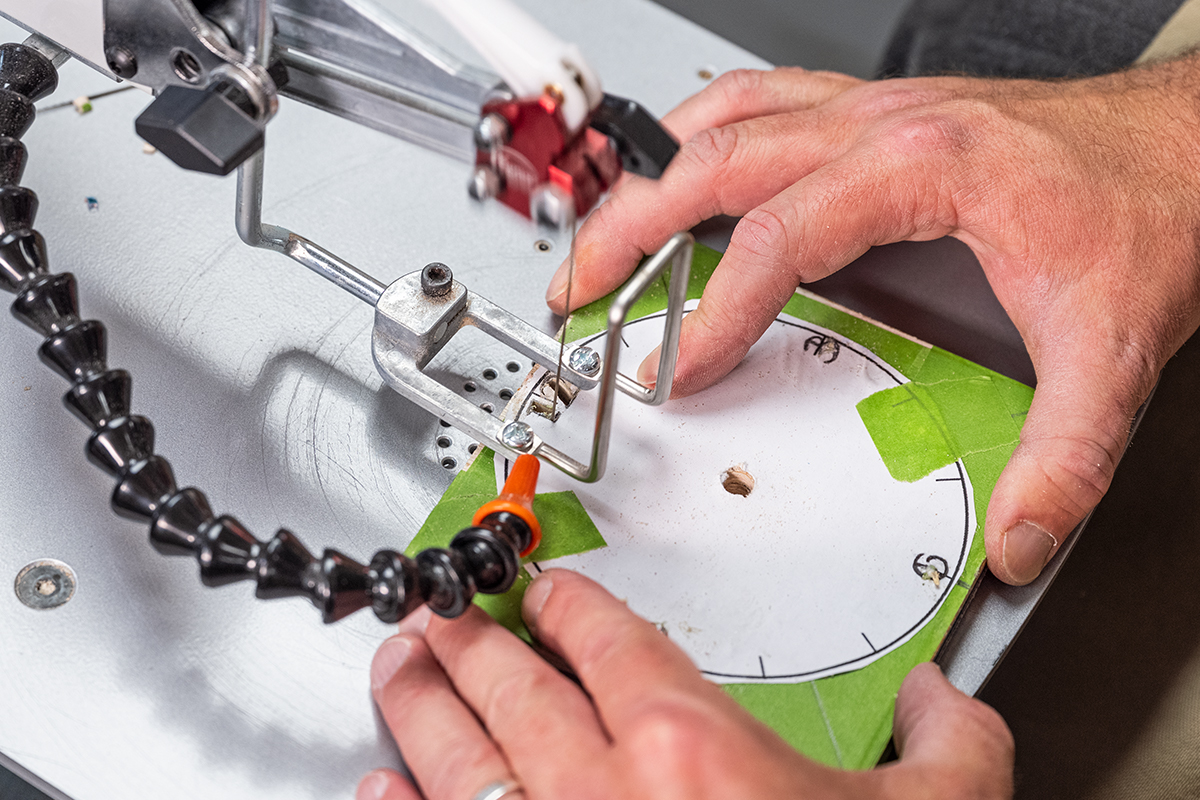
We are going to pierce through the copper sheet so will need to drill holes at the number locations through both the copper sheet and the ply layers so that we can thread our scroll saw blade through our project.
Using a metal cutting scroll saw blade, cut the numbers. Take your time with this and try to avoid taking sharp turns where possible to prolong the life of the blade.
Make the decorative clock face
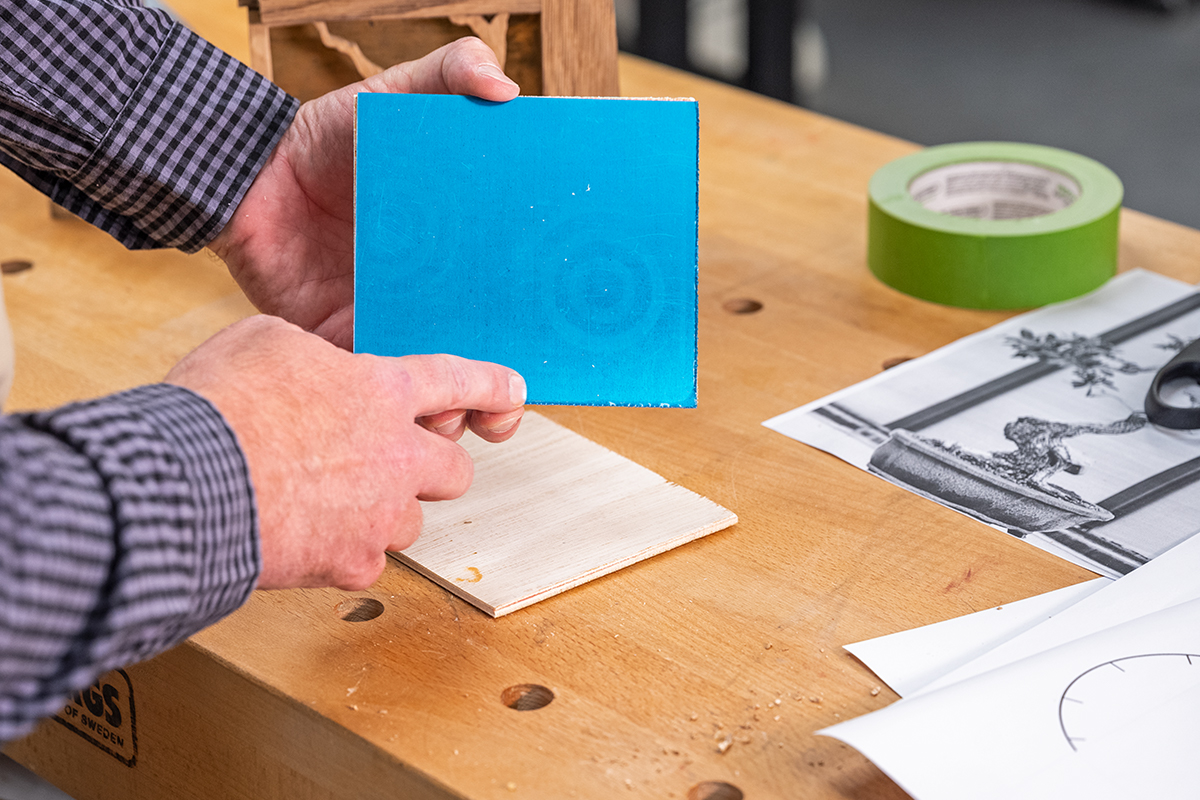
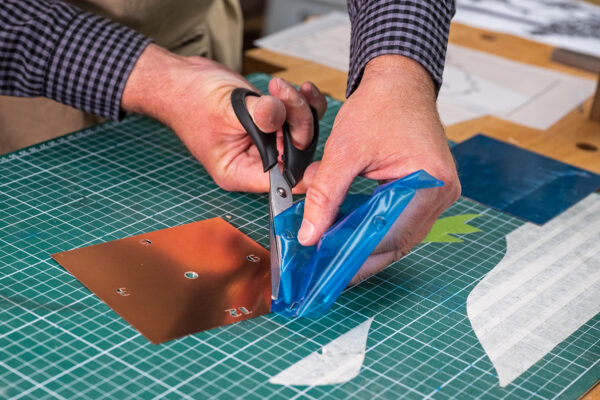
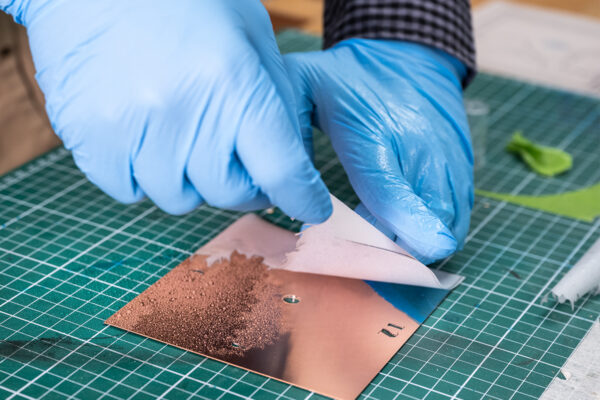
Once you are happy with the lay out and that you have finished your cutting, you can remove the pieces of ply and also the protective film on the copper (we left a corner so that we can handle it without tarnishing the copper).
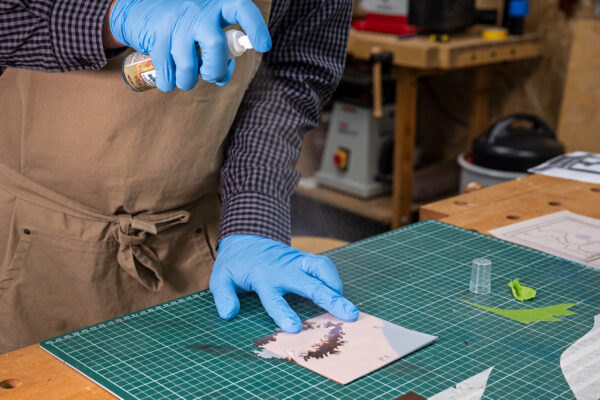
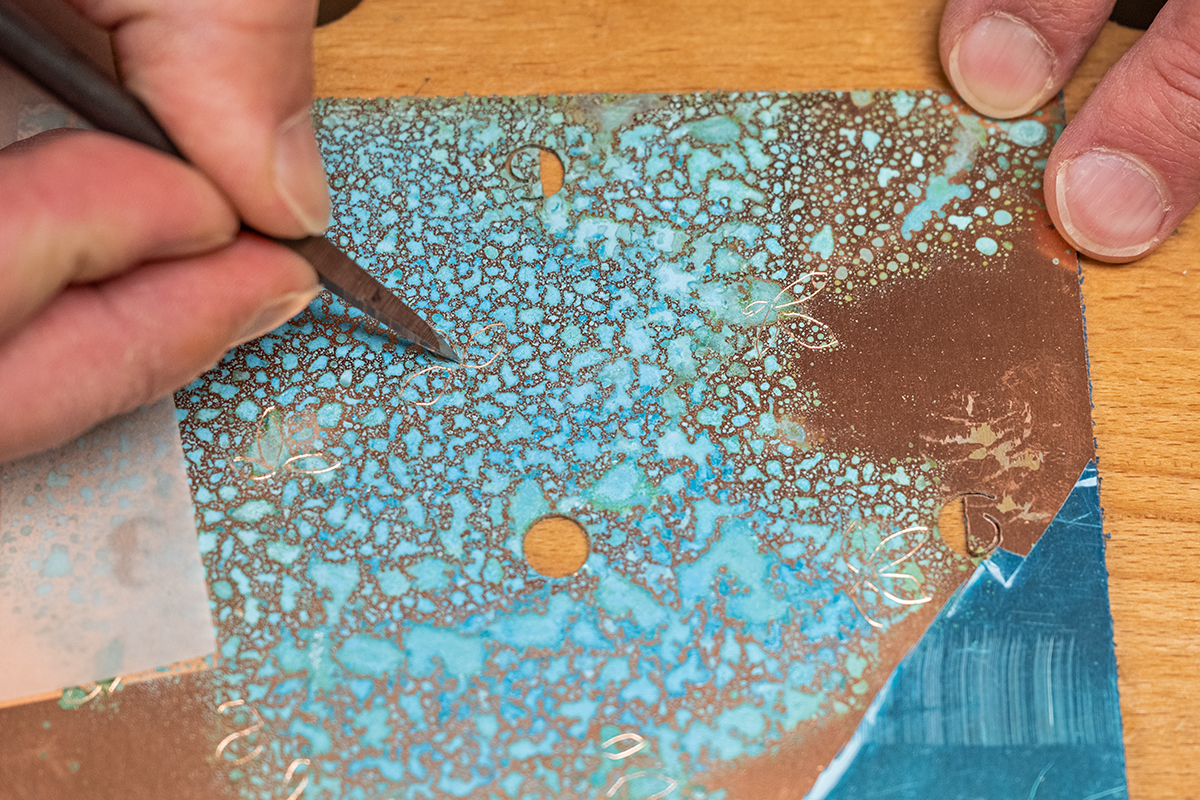
Decorate the copper with the aging solution. This is an unpredictable process which will require some experiments. The aging solution will react with the copper to produce a green colour. We used a tracing paper mask to create a canopy for the tree trunk shape cut into the bottom panel. Hold the mask just above the copper and spray the aging solution from approx. 200mm away from the project.
Allow the reaction to develop (this can take up to 2 hours) check the patina is where you want it. At this point you can add more or manipulate with a brush to create the finished look. When you're happy with it, it can be fixed with a spray lacquer or the Croma Craft WRU 20.
The final assembly
Start by attaching the clock face to the brass panel.
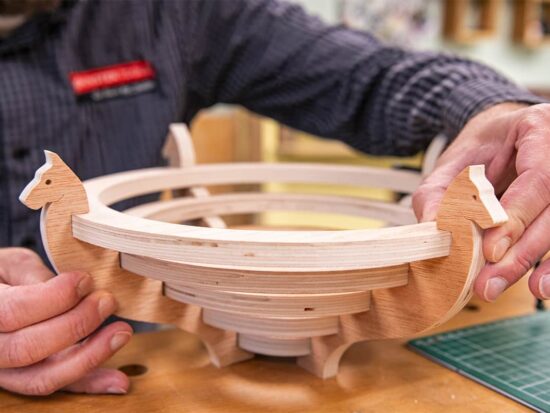
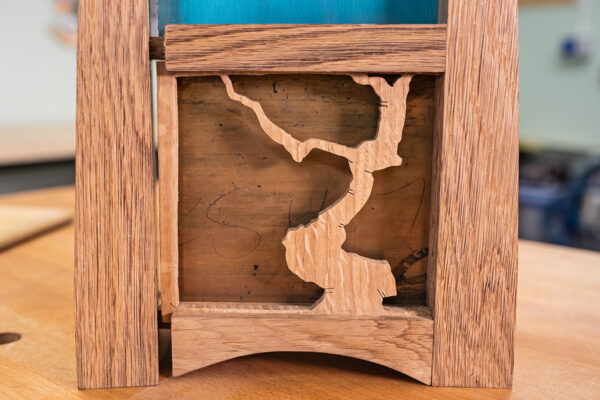
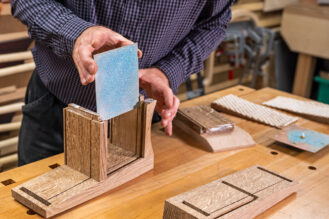
Next, screw the top panels together and then apply glue to each of your centre tenons and then insert in to one of the side panels, giving a gentle tap to fit. Then slide in place the decorative panels before fitting the final side piece.
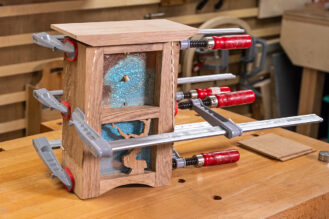
Add some clamps to pull it all together using something to protect your side panels.
Made it? Share it!
If you have made our Mission clock case and decorative clock face project, then why not share your images with is via social media? Tag us @axminstertools on Facebook and Instagram.