Scroll Saw Basket Bowl | How To
What you'll need
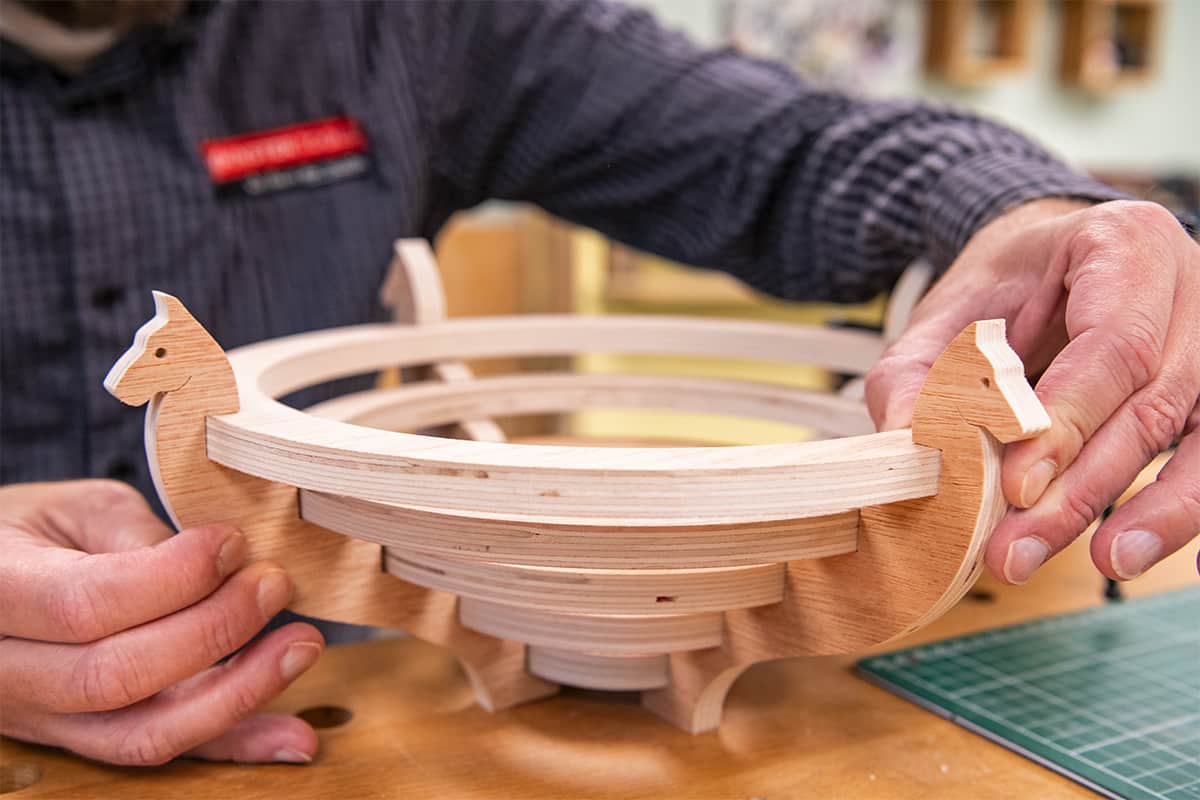
This scroll saw basket bowl, is a nice and easy project and utilises basic scroll saw skills to create an interesting and unique bowl, that will look great in any home, proving you don't need to own a lathe to make a pretty looking bowl!
A design that consists of a number of different sized rings supported by decorative 'wings', this bowl can have many uses but makes an attractive fruit bowl.
Watch Ben in our Woodworking Wisdom video or read our step by step guide below to make yours.
Mark out your design
Lay out the design for your basket bowl. We have used concentric rings which are 20mm wide with a 5mm gap between them. The diameter of your rings do not matter as long as they follow the rules above.
Use an A3 piece of paper and a compass to draw the pattern out.
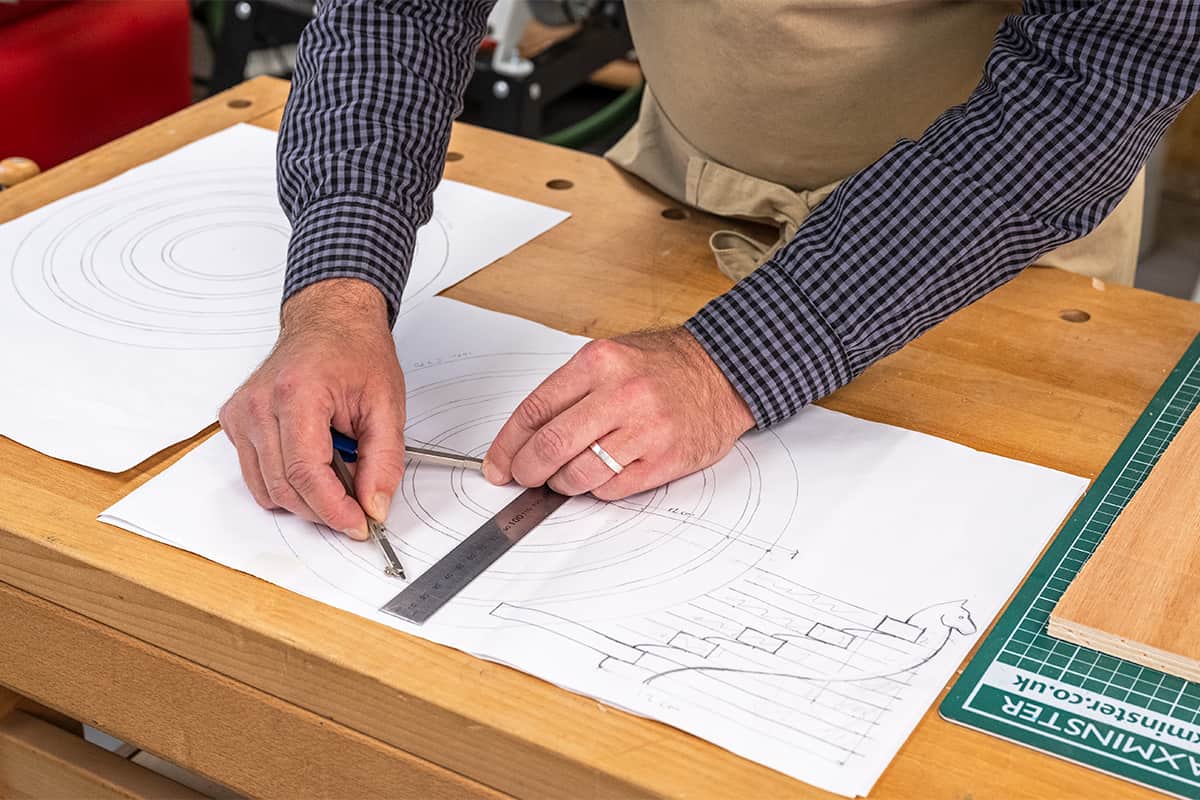
Draw up the wings of the bowl. These will keep the rings held together with a series of slots. Remember that our rings are 20mm wide, with a 5mm gap between them on the horizontal. To create the height, we have put a 10mm gap vertically. You may wish to do a different shape, but we have opted for a standard bowl shape. Draw out a grid to help plot out your desired shape for the wings.
Make copies of your wing design as we will need four or more of these. Transfer or stick your wing design onto a piece of Plywood.


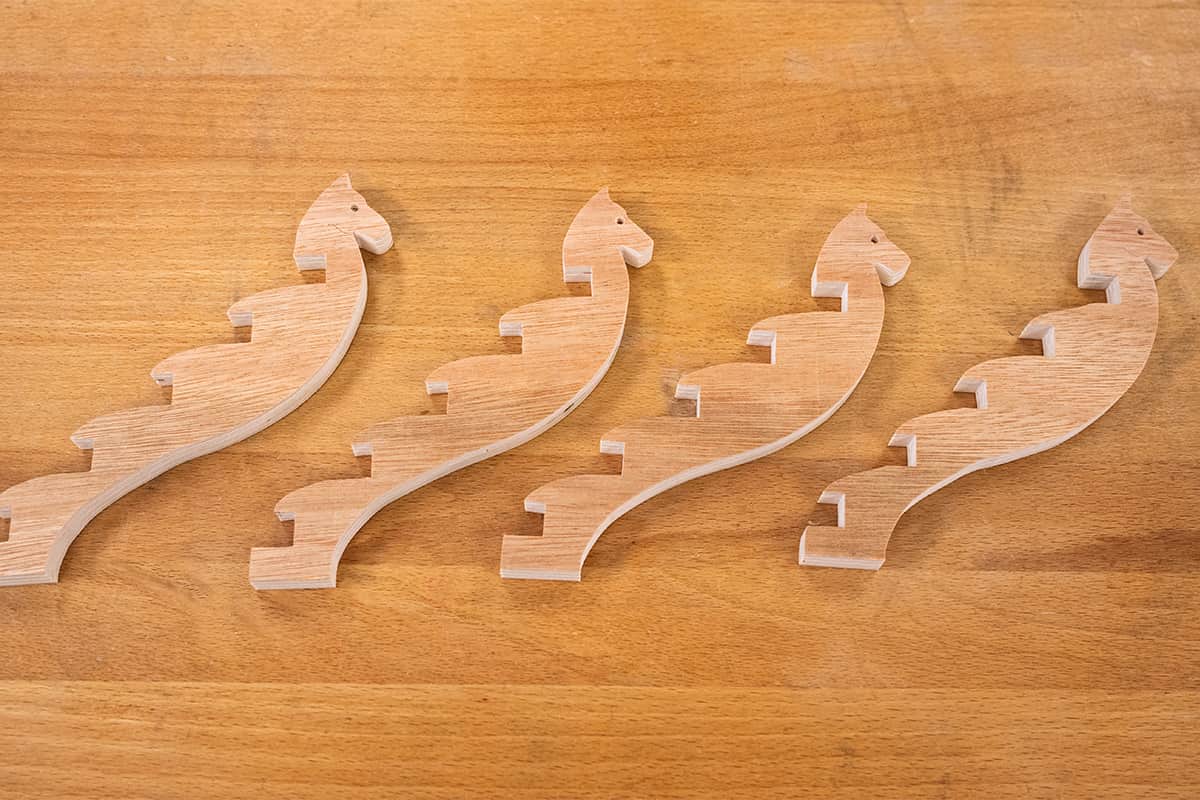
Cut the wings and rings
Cut out the wings on the scroll saw. Take care to not cut the slots too big.
Once cut, test the slots with an offcut of ply for a good fit (you may wish to file or use an abrasive to open some of the slots for a good friction fit) This is an important step and will help when it comes to assembly.


Repeat this until you have at least three wings (we have cut four for our design).
Mark out the rings, remember that the diameter is not important, the relationship between the measurements is what's important. They should be 20mm wide with a 5mm gap between rings to match the cut wings.
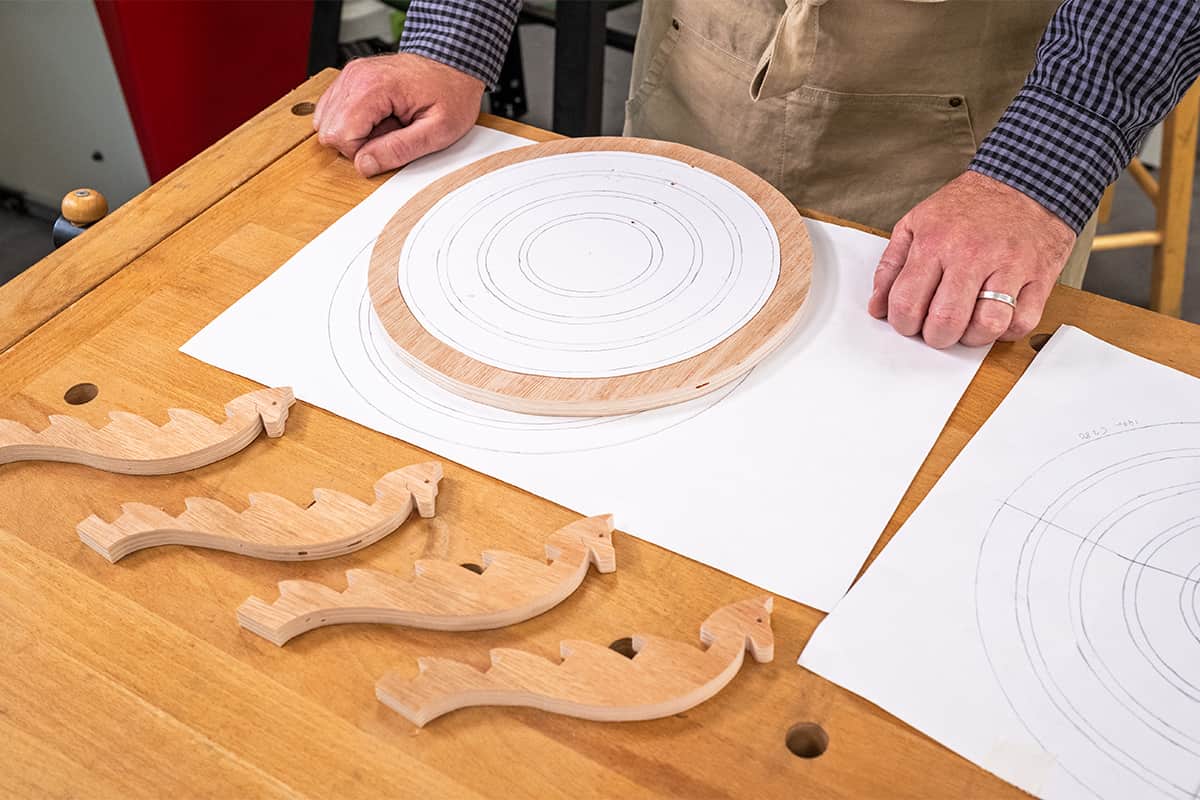
Cut out the rings. In our design we have four rings and a base.


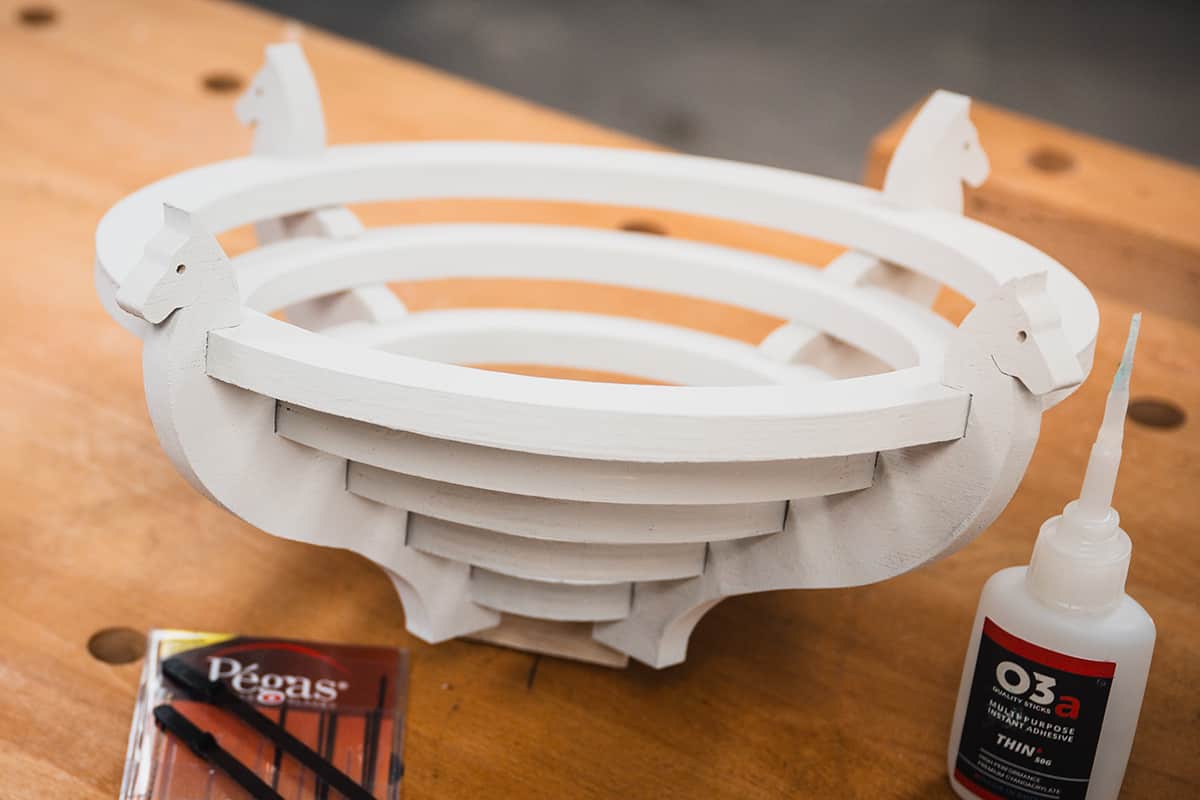
Assemble the basket bowl and finish
You are now ready to assemble your bowl. You may need an extra pair of hands to help with this. Try using a carving vice to hold one of the wings in place if needed. Drop a spot of thin CA Glue where the rings make contact with the wings to hold the whole piece together.


Your scroll saw basket bowl is now complete! Finish with a stain or paint to your liking.
Made this? Try this!
If you enjoyed this project why not try adding different shapes and try stacking your rings to create a unique effect with your bowl. Watch Ben in our Scroll Saw Bowl video for ways to try different techniques and push your scrolling skills further.
Share your pics with us
If you have made either of these projects, we would love to see them. Search and tag us @axminstertools on Facebook or Instagram or upload to our online gallery.