Folding Table | How to
What you'll need
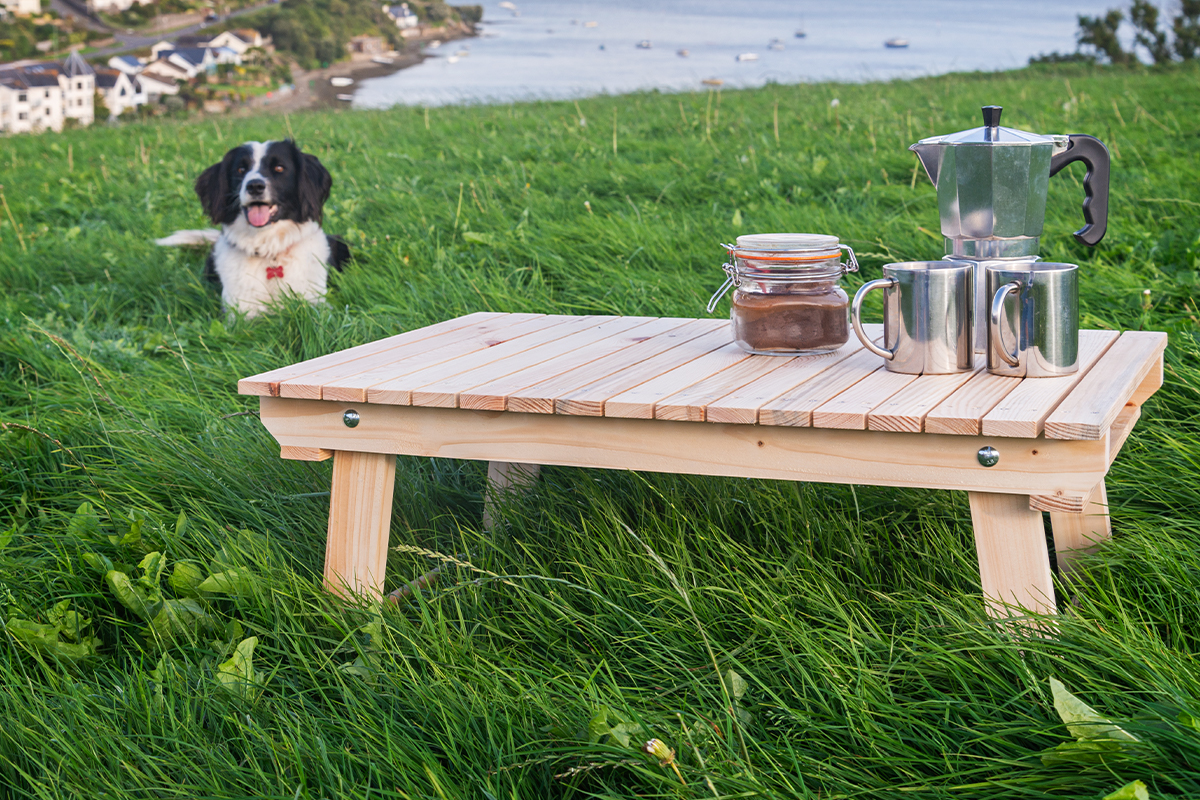
This simple folding table is useful for taking to the beach, on camping trips, to the park or even to use in your back garden. An easy to make project requiring basic hand tools, it will quickly become invaluable around the house during the summer months.
Join Jason and watch our Woodworking Wisdom demo or follow our step by step guide below to make yours!
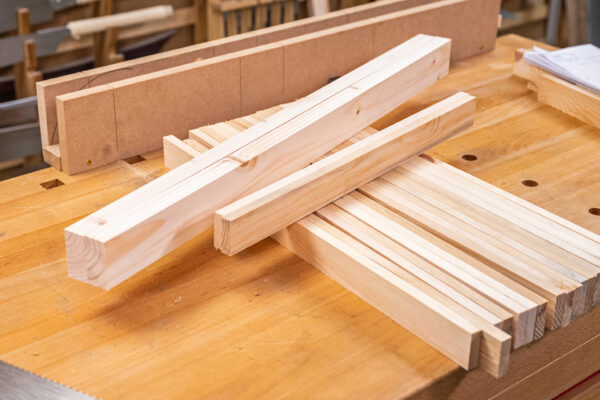
Prep your timber
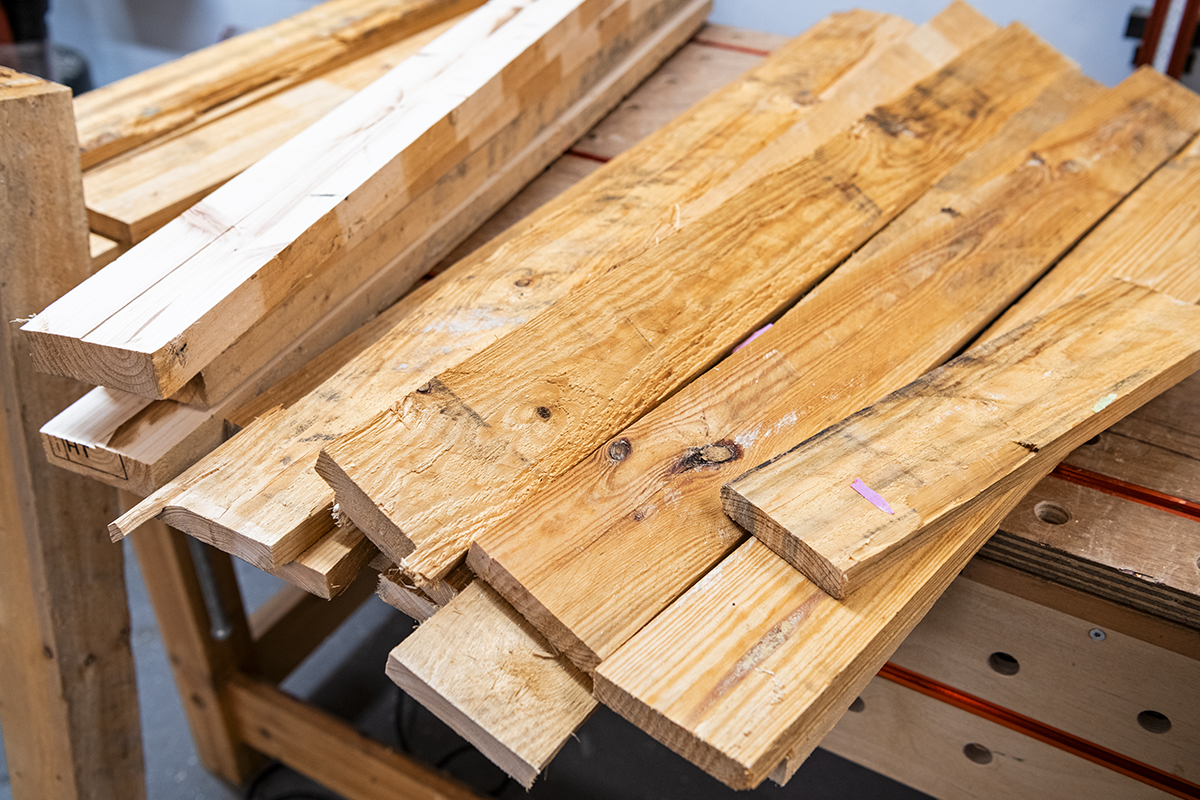
You can use pretty much any timber to make this project. We decided to recycle an old pallet, carefully taking it apart and removing the nails. We then machined up the slats to the required sizes.
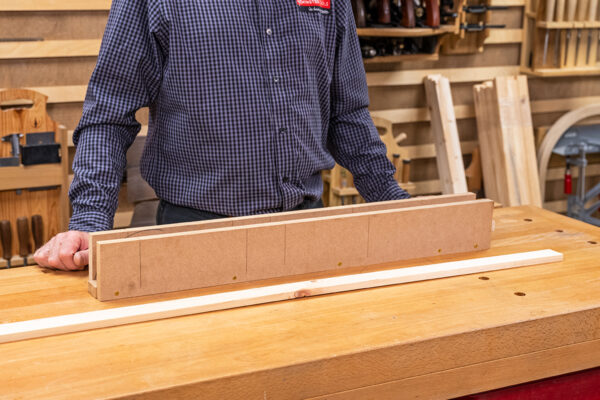
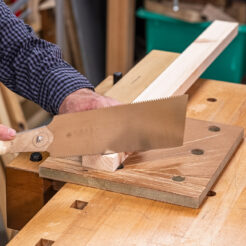
To make the repeat cutting of the components easier a simple saw box has been made up out of three pieces of MDF. This is screwed together to create a U shape that three sections of the 12mm thick batten will fit into securely. An end stop is fitted and then the required lengths are measured out and marked off with a square. With a fine saw, carefully cut on this line down to the base board. This saw box needs holding firmly on the work bench.

Cut the slats and frame rails
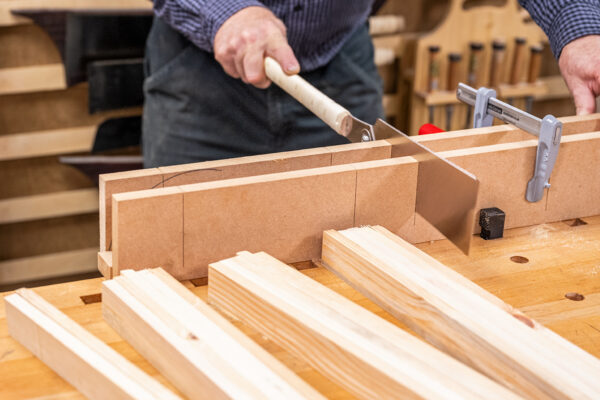
Select the material for the 17 top slats. Defects like dead knots and torn chipped grain need cutting out if possible. Use the saw box to cut the ends square. Three pieces are cut at a time, clamping the work into the saw box makes this easier to hold, and allows a more comfortable relaxed sawing position.
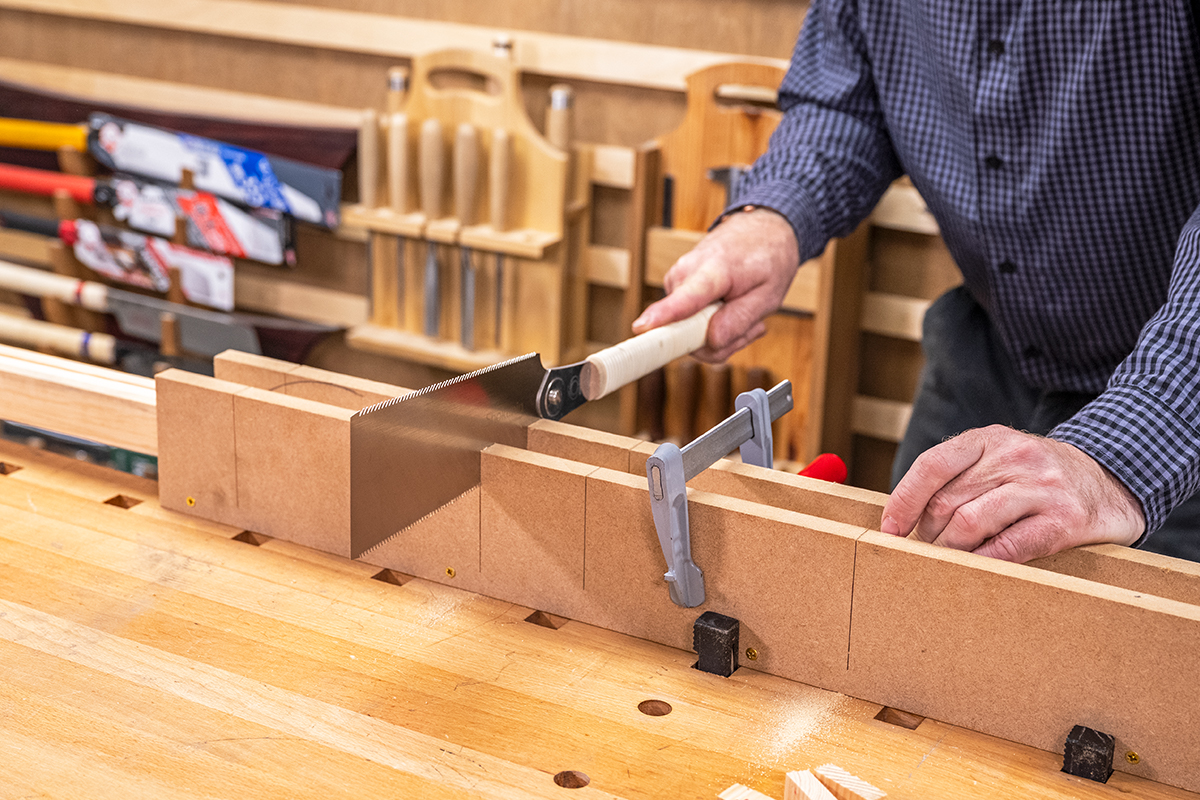
With one end cut square, the work can be slid along inside the saw box to the length stop. Select the correct length on the saw box and cut these to length. This makes cutting the 17 slats to length a simple take. Repeat this for the two shorter under frame battens and also the 50mm x 25mm section to make the legs and the main frame rails.
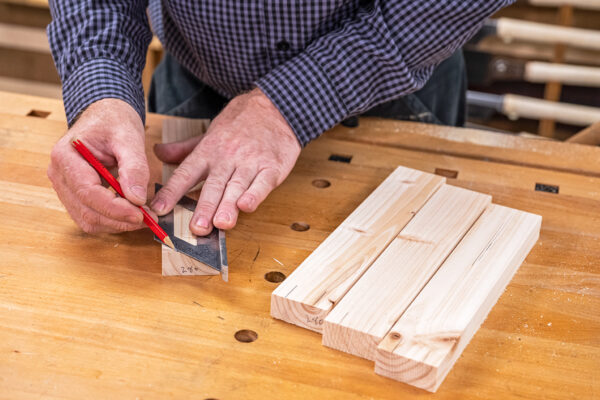
To add a little bit of style, a small chamfer can be marked out and cut on the underside of the main frame rails. Measure 20mm from the bottom edge, then using a mitre square, mark off the 45-degree cut. Carefully cut these off using a handsaw and a bench hook to help support the cut.

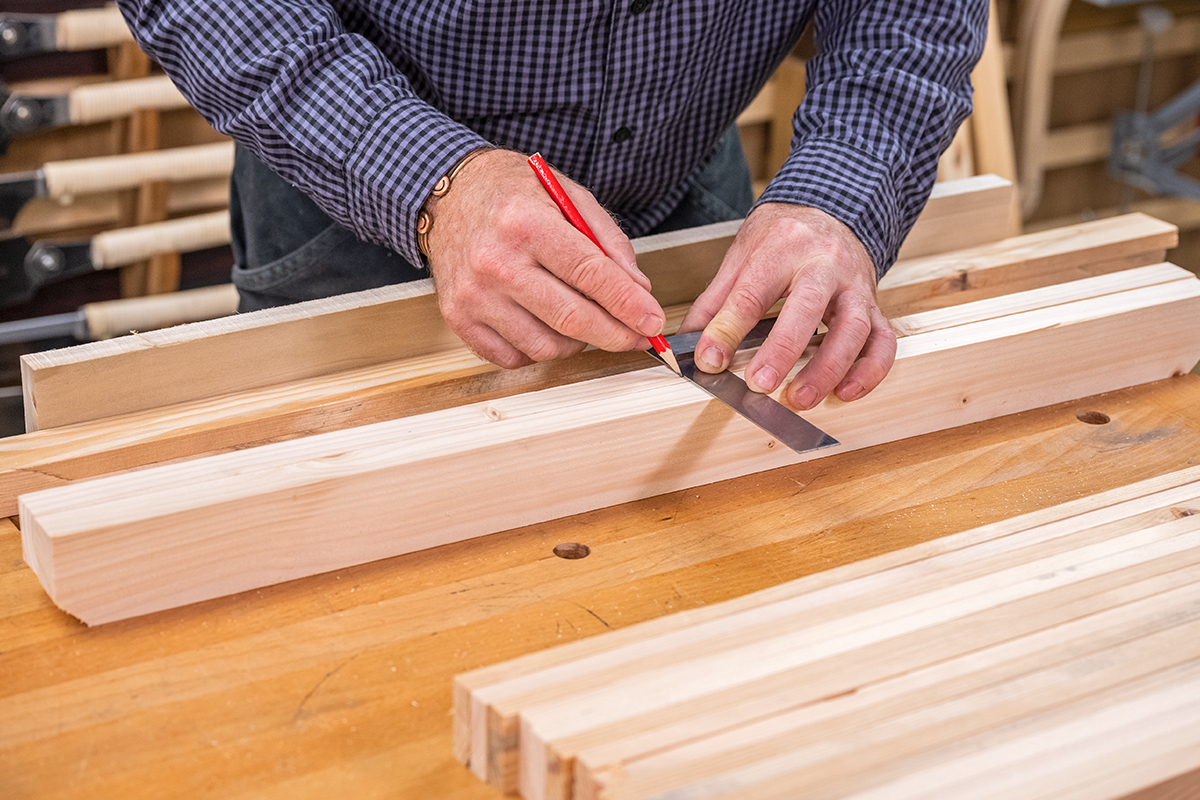
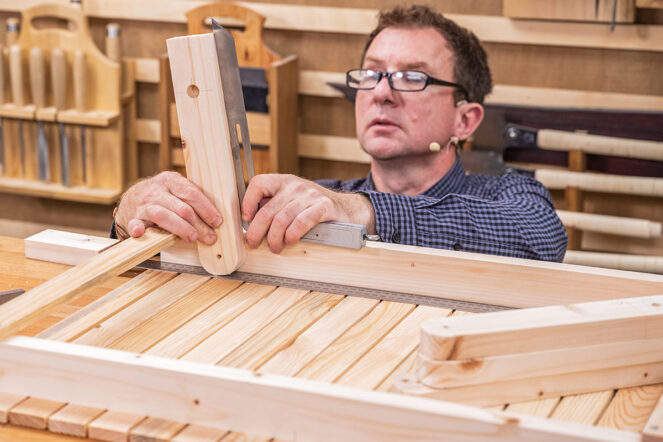
Measure and mark the slats
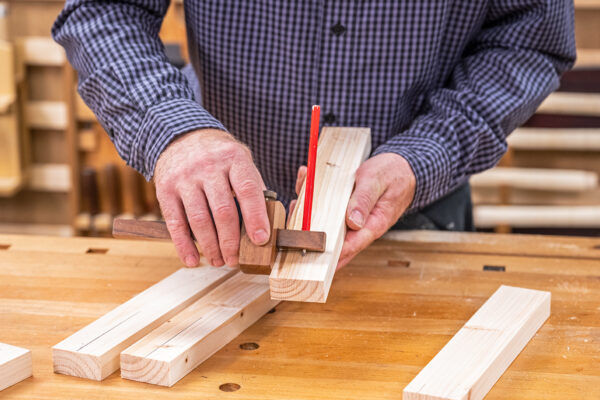
To help set out the table top slats onto the main frame, battens hold a straight length of timber in the workbench vice. This needs to stand up from the top of the bench by about 65mm. To create the overhang of the top slats to the rails, a length of the 38mm x 12mm batten is placed against this flat. Position the two main rails together, measure to find the centre point (358.5mm) and mark this on the top face with a pencil and square.
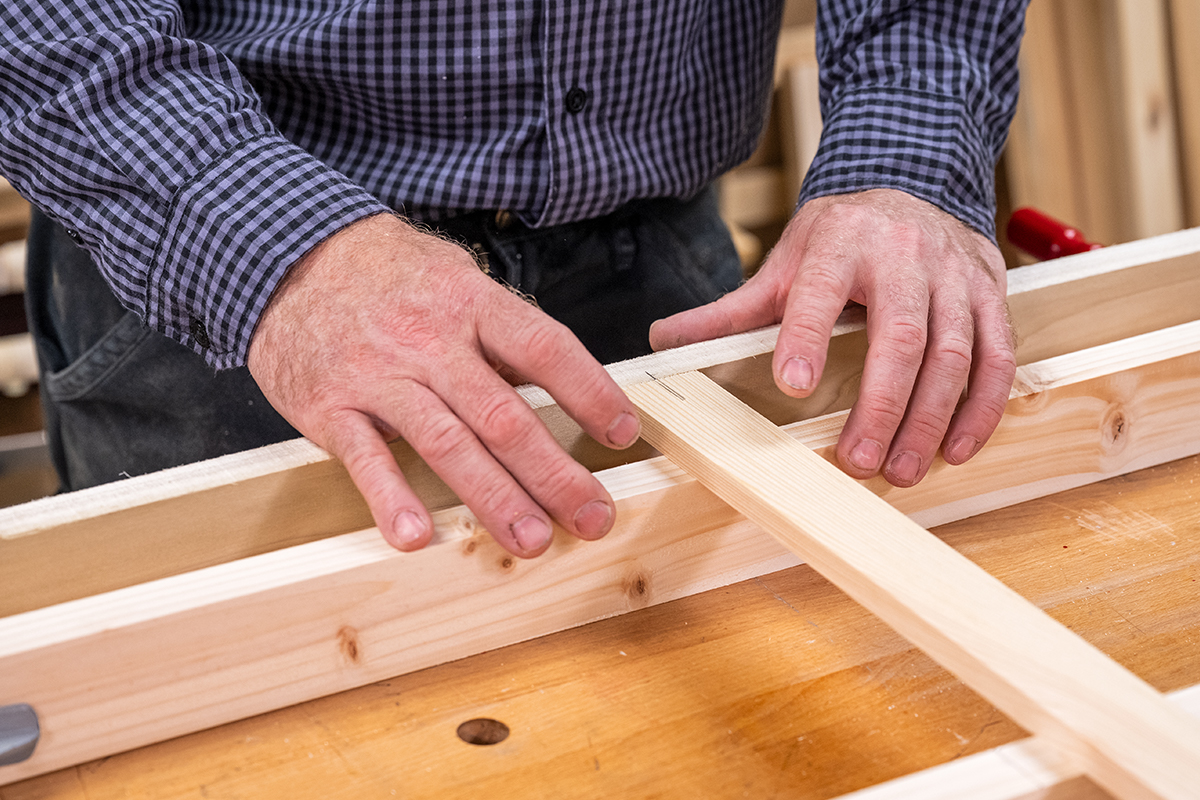
Clamp one of the main rails to the upstand board, this has the 38mm batten between the stop board and table top rail, to create the slat overhang. Using a square and pencil, transfer the centre line from the main batten onto the upstand board. As there are 17 slats, find the centre of one of the slats and mark a pencil mark on either end of this one slat, this centre point can then be lined up with the mark of the upstand board.
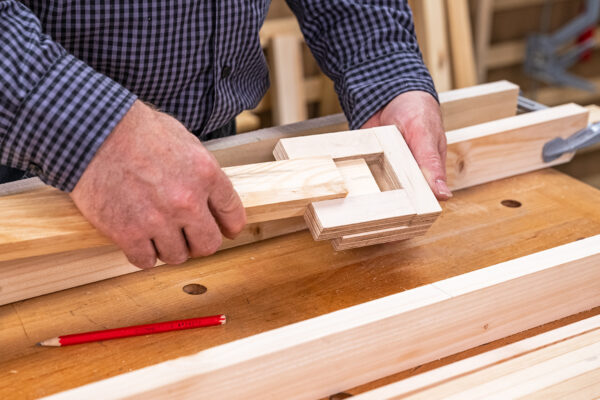
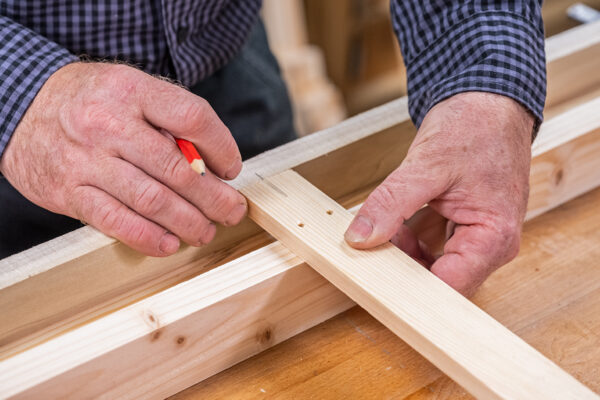
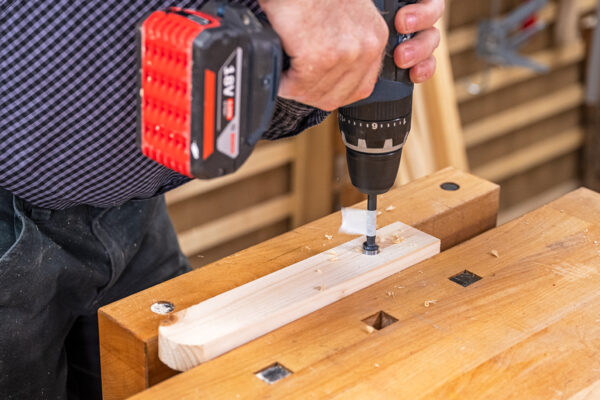
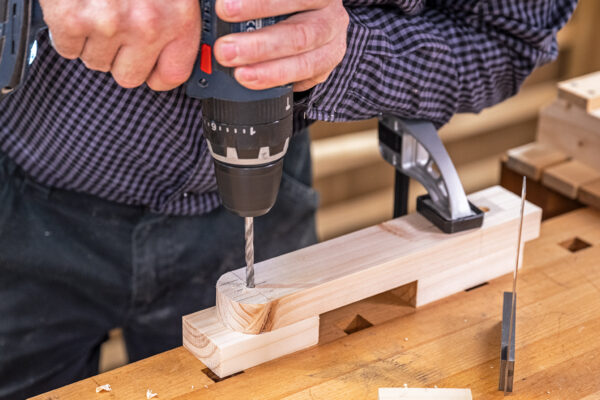
Drill the slat holes
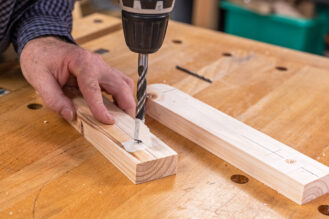
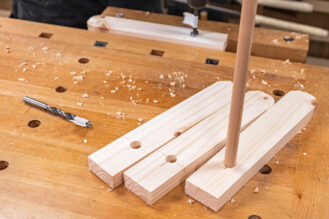
To make the drilling of the slats accurate, repeatable and quick, a simple drilling block can be made. Two of the table top slat battens are located into this and clamped in place. From the end stop to the drilled 4mm holes is 50mm, set in about 8mm either side. The drillings for the lower slats can set onto this as well. These are set in 12.5mm from the end stop and 8mm either side.
With this jig, drill all the table top slats.

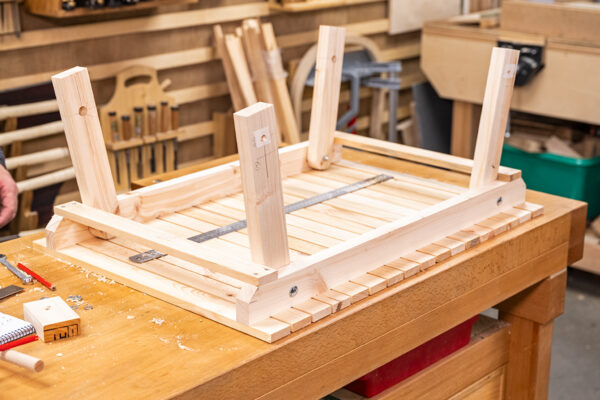
Assemble to table top
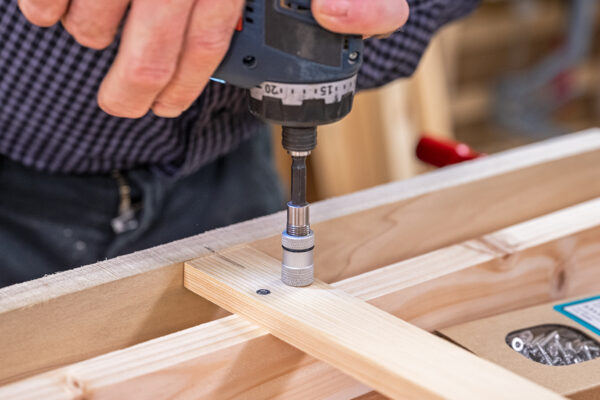
Realign the central slat with the pencil mark on the upstand board. This can then be fixed into position with the slat meeting squarely with the upstand board. Fix in place with two 3.5 by 25mm stainless steel screws. Adjust the torque settings on the cordless drill and use a depth adjustable bit holder to ensure the screw heads look the same and do not pull in too much.
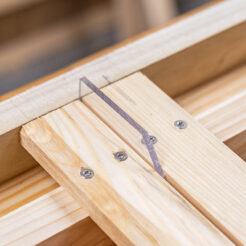
The offset between the battens is 4mm. To keep this simple, we used a piece of 4mm perspex as the spacer between the battens. Anything 4mm will work. With the spacer in place align the next batten, and fix in place, then continue to fix the slats on one side. Unclamp this from the upstand board, align the other main frame batten with the pencil mark on the upstand board and clamp in place. Then repeat the process above. The two shorter slats (452mm x 38mm x12mm) can be drilled on either end using the drilling block (the holes 12mm from the end). These are fixed onto the underside of the table frame.

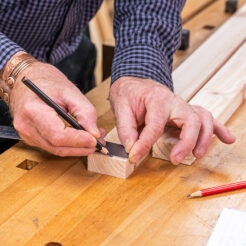
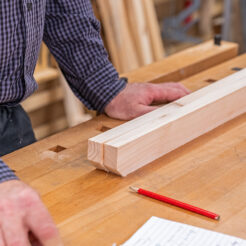
Make the legs
Cut the four legs to length using the saw box cutting to the required 280mm length. On the top of the legs, mark with a pencil a line 12mm set in from either side and then use the mitre square to mark a 45-degree angle across the either corner. On the base of the leg, use a pencil gauge to mark a central line. From the base end mark out a line 38mm and 62mm up across the central Iine. This is the marks for the dowel and magnets.
Cut off the 45-degree corners with the handsaw. Then, using a rasp or Japanese carvers file, round over the tops of the legs to make them half circular in appearance. Drill a 10mm diameter hole on the mark, set in 38mm from the end to the depth of the magnets (3mm). Use masking tape as a depth stop guide so that the dowel does not go all the way through the leg. Transfer the 62mm line markings to the inside of the legs. Use a drill bit to match the size of the dowel to drill a hole 20mm deep.

Mark out the pivot hole using a square and a rule. This is 2mm less than half the width of the leg (23mm) from the top, and then central across the width. Drill a 6mm hole all the way through the leg, aiming to get this a square and straight as possible.
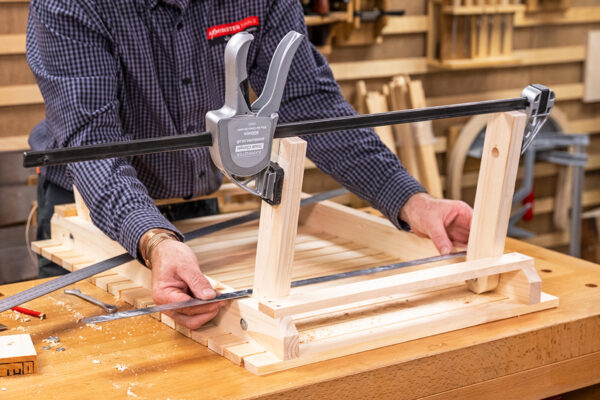
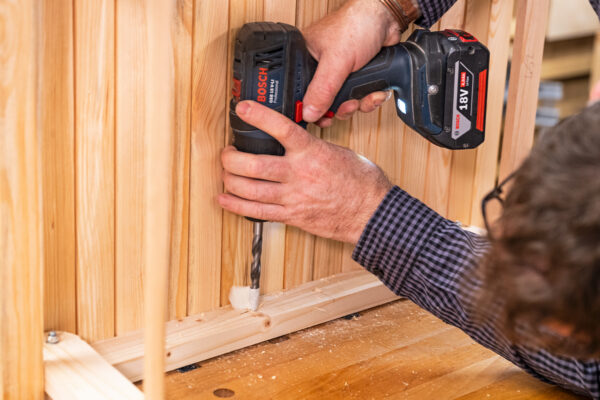
Fit the legs
Position the leg within the frame and place a rule under this to lift it by about 2mm. Use a sliding bevel to set the angle. This can then be used to allow the angle to be repeated on the other legs. Clamp the leg in place with a scrap block on the outer edge and drill through the 6mm hole in the leg and through the main rail. The scrap block stops the brake out and covers the drill tip. Remove the clamp and scrap block, insert the cup square hex bolt through this hole in the frame and tap the square flange of the bolt into place. To stop this slipping, load a washer onto the thread of the bolt, then place the leg onto this and secure with a nut.

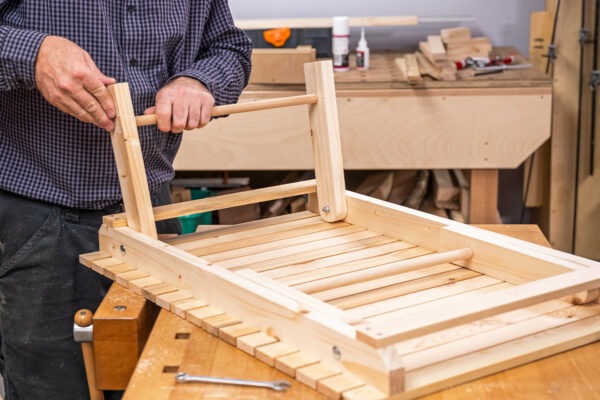
Check that the leg will pivot on the bolt. The half circular top of the leg might need to be adjusted to clear the table slat's. This set up can be repeated for the other legs, so they all fit and swing securing the nuts finger tight. The standard nuts will be changed for Ny-loc nuts when the table is finished.

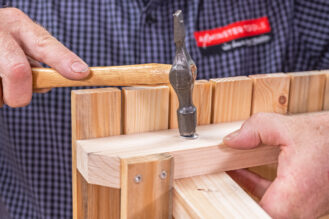
Fit the dowel support
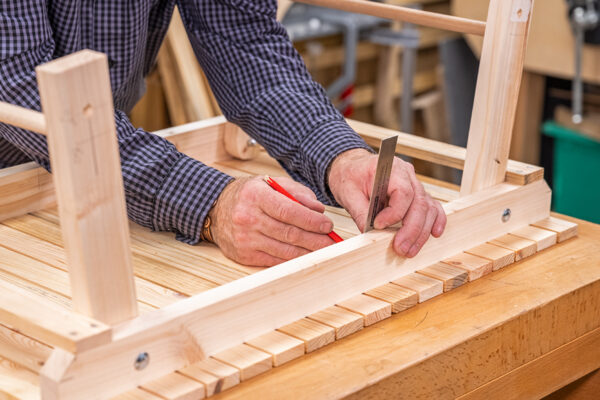
Measure the width of the leg where this joins the table. Use a clamp to make this the same at the bottom of the leg. Using two lengths of dowel as a measuring stick, measure the distance between the drilled holes that the dowel will be located into. Cut the dowel rail to this length and insert into position within the legs. These can be glued in place later.
Mark the position of the magnet holes that are drilled into the base of the legs onto the main table frame. Mark the central distance of this rail and carefully drill the holes to accept the magnets in the main table frame.
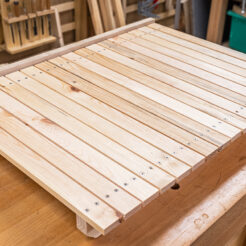
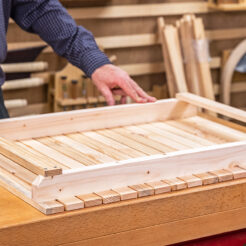
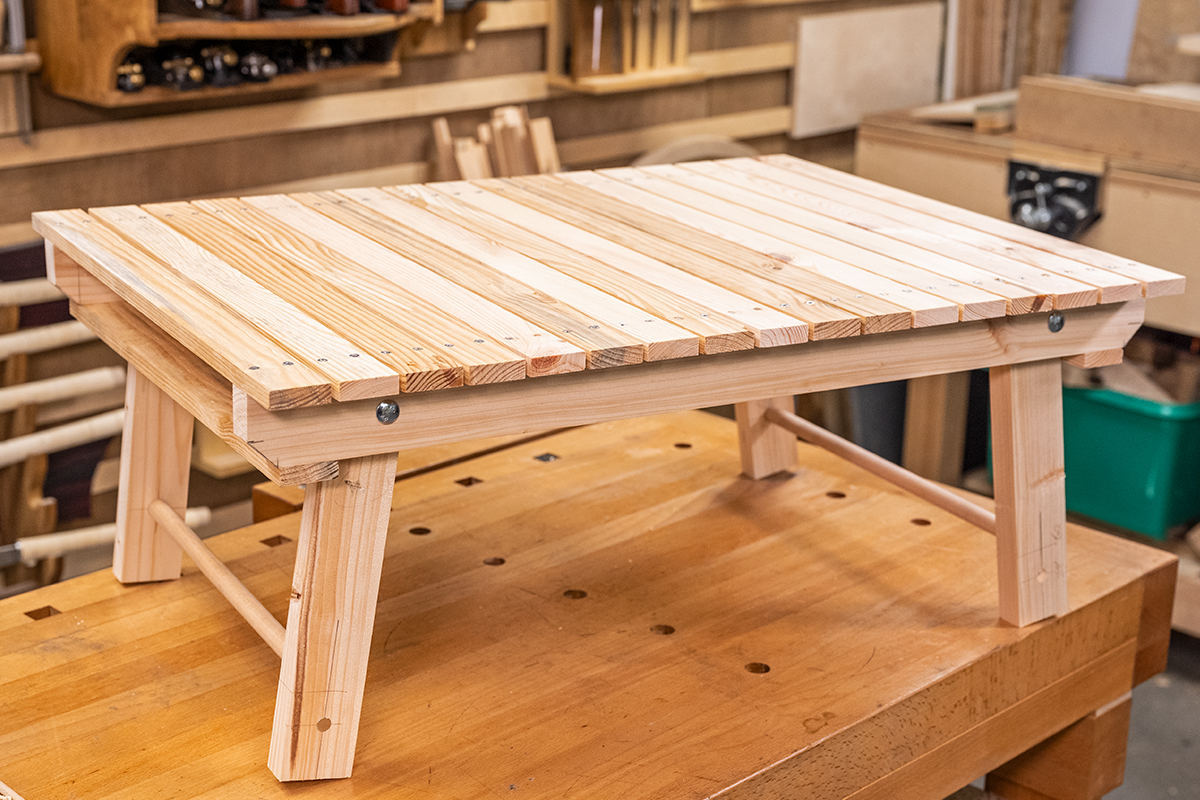
You now have your completed table. From this dry fit, you can take it apart and sand it before reassembling and gluing the dowels in place. You can change the nuts for locking nuts, and add your chosen finish. The bottom of the feet can be cut so that this sits level on the legs.
Like this? Then try this!
If you enjoyed this folding table project and want to try something more challenging, then why not try this Adirondack chair project. If you have made this project then we would love to see it. Share your pictures with us on social media. Search and tag @axminstertools on Facebook and Instagram. Or upload your pictures on to our online gallery.