How To Turn A Porringer Or Winged Bowl

What you'll need
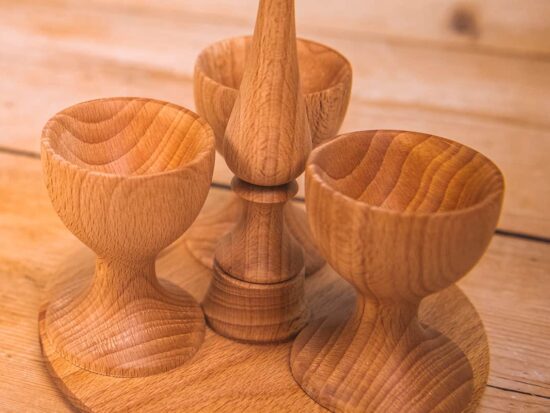
Here's a bowl project with a difference. In this Woodworking Wisdom article, Colwin demonstrates how to turn a porringer, a traditional two handled bowl. Also known as a winged bowl.
A porringer bowl, while traditionally made from porcelain, silver or pewter, features handles on either side of the bowl and could be found in kitchens throughout Europe in the 1700 and 1800s used for broths, soups and of course porridge.
While you might not find a porringer in a modern day kitchen, this wooden version does look great as an alternative fruit bowl, and makes an interesting project for the bowl turner looking for a new challenge.
Watch Colwin in our Woodworking Wisdom demo, or follow our step by step guide below.
Turn the outside
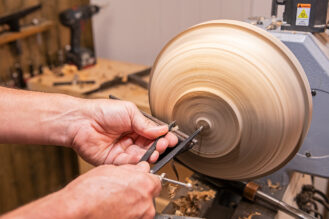
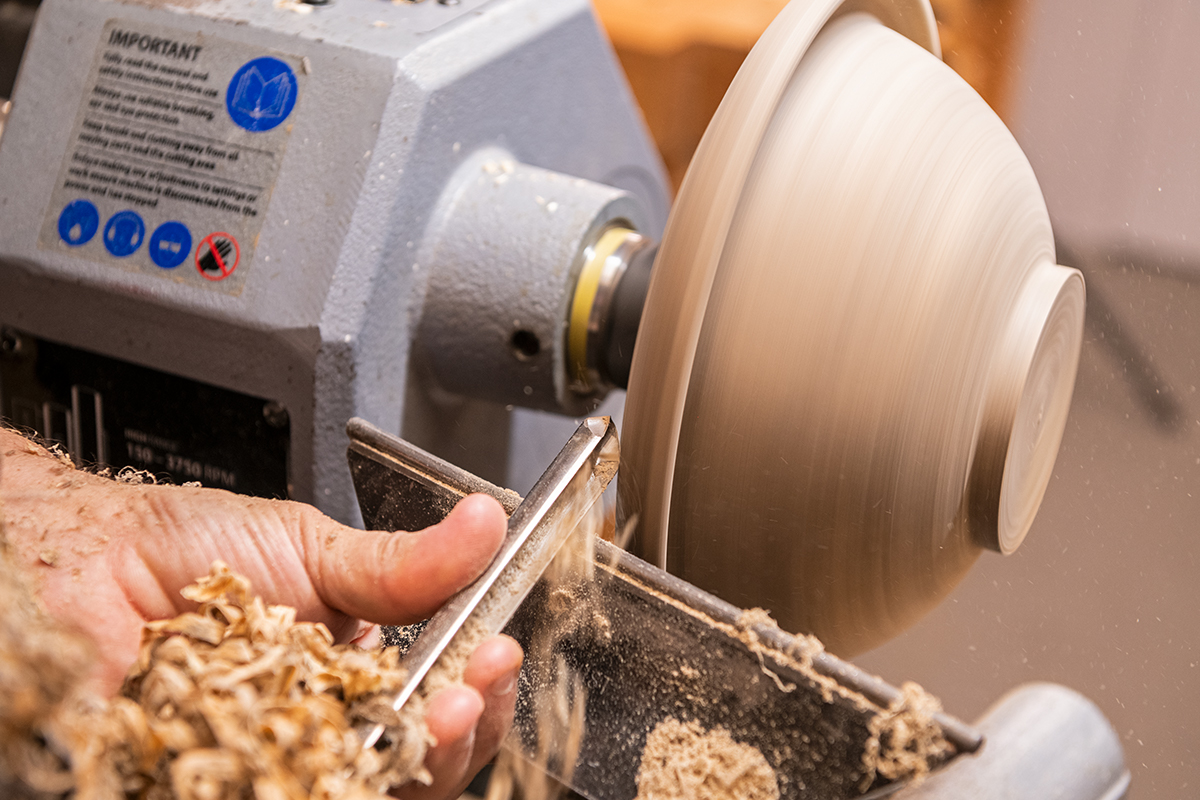
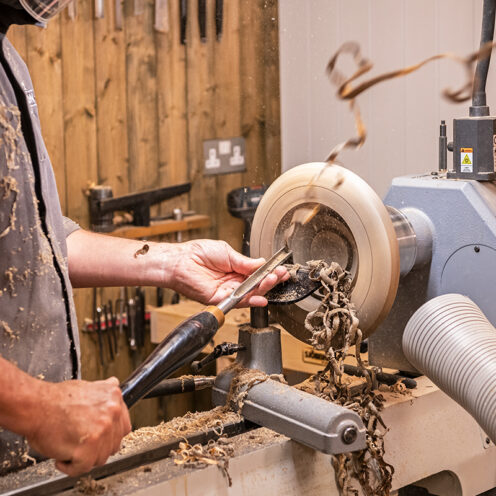
Start by mounting your blank to a faceplate attaching to the lathe and truing the front face. Remove the waste and start to bring the convex curve of the outer surface around to meet the top edge.
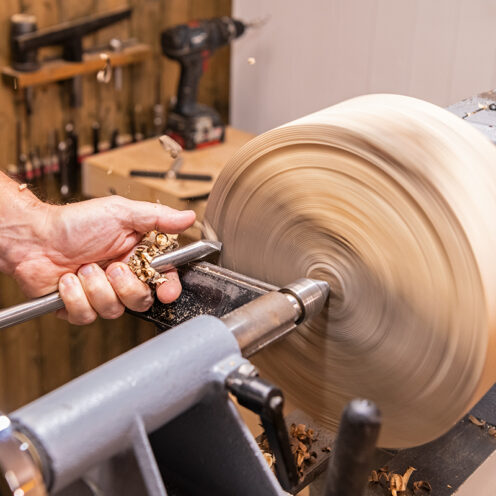
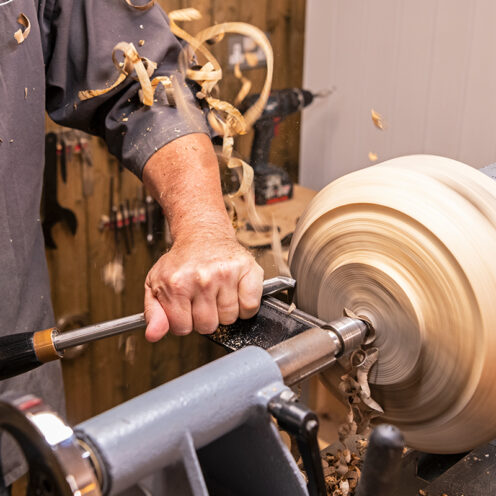
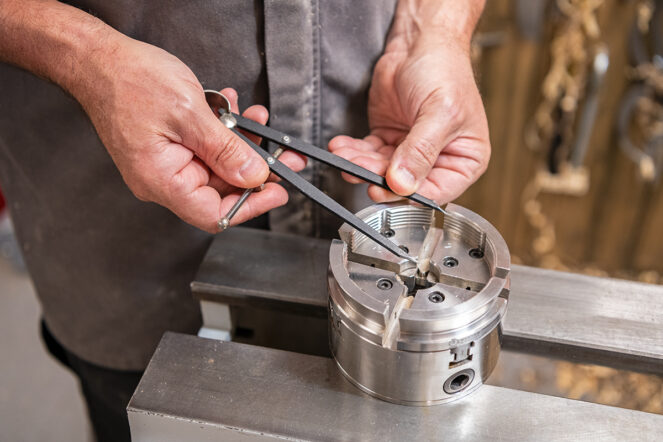
Measure your chuck and chosen jaws for this project and scribe the diameter of the chuck jaw onto the bowl. Then, turn to the scribed diameter leaving a crisp tenon.
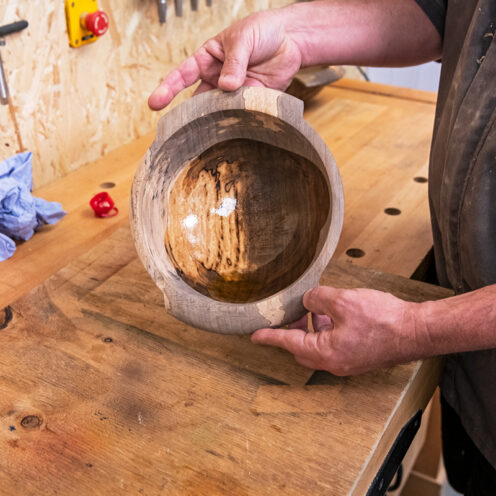
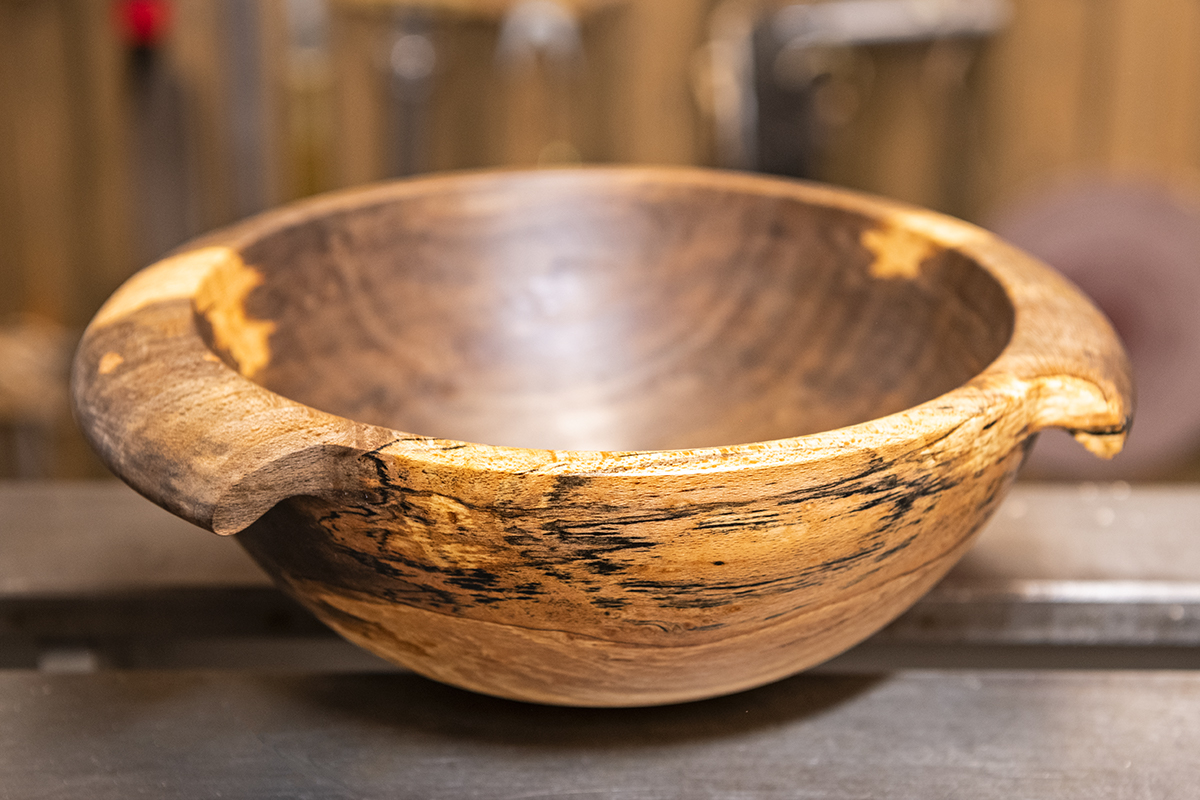
Create the handle lip
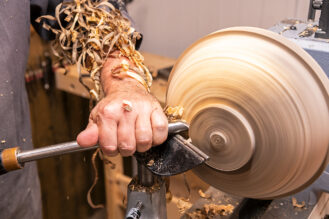
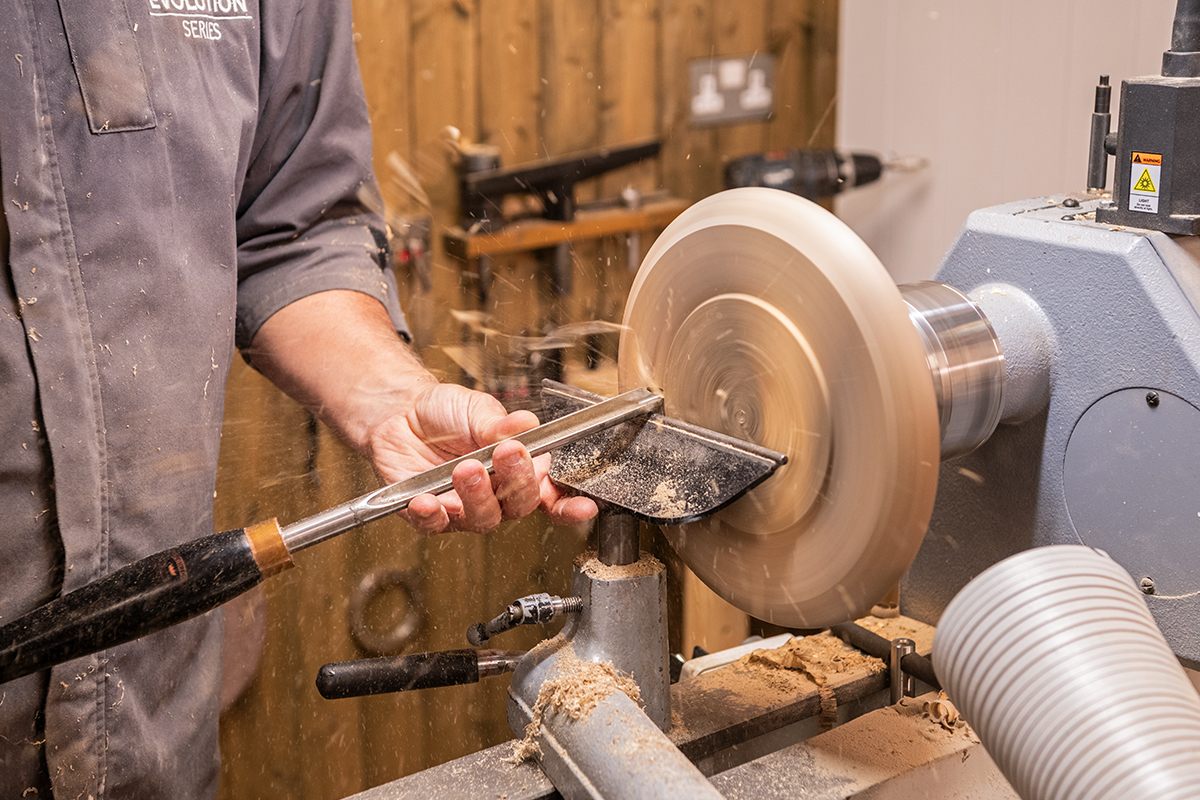
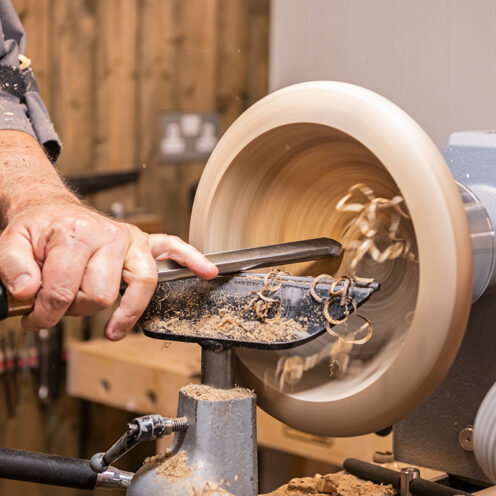
Using a bowl gouge, push the form around to firstly remove enough waste to leave a lip on the top edge to form the handles or wings, but also leaving a good clean finish. Then, form the profile of handle to the shape you want.
Tidy up any areas with the skew or bowl gouge in preparation for sanding.
Clean off the back of the bowl taking off any uneven timber and leaving the profile you want to match the form of the handle.
You can now sand the bowl to a good finish.
Turn the inside of the porringer
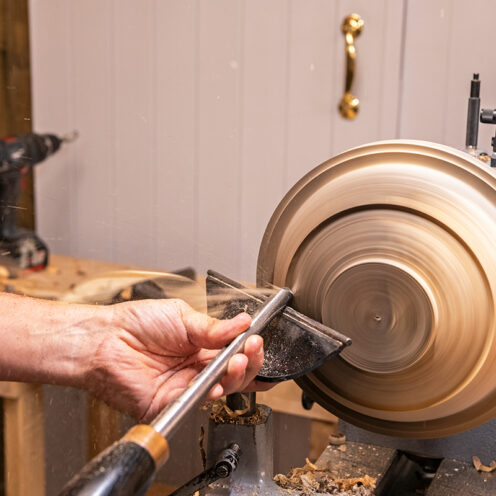
Start by cleaning off the front face in preparation to start hollowing.
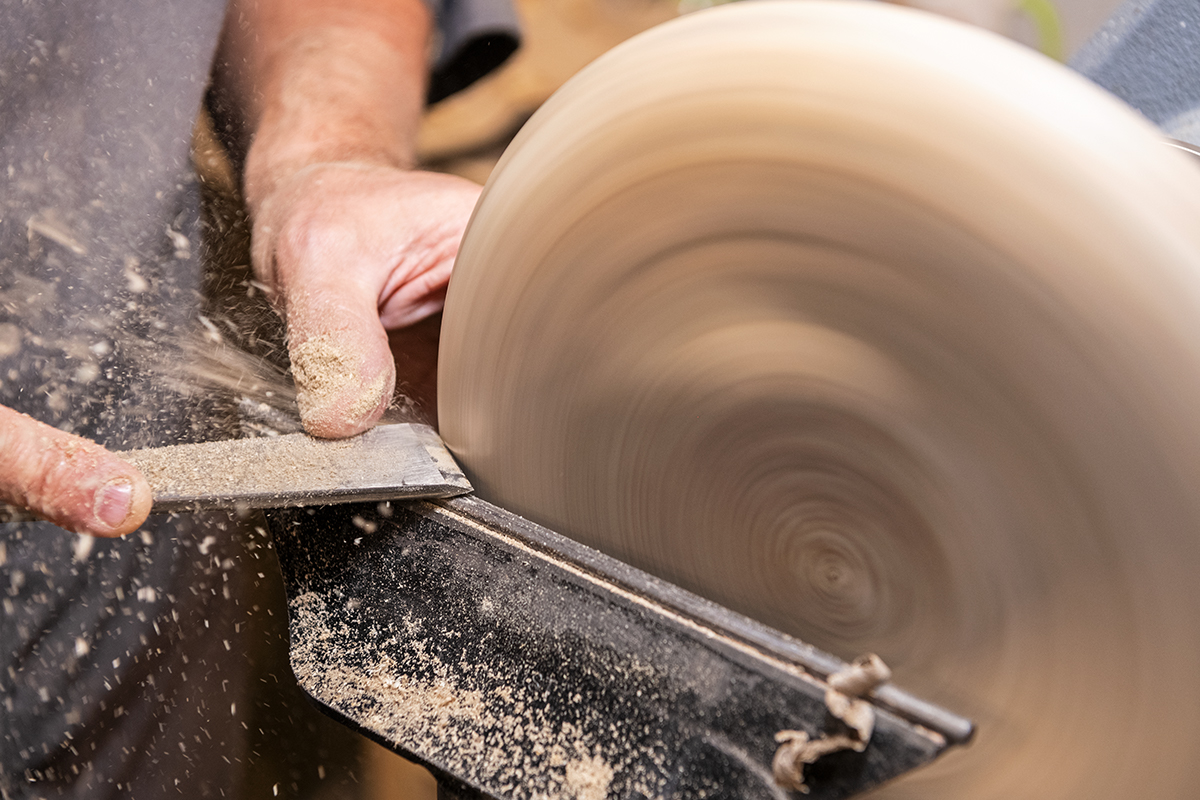
Using a skew chisel to scrape, profile the edge to match the underside of the handle.
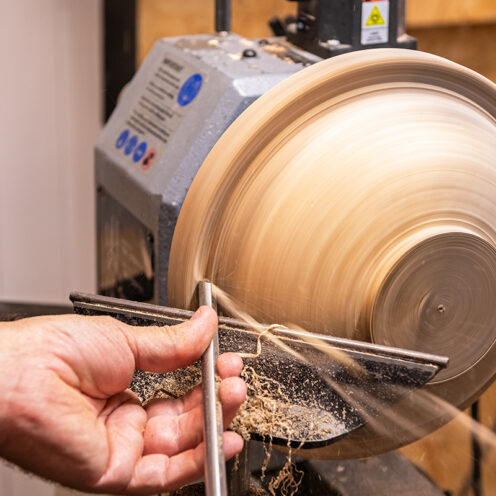
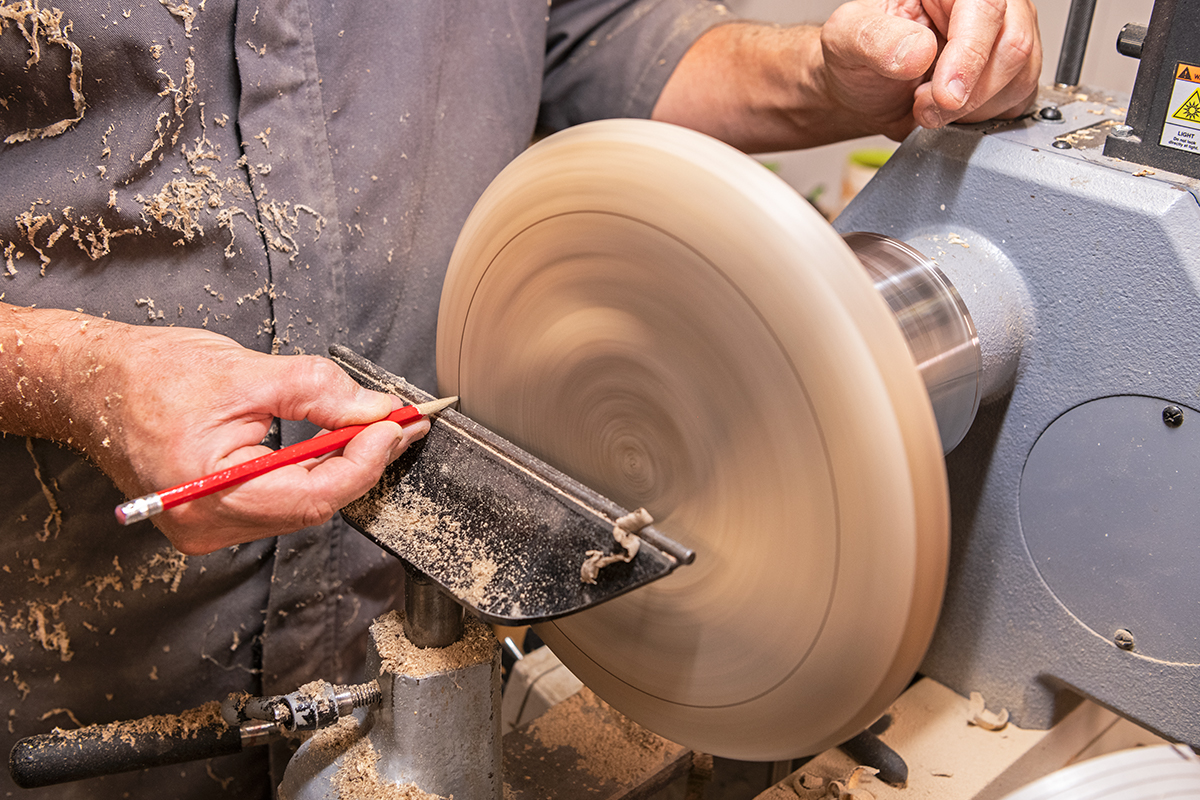
Stand above the bowl and look from above to view the outside of the chuck jaws and draw a line where you want the internal surface of the bowl to end.
Start hollowing, remembering to stop at your drawn line.
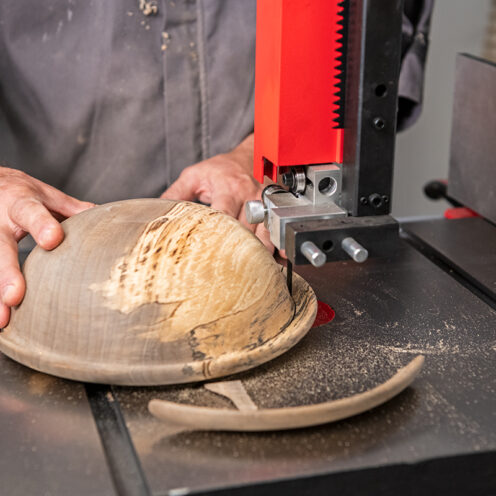
Reverse the bowl around using a push plate held in the chuck and the tailstock supporting the bowl. Clean away the hold point and finish shaping the bowl .


Sand the base to a good finish then take the bowl off the lathe and sand the nib left by the tailstock away with a small sanding pad held in your chuck.
Form the wings or handles
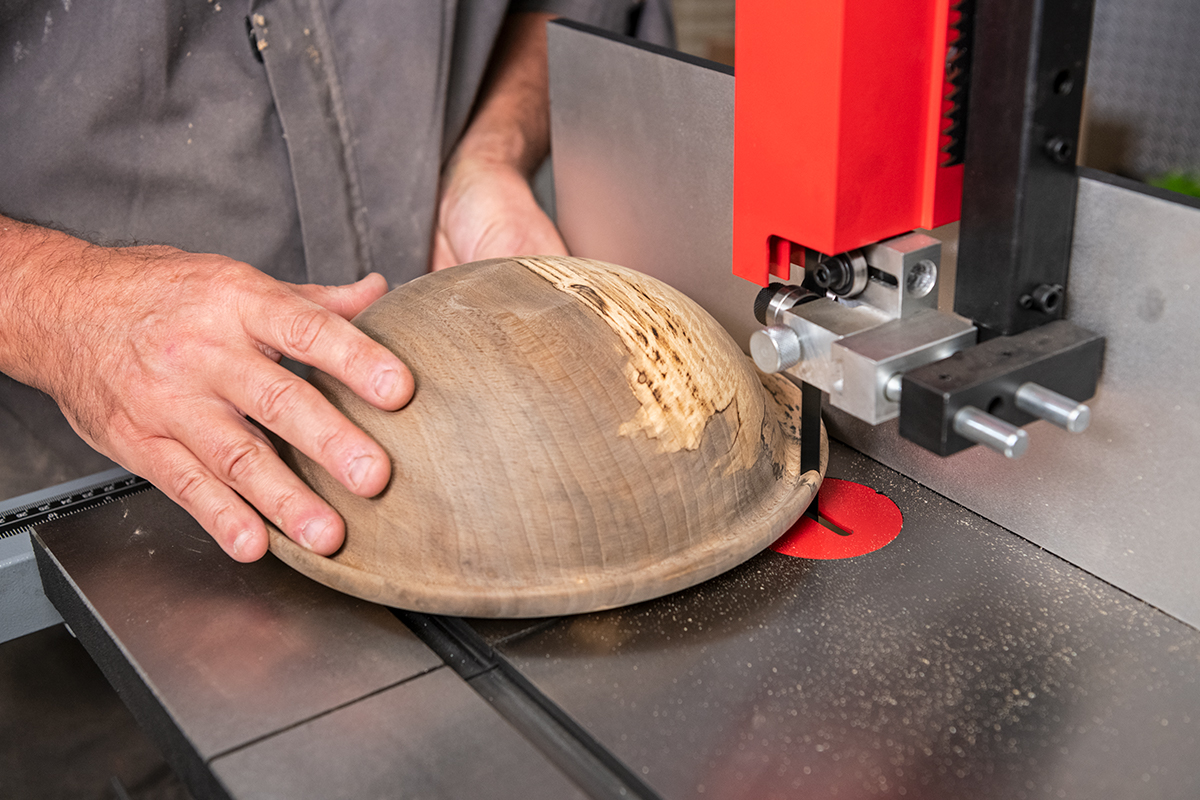
To form the wings of your porringer bowl use the rip fence of your bandsaw to cut two cuts on opposite sides of the bowl.
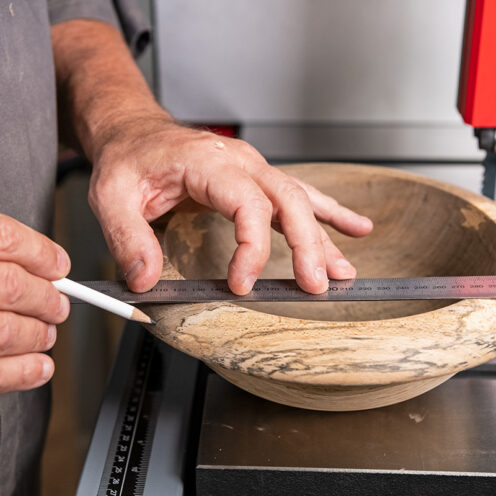
Using a rule mark the cut line to see it through to the opposing side, draw the line onto the underside of the rim. Adjust the tool rest to match the drawn line and once again cut the two opposing sides.
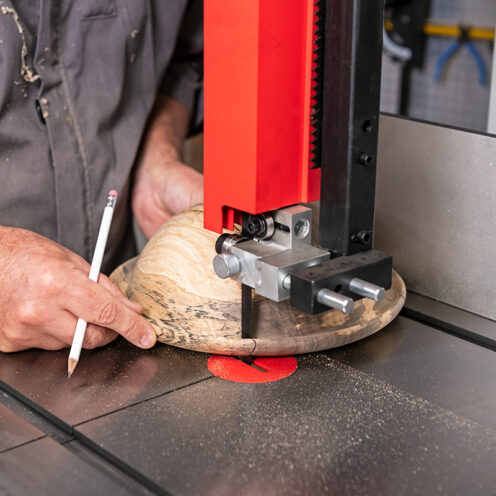
Cut around the bowl removing the waste and join up with your previous cut lines.
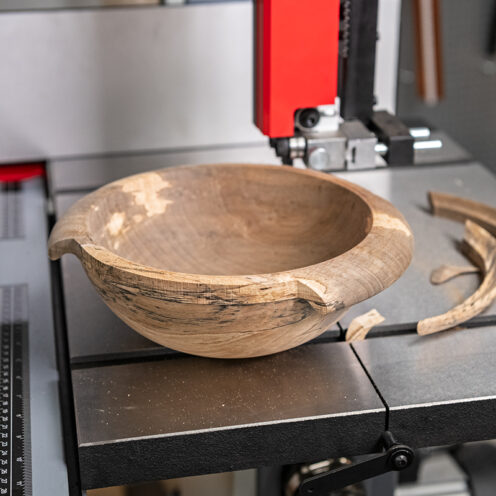
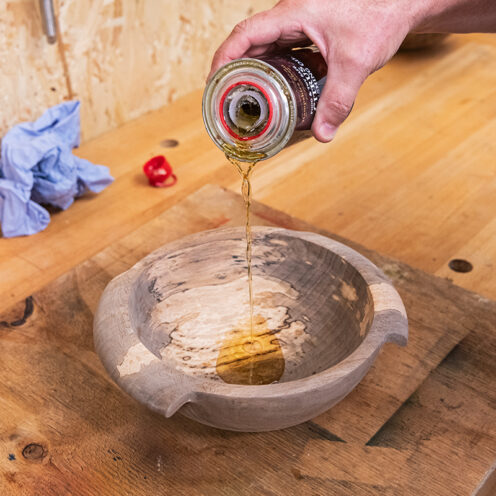
Finish your porringer bowl
Using the same bowl sander as before go through the grades to tidy up the cut edge of the bowl and add some oil and work it into the bowl.
Made it? Share it!
If you have made our porringer bowl project then why not share it with us? Search and tag @axminstertools on Facebook or Instagram. Or upload to our online gallery.