
How to Make an Egg Cup and Holder
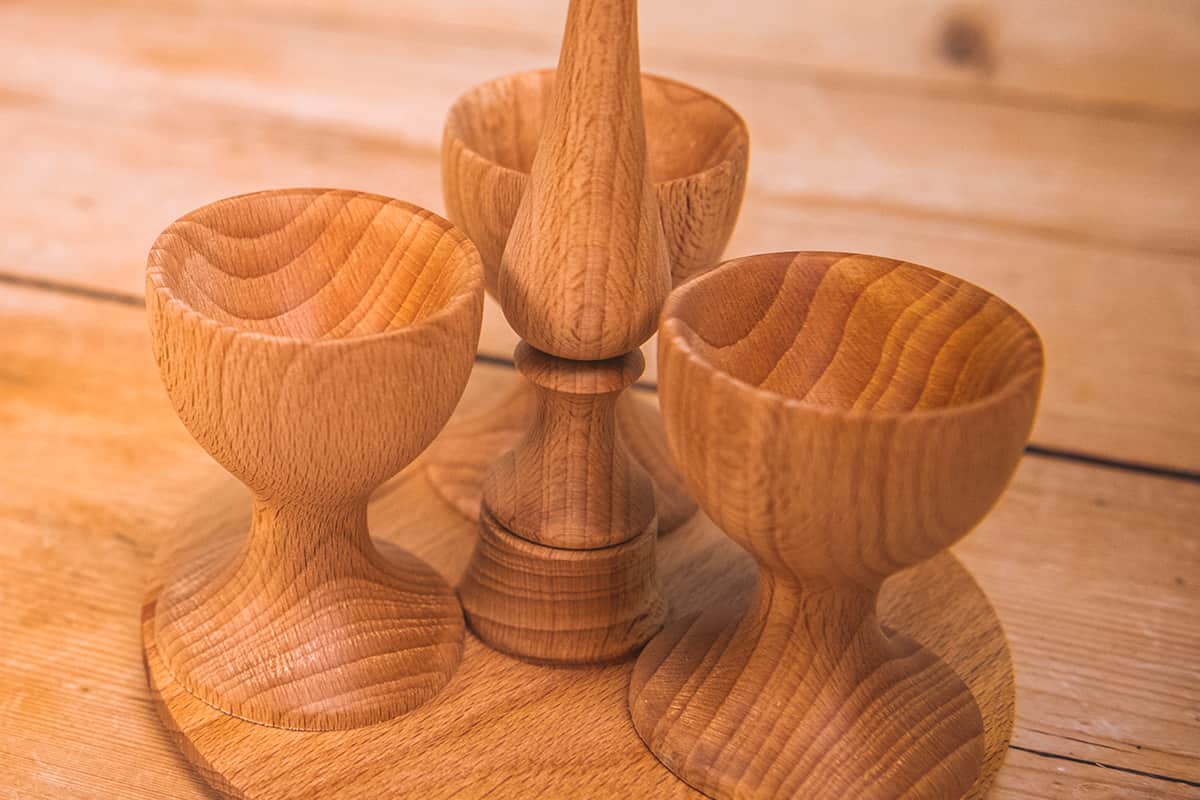
A cracking project, this turned egg cup and holder is sure to eggcite any woodturner! This small project is great for using offcuts and for practising simple turning skills.
Watch Colwin in our Woodworking Wisdom demo, or follow our step by step guides below.
Egg cup
Prepare your blank
Mount your blank between centres and rough down to a cylinder before sizing the tenon to fit your chuck. Then, hold in the chuck and rough down to size.


Hollow the egg cup
Start hollowing out the inside of the cup. Finish the hollowing out, checking the size as you go with an actual egg.


Use a depth gauge to check the depth and to mark. Then make a cut with a parting tool to the stem side of your egg cup.
Take the top of the egg cup down to size giving you a 4-5mm wall thickness.


Shape the stem
Remove waste timber from the stem the turn and refine the shape of the cup.


Shape and blend in the base and make a cut with a parting tool to define the length.


Finish
Sand to a good finish and add an oil. Once sanded you can part off from the waste wood.


Egg cup holder
To compliment your egg cup project why not make an additional egg cup holder. This attractive stand was a popular feature of traditional Victorian kitchens and keeps your egg cups in one handy place.
Cut the recess
Using a screw chuck, screw the blank onto the chuck and face it off then mark the diameter of the recess ready for cutting.


Cut the recess in with a parting tool and remove the waste with a bowl gouge.


Decorate and shape
Decorate the recess then gently scrape the base with a skew to flatten it.


Once again using a bowl gouge, gently shape the outer edge of the base to give it some lift then tidy the outer edge with a bowl gouge.


Sand to a good finish then apply a food safe oil to finish the base.


Turn the base
Unscrew from the screw chuck and reverse onto the C Jaws. Using a drill chuck in the tailstock, drill a mortice ready for the handle.


Remove the waste material with a bowl gouge. Once most waste has been removed, form the neck around the mortice.


Flatten the top surface for the egg cups to sit on then flatten with a skew on its side as a scraper.


Sand and oil before beginning the handle.


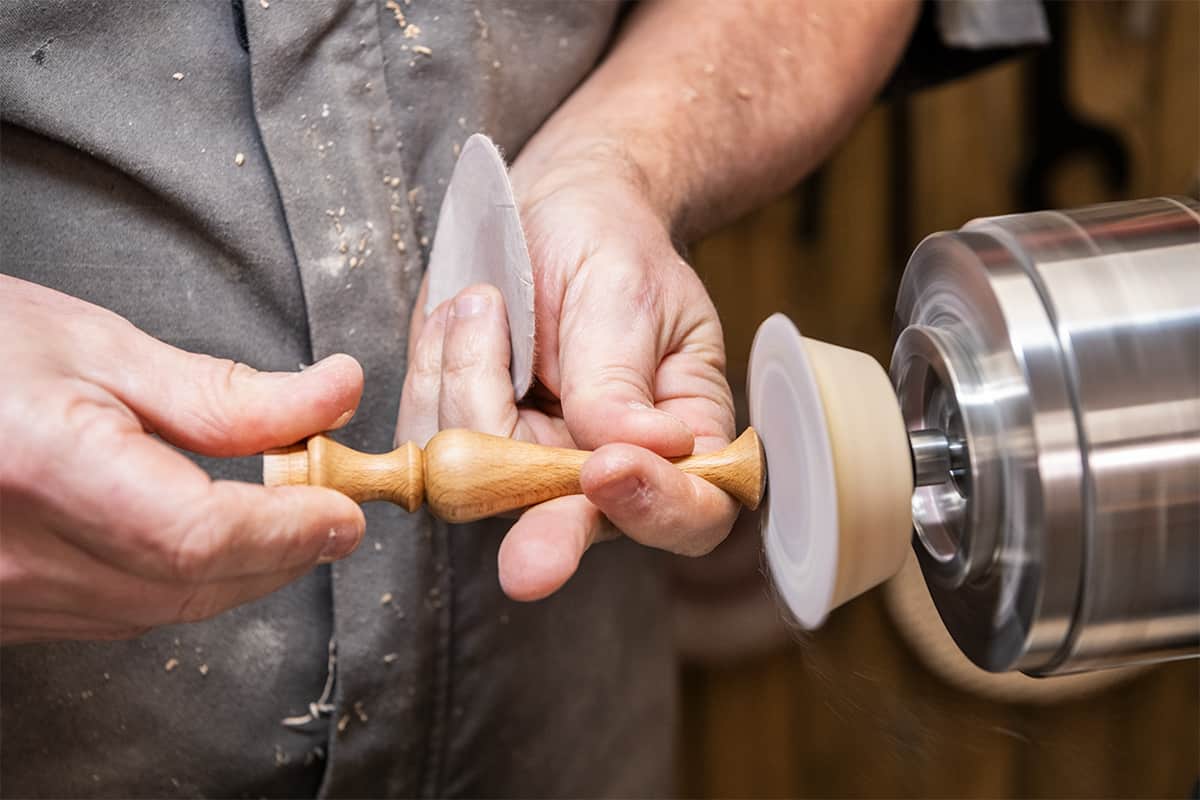
Turn handle
To make the handle, hold your blank between centres and rough down then clean to a good finish with a skew.


Use a set of callipers to size the tenon to suit your base mortice. Next, start shaping the handle with your chosen design then sand and oil.


Tidy up any areas that may still have hold points in from the centres.
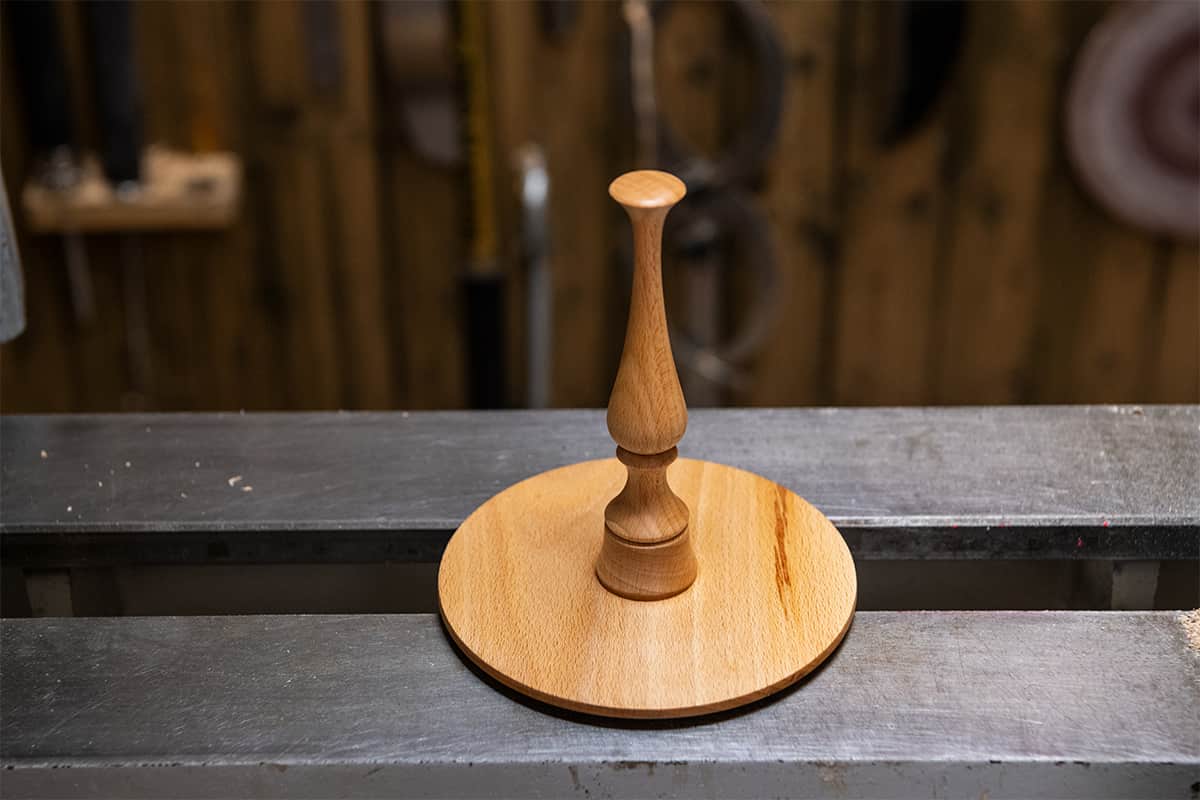
Here's your finished egg cup holder.
Made it? Share it!
Have you made our egg cup and egg cup holder projects? If so, we want to see them. Share you project pictures with us on social media. Search and tag @axminstertools on Facebook and Instagram. Or upload to our online gallery.


