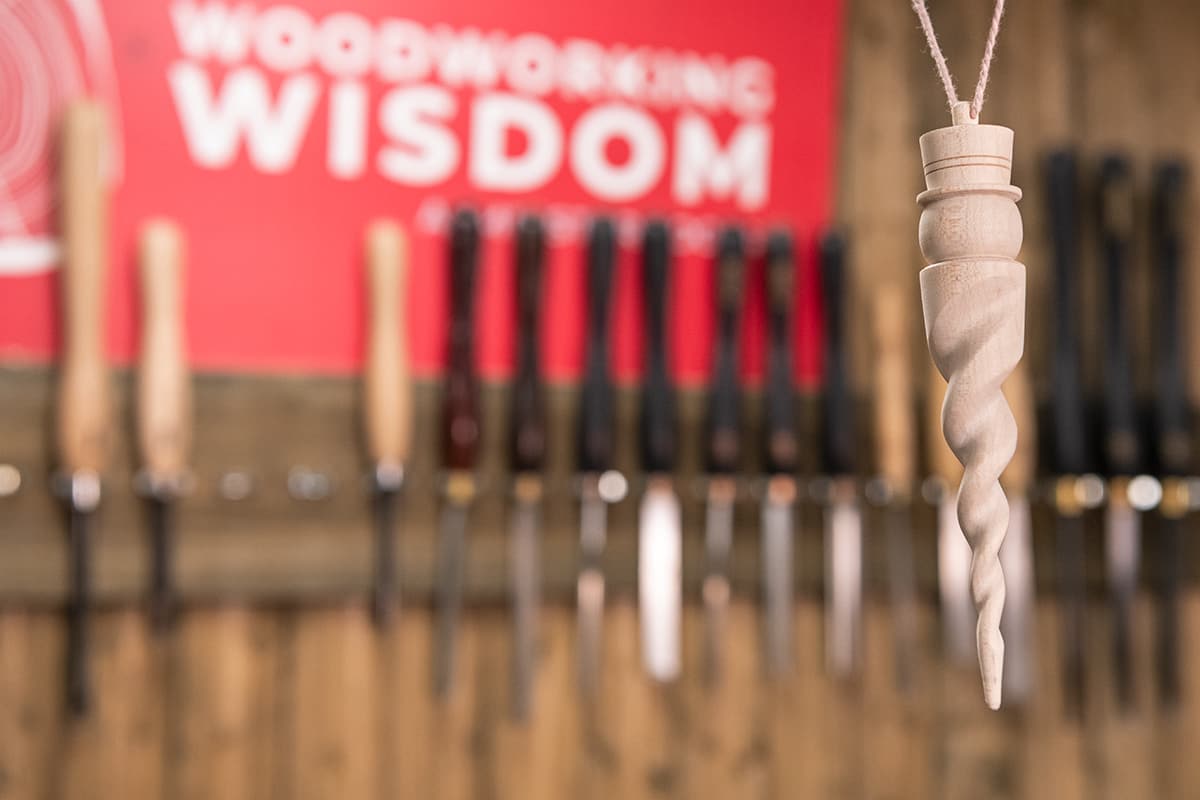
Wooden Snowman Icicle Christmas Ornament | How To
What you'll need
A unique take on the Christmas hanging ornament, this fun wooden snowman icicle is simple to make on a woodturning lathe and with a few simple tools.
This small and simple Christmas decoration is great for using up offcuts from pretty much any material. Choose a pale timber for a snowman effect. A 30mm square spindle blank 150mm long is ideal.
Watch Jason in our Woodworking Wisdom demo or follow our step-by-step guide below.
Turn the hat and head
Find the centre of the spindle blank and then mount this onto the lathe. Ring centres are the ideal choice as they won’t create too much pressure causing the timber to split. Turn this down to a straight cylinder
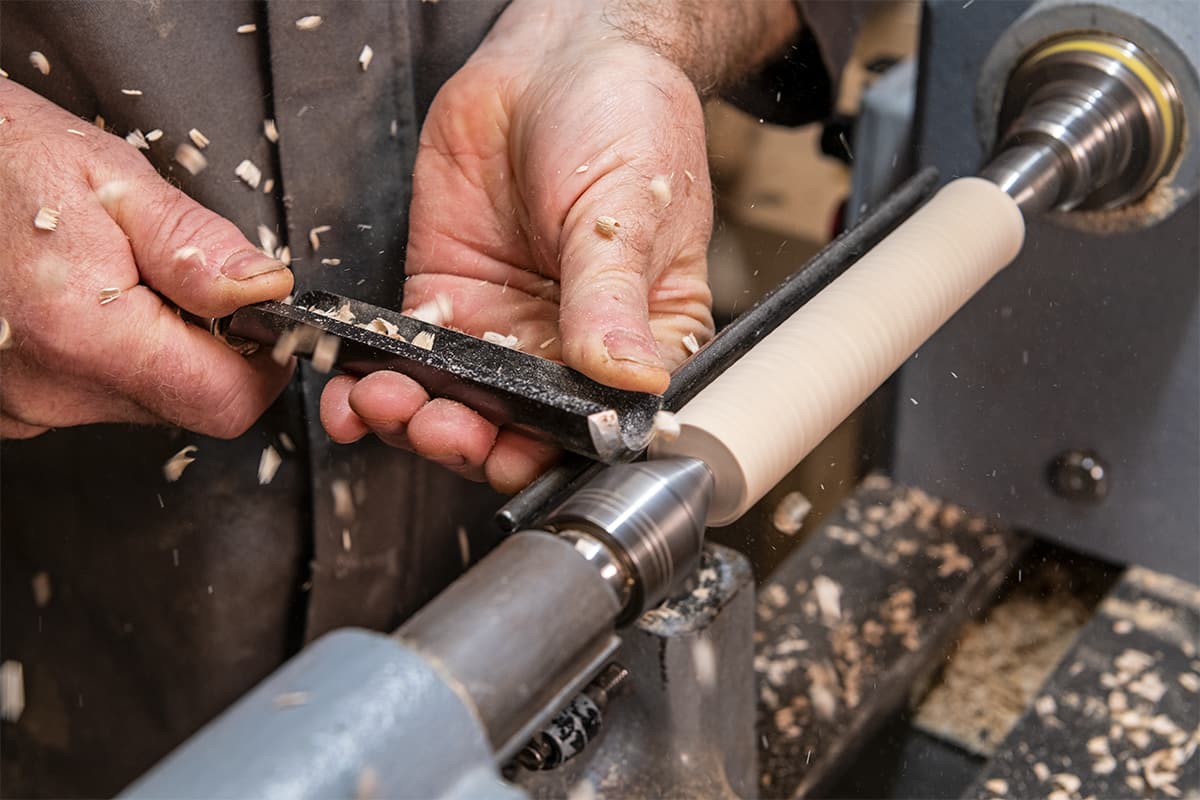
On the tailstock end, using a beading tool, turn a section 7mm long down to the diameter of the ring centre. Then, using a skew chisel, create the hat and head.


Mark the icicle spiral
With the hat and head created, remove from the centres and turn around so that the hat and head are mounted on the headstock drive. Using a beading tool, cut a 6mm long section down to the diameter of the tailstock centre. Then using a skew chisel, create the long-tapered section.


Next, set the tool rest up to centre height and use a pencil to draw a line from the headstock end to the tailstock down the taper. Rotate the work 180 degrees and repeat this.
Starting at the headstock end of the taper, rotate the work by hand to draw lines around the work about 20mm apart. This creates a grid chart. Draw corner to corner across the boxes working around the taper to mark out a guide for the spirals.


Sand the icicle shape
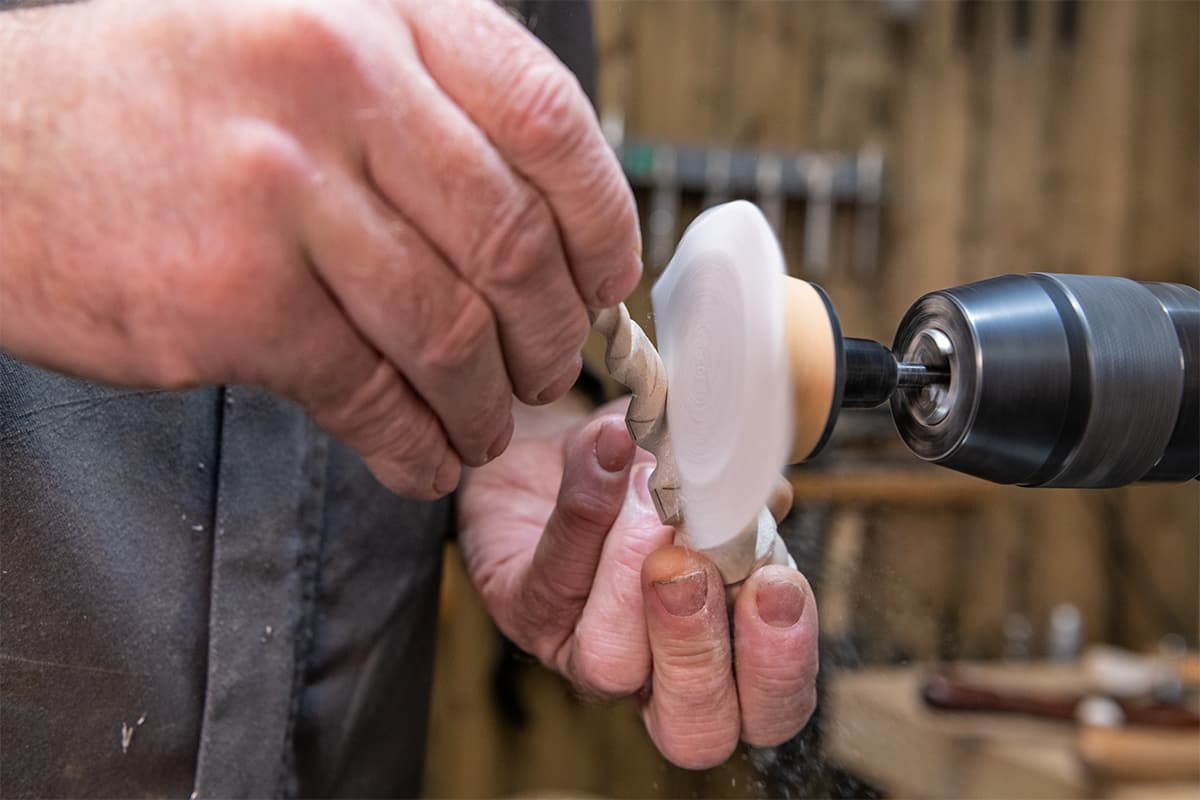
Set up a sanding disc onto the lathe. It is important that the abrasive disc is level with the outer edge of the backing disc. Top tip: Using a lathe-mounted disc sander is safer to use as the speed can be lowered. This needs to run at no more than 300 RPM.
Using the edge of the disc, line up with the spiral pencil mark. Work from larger to smaller gently increasing the depth. To view this when cutting, look down from above. This removes the bulk of the material.


Next, change the sanding disc to a 50mm pad sander and use a 75mm 180 grit disc to continue to sand the spirals. This will soften the edges and clean up the shape. You can use a faster speed with this.
With the first grade done, change the grades of sanding disc to finish on a 400 grit.
Finish your wooden snowman
Remount the icicle back between the ring centres and refine the taper. Then, on the head end, reduce the diameter of the section above the hat down to about 6mm in diameter.


Clean up the end using the disc sander, and hand sand as required. Finish by drilling a 2.5mm hole across the stub above the hat to thread the hanging cord through.
You can finish your wooden snowman by adding colours or using a finishing oil for extra shine.


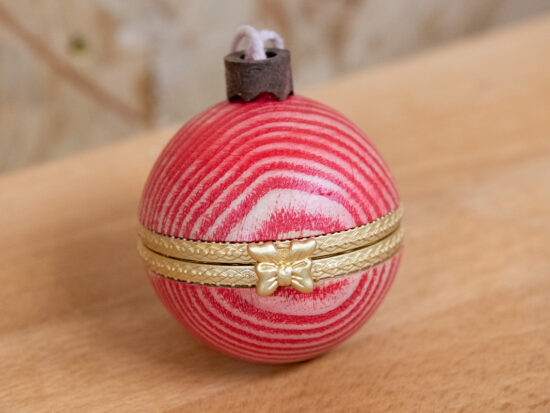
Other wooden Christmas decoration projects
If you have enjoyed this hanging wooden snowman project, then why not try one of these other Christmas decorations next.
Share your pics
If you have made any of our Christmas decoration projects, we would love to see them. Share your pictures with us on social media. Search and tag @axminstertools on Facebook or Instagram.