How to Make a Folding Christmas Bauble
What you'll need
Make the holidays special with this unique folding Christmas bauble.
This traditional hanging tree decoration with a difference is perfect for hiding small treats and gifts on the Christmas tree for loved ones to discover, adding to the magic of Christmas.
This simple, hollow, wooden bauble features a clever folding hinge perfect to place small gifts inside to hang on the tree.
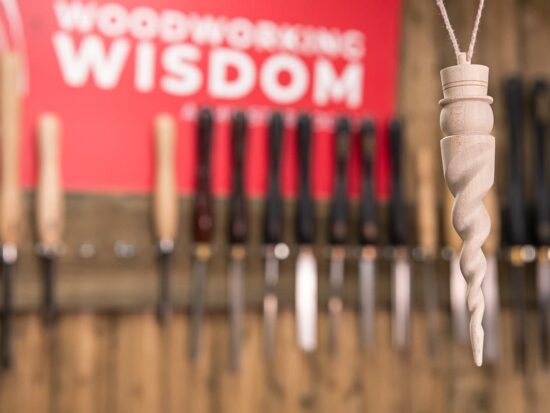
Join Jason as he shows you how to turn this Christmas bauble on our Woodworking Wisdom demo, or follow our step by step guide below.
Make the internal template
Mount a scrap block into the chuck and use the tip of a skew chisel to cut a small V to mark the centre and drill a 2mm diameter pilot hole. Drill a hole in the centre of the 47mm square of 3mm plywood and using a washer head type screw, fix this onto the scarp block and turn this down to a round disc of 45mm.


Mount the blank
Mount the section of timber between the ring centres and turn this down to a clean cylinder aiming for about 60mm diameter.
On either end, cut a tenon to fit into the chosen chuck jaws and load the chuck onto the lathe. Mount the timber into the chuck. From the chuck jaws, towards the tailstock, measure and mark with a pencil 30mm. Using a thin section parting tool on the waste side of the line, part this into the two sections.


Using the template, set up the dividers to half the size of the template. Create a small V in the centre of the blank, and mark out a scribe line to act as a guide for the internal hollow. Use a quarter inch spindle gouge to drill a depth hole approximately 20mm deep. Then use a quarter inch bowl gouge to back cut the material to remove the bulk.


Create the internal shape
Define the internal shape using the bowl gouge. Clean up the shape with a round nose refinement tool. The aim is to match the shape of the plywood template. Regular checks are important. Aim to finish level with the edge of the drilled central hole, just under halfway. Sand this to a finish, seal and wax.


Prepare for the hinge insert
Using the parting tool, cut the lip to fit the hinge using a set of ring callipers as a guide. The hinge needs to fit firm and the lip is only 3mm long. The excess diameter of the main body can also be reduced at this stage to the diameter of the hinge body (58mm). Use the template to check the length as the central cover plate of the hinge is just over 3mm thick. Use the drilled hole in the template as a guide for this off set.
Trim the front of the lip as required to get the edge of the drilled hole level with the lip. This is important to make the bauble ball shape and not too long. Repeat this process to make the other half.


Mark out the overall length of the bauble. Position the hinge and measure 28mm from the central point of the hinge and mark out the position with a pencil. The base of the bauble can be parted on this line the top needs to have 10mm added to the length to allow for the top hanging/cord point.


Turn the outer half
To turn the outer half ball shape, mount a scrap block into the chuck, level the face, mark out a guideline and cut a recess to match the diameter of the lip cut to fit the hinge.
Cut a recess so that the exterior of the hinge lip tenon fits firmly into and holds securely. Do the base of the bauble first, and using the 6mm quarter inch bowl gouge, shape the exterior to half a sphere shape. Measure the thickness with your fingertips, aim to have a constant wall thickness. Repeat for the other half, but leaving a 6mm diameter stub 8mm long, this is for the thread to go through. Sand these to 240 grit


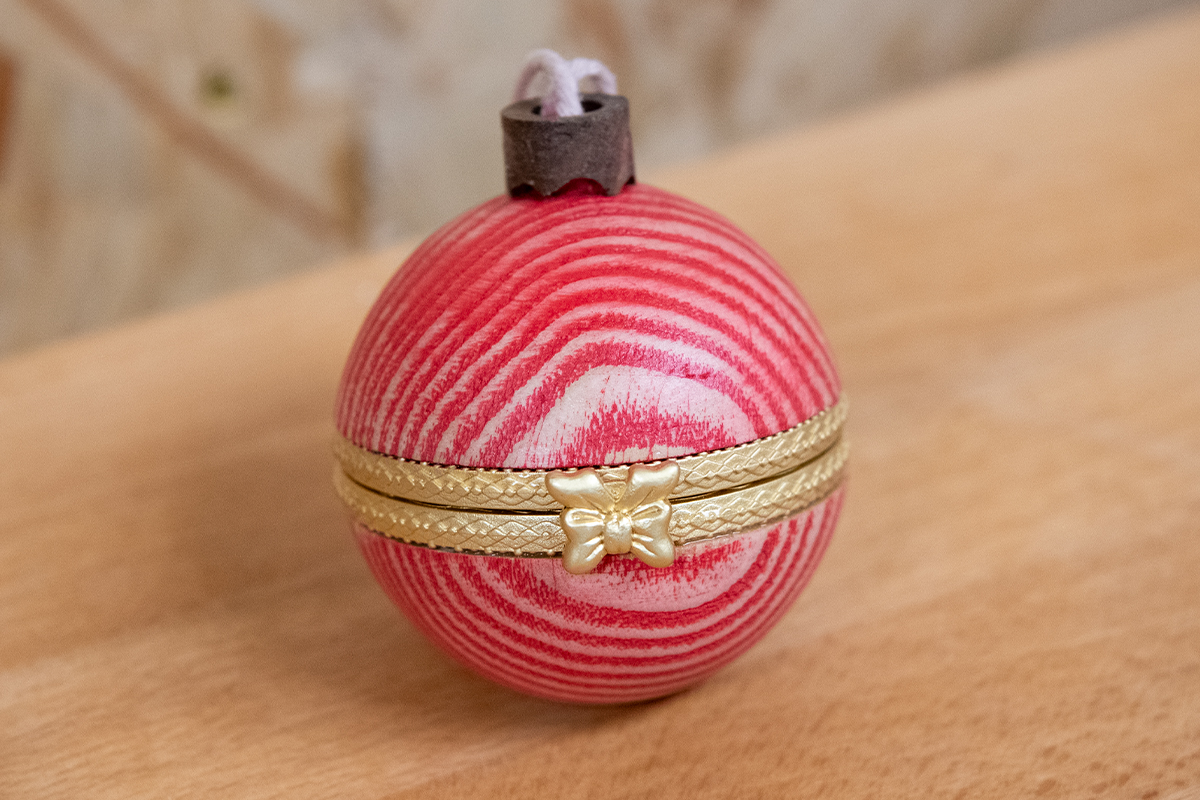
Colour your Christmas bauble
You can decorate your Christmas bauble by adding whichever colour you like. Use a brass bristled brush working across the grain to remove the softer spring growth, then paint with some thinned household paint. Wipe off the excess and leave to dry, then sand off the surface with 400 grit to leave the coloured grain.


Make the decorative cap
To make the decorative top cap, mount a 12mm length of contrasting timber into the chuck and turn this down to a cylinder and dress the end to ensure it is level. V mark the centre with the long tip of a skew, then set up a drill chuck and drill a 6mm hole 10-15mm deep.


Using a round file (5mm-6mm diameter) carefully create the four half round hollows on the end. Reduce the diameter and sand the outer, then measure the length of the stem on the top part of the bauble. Transfer this length to the cover cap, and using a parting tool, carefully part off.


Remount the top of the bauble back onto the lathe, and using a 2mm drill bit, carefully drill a hole across the 6mm stem. Then, use a hand file to create two small flats in line with the hole. This creates clearance for the hanging cord and stops the decorative cap from splitting. Check the cord and cap fit, then remove ready to polish.


Final finish
To add a final polish, spray the two halves with an acrylic lacquer. This will protect the surface. Let this dry and then use an epoxy to glue the two turned parts onto the hinge. Finish by threading the hanging cord and secure with the decorative cap.


Made it? Share it!
If you have made our folding Christmas bauble project, we would love to see it. Share your pictures with us on social media. Search and tag @axminstertools on Facebook or Instagram. Or upload to our online gallery.