Squaring Timber by Hand | Timber Preparation
While squaring timber by hand can be a lengthy process, it is a task which can be satisfying to complete and provide a woodworker with a sense of accomplishment when making any object by hand.
What is squaring timber?
Squaring timber is the process of ensuring your piece of timber is flat and the edges are at a right angle, and creates an even thickness board ready for use.
The first and most important thing to do after selecting your timber for your woodworking project, is to ensure the wood is square and flat before it can be cut to size.
Having square timber is vital for ensuring your work pieces join together accurately and ensuring success in your woodworking project.
It is important to take your time at the timber preparation stage as it will pay dividends later when it comes to assembly.
Cutting list
When selecting your timber you will have considered grain direction, knots, flaws and other anomalies which may affect the way in which your project comes together. After selecting your timber you will need to prepare it to the size required from your cutting list.
The cutting list will feature the dimensions of every component you're going to need to make the project including the length, width and thickness. You will then rough cut the boards to size with a saw before preparing and squaring your timber.
Prepare timber for your project
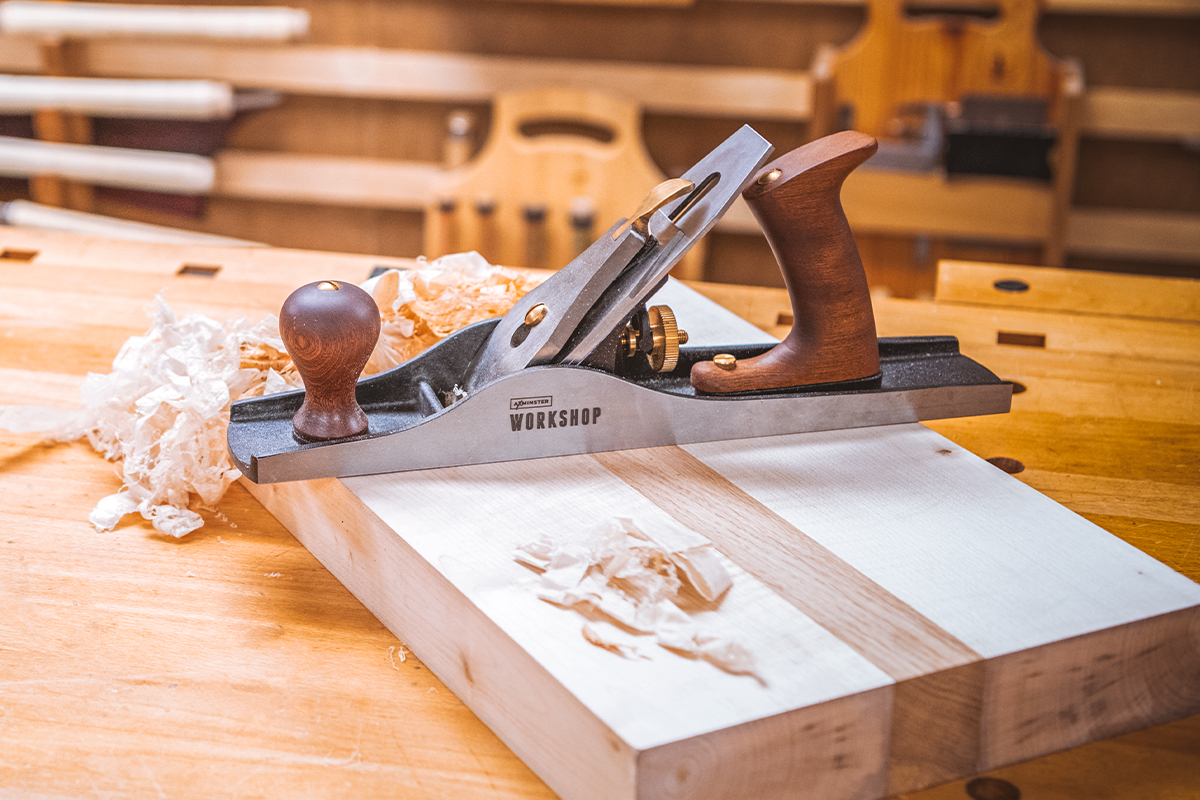
There are two ways you can prepare your timber, either by hand using a hand plane, or by using machinery. In this article we explore squaring timber by hand using a hand plane.
Watch our helpful video guide, where our woodworking expert Jason Breach shares with you tips, and shows you techniques for squaring timber by hand without machinery. Or read our tips below.
Before you begin, ensure the blade of the plane is sharp, and if planing wider boards, the blade has a little bit of a camber edge. Looking at and understanding grain direction will also help you to cut the material easier and cleaner.
Chose a face side and face edge
The first thing to do is to look at your timber and decide which will be your face side and face edge - these are the sides of your timber that will be visible. Flaws and blemishes may affect which sides you chose to be your face edge and face side.
Once planed square and flat, these will become the reference points for thicknessing and cutting the rest of your timber to size.


Planing your timber
Once your timber is chosen, and your face edge and face side have been considered, you will need to plane it. The planing process is where you clean up and flatten the surface of your timber.
Mark up your face edge and face side and clamp your board face side up in a vice to hold it in place. Your aim here is to tidy up the face to remove the saw marks, running the plane across the surface ensuring your blade is sharp. Working at 45degree angles across the grain, remove the high spots, then as the surface comes flatter, start to work parallel with the grain.
Pass the plane over the surface for several passes. If the board is uneven you will need to check for twists in the board. You can do this using winding sticks – checking at several places along your board and using a straight edge to check for bumps.


Keep passing the plane along the surface to remove any high spots, until the surface is flat. Keep checking using a square. Top tip: Hold the board up to the light - if you can't see any light pass between the square and board, then your surface is flat. But remember the check at several points along the board. Once happy that this is straightened down the length, and flattened across the width, this can be marked up as the face side.

Prepare the face edge
Once you are happy the surface is even, turn your attention to the face edge and tidy up the surface using the same process.
Using your marked face side as a reference point, ensure your face side is a right angles to your face edge using a square. Don't forget to check as you go, looking for high spots. This can be marked up as the face edge with an arrow that points towards the face side.
Next use a marking gauge to set the width of your piece. Run your gauge along the face edge, scoring the face side and underside of the board. If you need to, you can use a saw to remove any large amounts of waste. Next plane to level the surface with the scribe lines on either side acting as a reference point to work down to.
Check regularly using a square. As you get down to the line, a small splinter edge will appear, this is the guide of where to stop. Regular checks are important.

Thickness your board
Next we need to thickness the board.
Using the marking gauge set to your desired measurement, create a scribe a line with the body of the marking gauge working off the face side, scribing the two sides and the the two ends.
Repeat the process as before. If the board is wider, planing at a 45-degree angle across the board will remove the high spots. Then start to plane parallel to the grain direction, working down towards the scribe lines. Again regular visual checks are important, as is using the square or sole of the plane to check for flatness across and along the grain.
Continue planning down to the scribe line. As you get closer, refine the plane to take lighter cuts leaving a cleaner finish.
Your board should now be square with the face edge and face side at right angles to each other, and the board thickness set to your requirements.

Cut to length
Once your face edge and face side are square and your timber thicknessed, you can cut your board to size as per the requirements of your project and cutting list. You can use your face edge as a reference against fences on a bandsaw or table saw.
The length of the board can be marked up squarely across the grain using a pencil and square, and then cut with a saw.

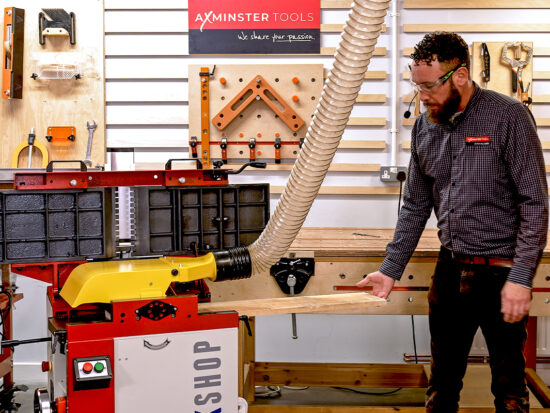
Squaring timber by machine
To save time you can square your timber using a planer thicknesser. The same principles apply, but the process is much quicker! However, a planer thicknesser is an expensive investment and can take up considerable room in your workshop. Therefore, it is useful to learn and practice squaring timber by hand.
Whichever method you chose, learning to square your timber correctly and accurately is one of the most important steps to take to make your woodworking successful.