How To Make A Japanese Marking Gauge
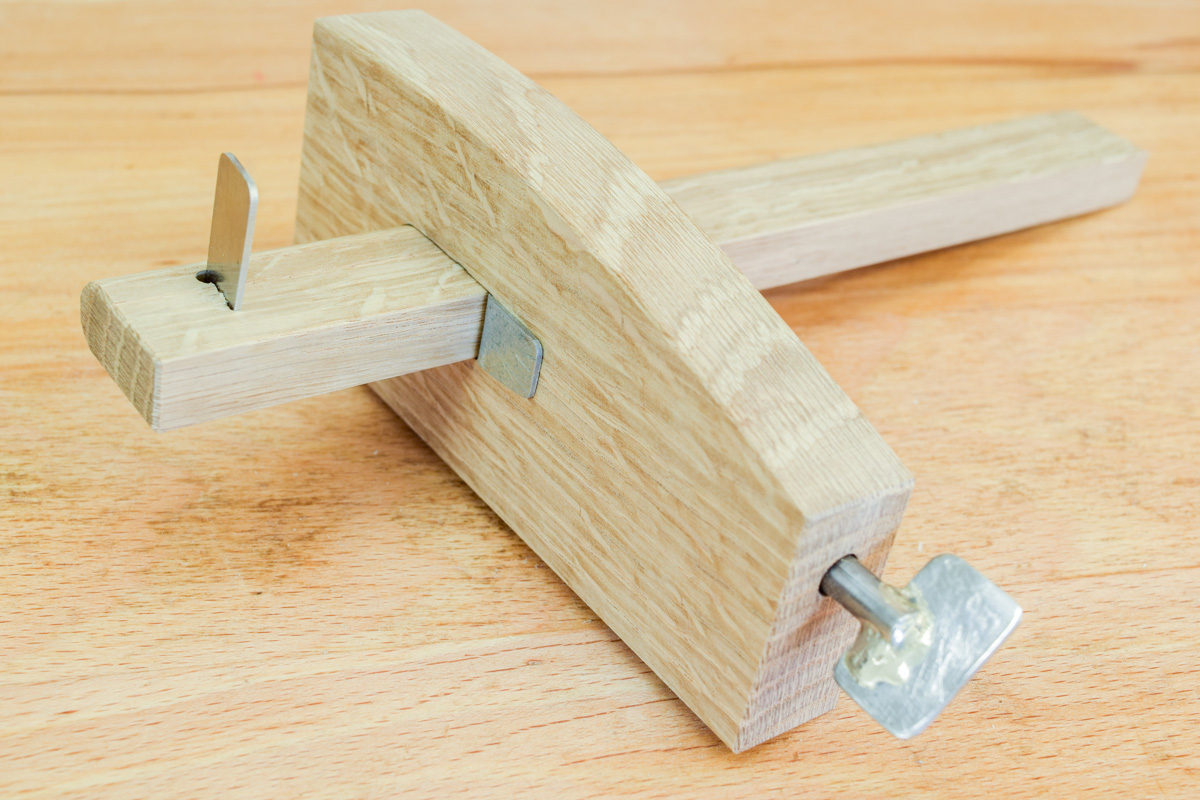
A marking gauge is one of the principal tools used to set out work. This Japanese style gauge is easy to make and use, although there is some simple metalwork involved, including silver soldering.
Degree of difficulty: Intermediate
Dimensions given are not critical.
Tool menu
You will need the following tools to complete the project:
- 300mm Rule
- Jack Plane
- Smoothing Plane
- Sliding Bevel
- Silver Flux
- Silver Solder
- Router Cutters - this one & this one
- Sliding square
- Piller Drill
- Drill Vice
- HSS Jobber Drill Bits - 6.5mm & 4mm
- Coping Saw
- Disc Sander
- Bandsaw
- Router
- Hacksaw
- Hand Files
- Emery Cloth
- Mirka Abranet Abrasive
- Epoxy Resin
Also needed:
- 6mm bolt, min 75mm long, part threaded
- 6mm nut square
- Oak offcut approx 250 x 120 x 20mm
- Small pieces of steel approx 1mm thick
- HSS blank for the blade
- 20mm square steel tube
- Mixing container for flux
- Butane gas torch
- Pencil
Step 1
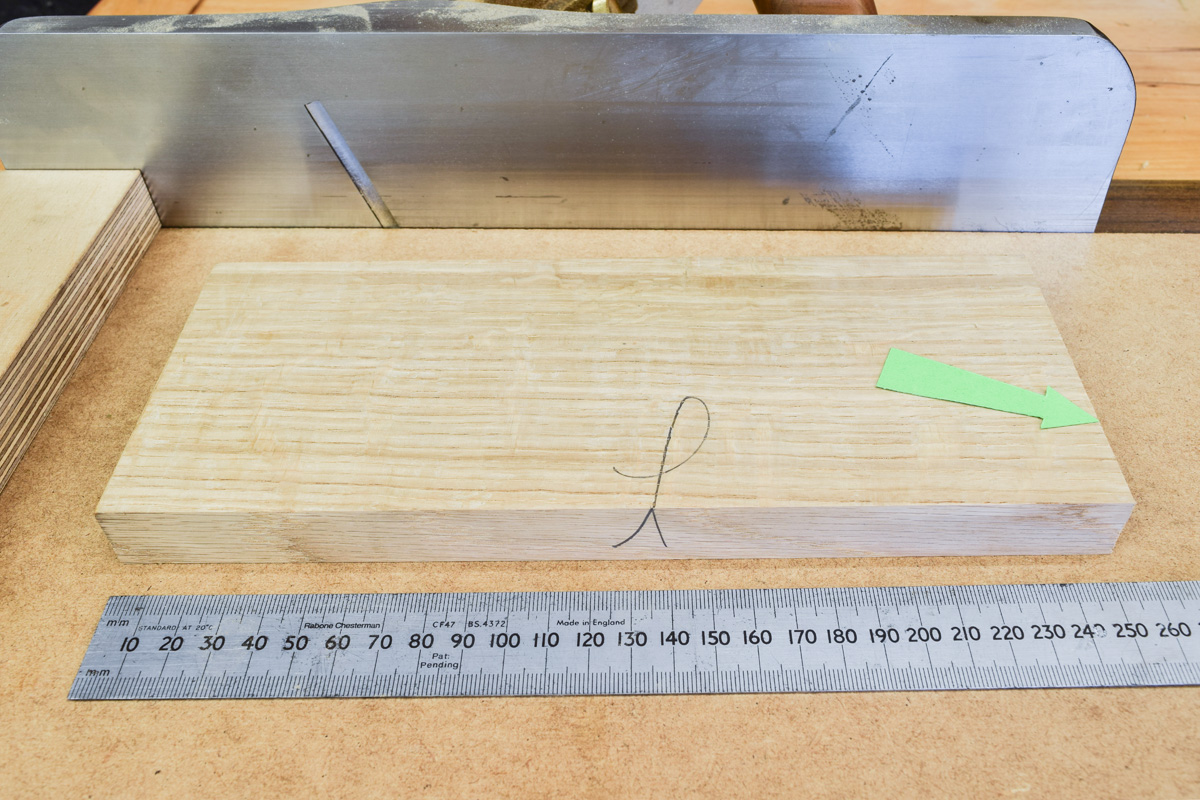
Prepare blank, make one end (arrowed) square.
Step 2
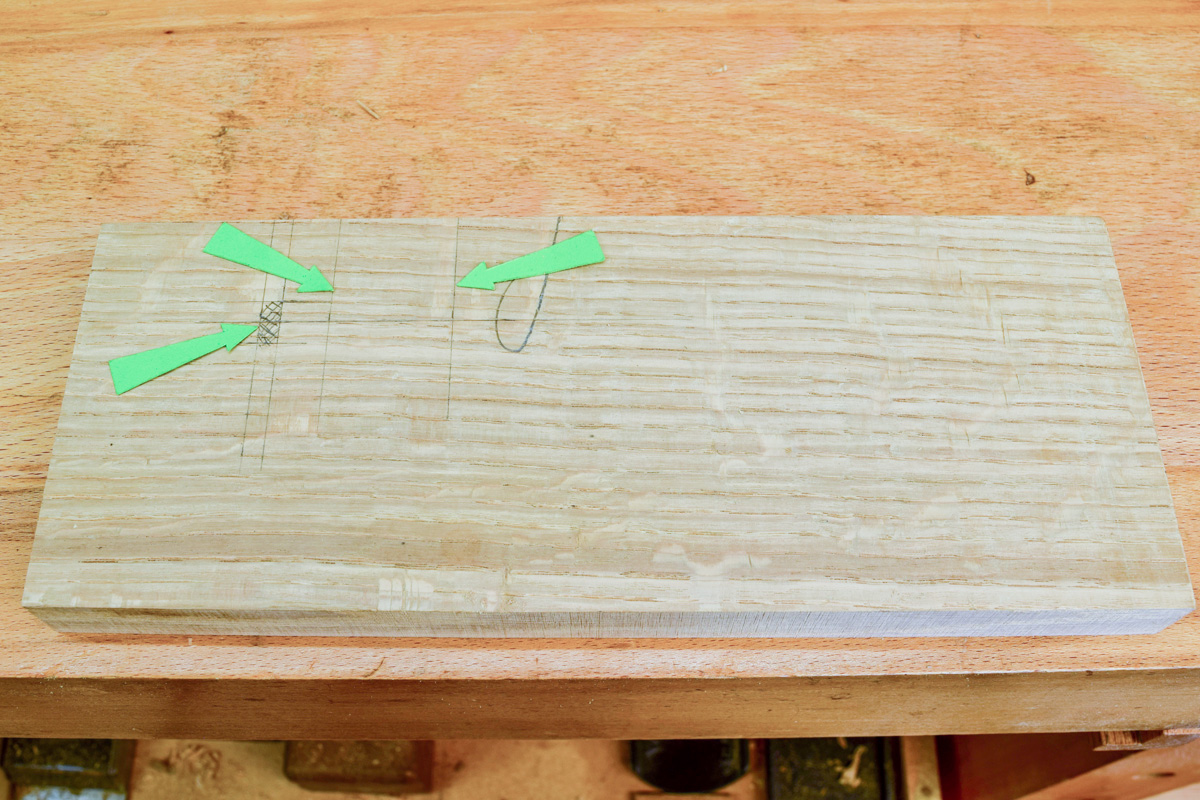
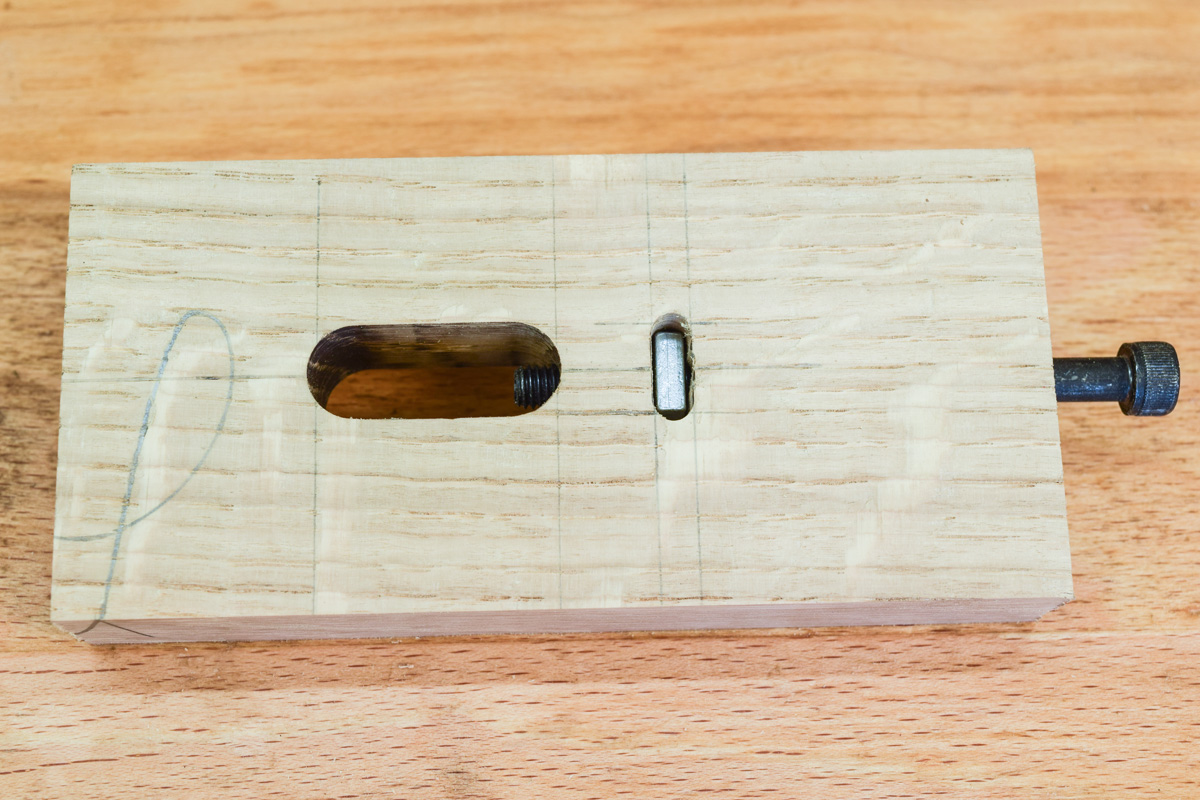
Mark out position for square 6mm nut slot (45mm from square end, arrowed). Mark out position for 12mm slot, 30mm long (arrowed) and 60mm from square end.
Step 3
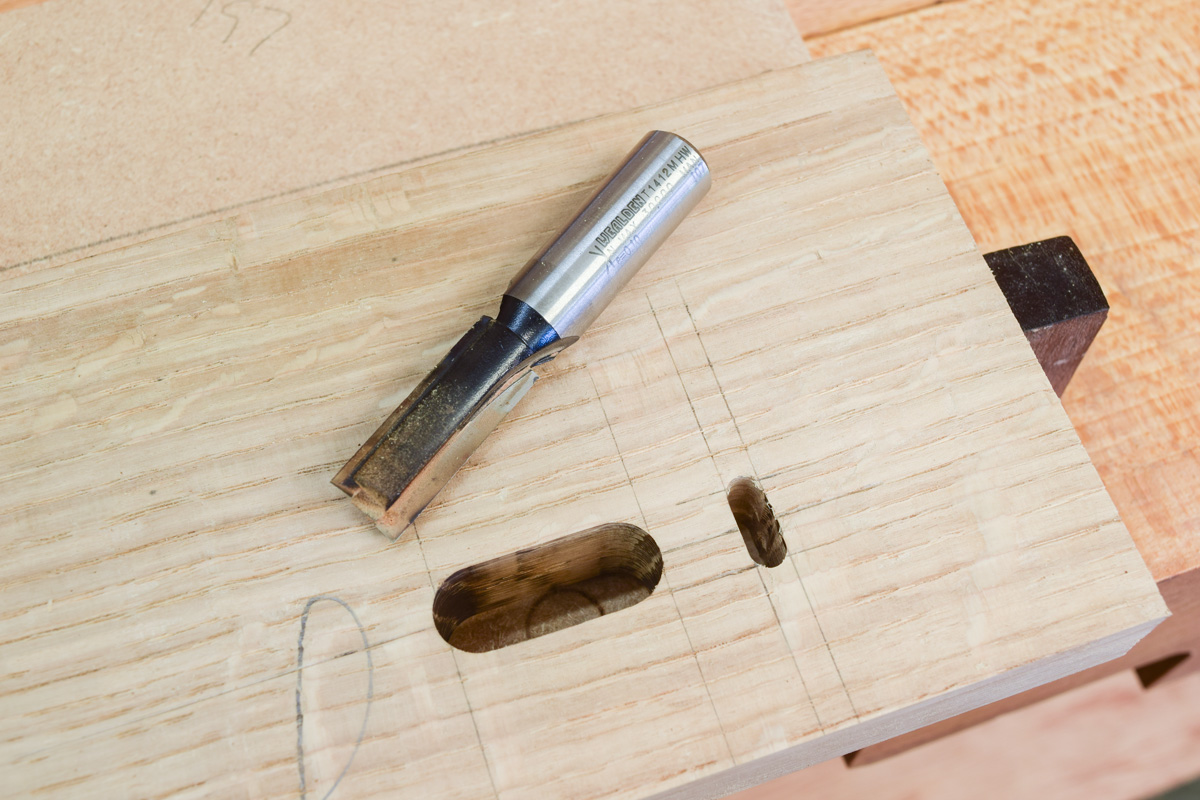
Rout slot for 6mm square nut, 15mm deep.
Step 4
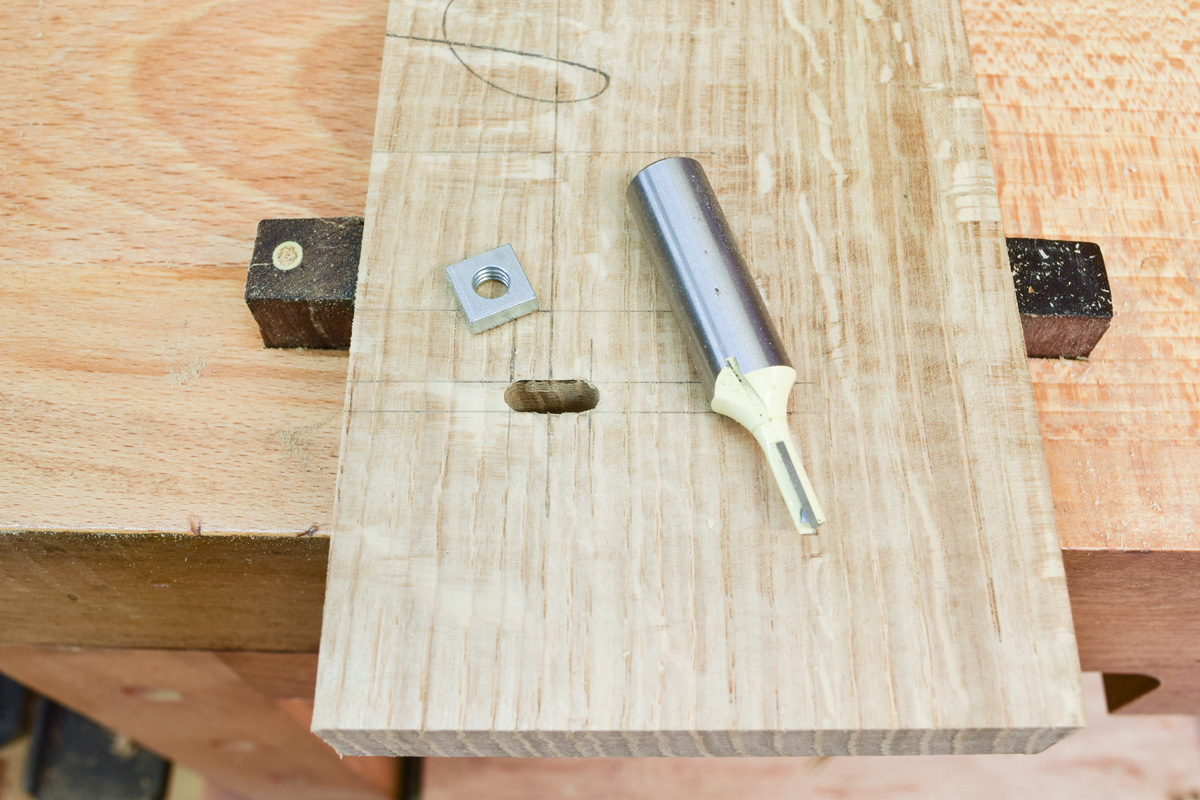
Rout 12mm slot, approx 30mm long, to go completely through the oak. Waste material required underneath.
Step 5
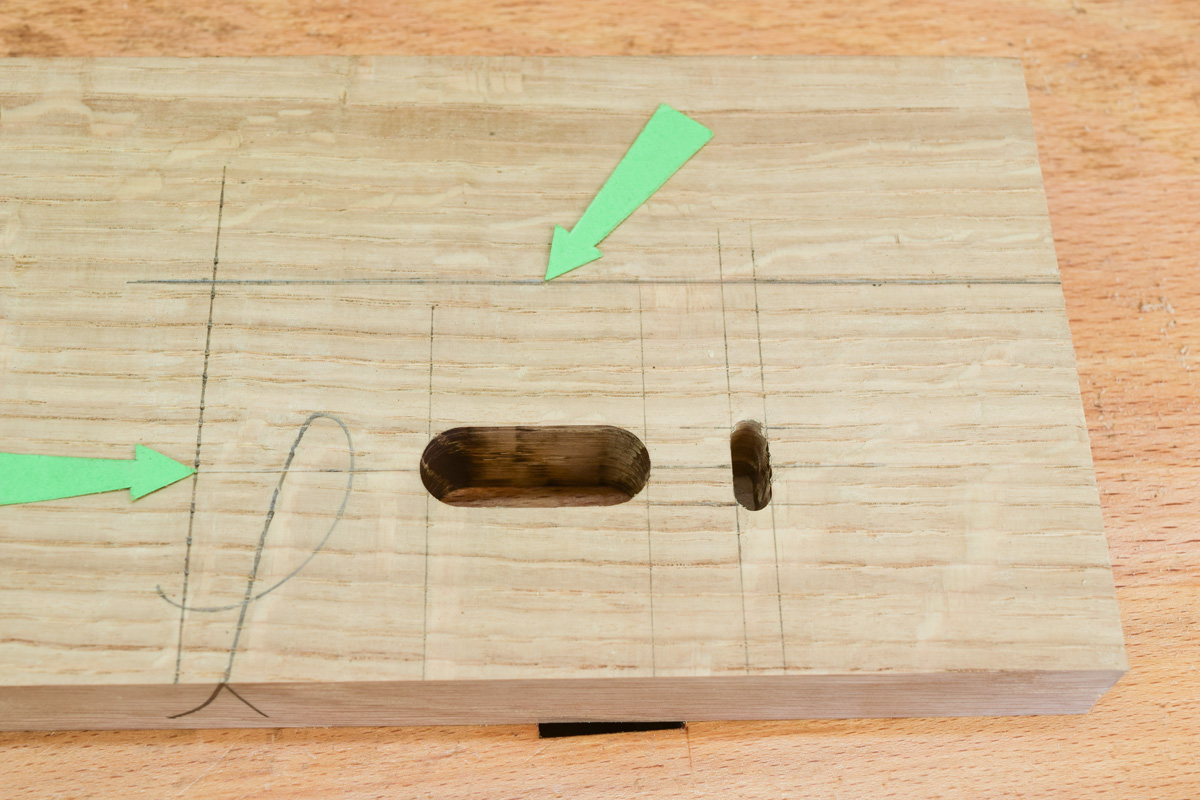
Mark out stock size (arrowed) 125 x 60 mm. Make sawn end square.
Step 6
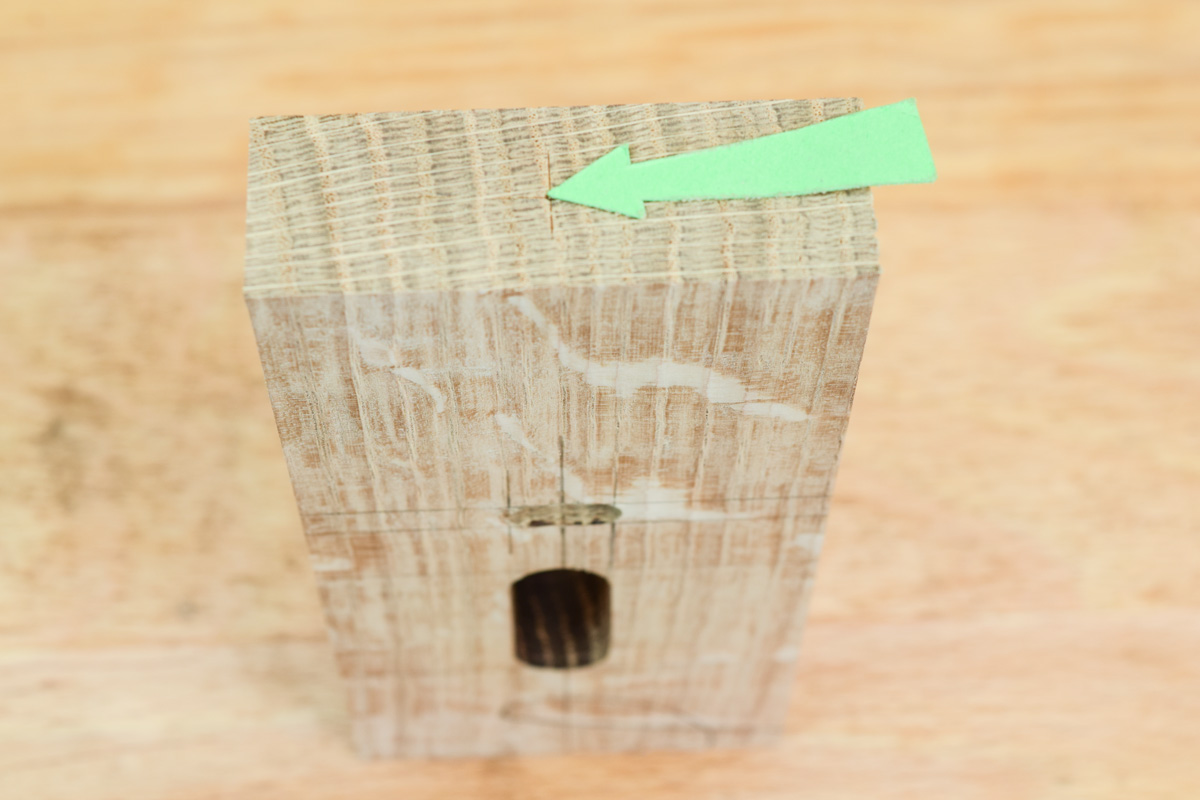
Mark the centre of the end for 6.5mm drill (arrowed).
Step 7
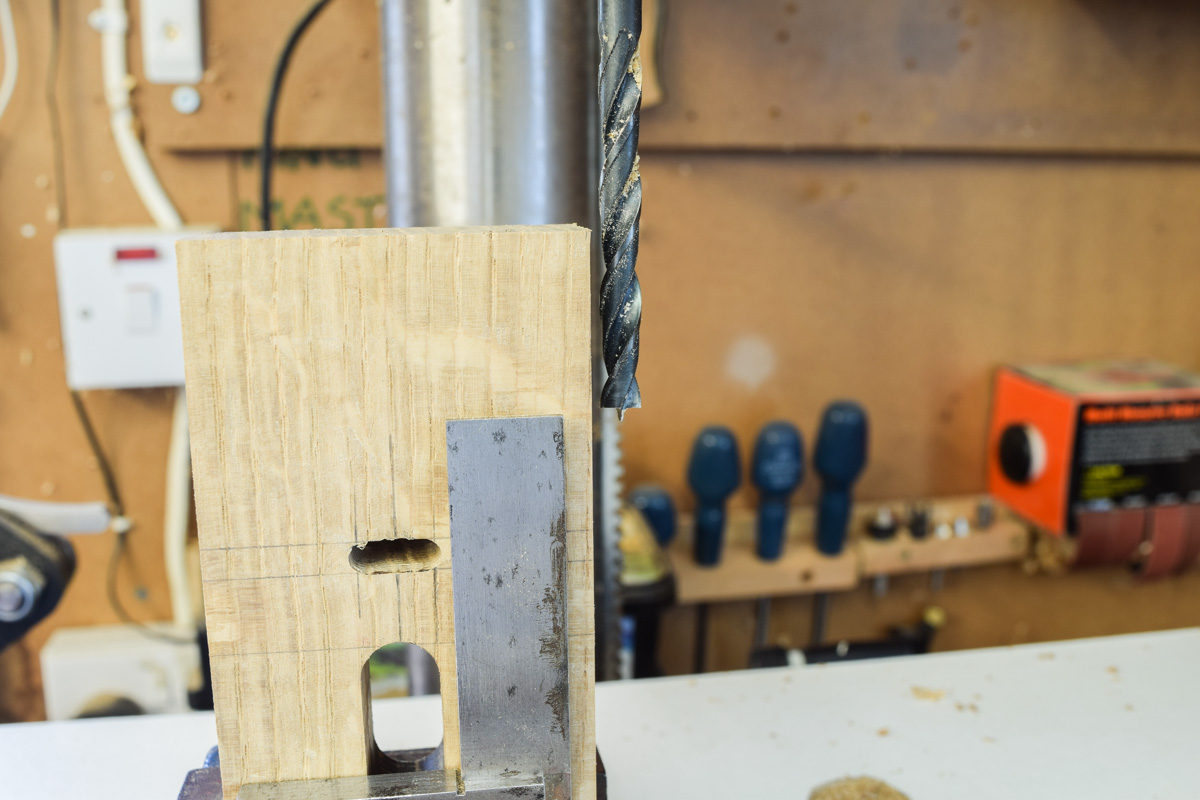
Mount stock in vice in drill press, ensure stock is vertical, drill 6.5mm hole.
Step 8
Ensure nut and bolt engage.
Step 9
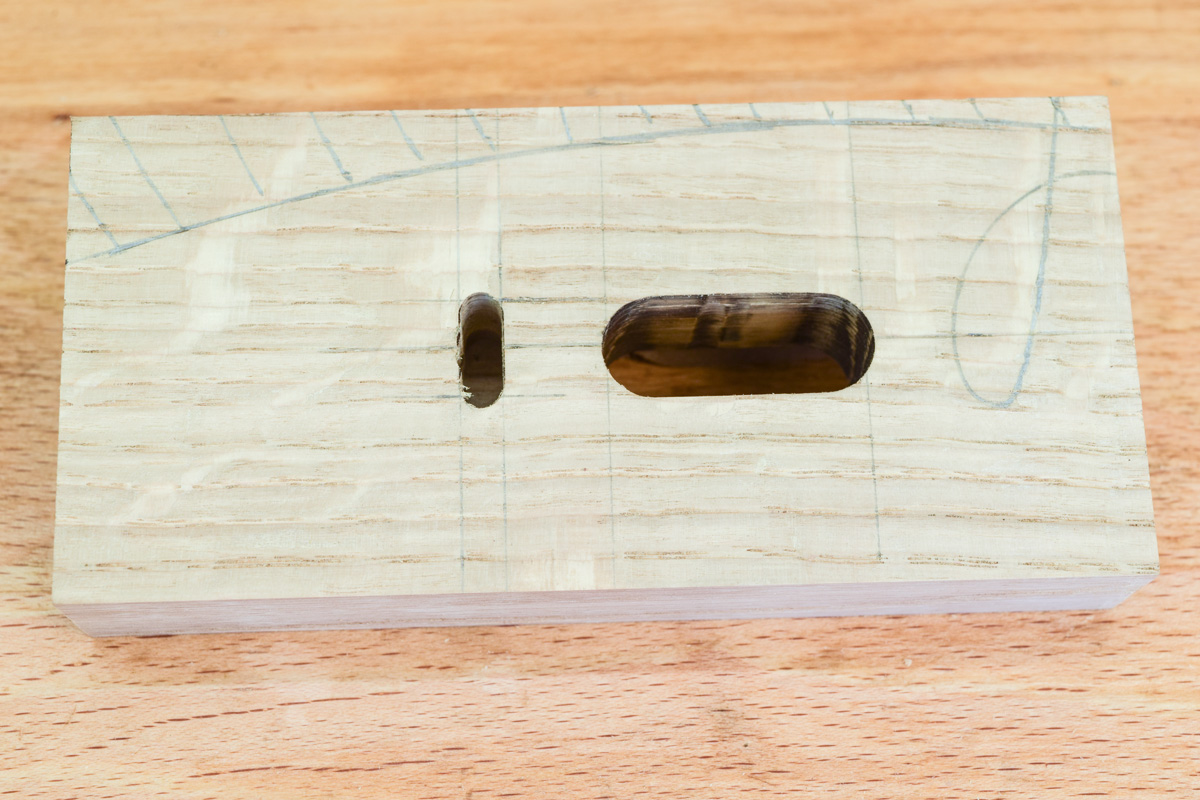
Mark out shape on stock, cut and sand.
Step 10
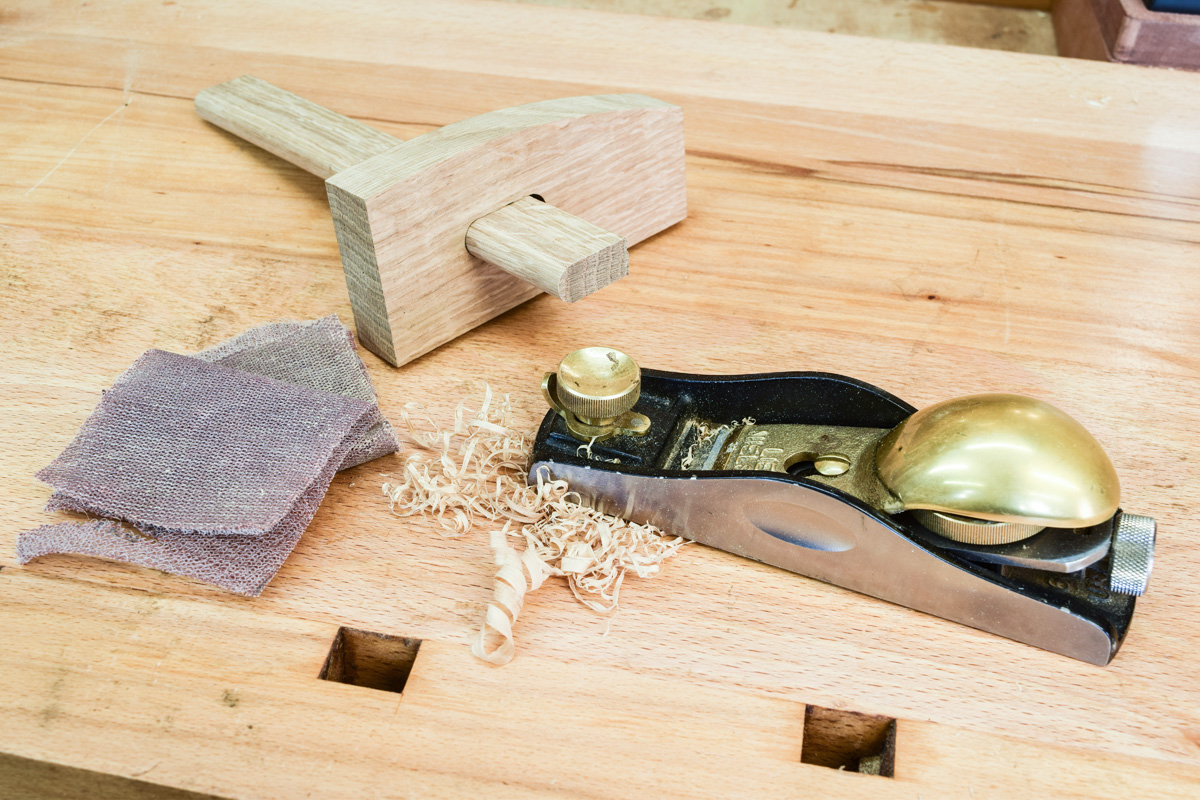
Cut stem from oak offcut, leave overlong. Machine to 25 x 12mm, plane and sand to fit 12mm routed slot in stock.
Step 11
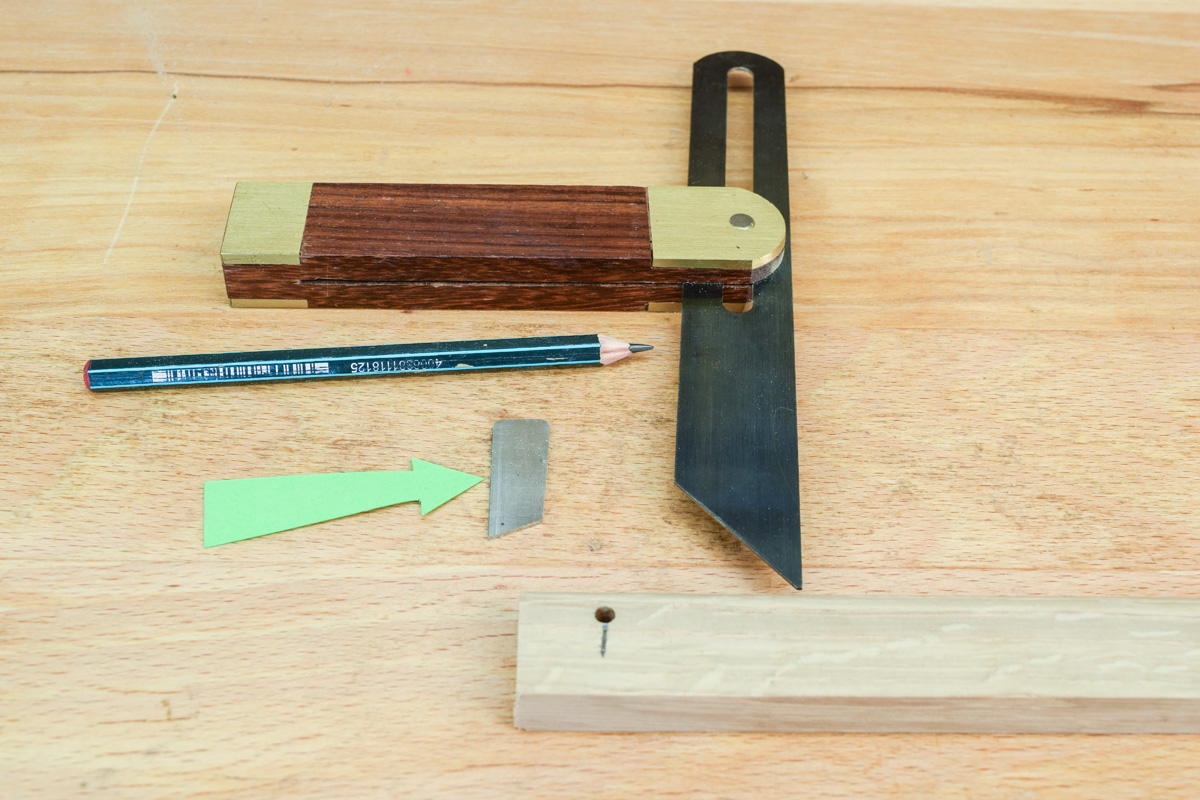
Prepare HSS cutter, make slightly tapered (arrowed). Drill 4mm hole in stem, mark and cut 10° slot. Sharpen cutter, bevel to face towards stock.
Step 12
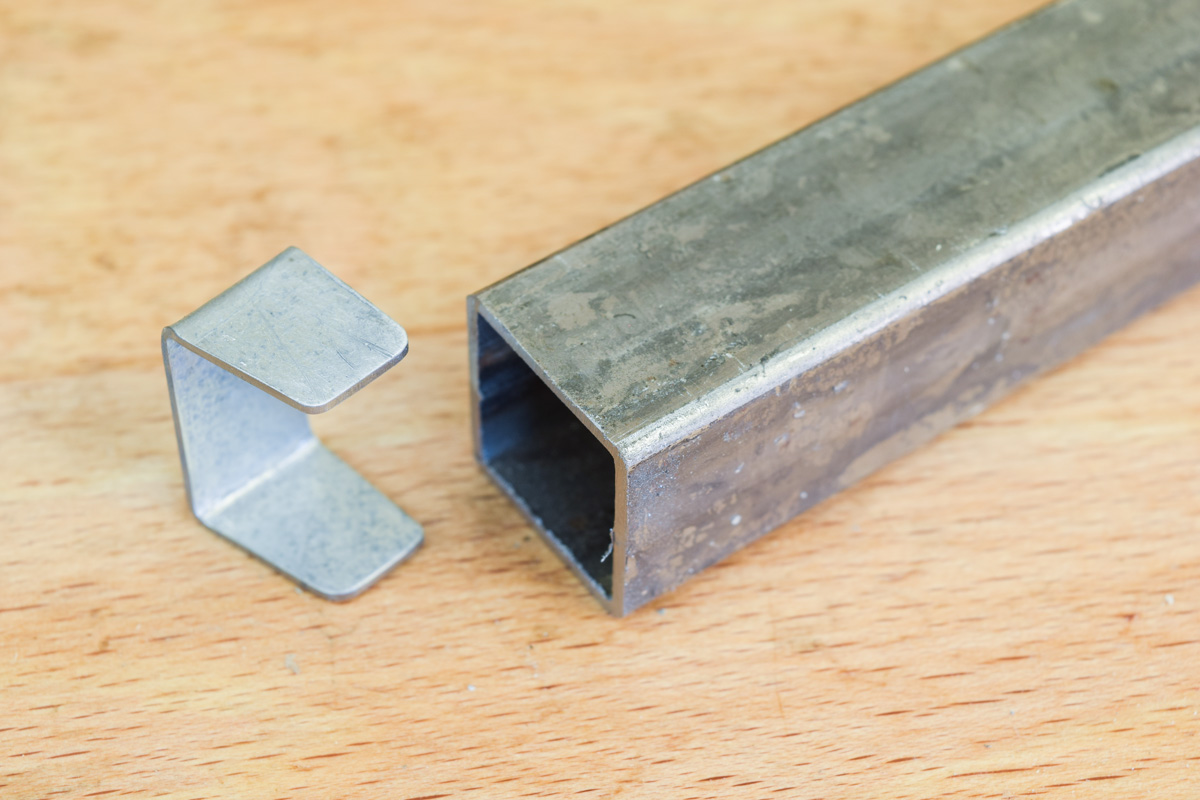
Prepare pressure plate, bend at 90° around square tube. Smooth all edges to remove burrs. Note taper on each flange.
Step 13
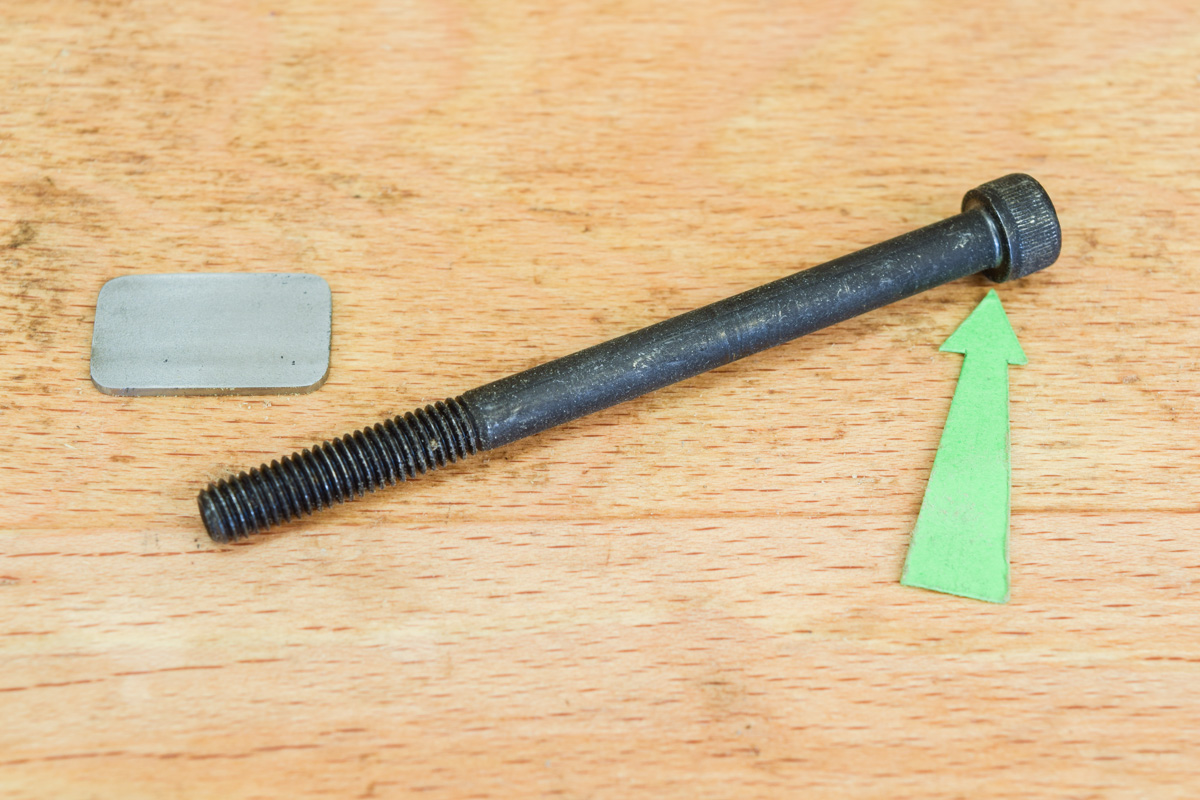
Prepare small rectangle for turnscrew. Cut off end of bolt (arrowed).
Step 14
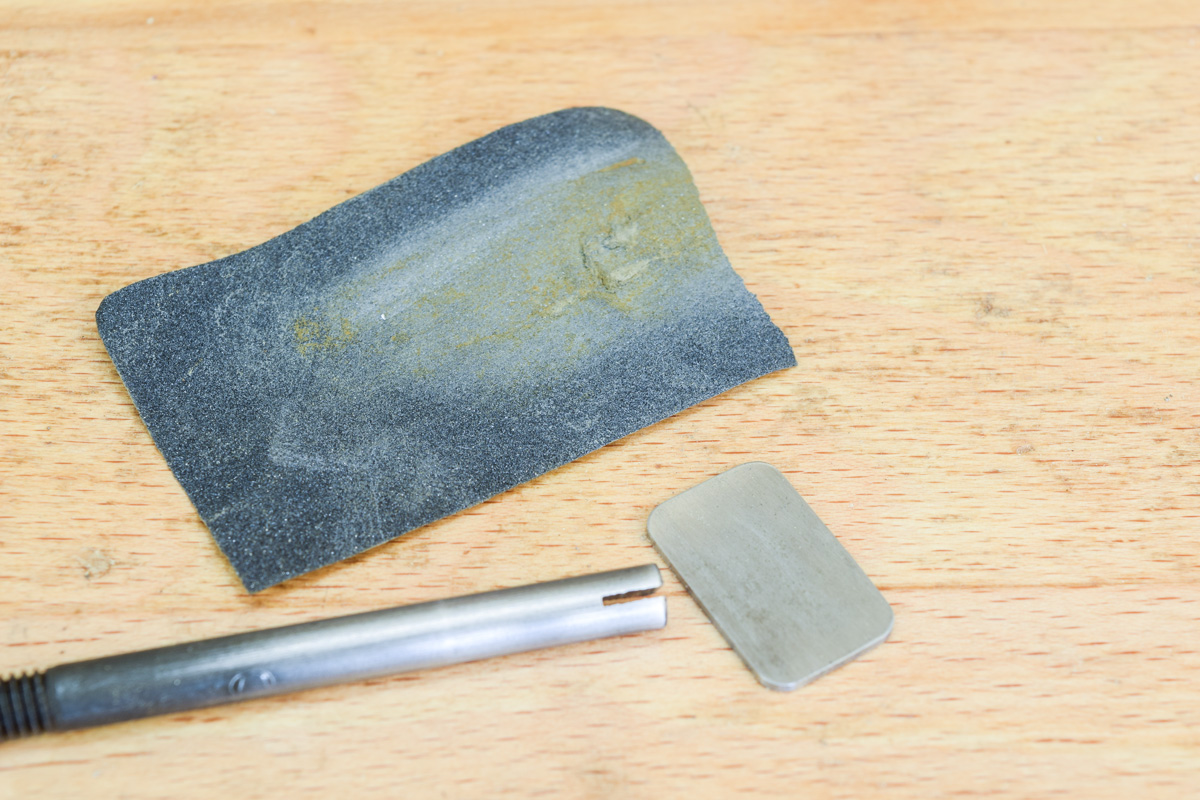
Cut shallow slot in end of bolt. Thoroughly clean all steel surfaces. Optional - glue handle blank into slot with quick setting epoxy.
Step 15
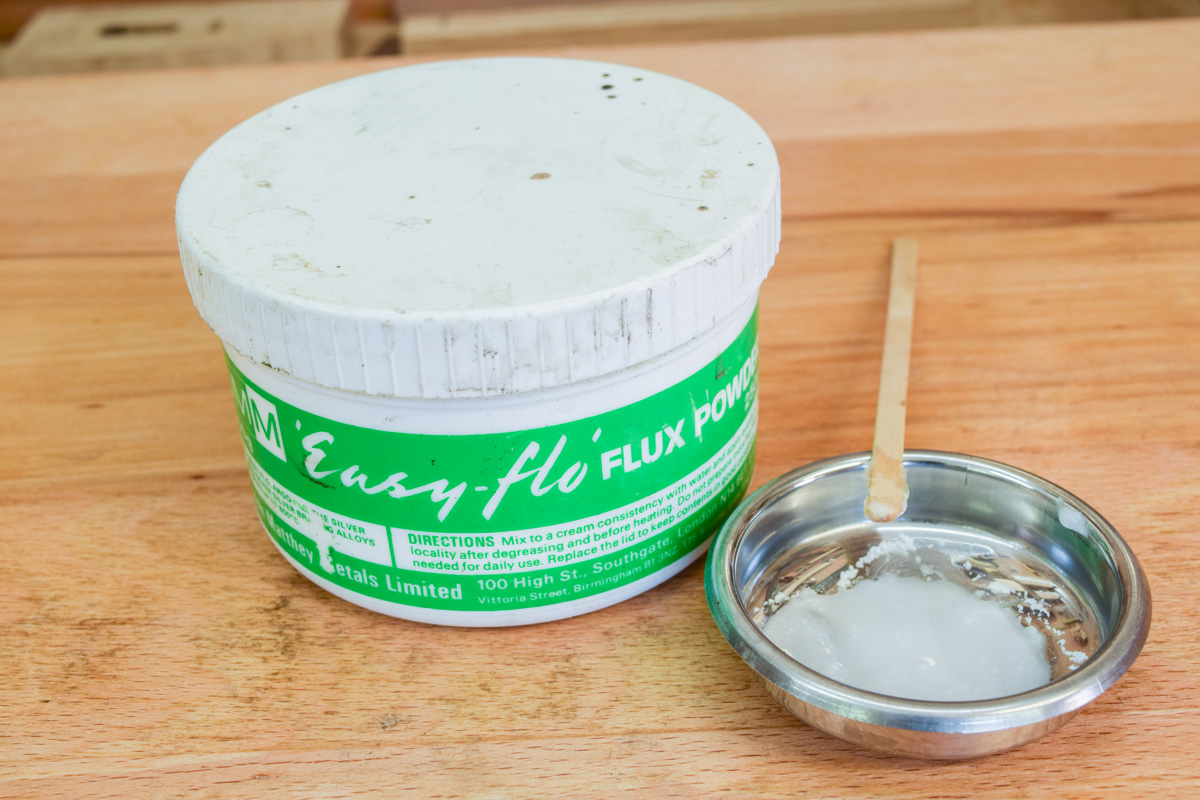
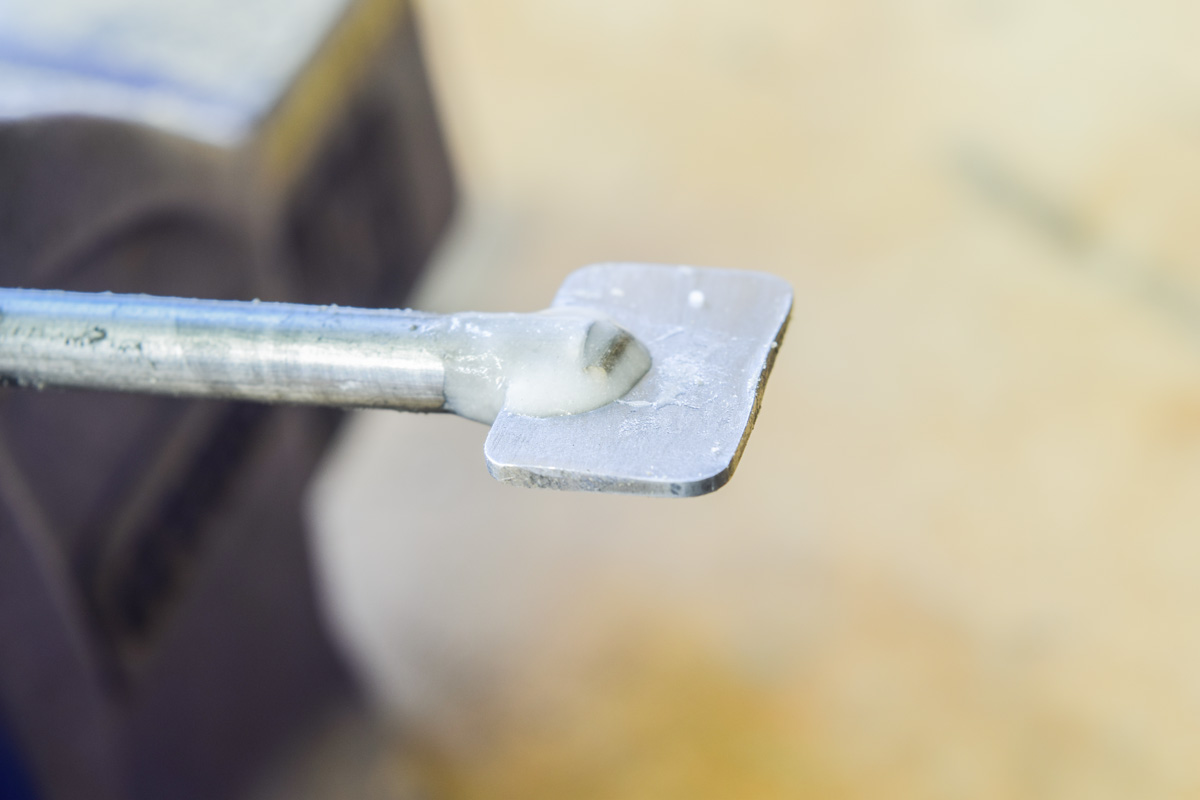
Use water to mix Easy Flo Flux to a thick paste.
Step 16
Insert turnscrew blank into slot, paint with flux, add 6mm long pellet of silver solder. Heat with gas torch until silver solder flows around joint. Allow to cool.
Step 17
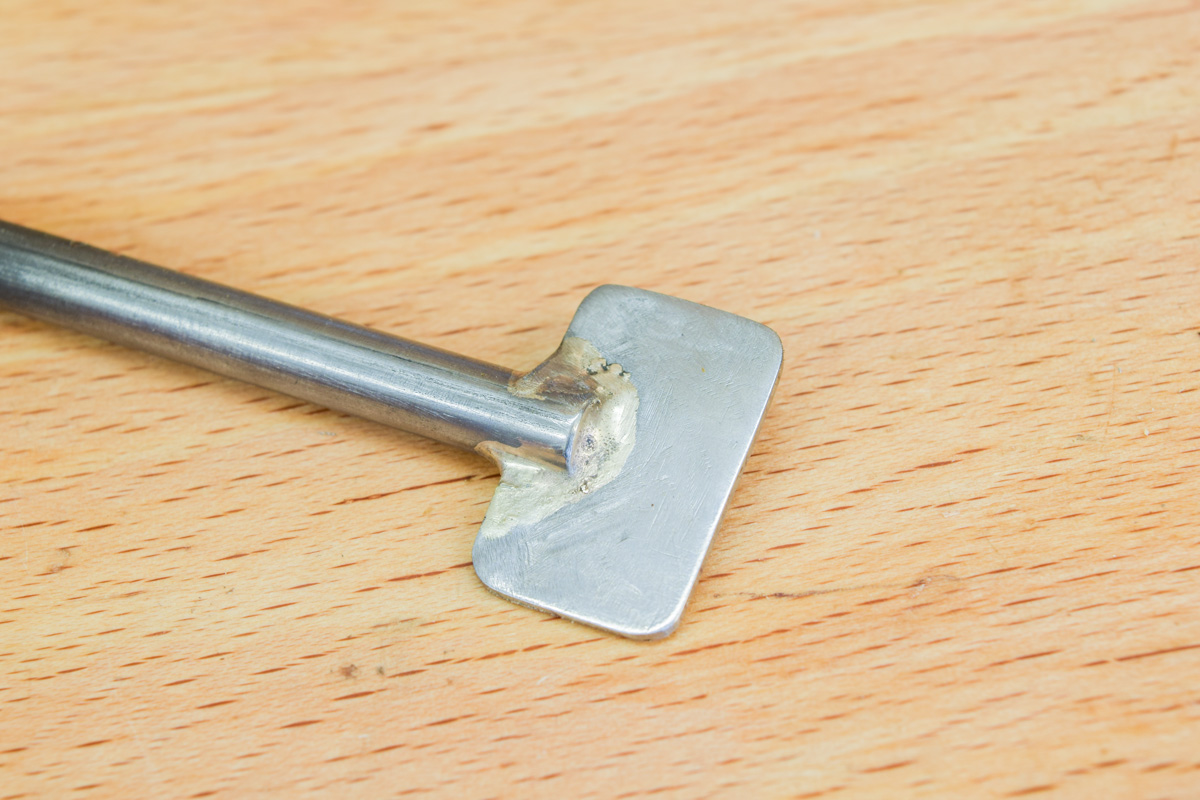
Clean off black oxide and finish turnscrew.
Step 18
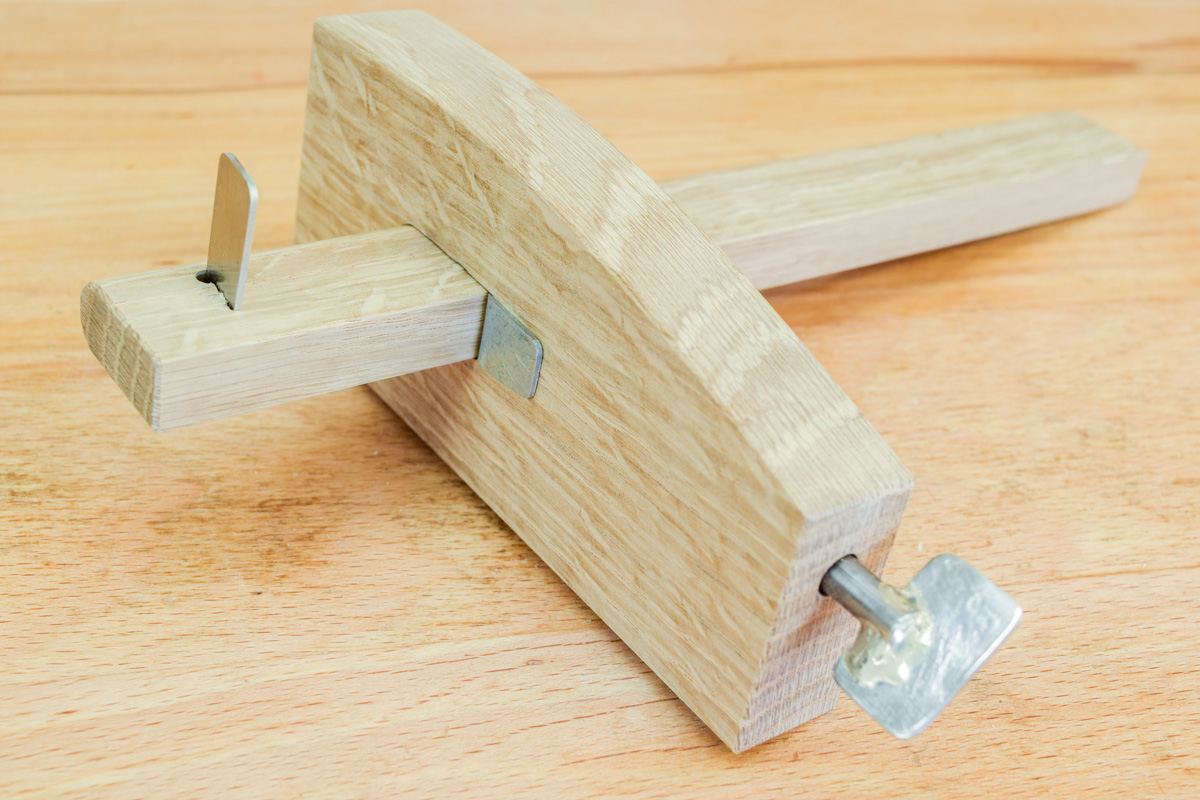
Cut stem to 220mm long, square cut end. Smooth all faces of stock and stem, plane off sharp edges. Tap HSS cutter into stem (1mm protrusion on reverse side). Insert pressure plate, stem and turnscrew.



"6mm bolt... part threaded" If it was threaded all the way along it would be a screw, not a bolt. Such basic a mistake in this doesn't inspire confidence.
Thanks for the comment Alan, much appreciated, but have a swift peek at this Wiki page: https://en.wikipedia.org/wiki/Screw. It's a confusing issue at best and whether it'a 'bolt' or a 'screw' is open to interpretation, but I've always called this type of fastener a 'bolt'. Bolt or screw, it doesn't detract from how well this particular Japanese gauge works, or how easy it is to make.
Don't worry, Alan is what we call in the profession a narcissist, never happy unless criticising or undermining others to get a buzz.
I'm far too old and far too ugly to be put off by Alan's comments, but we welcome all remarks and observations none the less. Allan's post does raise some interesting ideas on the definitions of a bolt or screw which I hadn't really considered and it was only when I saw the relevant Wiki page did I realise that it'a a more complex issue than I at first thought.
point taken. Good project though.
I'm a professional technical documentation translator. The quality of naming conventions for technical stuff in English often makes me want to pull my hair out! Too often. (where I live ambiguity and multiple terms for the same component constitute poor quality) You're probably the only group of people where 'bolt or screw' discussion is even a thing. So, if I were an English-speaking man I would just shut up about it. :)
I really like the article. Especially the pointer arrows! However, I think step #11 could use some additional information. How one is supposed to cut the slot. By using the shapped HSS blade itself, in a kind of 'chiseling' manner?
A good project, but step 11.... It really needs to be broken down into 5 or 6 sub-steps. Remember this is for wood workers, many of whom will probably have no idea how to cut / shape / sharpen a piece of hss. It's only when it tells you about fitting it that you learn it needs a single bevel, not a double one. Also, there's no explanation about how to cut the slot for the blade.
Some good points, many thanks. I should have elaborated on the blade material, which in this case was an oddment from an old planer blade, but the easiest way to obtain a small piece of HSS is by using a piece of hacksaw blade. However, it can't be cut in the normal way so I 'cut' the stuff using a small abrasive disc in a Proxxon mini drill. Shaping and sharpening is much easier as it's done on the disc sander. The slot is cut using the coping saw as listed, threading the blade through the 4mm hole, then re-assembling and tensioning the saw. Again, pic(s) showing the process would have aided clarity. Thanks again for your comments, which as ever are much appreciated.