Coffee Table - The importance of marking OUT
More from Rob Stoakley...
In the first entry of this new blog, I mentioned that I didn’t have a table saw as I don’t really need one for the type of work I do, but I still need to finish material accurately to size.
I much prefer to cut stuff on the bandsaw and then use an accurate (and adjustable) shooting board, together with my Lie-Nielsen 51 to get material dead square and to exactly the right length, and it is far more accurate than a table saw (though I grant that a table saw is probably a mite quicker).
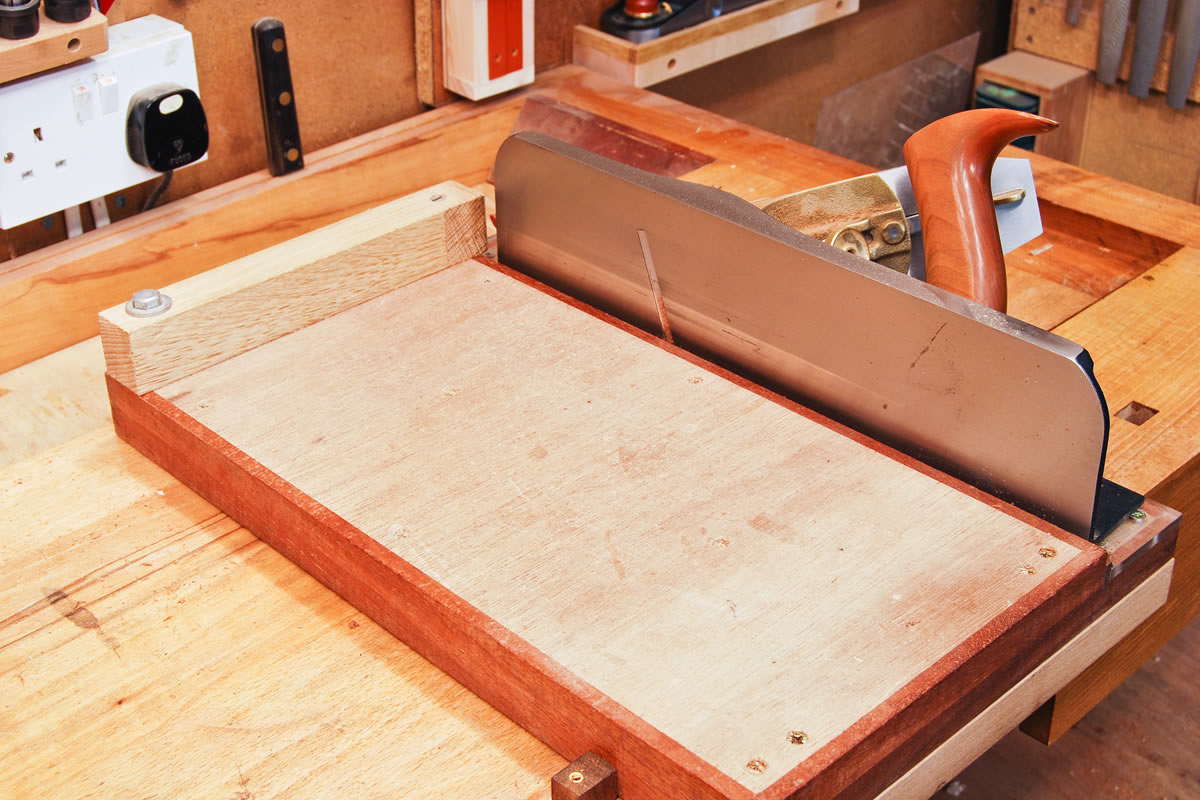
By making a full sized working drawing, I was able to measure exactly how long each of the sides needed to be so that one end of each was shot in dead square with the shooting board. It’s always a ‘good thing’ to mark out all the bits of wood at the same time, which is what I did in this case. All four pieces were cramped together using a couple of F cramps and then the planed ends were aligned so that each was exactly co-planer (what a posh word - reminder to self to use that one again), and then a metre rule was used to strike off and mark a line across all four bits, using a Japaneses marking knife and square.
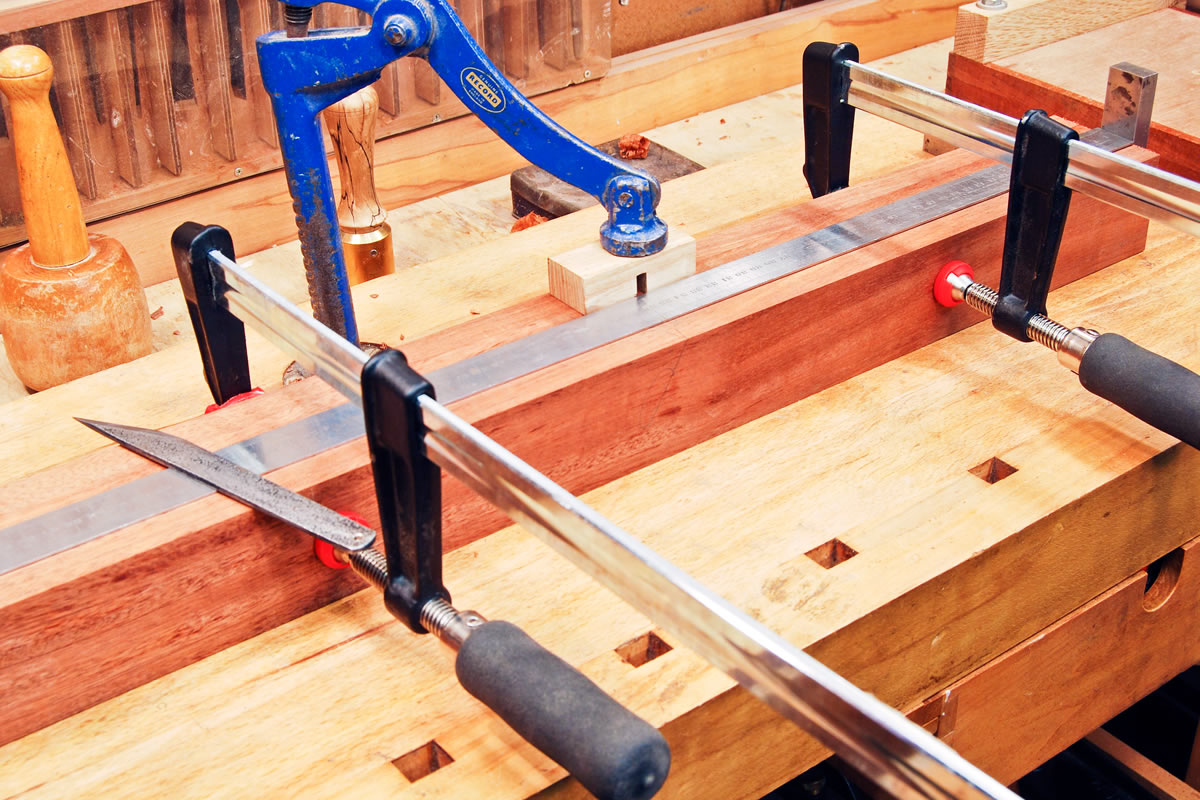
Knife in the lines all the way round on each piece, saw to length (within 0.5mm or so) and then plane square on the shooting board. If the first one is kept as a ‘master’, the succeeding three can be shot in to be exactly the same, as the knife line can actually be split if very fine shavings are taken off. Simply check one against the ‘master’ until both are identical. Your fingers will tell you when they’re both identical, after which the rebates for the glass can be marked using a gauge.
Having rectified my dowelling error with the pine mock up, I was now reasonably certain that I’d got the set up for the ‘Dowelmax’ spot-on by using a 20mm spacer, so I went ahead and cut the joints in the legs and rails.
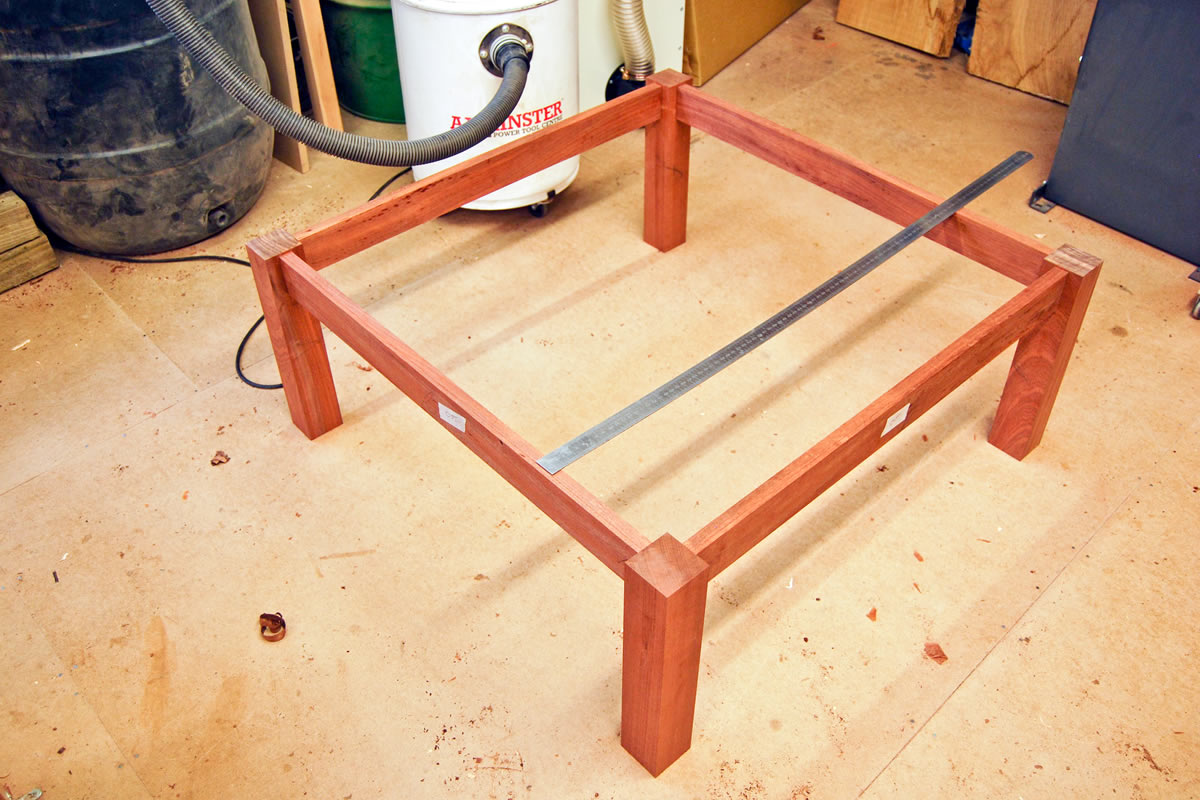
The framework was then assembled and the distances between the rebate lines checked with a metre rule to see that the glass would fit. The bits of marking tape on the outside have writ on them - in big, bold, black Chinagraph pencil is the word ‘OUT’. It’s usually another ‘good idea’ to mark the show surfaces in some way.
Which is what I didn’t do when I made an English walnut cabinet a few years ago, as I managed to fit the doors inside out and the wrong way round. Fortunately, in the nick of time, I spotted my insignificant little ‘faux pas’ and was able to correct it, but as a man on a horse said after the Battle of Waterloo, it was a "damned nice thing - the nearest run thing you ever saw in your life".
You have been warned... read on at your peril!




Sign off a confident cabinetmaker - start with the glass, then build the table!
Although following on from your discussion on accuracy, given the accuracy of my local glazier, starting with the glass is probably the best way!
The lump of glass happened to be in the 'shop for a time anyway, so I just built the table around it, but as you say, the experience of local glaziers can be a bit fraught. Happily, my local outfit is pretty good.