
How To Build A Hand Plane: Part 2
If you missed part one, click here
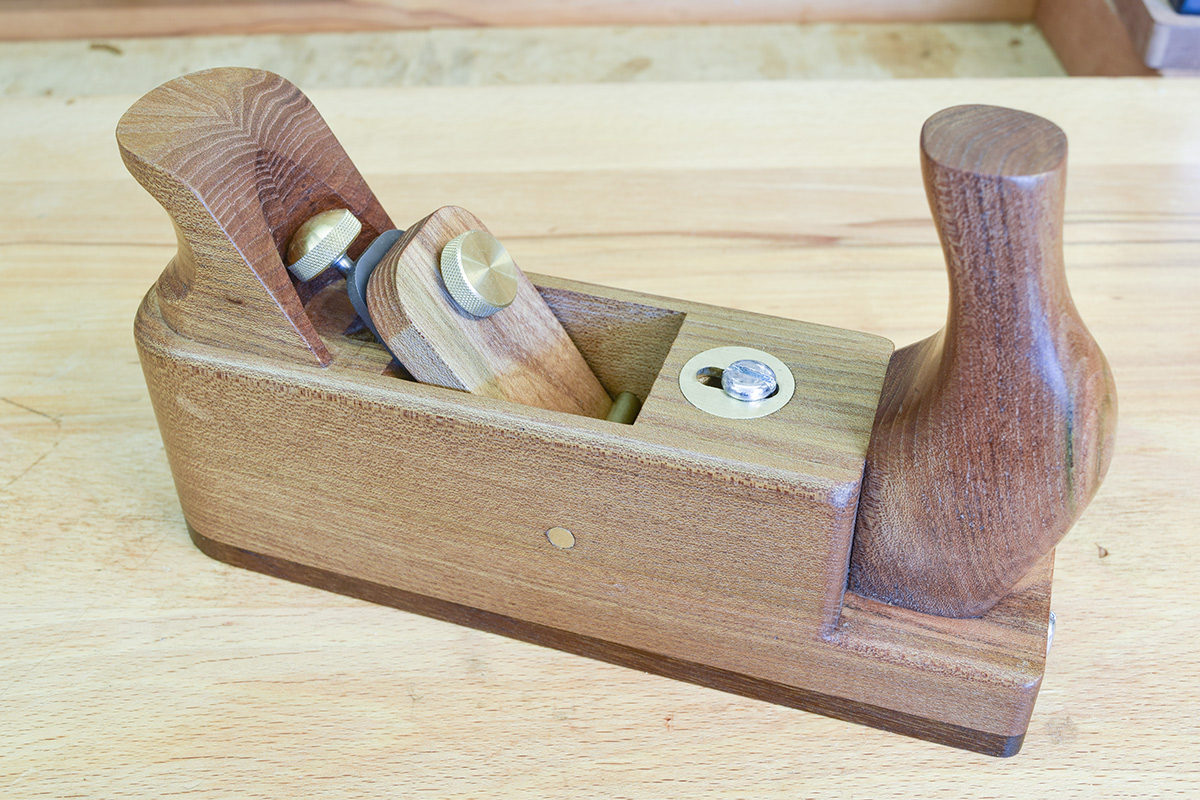
This article goes through completing the process of building the Continental style smoothing plane using the Veritas Wooden Plane Hardware Kit.
Step 19
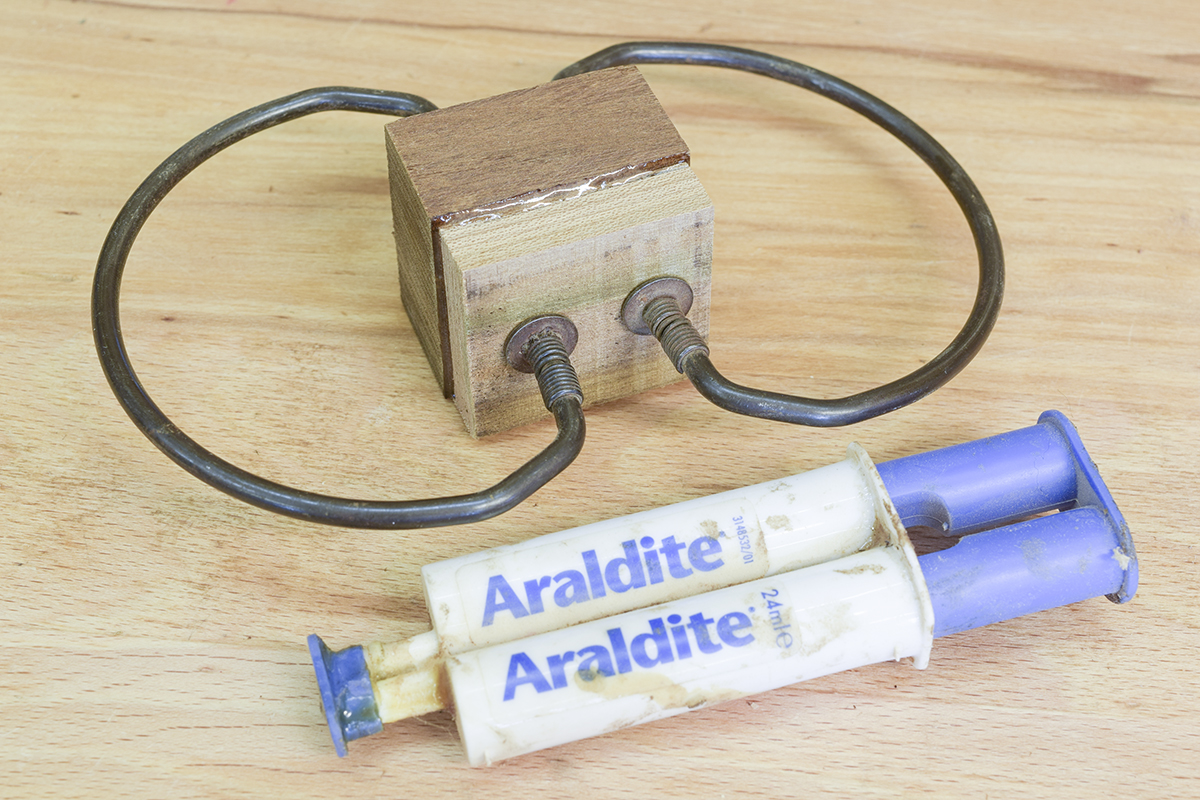
Saw off part of the over long greenheart base and epoxy to an oddment of elm to make the Mouth Block (Item 6).
Step 20
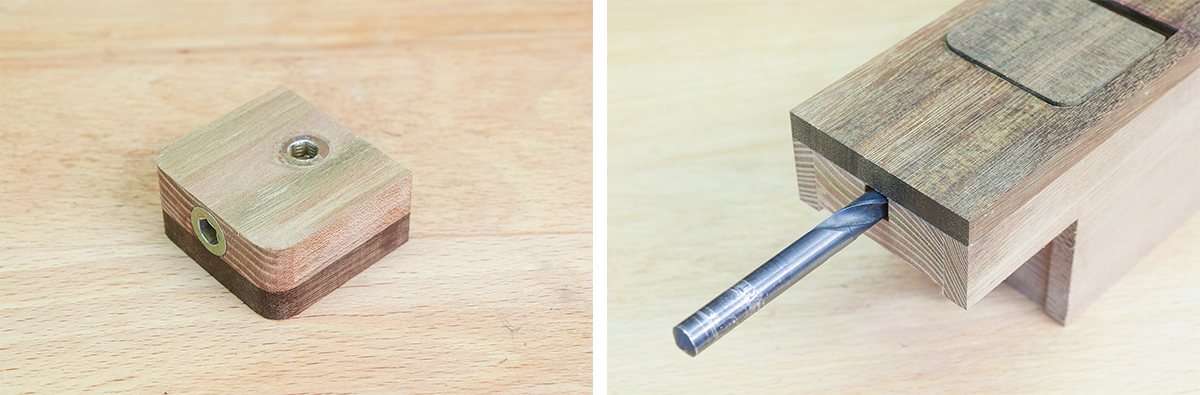
Shape the Mouth Block to fit its recess. Use a 15mm Forstner bit to mark the centre of the 6mm thread insert. Use an 8mm drill to make a hole and screw in the insert.
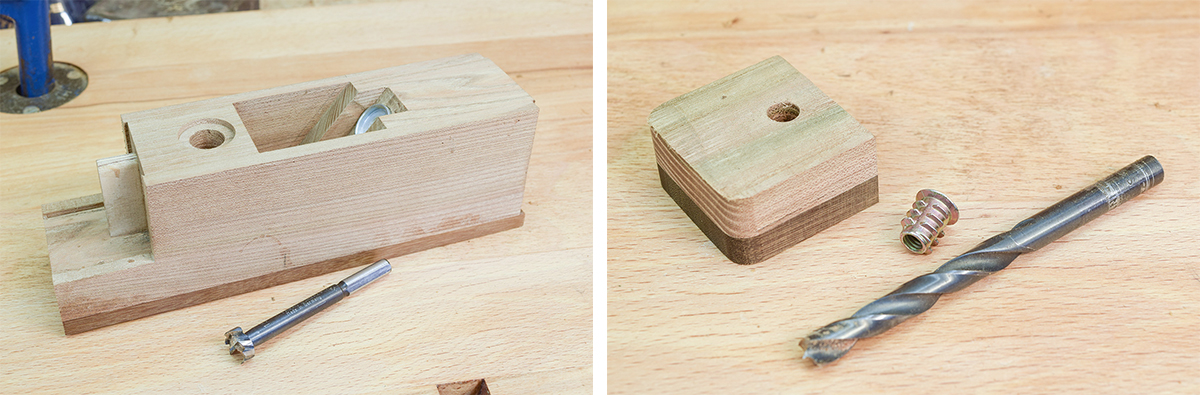
Step 21
Repeat for the other 6mm insert, using an 8mm drill to locate the hole position. Bevel the front edge of the Mouth Block.
Step 22
Using a scrap of plywood, check the Mouth Block seats correctly and scrape the sole to achieve initial flatness. Check with a straight edge.

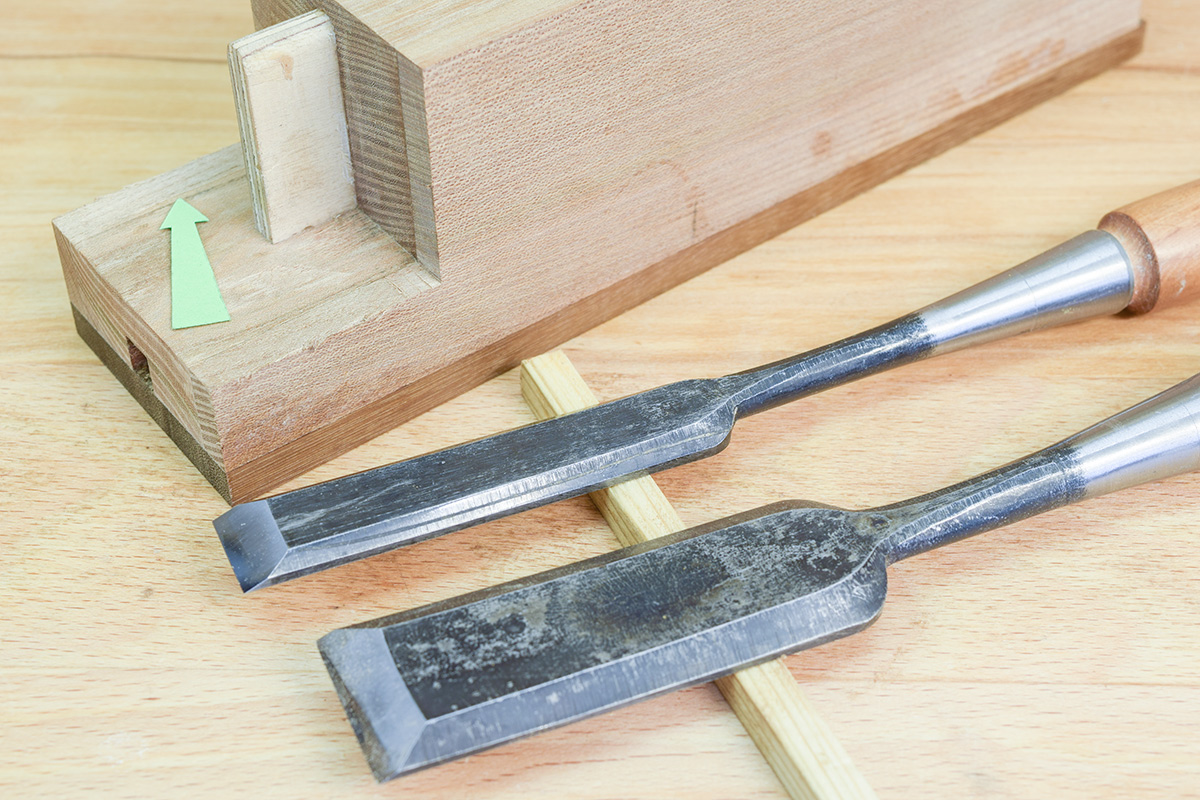
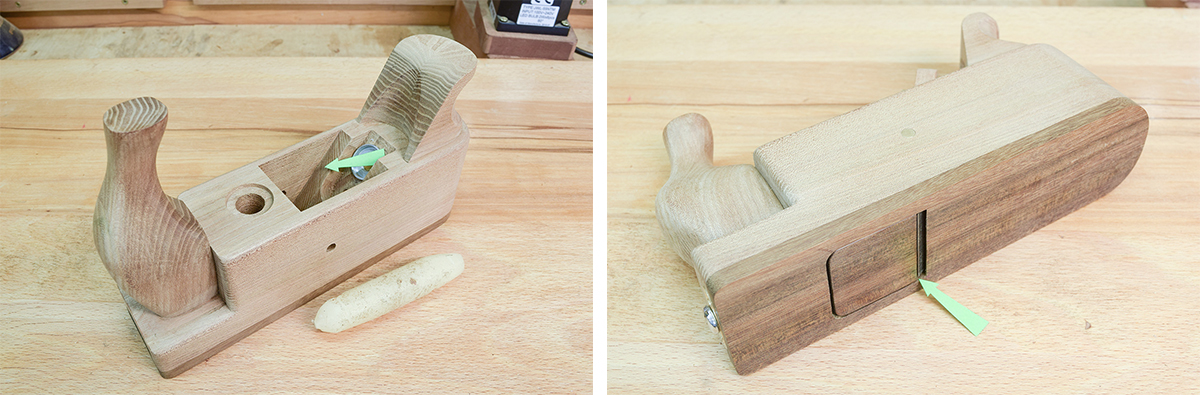
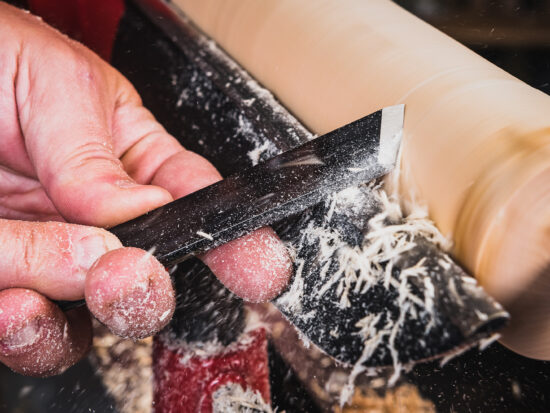
Step 23
Chisel away the waste on the side cheeks (arrowed).
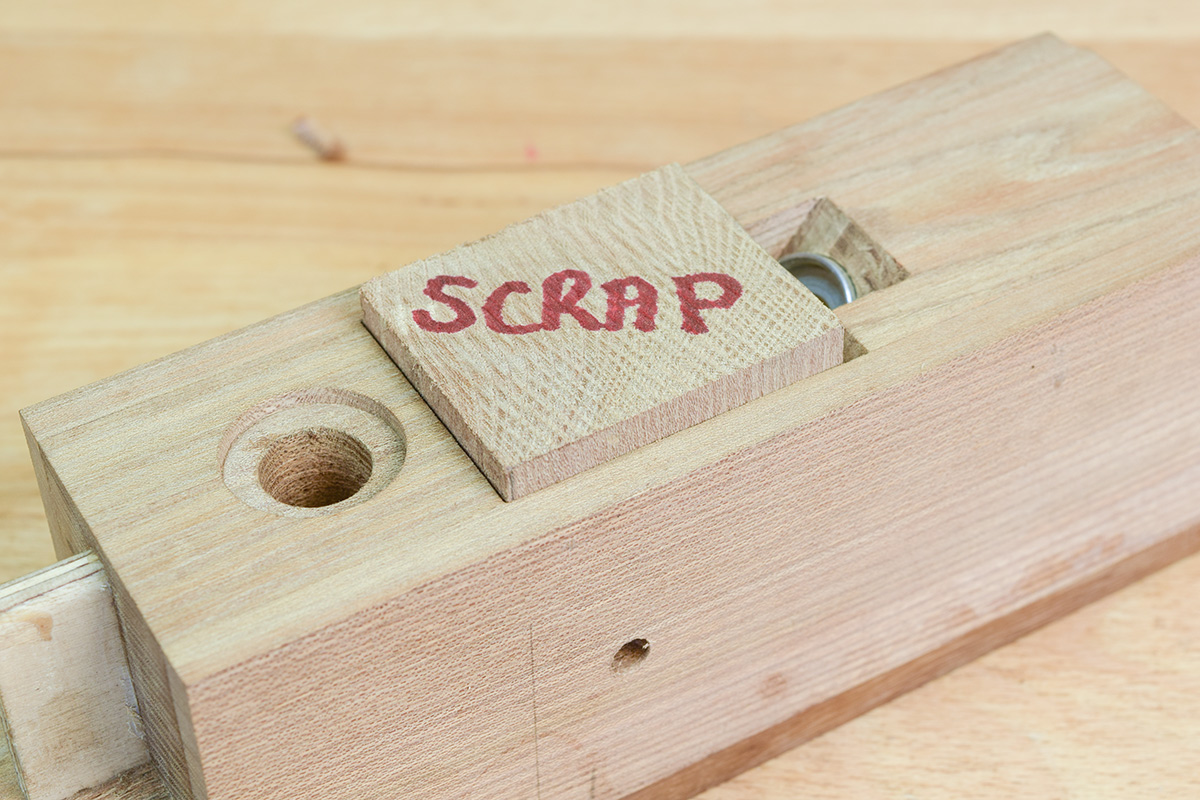
Step 24
Insert a scrap block into the mouth, mark and drill a ¼” hole through both cheeks for the brass rod supplied with the kit. Use the pillar drill for accuracy.
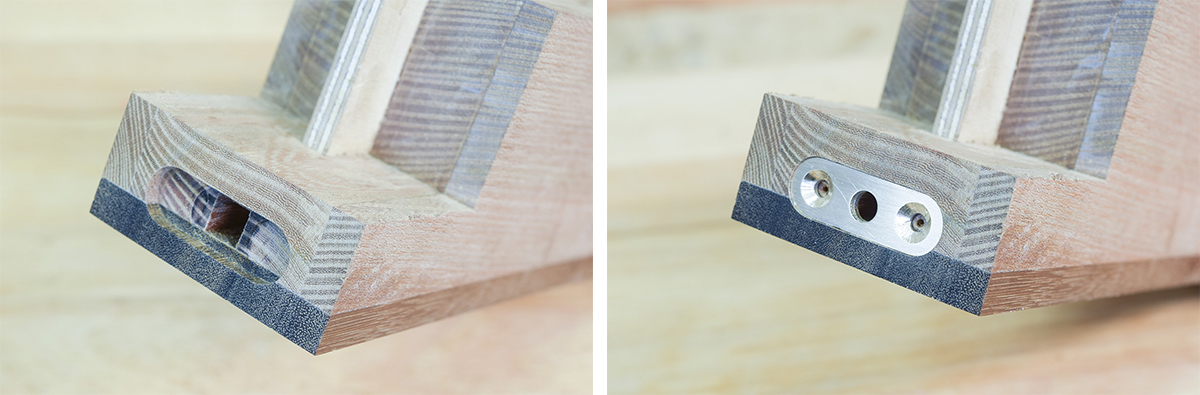
Step 25
Route a 12mm slot for the brass plate. Make the brass plate, drill and countersink the holes to accept 3.5mm screws.
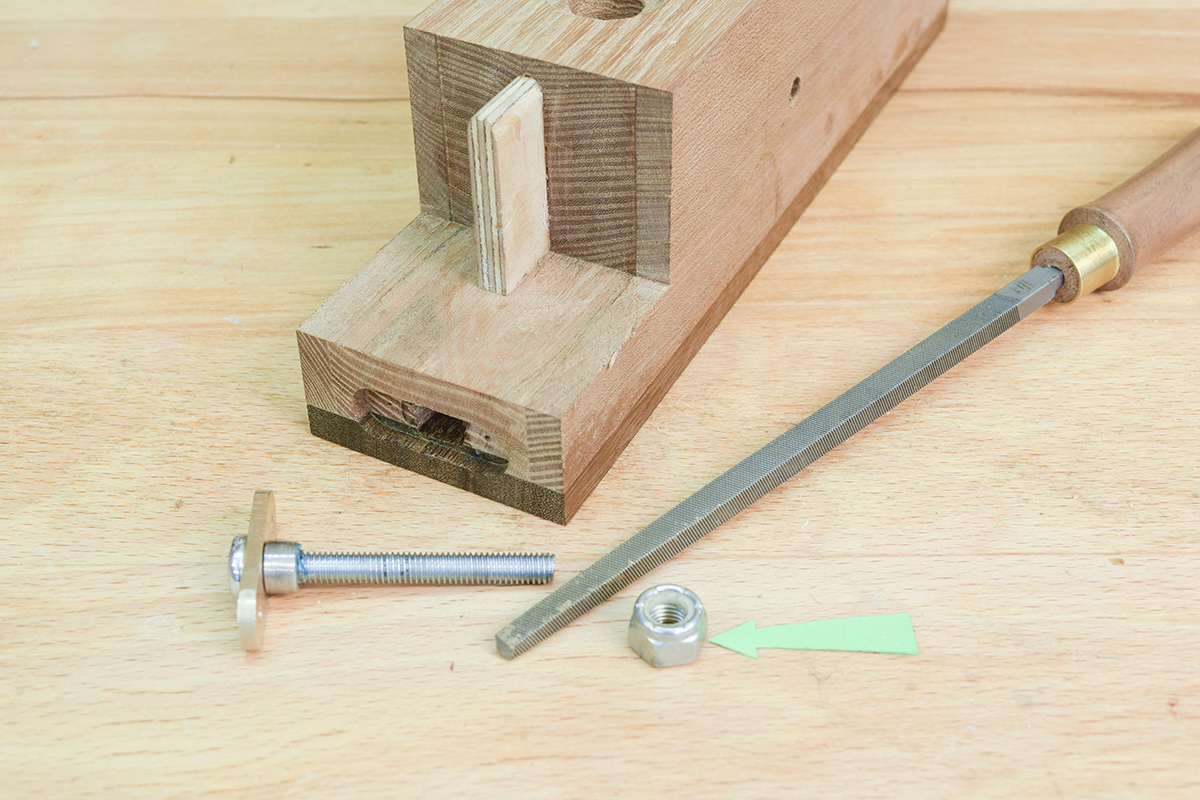
Step 26
Remove the corners from a 6mm nyloc nut (arrowed) and fit onto the pan head bolt to locate just underneath the brass plate, which should be free to revolve. Enlarge the 8mm groove if required with a four square file.
Step 27
Make a mock up of the Rear Tote (Item 9), ensuring that the brass adjusting knob is free to move sufficiently from side to side.
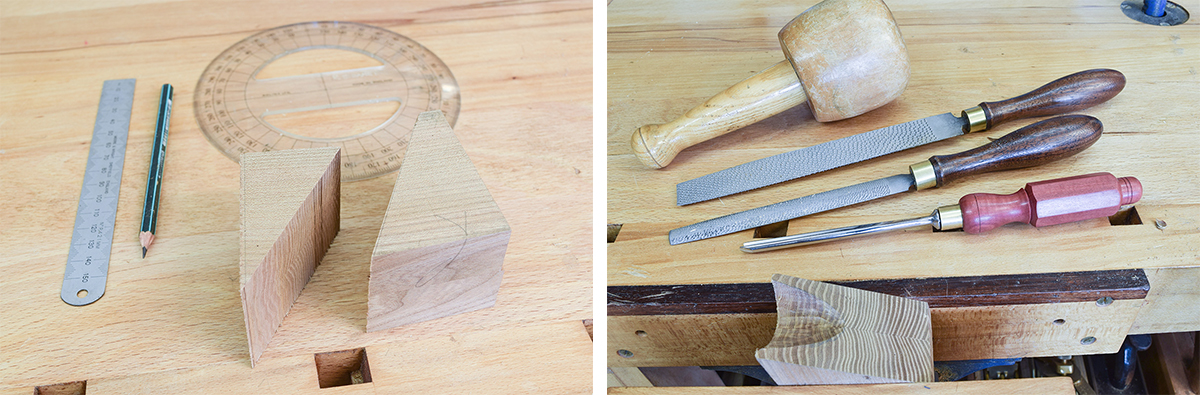
Step 28
Mark out and cut the Rear Tote at 50°, leaving it around 20mm higher. Use hand tools, the disc sander and Proxxon Mini Drill (with sanding drum) to shape the tote. Retain the other half of the block.
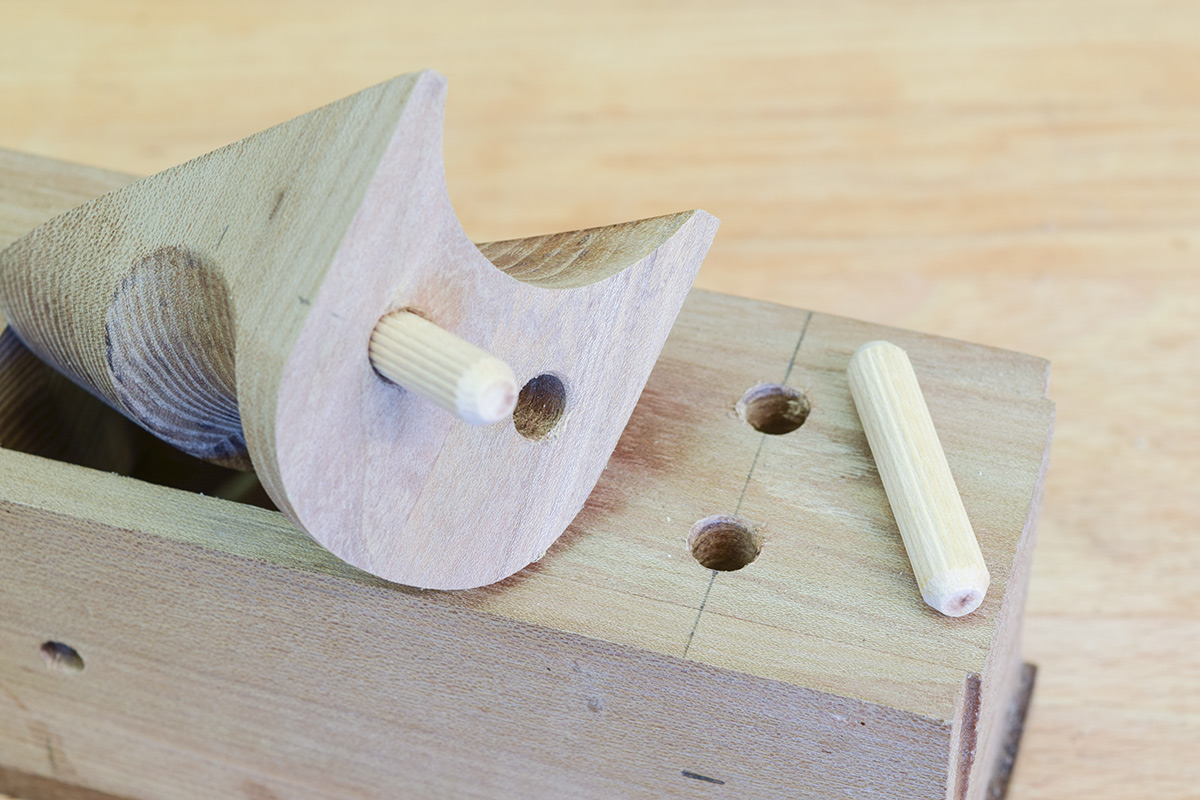
Step 29
Mark out the drilling positions for two 8mm dowels, place a panel pin in each position and clip off the heads (arrowed). Press the Rear Tote onto the pins to mark the corresponding hole positions.
Step 30
Drill 8mm dowel holes, fit dowels dry and test for alignment.
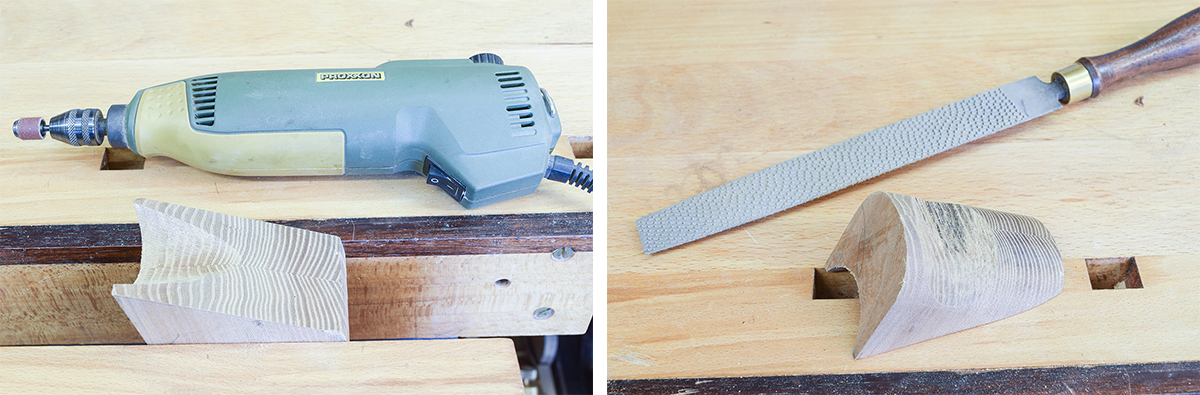
Step 31
Mark out, cut, shape and smooth the rear profile (arrowed) of the plane using hand tools. Round over the sides.
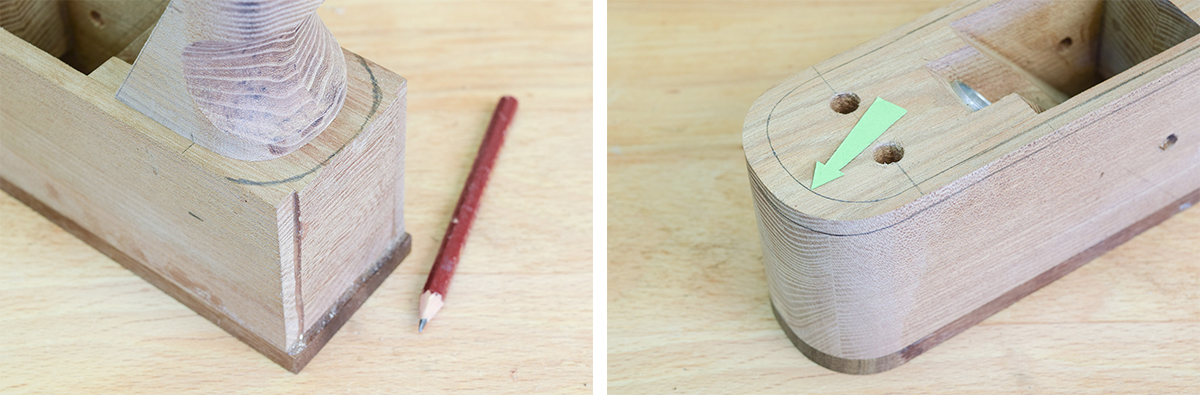
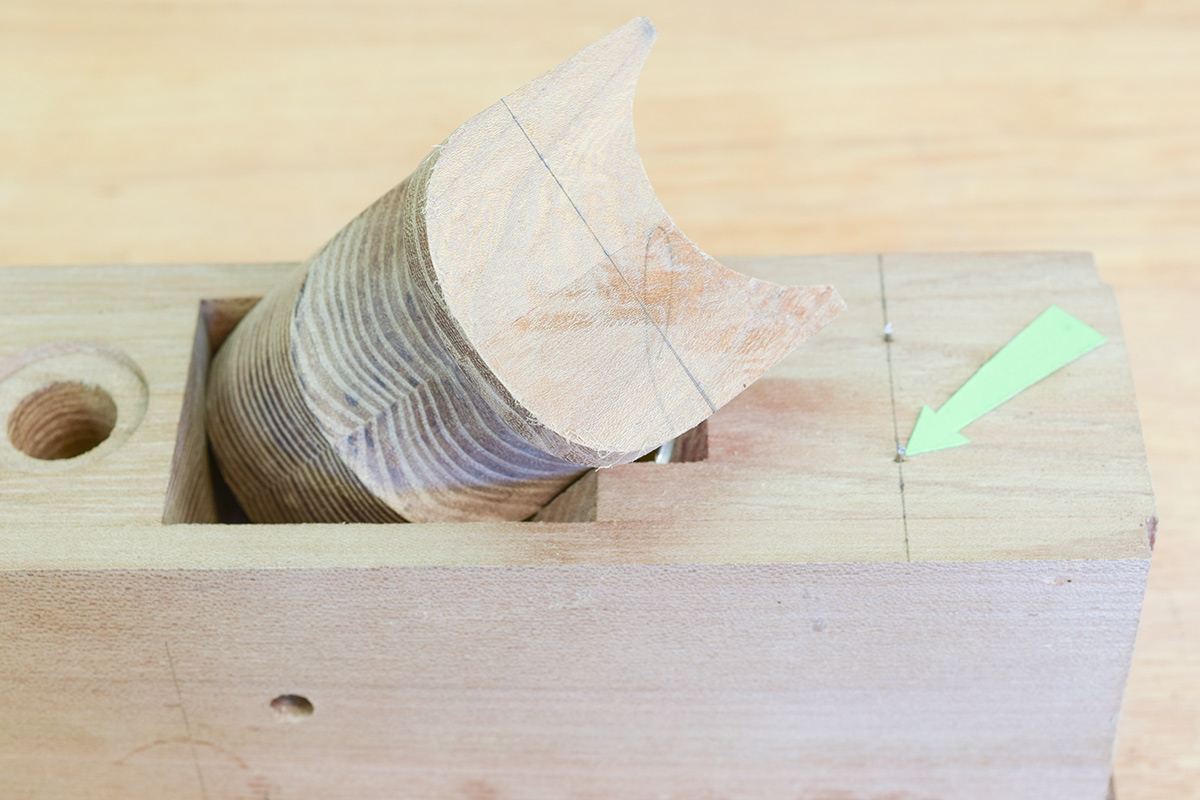
Step 32
On the other half of the Rear Tote, insert a panel pin (arrowed) and clip off the head.
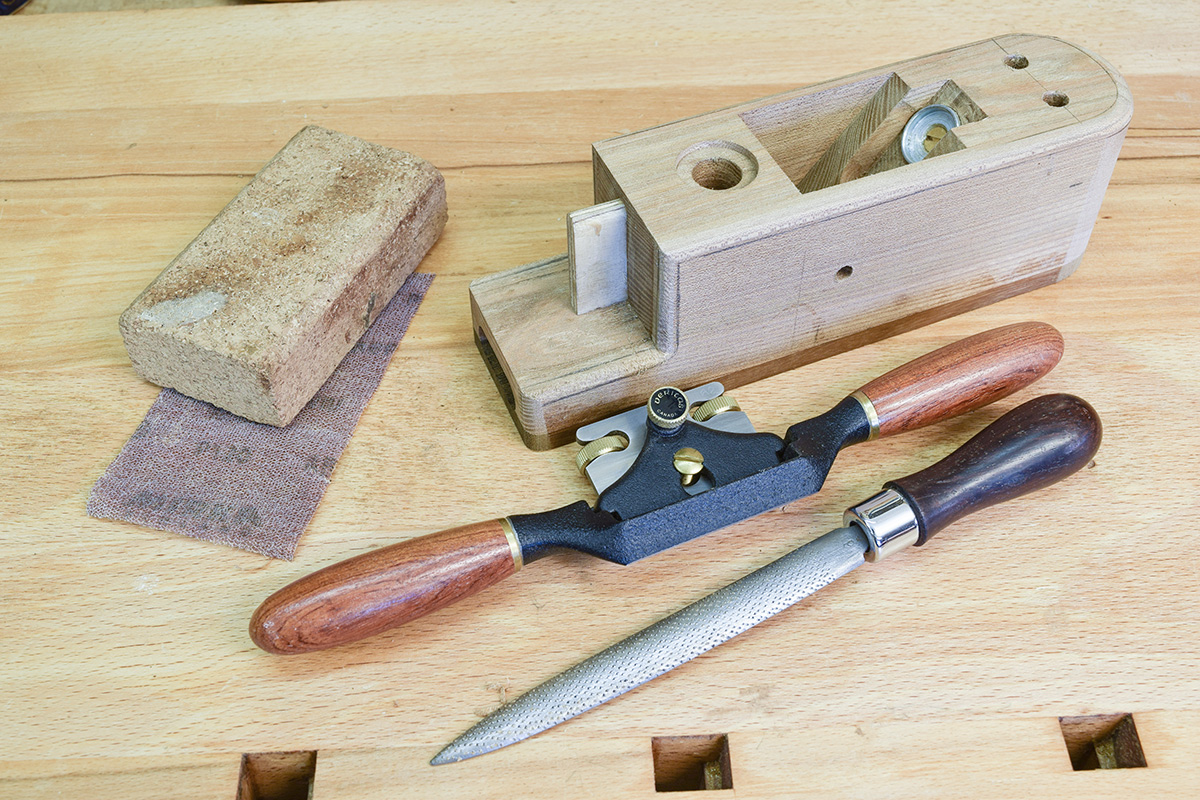
Step 33
Press the two halves of the Rear Tote together and bind very tightly with a length of rubber obtained from an old cycle inner tube. Glue the Rear Tote to the plane body with 8mm dowels, remove all glue.
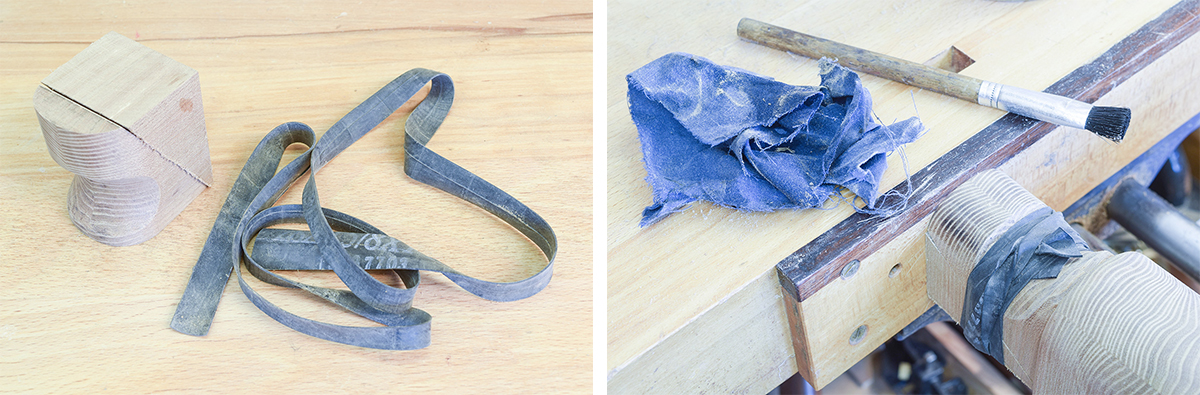
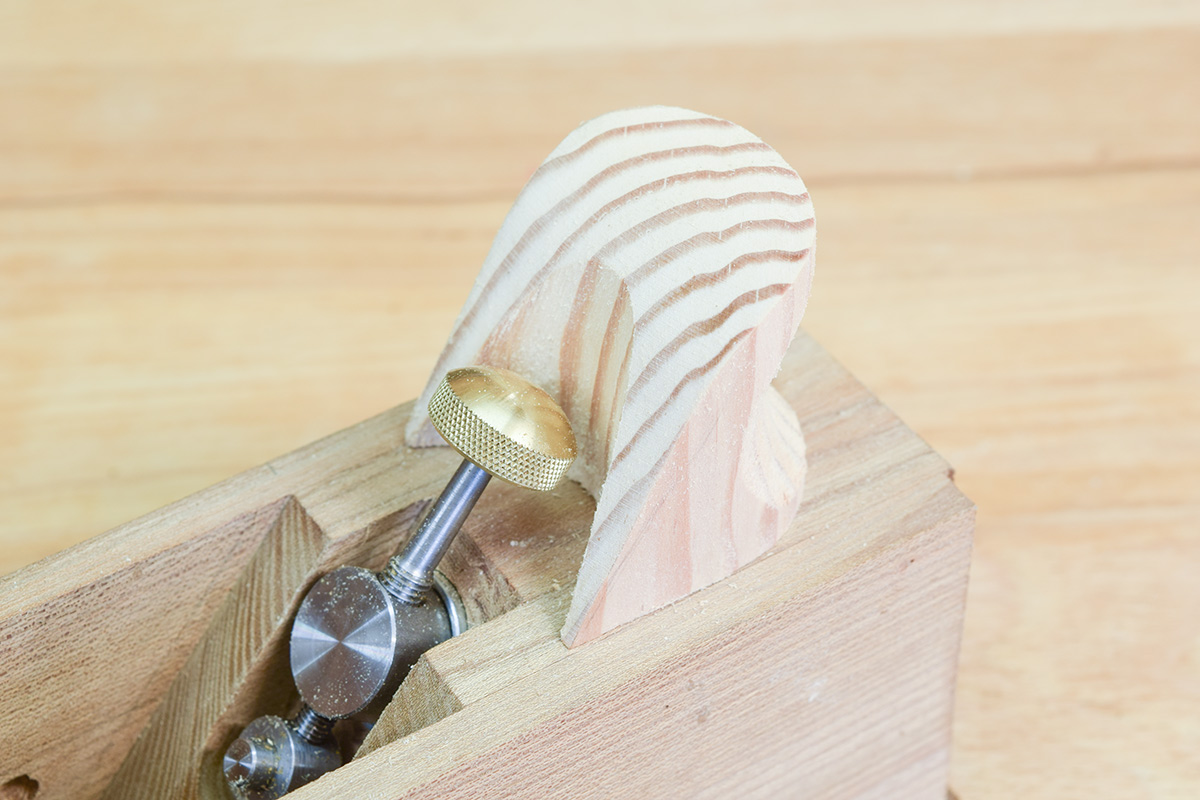
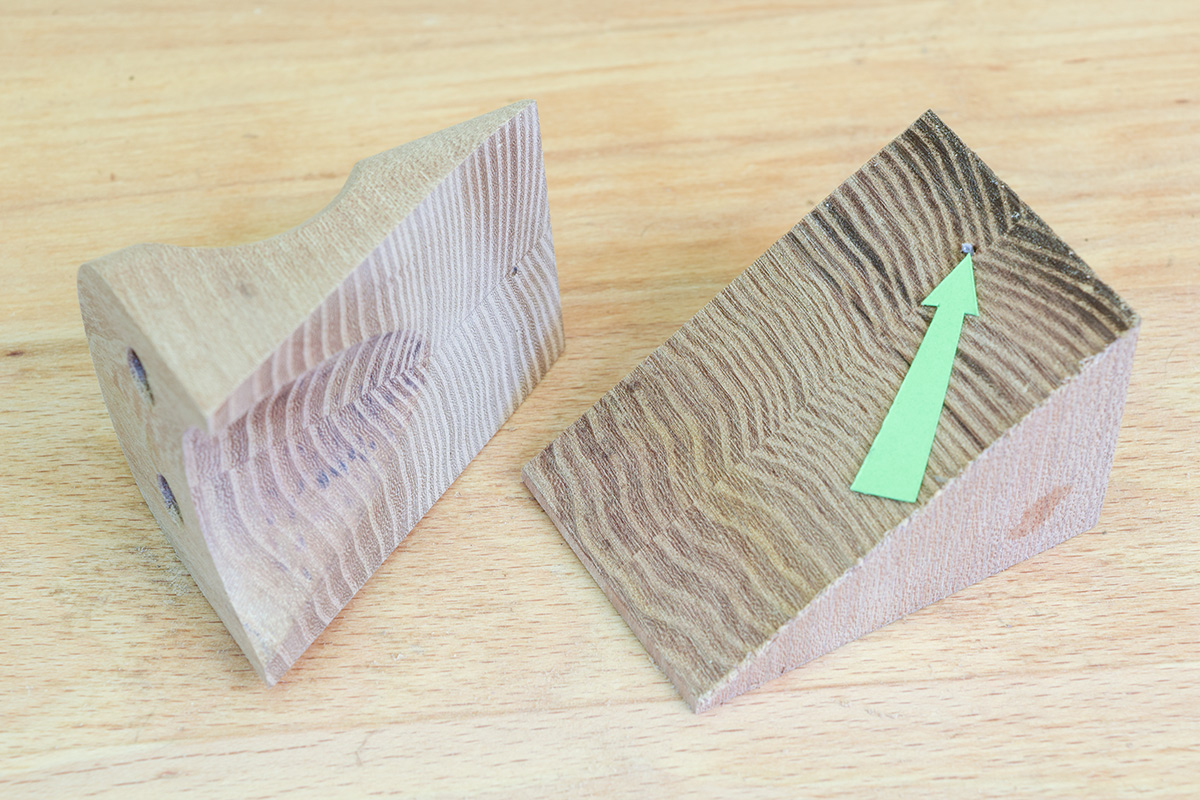
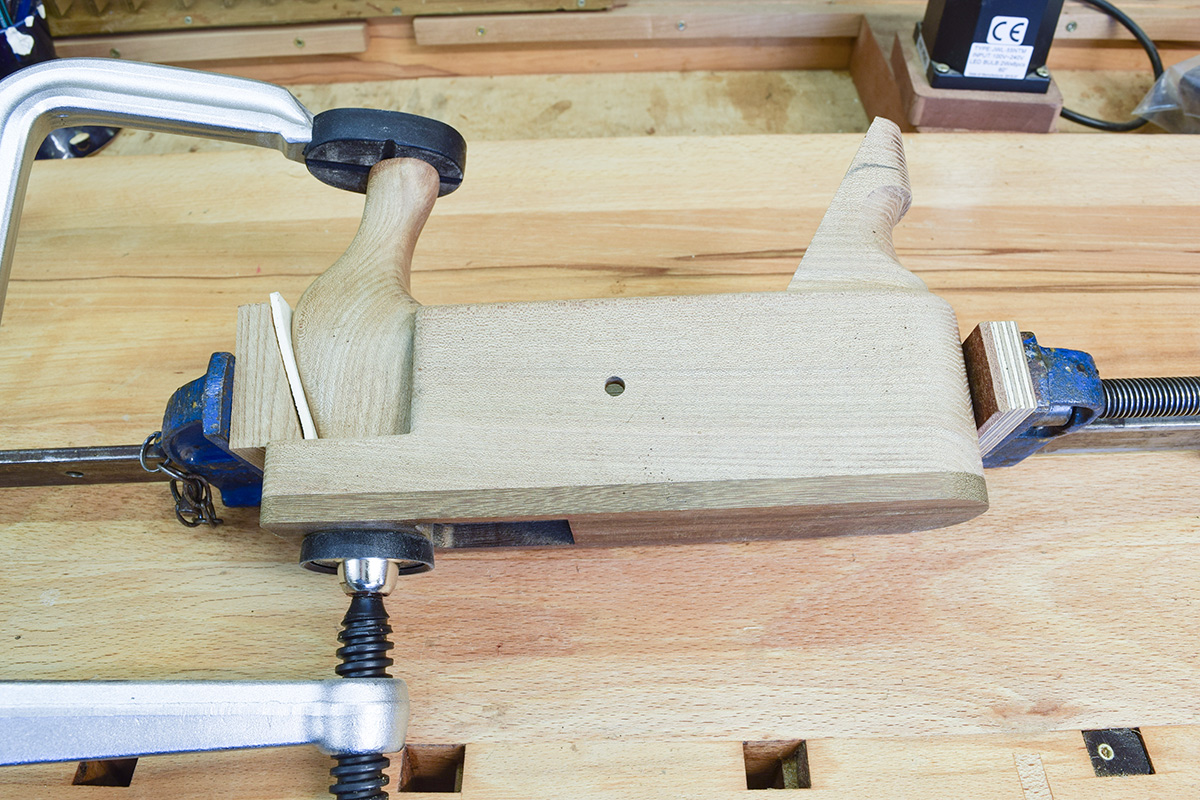
Step 34
Glue the Horn in position and clamp. When dry, remove the clamps, saw off the excess on the Rear Tote and shape.
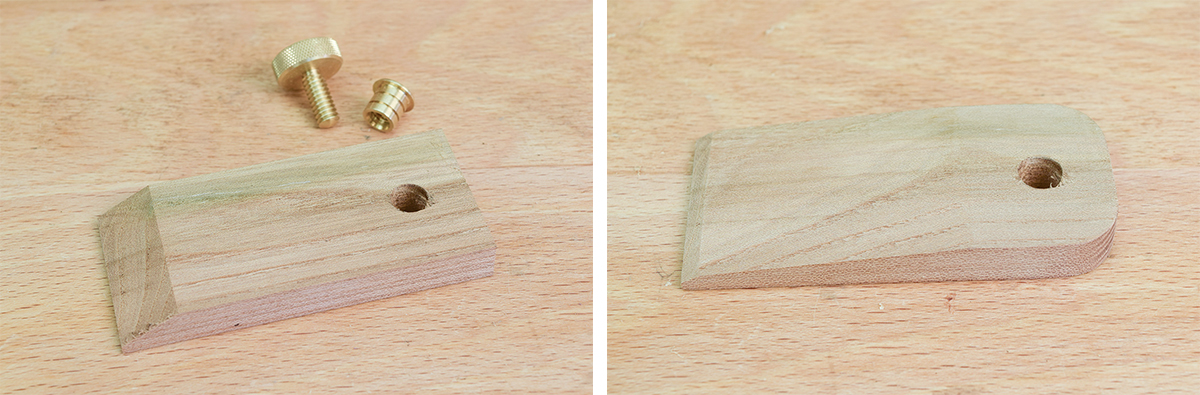
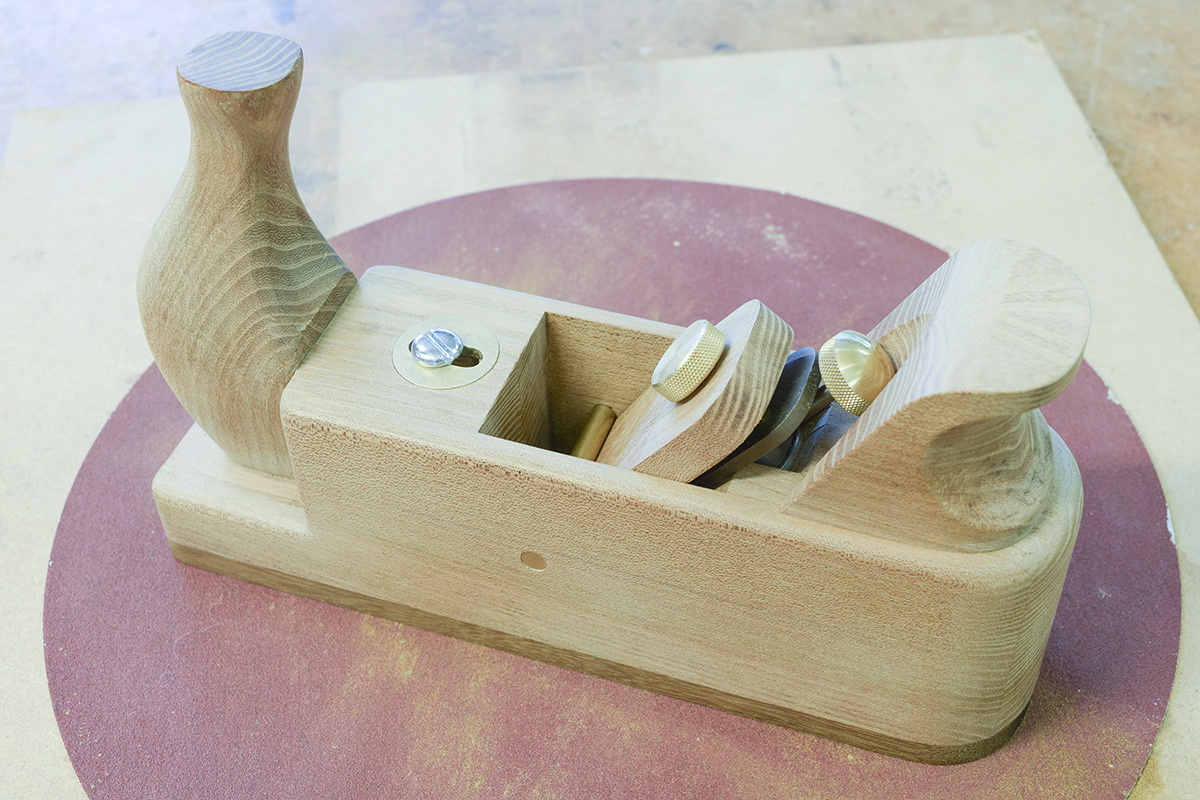
Step 35
Prepare the Cap (Item 8), mark out and drill a 9.5mm hole for the brass bolt. The bolt insert fits on the underside of the Cap. If required, shape the Cap to fit snugly under the brass rod with the blade in position on the bed.

Step 36
Apply candle wax to the blade bed (allows the blade to be adjusted more easily).
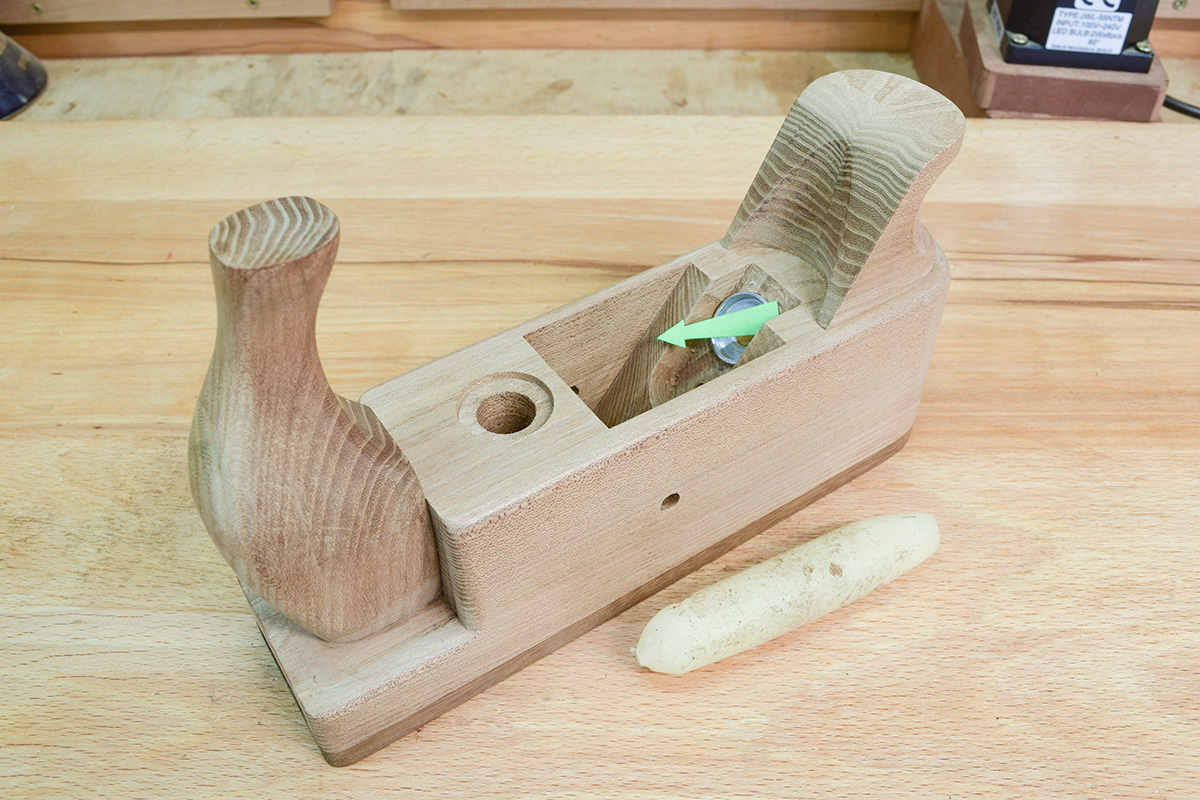
Step 37
Assemble the plane with the blade retracted beneath sole (arrowed). Ensure blade is under normal working pressure by tightening the Cap bolt and make sure the Mouth Block is fully tight in its recess. Dress the sole on a sandpaper board until dead flat, check with a straight edge.
Step 38
Take the plane apart, detail sand and apply a finish of choice.
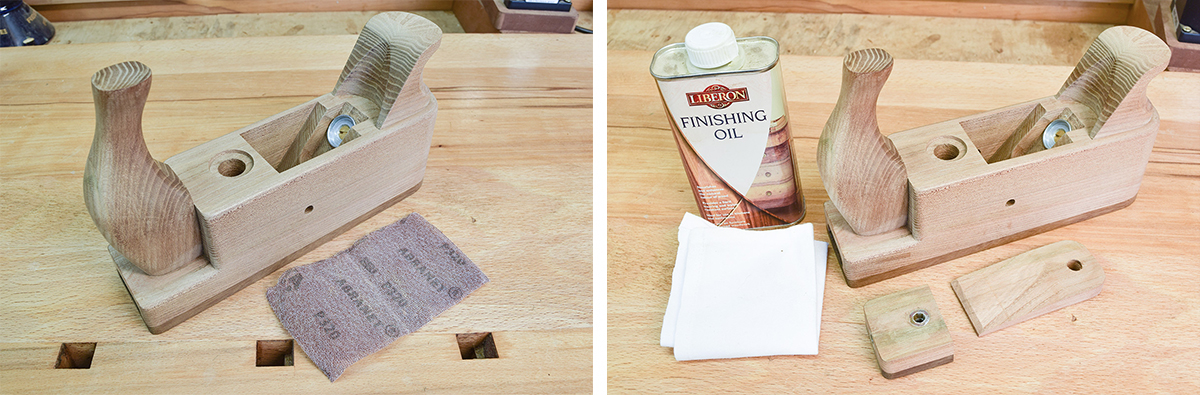
Step 39
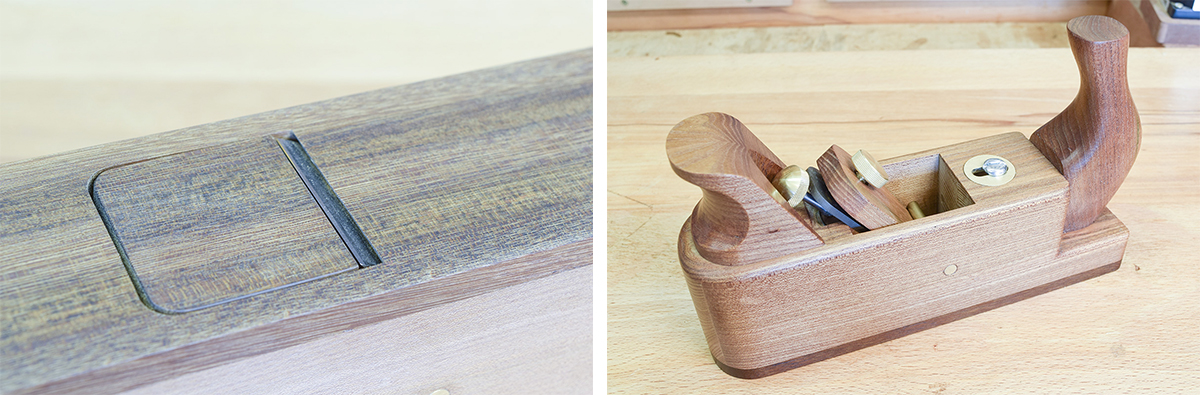
Reassemble plane, epoxy the brass disc in position. Screw the brass plate into its routed slot with 3.5mm Torx screws. Always slacken off the Cap bolt before moving the Norris style adjuster. Once the blade is set correctly, tighten the Cap bolt to hold the blade in position. Adjust the Mouth Block for a fine opening.


Wow! That's fantastic. A great job showing the steps in the instructions. I'm not so fond of the 'horny' type of plane so I may have to build one in a more, gasp, modern style. Good job!