How to Make a Resin Ocean Art Clock
Epoxy Resin is a hugely popular medium for artists and crafters. With pigments and colours the many effects you can create is endless.
Ocean art is hugely popular and can be applied to so any different projects, from coasters and placemats, to paperweights, wall art an even tables.
In this article we show you how to make your own ocean art resin clock using Entropy Resin and pigments.
Watch our video or follow our step by step guide below.
Prepare your materials
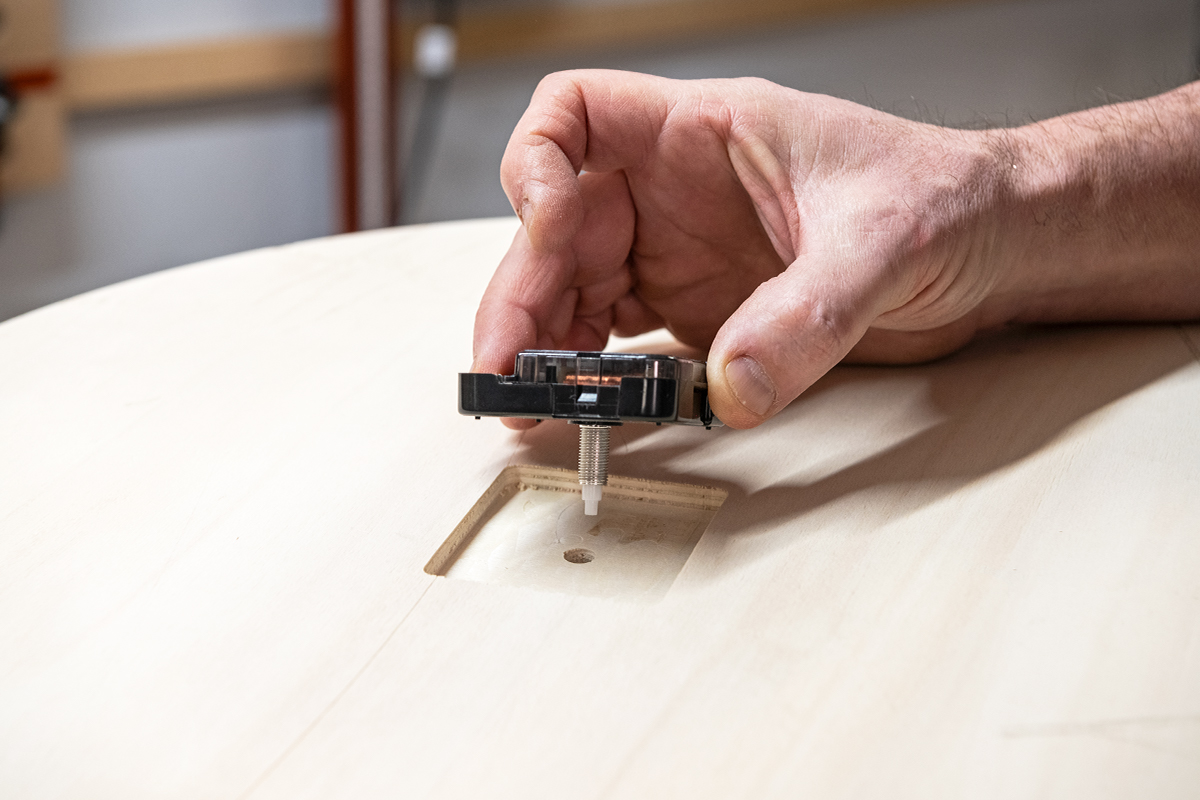
Cut a piece of ply to your desired diameter and give it a light sanding. Find the centre point and cut a recess for your clock fittings and drill a hole to attach the clock.
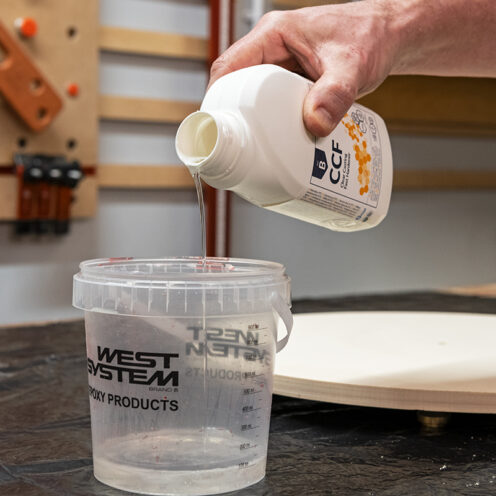
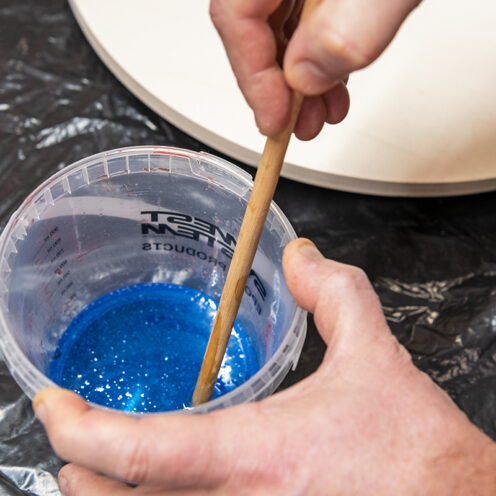
Measure and mix the resin as per the instructions, add the pigment and mix to create the required colours - blue and white. It is best to mix these a the same time to ensure your resin consistency is the same when pouring, which will help with creating the seafoam effect.
Pour the resin
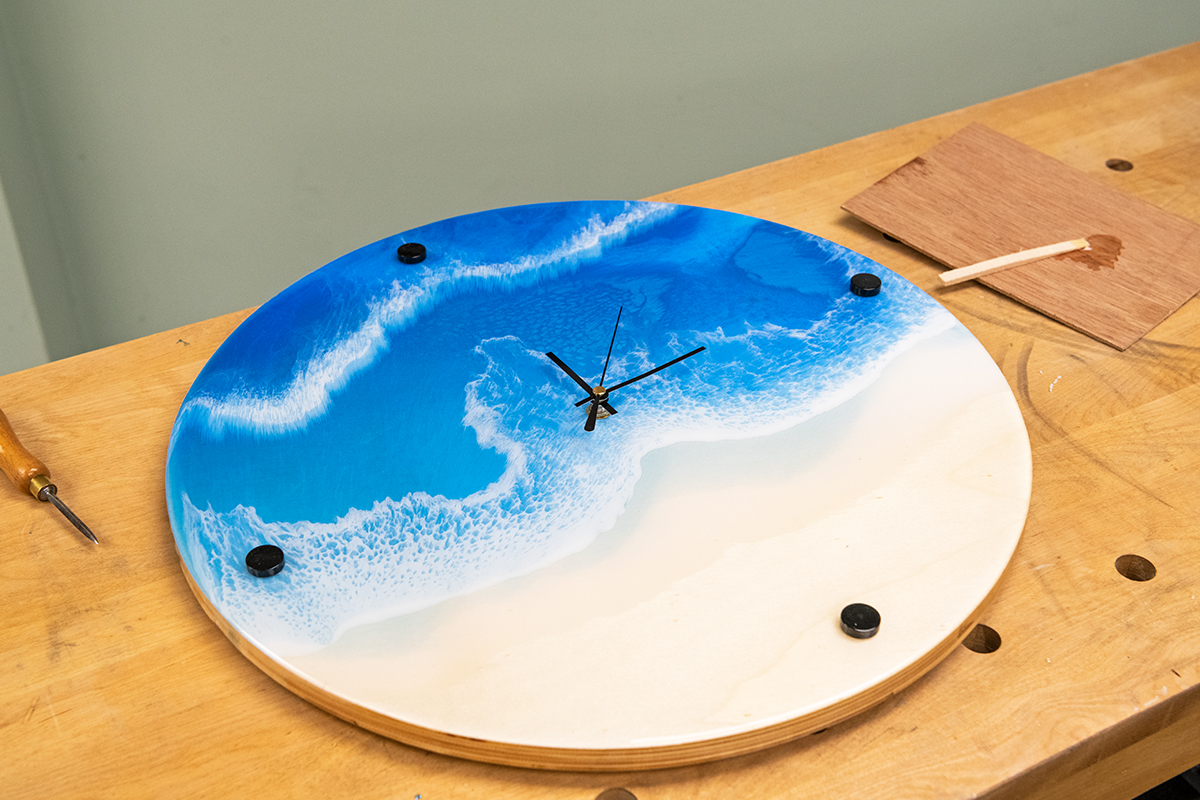
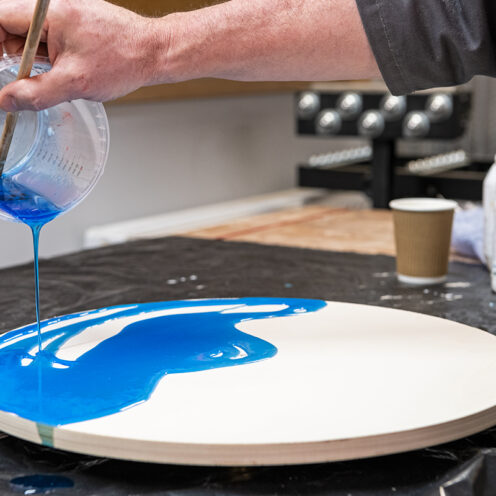
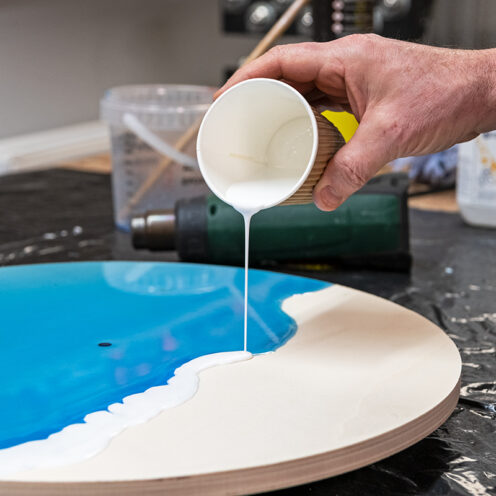
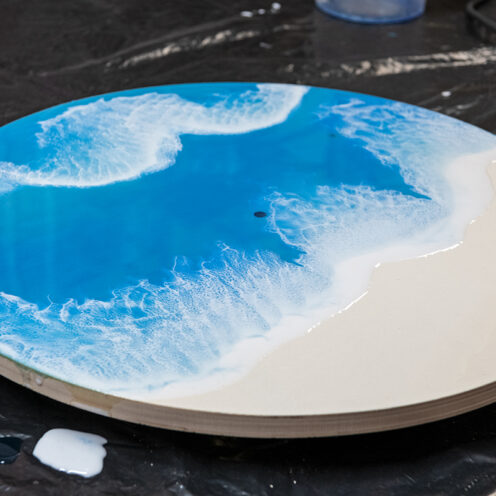
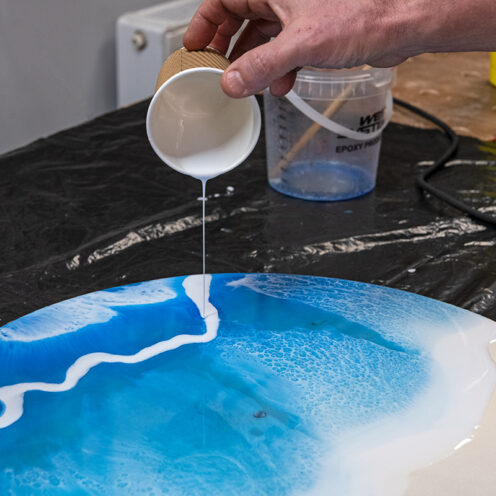
Once mixed, pour the blue over two thirds of the clock face, leaving the bottom third exposed - this is the sand. Spread the blue to cover the top section to create the sea. Then, with the white, pour a line where the sea meets the sand, and also along the top half of the sea section - this will create the seafoam.
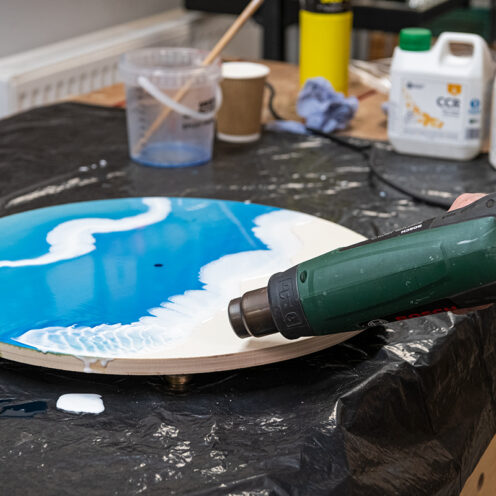
Leave to dry for 20-30 minutes so the resin becomes tacky, but not fully dry.
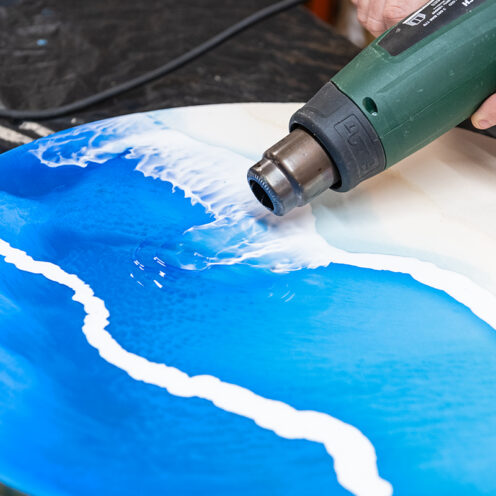
Next, use a heat gun aiming at the white line and pointing up towards the top of the clock - this will blow the colours, mixing the white into the blue to create the seafoam effect. Repeat on the top line also. Move the heat gun along until reaching your desired effect. The more you blow the more the colours will spread and mix.
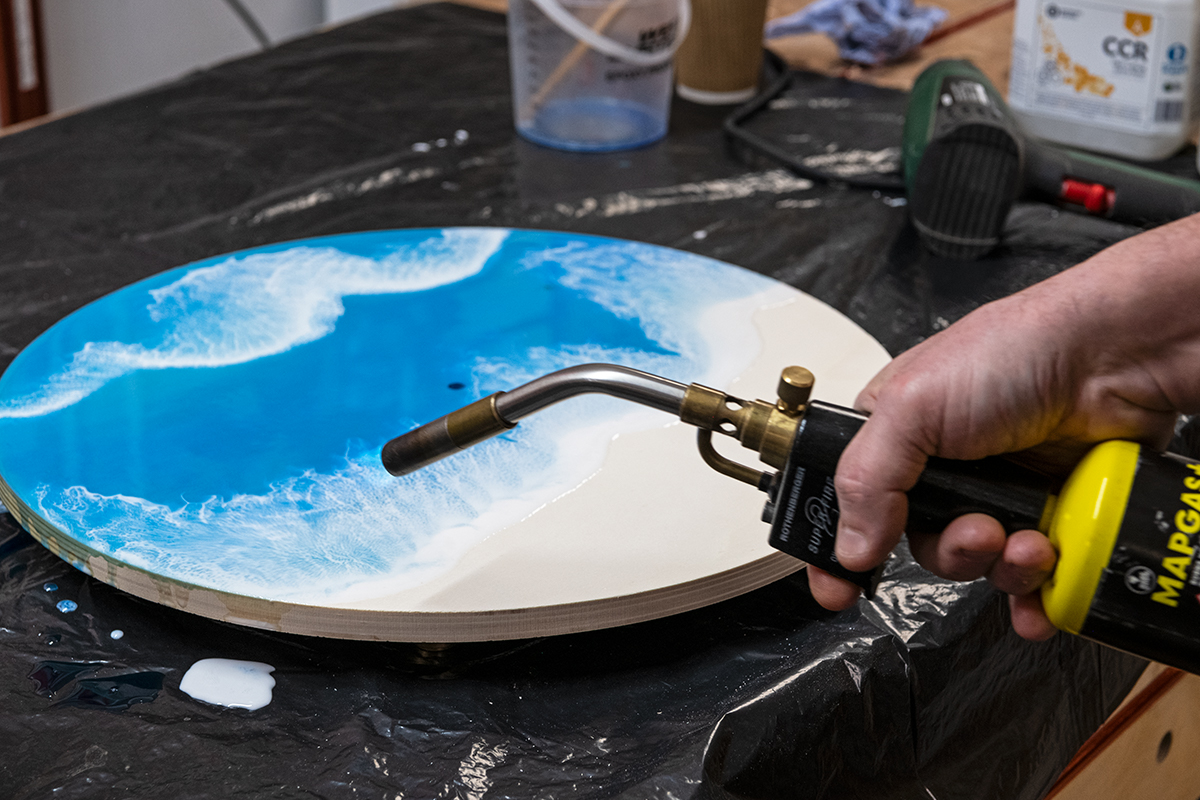
Use a blow torch to remove any bubbles. This will also help create a more webbed look, creating splashes in the foam.
Leave to dry for at least 24 hours.
Second resin pour and top coat
Depending on your desired look, you can repeat the process with a second pour to build up the colours and layers, adding more depth to the scene and definition to the waves and seafoam. If doing this, repeat the same steps as before.
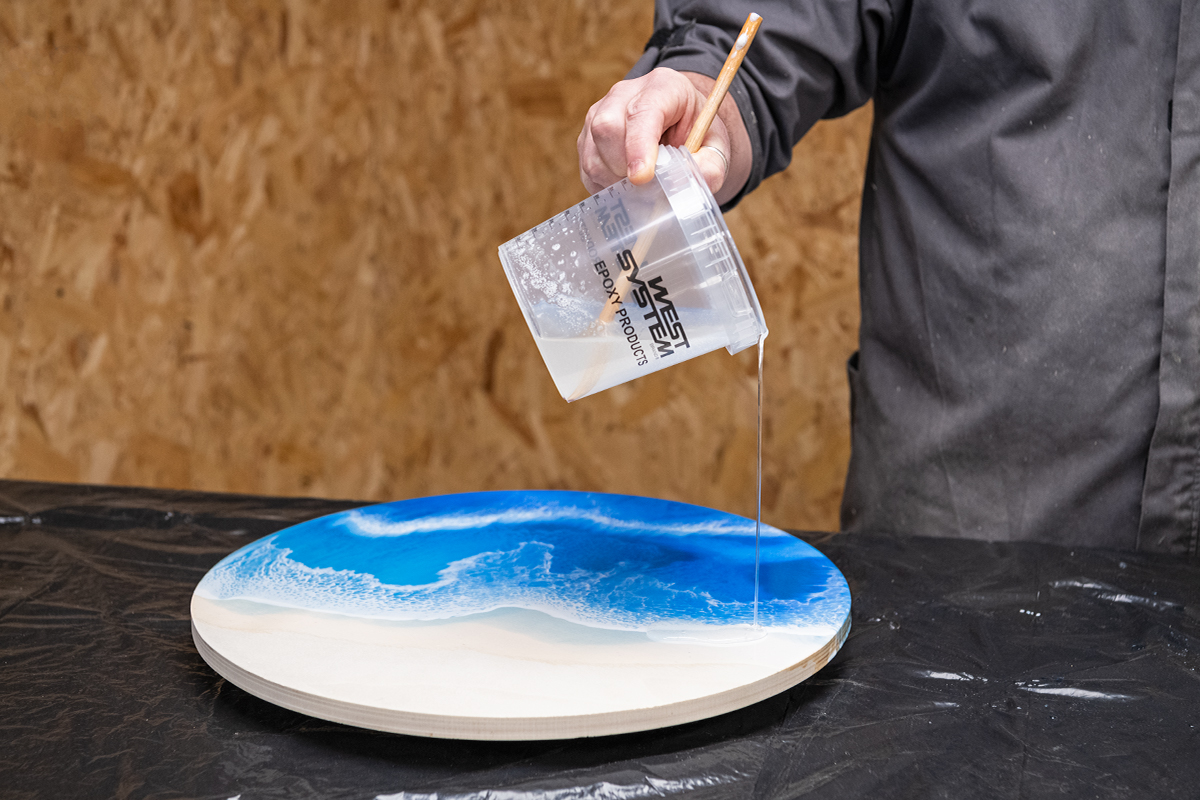
Once fully cured you will need a final clear resin layer. Mix the resin as before as per the instructions, but this time without pigment. Pour and spread until the clock is fully coated. Remove any bubbles with a blow torch as before.
Leave to fully cure for 24-36 hours to be sure the resin is fully set.
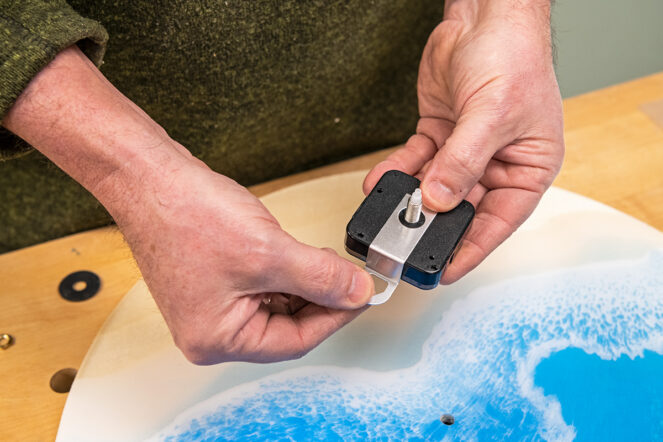
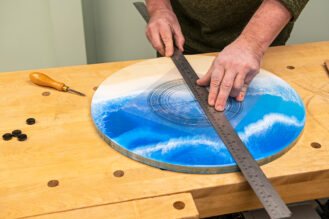
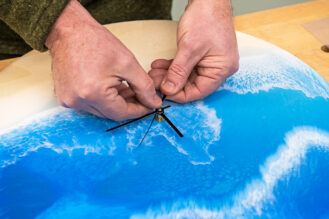
Add the clock insert and numbers
Once fully dry, you can add your clock numbers and clock insert. We chose to turn small discs from an acrylic blank to glue into the 12, 3, 6 and 9 positions. Using your centre point, measure out the positions and glue in place. Finish by inserting the clock movement mechanism and attaching the hands.
Made it? Share it!
If you have made this project or any of our Woodworking Wisdom projects we would love to see them. Share with us your pictures on social media by searching and tagging @axminstertools on Facebook or Instagram.