Make a Simple Engine Project
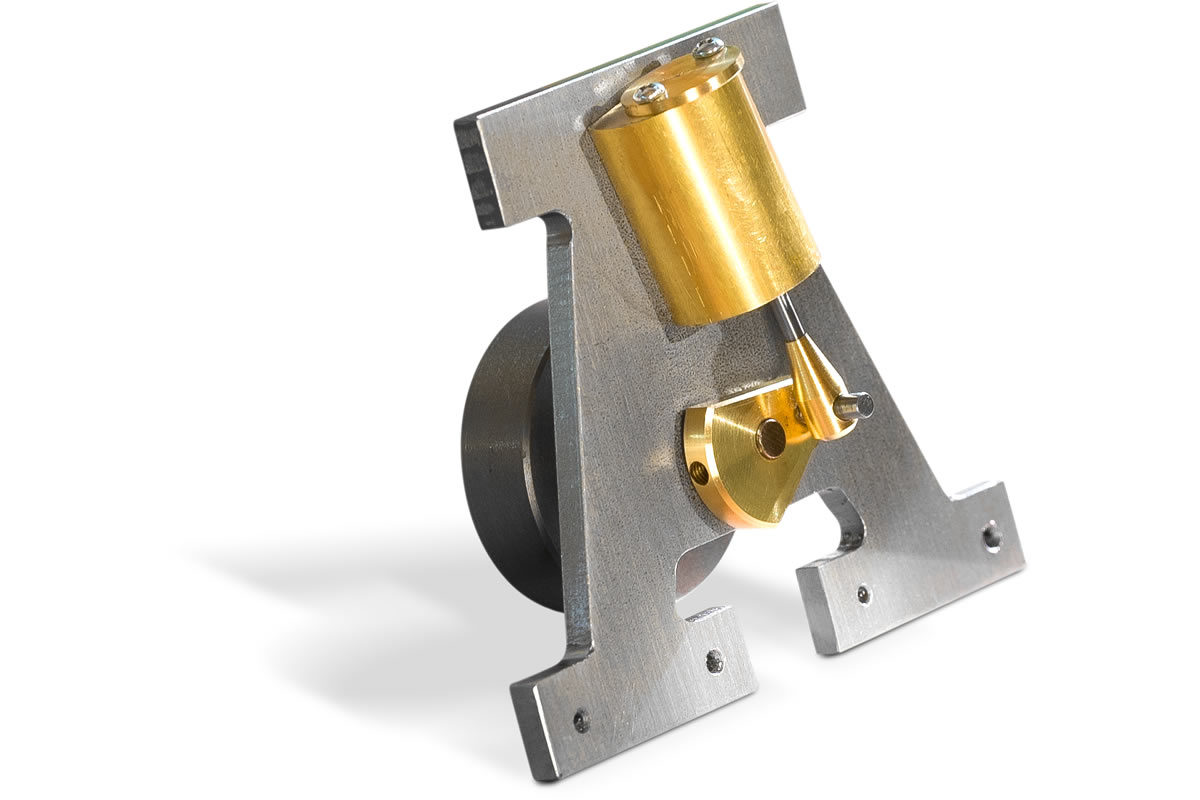
Over the past few years I've met many people coming through the doors of the engineering room at the Axminster Skill Centre and one question has come up more than most. How do I get started in model engineering? There are not always clubs nearby and, for a novice, it can be an intimidating circle to enter. Clubs are not everyone’s cup of tea and most of us have commitments such as family, work and other hobbies that don’t allow a set amount of dedicated time each week. So, in this post I’m starting a project which can be done in a time frame you decide on.
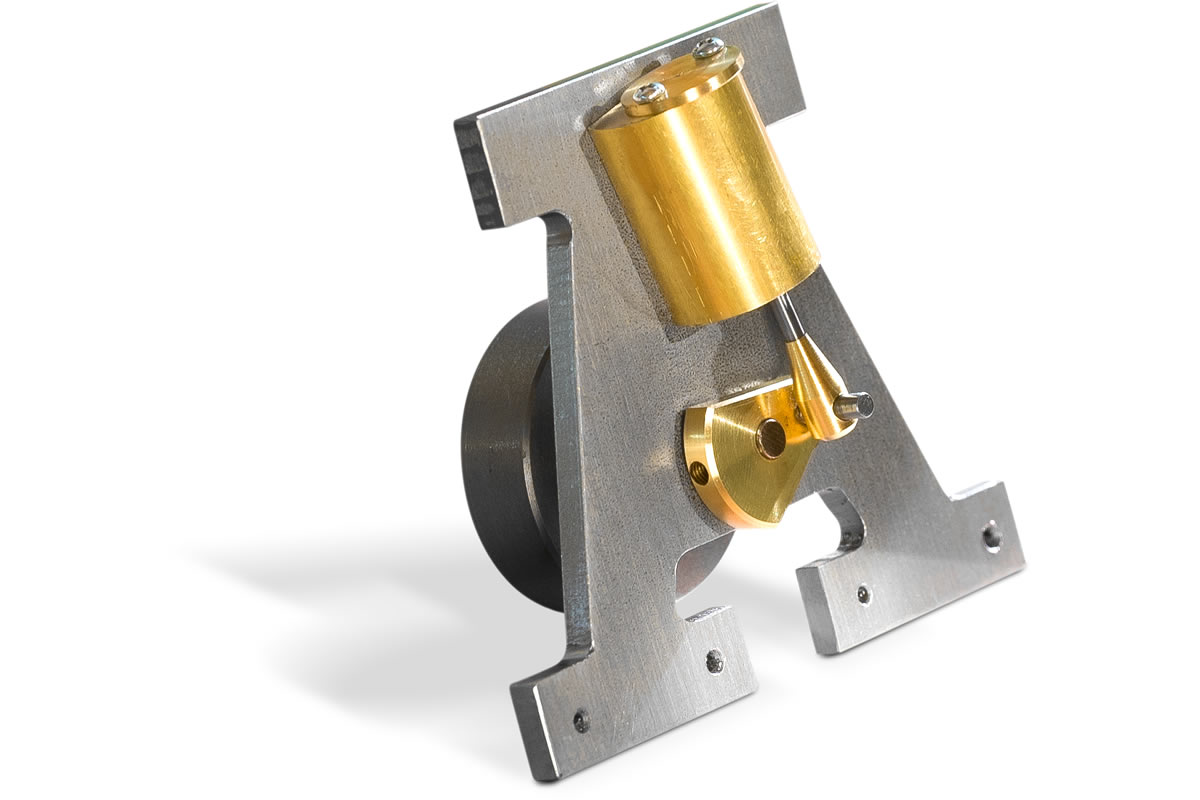
Starting with this entry let’s make a simple engine that will whet the appetite for discussion and further projects. The inset picture shows the finished piece and we have released drawings for those new to model engineering and a step-by-step guide on how to machine them. You will, of course, need to have a basic knowledge of machining but all is not lost if you do not. Why not come on one of our basic engineering courses and be taught by one of our engineering tutors? No experience is needed and confidence on the machine is guaranteed!
So, without further ado, let us start model engineering!
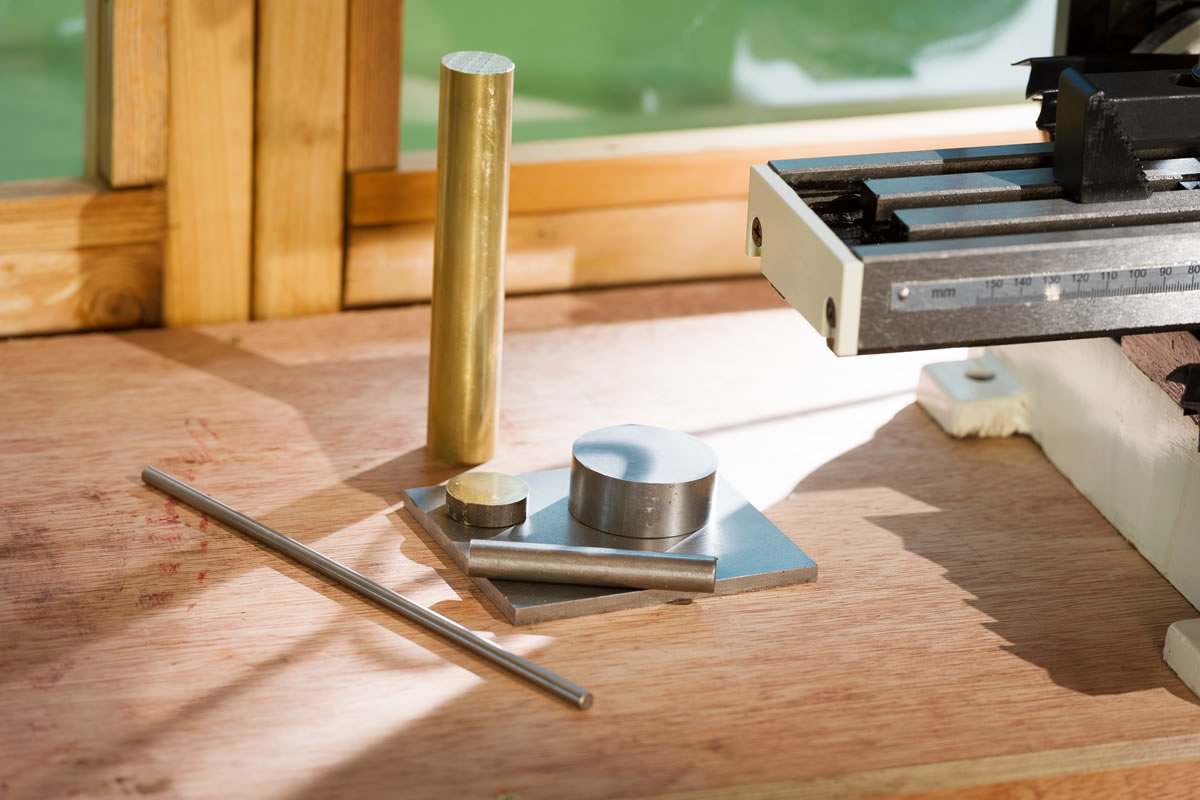
Firstly, to follow along you need some materials! Fortunately for you, we have made those used by us with the Axminster Engine Materials complete kit which you can buy here - including the basic stock to make all the parts. Alternatively, there is nothing stopping you from sourcing your own. See below for a full list of the tools we used to make our engine, all of which are available to buy now through our website.
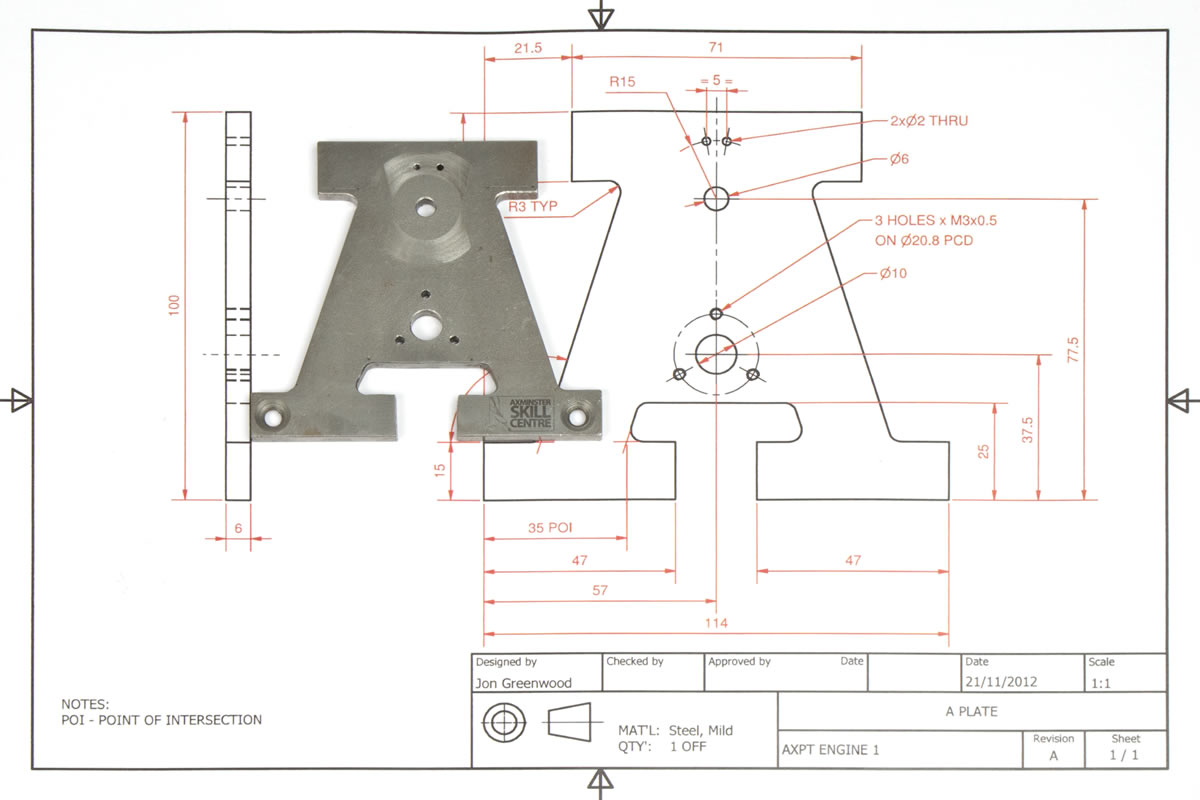
You can download the drawings for the frame of our engine here. You will notice we have designed it to replicate the original Axminster "A". Again this is not an essential design for the workings of the engine but, I hope you’ll agree, makes the frame both aesthetically pleasing and interesting.
Step by Step Guide
- Set the steel plate square on the machine bed, using engineers square
- Find central point of 10mm hole and measure each point from there
- Using a scribe, mark out points
- Using 6mm end mill cut all straight parts
- Using protractor, set work at required angle and mill
- Use centre drill to make pilot for 6mm and 10mm holes
- Drill both 10mm and 6mm holes
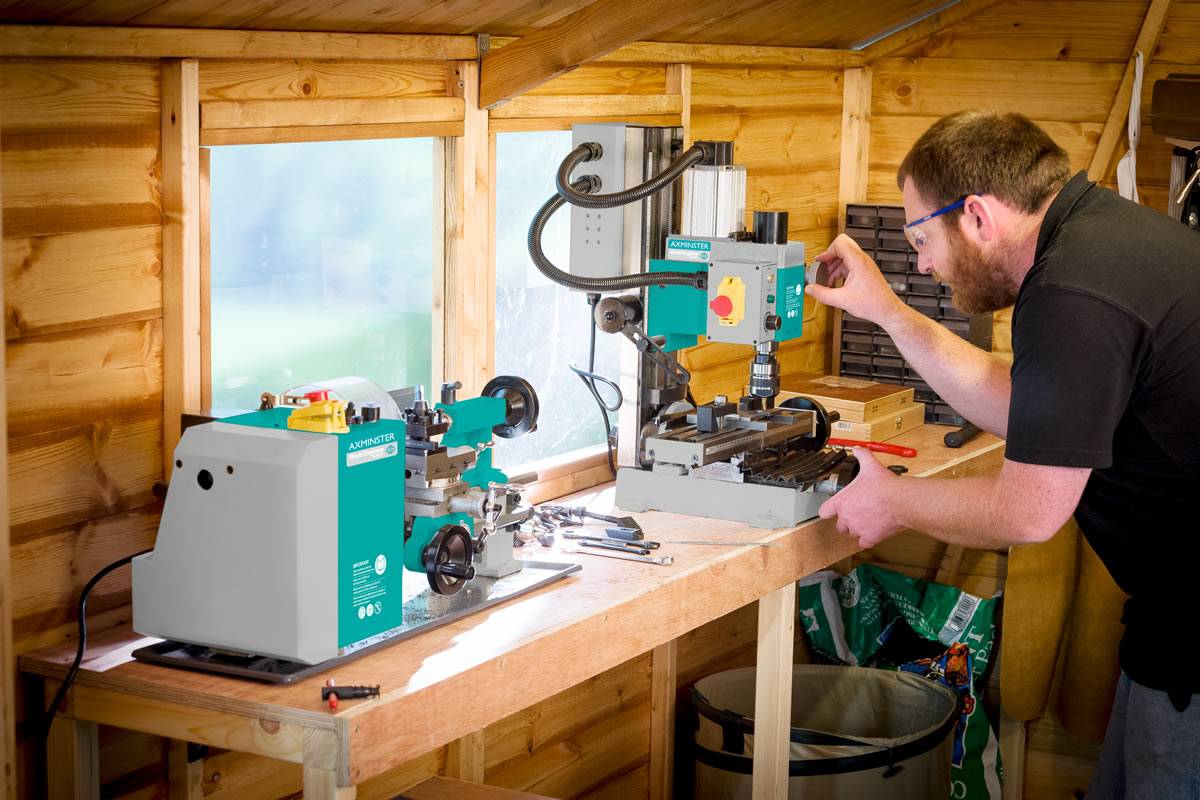
The tools we used to make the Axminster 'A':
- SX2 Mill
- 12mm Clamp Kit
- 75mm Precision Machine Vice
- Auto Locking Collet Chuck
- 6mm End Mill
- 6” Steel Rule
- Protractor
- 6mm Drill Bit
- 10mm Drill Bit
- Scriber
- Axminster Workshop 4 Piece Square Set
- Axminster Engine Materials Kit
The next part of the project is the engine’s fly wheel. This can be as basic or as elaborate as you like. We’ve put a bit of a recess in ours and painted it red, at the very least we recommend taking the sharp edges off.
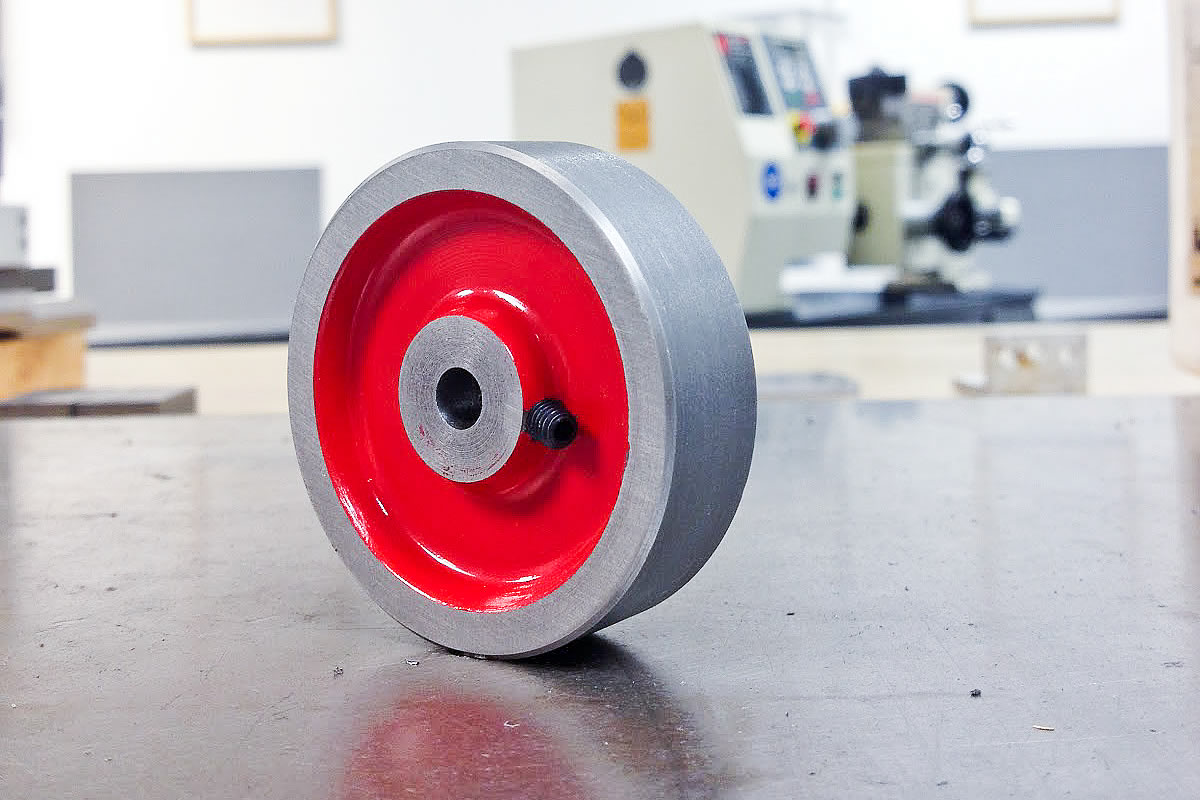
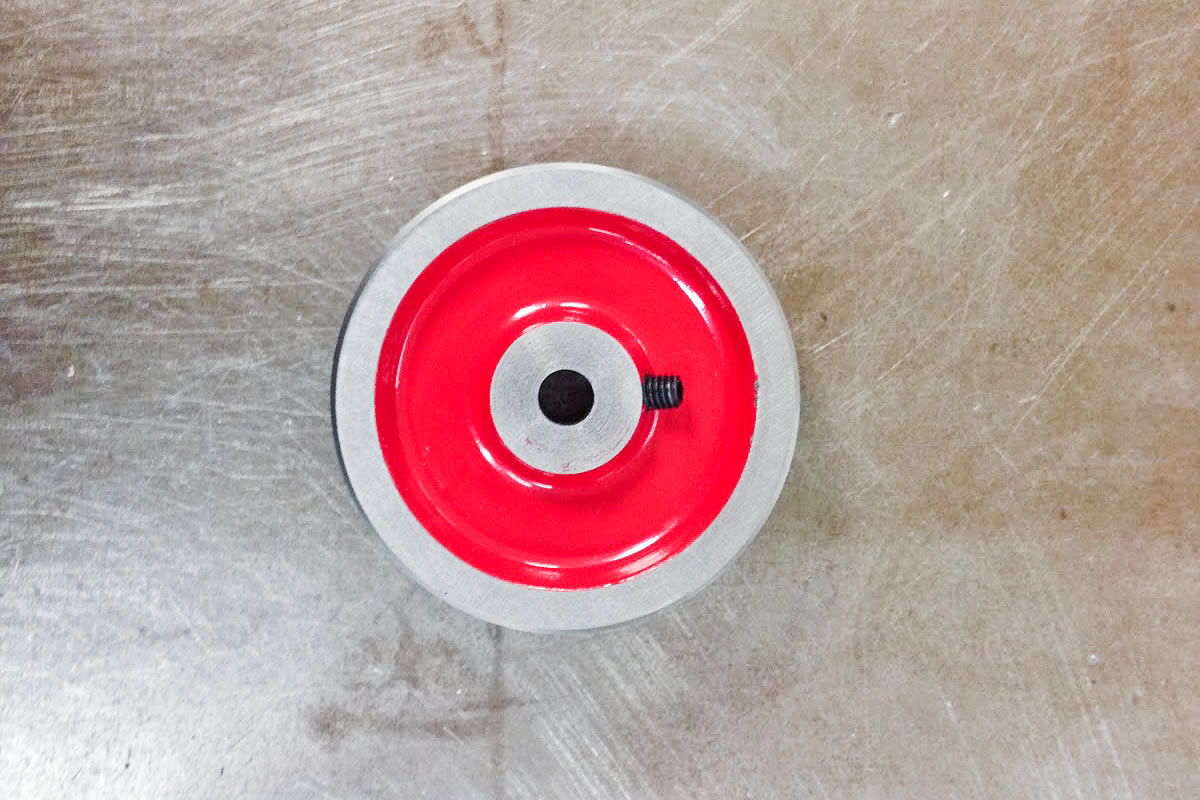
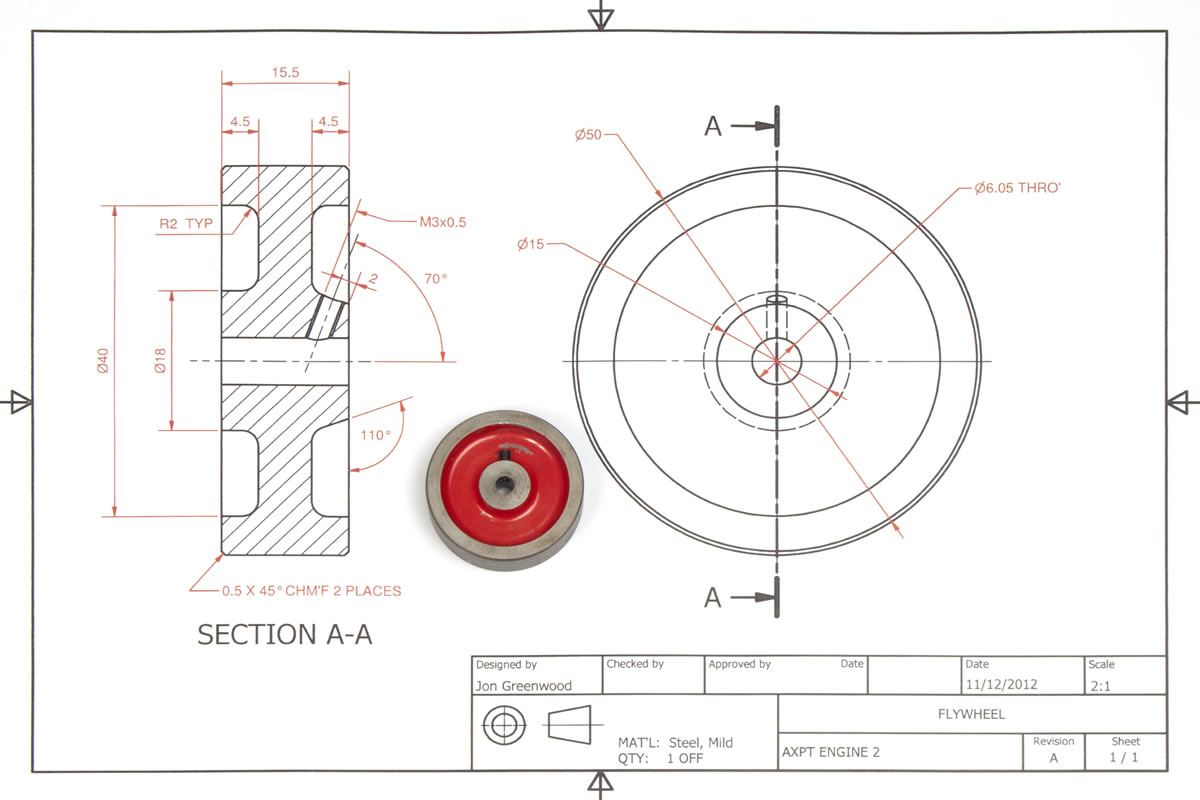
Take a look at the drawing for the fly wheel and let us know how you get on, pictures and comments are most welcome.
Flywheel
- Deburr 50 x 25mm EN1A and fix into the chuck
- Face off material
- Use a straight radius tool (we ground an HSS tool) and move into the face of the material. Move the cutter side to side until you have reached the correct depth and diameter
- Turn work the other way and face to size and repeat process
- Centre drill
- Drill 5.5mm then drill 6mm. Alternatively, drill 5.5mm and ream 6mm
- Turn a 6mm mandrel and cut a thread
- Using a washer and a nut secure
- Skim the diameter taking light cuts to ensure the fly wheel does not spin
- For the grub screw placement; either set and drill using a pillar drill or mill. We actually used a standard pistol drill and did it by hand
- Tap M4 thread by hand
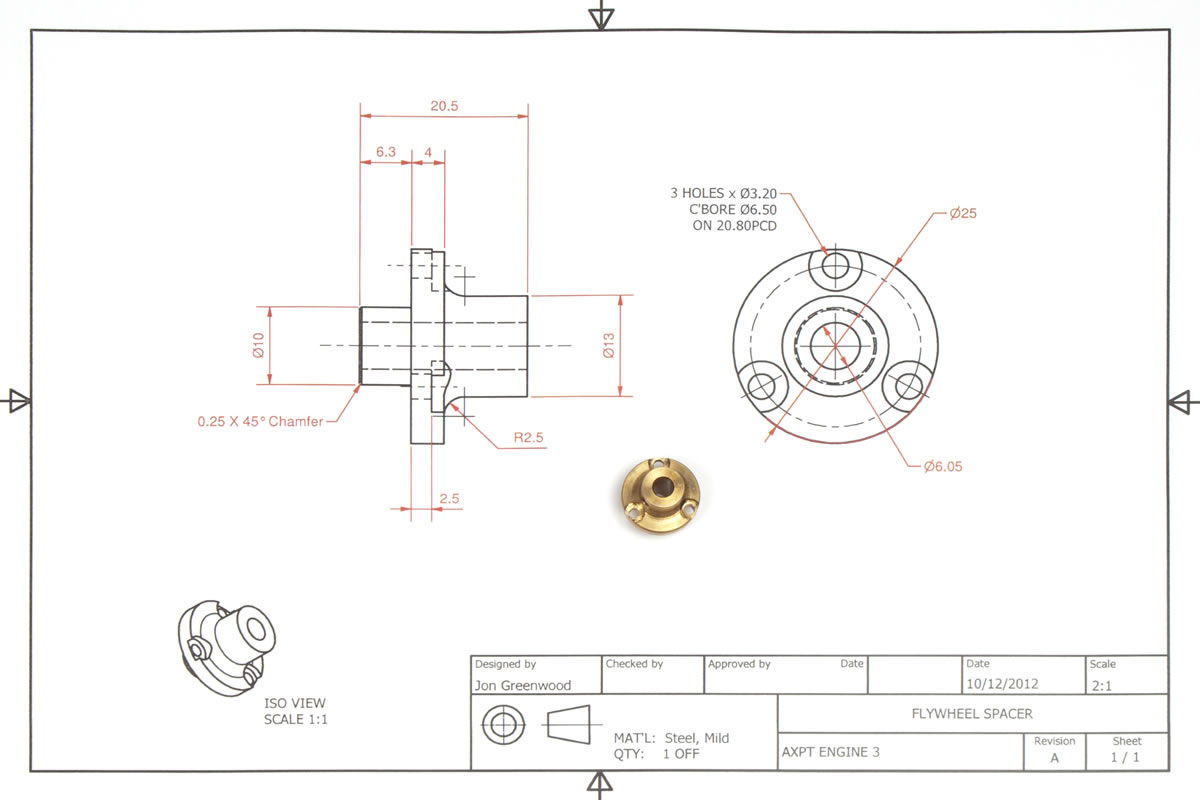
The next part is the fly wheel spacer or main bearing so, it is time to cut up that brass bar.
Main Bearing
- Put brass as close to the chuck as possible
- Face off
- Centre drill
- Drill and ream middle bore
- Turn 6.3mm long to a diameter of 10mm
- Part off
- Turn around and turn diameter with radius and chamfers
- Drill and countersink holes
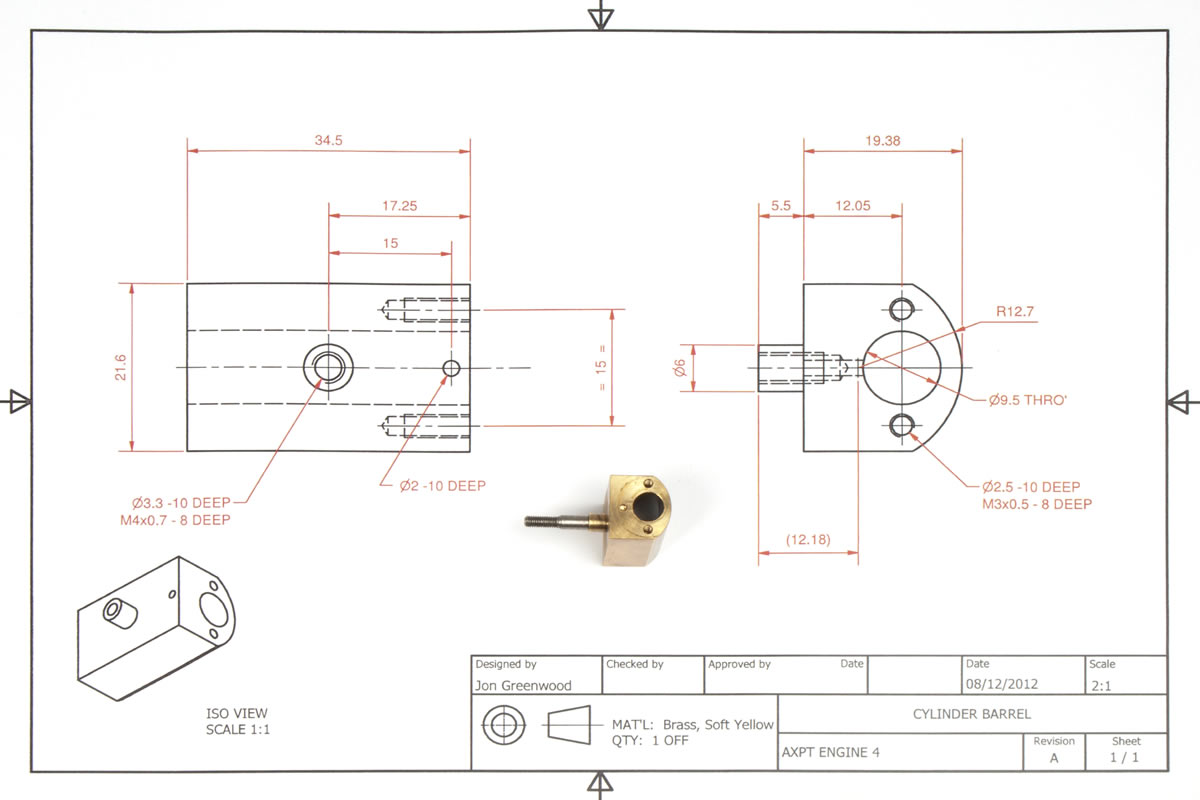
This part concentrates on the cylinder and gets us using a four jaw chuck on the lathe. See below how we made it, if you have other ways of doing it, why not share it with us all?
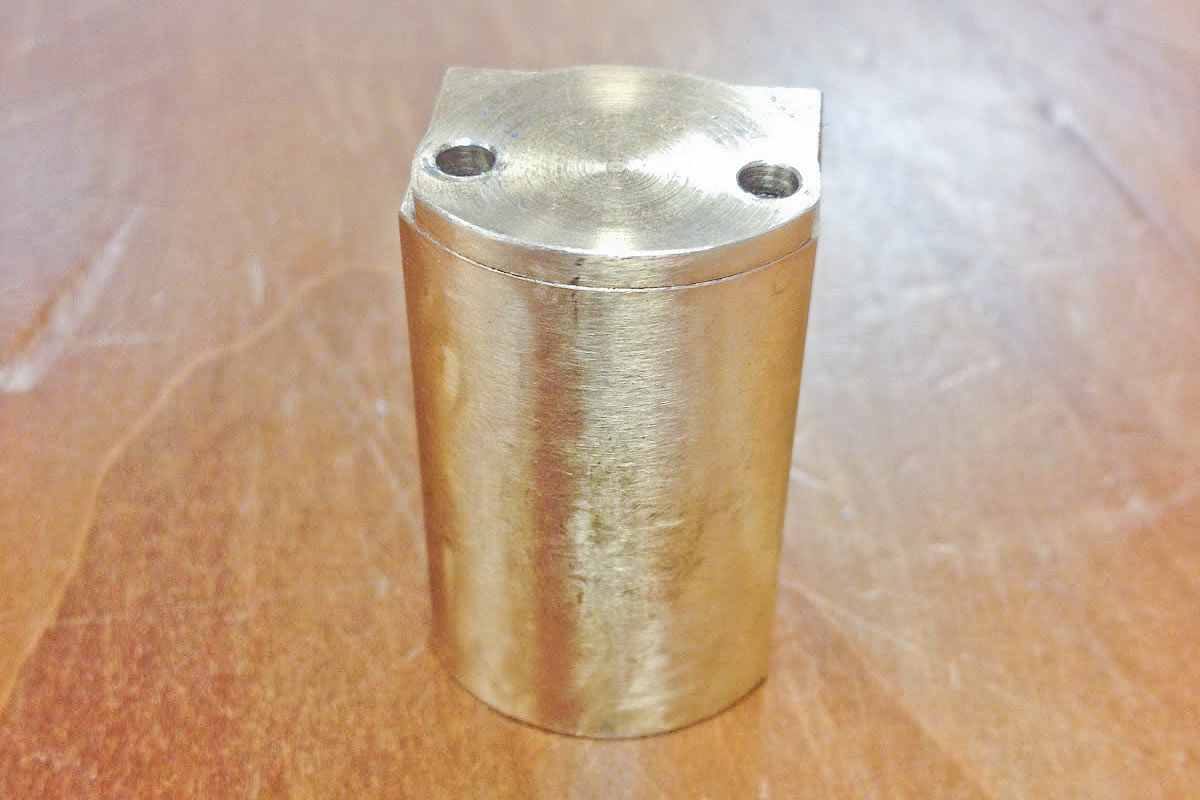
Cylinder
- Cut material to length + 2mm
- Put material in a the chuck on the lathe
- Face ends to length
- Mark position of the bore
- Hold in 4 jaw chuck
- Use a wobble bar to position centre of bore into spindle axis
- Centre drill
- Drill
- Ream – use lubrication to achieve good finish in bore
- Mark position of pivot spigot (ensure this is opposite to bore position)
- Hold in 4 jaw chuck
- Use wobble bar to align spigot position in spindle axis
- Check cylinder is 90 degrees to machine spindle (use dial gauge)
- Turn cylinder spigot to 6mm diameter
- Turn recess
- Centre drill
- Drill
- Tap M4
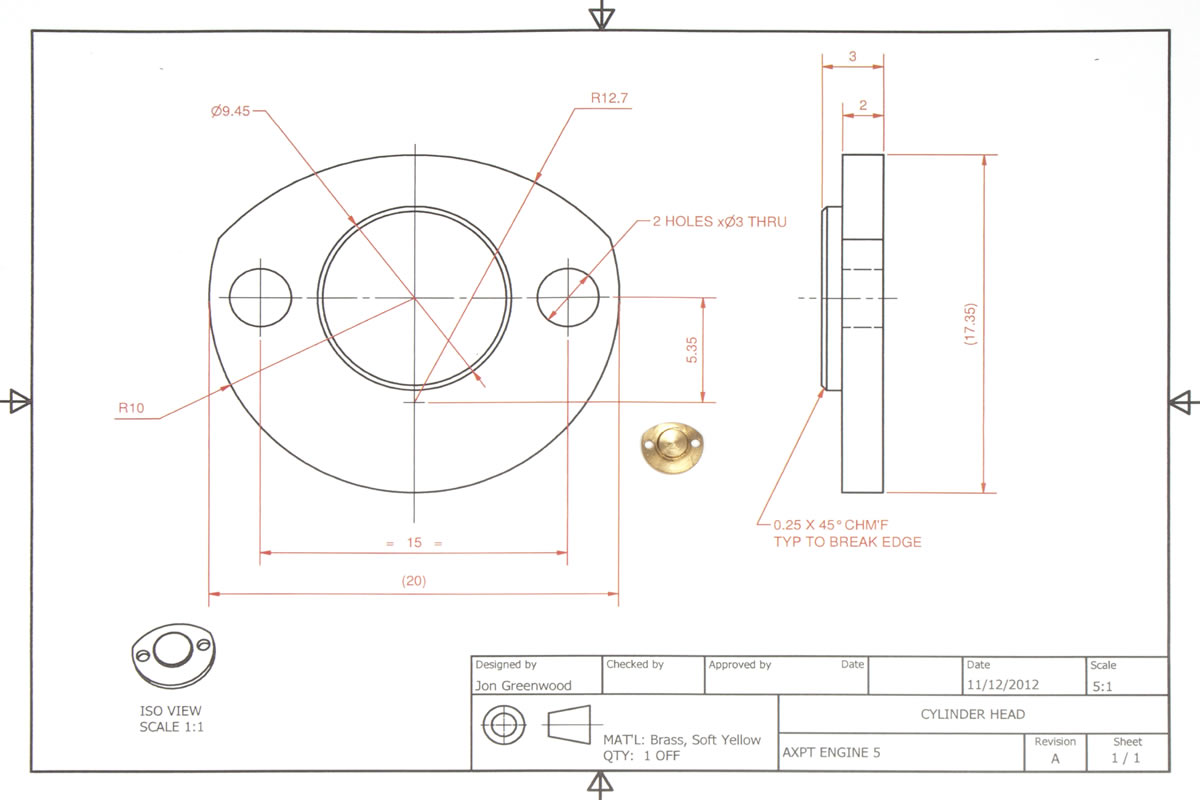
Cylinder Cap
- Hold in 3 jaw chuck
- Face end
- Turn diameter
- Part off to length
- Mark position of retaining screws
- Clamp cap onto cylinder and drill tapping size through both parts
- Drill clearance size in cap
- Tap Cylinder
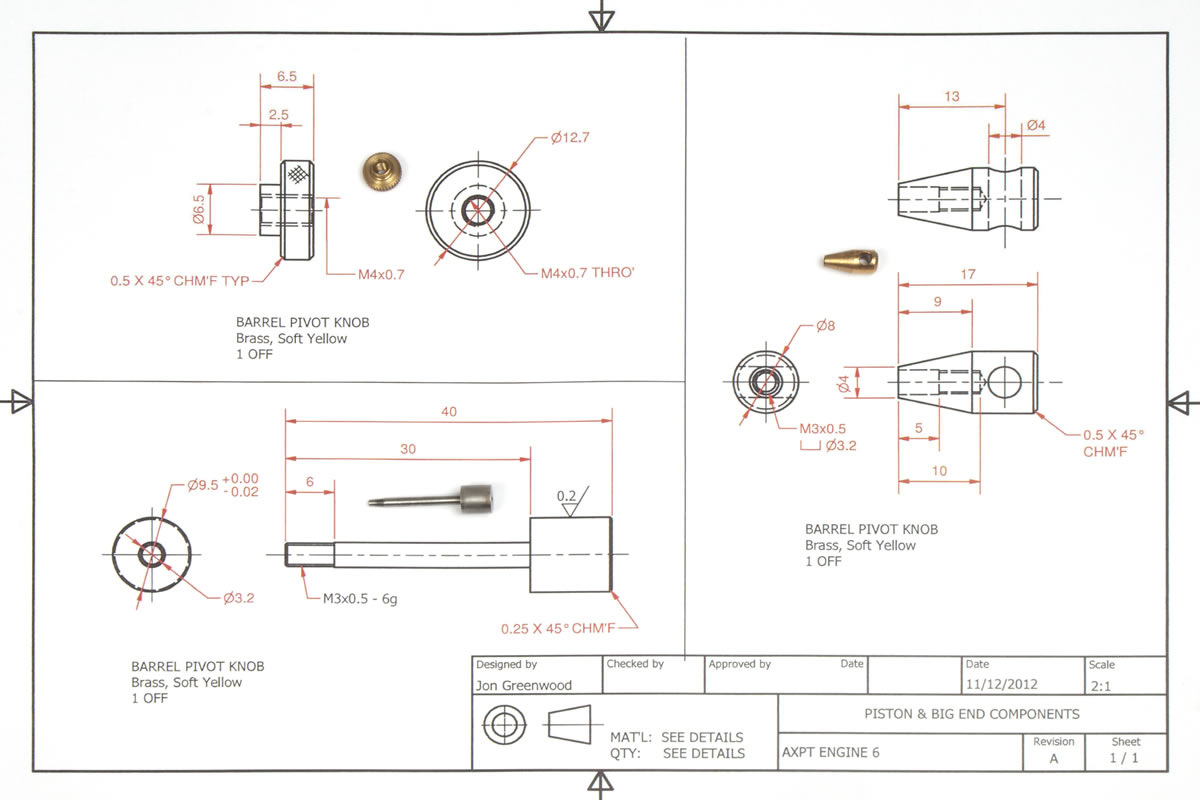
The following drawings include all the shafts for the engine plus the big end, barrel pivot knob and piston.Here is the last set of drawings before assembly. These drawings include; all the shafts for the engine plus the big end, barrel pivot knob and piston. You can download the technical drawings here.
Piston and rod
- Face end of material
- Turn piston to diameter of cylinder bore + 0.02mm
- Turn 3mm dia to full length
- Cut M3 thread using die and stock supported by tailstock
- Part off component to length of piston
- Hold component on 3mm dia
- Hone and polish piston dia to fit the cylinder bore
- Correct fit should be 0.01mm clearance
Big End Eye
- Face end of material
- Turn diameter
- Centre drill
- Drill 2.6mm
- Tap M3
- Turn taper to give correct length and small dia of 3.5mm
- Remove material from chuck
- Mark out position of 4mm eye bore
- Centre drill
- Drill 4mm at exactly 90° to M3 thread
- Replace material into lathe
- Part off
- Turn round and chamfer
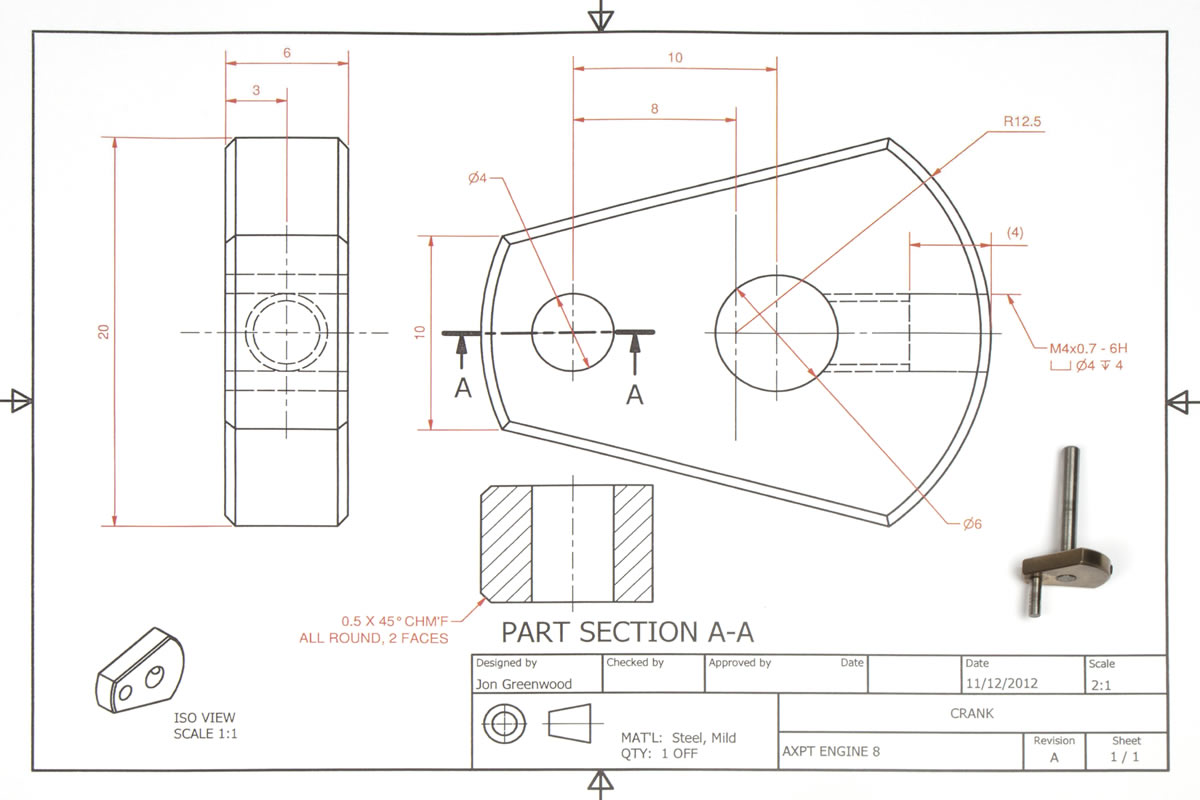
Crank Web
- Face end of material
- Turn outside diameter
- Partially part off
- Chamfer both corners
- Fully part off
- Mark position of crankshaft, crankpin and locking grubscrew
- Centre drill
- Drill 3.3mm for M4 crankpin and grubscrew. 6mm for crankshaft
- Ensure that Crankshaft and crankpin bores are both parallel
- Tap M4 threads
- Mark web angles
- Remove material on angles by milling or sawing and filing to size
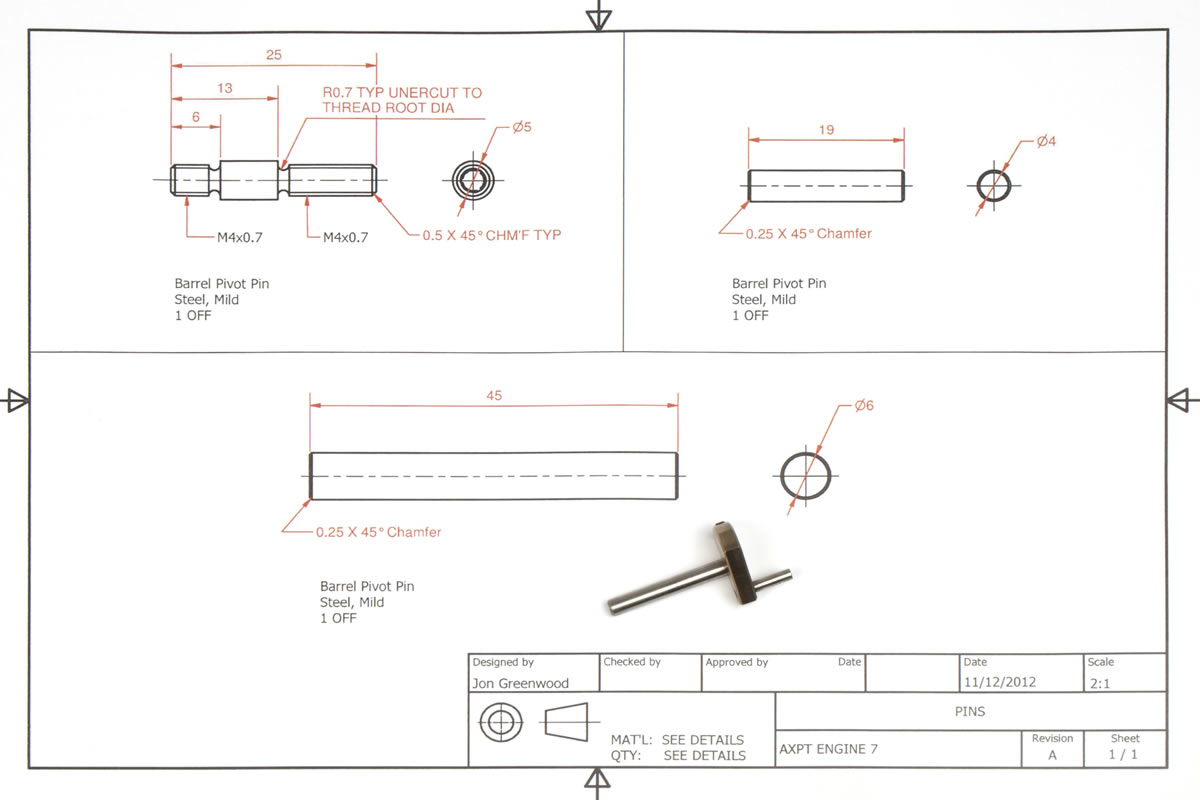
Crank Pin
- Face end of material
- Chamfer end 1mm x 45°
- Cut M4 thread x 4mm, support die with tailstock
- Part off to length + 1mm
- Turn around and face to length
- Turn chamfer 0.5mm x 45°
- Cylinder Pivot Pin
- Face end of material
- Chamfer 1mm x 45°
- Cut thread M4
- Part off or cut to length + 0.5mm
- Face off to length
- Chamfer 0.5mm x 45°
- Cut thread M4 to length
Cylinder Securing Nut
- Face end of material
- Turn major diameter
- Turn minor diameter
- Recess with parting tool to 6mm dia forming total length of part
- Form knurl on maor diameter
- Chamfer edges of knurl and minor dia
- Centre drill
- Drill 3.3mm
- Tap M4 x full length
- Part off fully
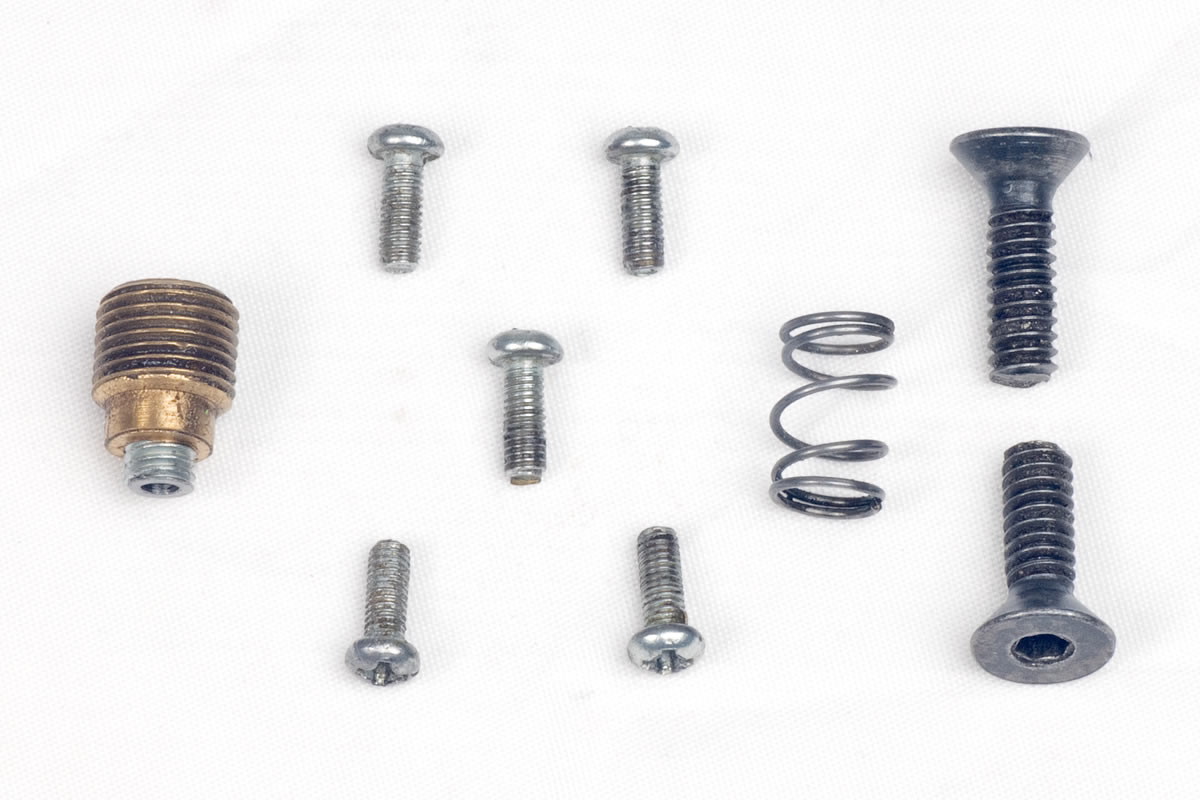
I’ve pictured each made component with the respective drawing, this should hopefully stop us getting into a muddle (this refers to me). You will notice on the A there is now an inlet and outlet hole for the air to go in and out of. Our outlet hole is 2mm in diameter; the diameter of the inlet hole depends on the airline fitting you choose. I've includes pictures of all the extras you will need to complete your engine (of course you will need a compressor to run the finished engine as well).
Download Technical Drawings
Click here to download the complete technical drawings.




May I ask with which CAD program you used to design & draw your plans out?
Nice little project, but the tools list needs a few more drill bits and some reamers on it to be complete :)
There don't seem to be any drawings of the position and dimensions of the air inlet and outlet ports on either the plate or the cylinder barrel.
As with Rod what CAD program did you use please?
On the .PDF drawings both the backplate inlet and exhaust are shown,and on the cylinder the combined inlet/exhaust is also shown.
Please can you provide the details of the airline fitting that you used (and the spring for that matter, although I guess that isn't critical)? I couldn't see how the airline fitting attaches: presumably it has to provide an air supply to the two 2 mm holes in the top of the A frame, but what holds it to the frame isn't clear. I have bought the engine materials kit but the airline fitting and spring aren't included. Thanks.
Also, I noticed there are a few minor mistakes on the PDF drawings:
1. There are two copies of the cylinder head drawing for no apparent reason - on the 5th and 6th page
2. On page 7 (of the PDF), all three components are labelled as "Barrel Pivot Knob, Brass, Soft Yellow". One should be that, one should be "Big End, Brass, Soft Yellow" and one should be "Piston, Steel, Mild"
3. On page 8 (of the PDF), all three components are labelled as "Barrel Pivot Pin", one should be "Barrel Pivot Pin", one should be "Flywheel Pin" and one should be "Big End Pin".
You may have to go back and look at the definition of engine. This is a piston box. That's OK, but I think an engine should make power on it's own.