How To Set Up Your Router Table
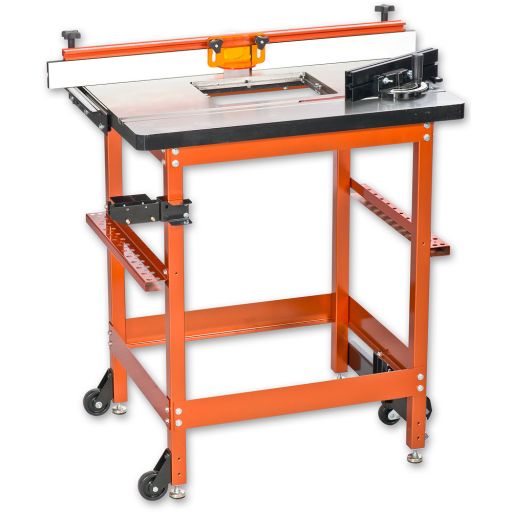
So you’ve got your hands on a new UJK Technology Professional Router Table and have followed the instructions on how it’s assembled. To make sure you’re getting the most from the table here are some simple hints for achieving the perfect set up.
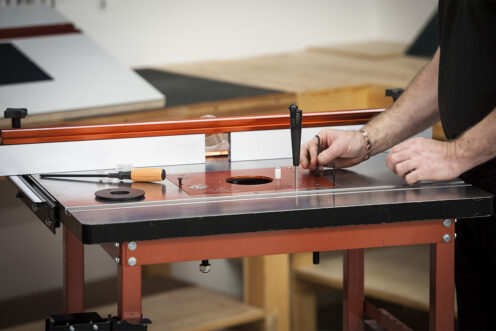
Fitting the router table insert plate
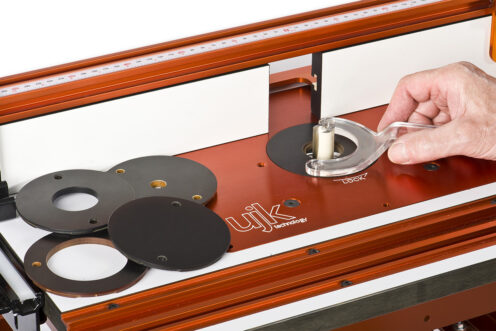
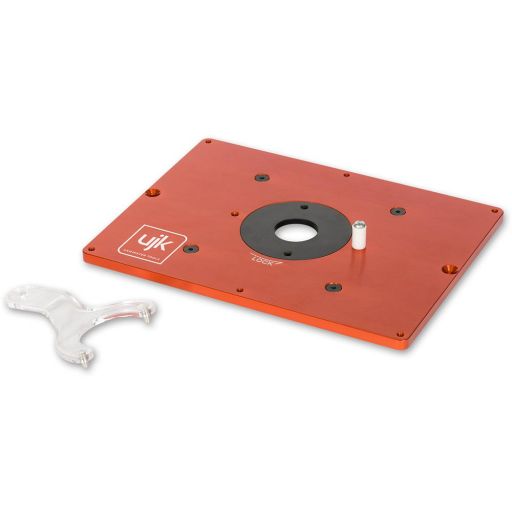
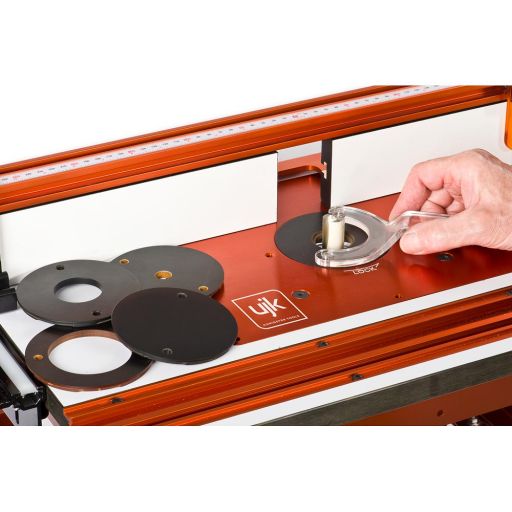
After assembling the router table you'll need to fit the insert plate. Both of the UJK Technology 6mm aluminium or 10mm phenolic inserts offer a substantial mounting for your router. The phenolic at 10mm thick is a hard plastic that will hold its shape but is better for lighter use compared to the aluminium which is even more durable. Both of these have a blank base underneath so you will need to drill them to fit your router. There's a centering guide template that comes with each of these that tells you how to drill it and ideally this should be in a pillar drill.
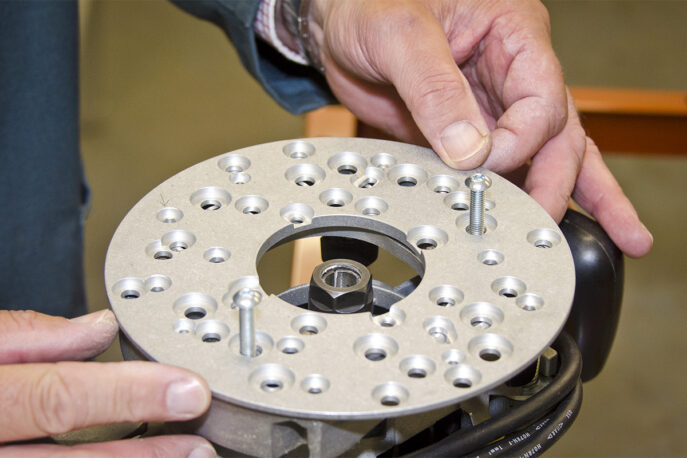
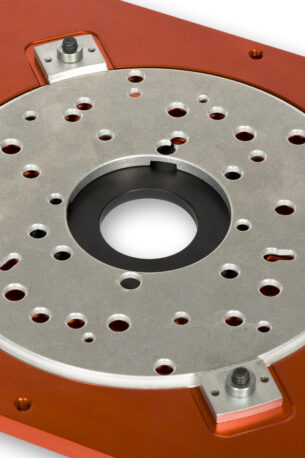
Alternatively the 10mm aluminium option is quicker to set up as it comes with a circular universal base attached to the underside of the plate. The base is pre-drilled to accommodate many different types of router and attaching them is simple and secure.
Another option is the router elevator, again underneath there is a universal base to accept different routers. Please be aware if your router fits the 10mm aluminium option it doesn't necessarily mean it will fit the elevator. If you have any queries about this however please speak to our technical department.
The advantage of the elevator is that it allows you to adjust the height of the cutter from above the table. If you regularly change the depth of cut this is a great time saver. The elevator takes the hassle out of reaching underneath the table to adjust the router each time. So think about how you want to make adjustments and if the elevator is going to be suitable.
Keep it on the level
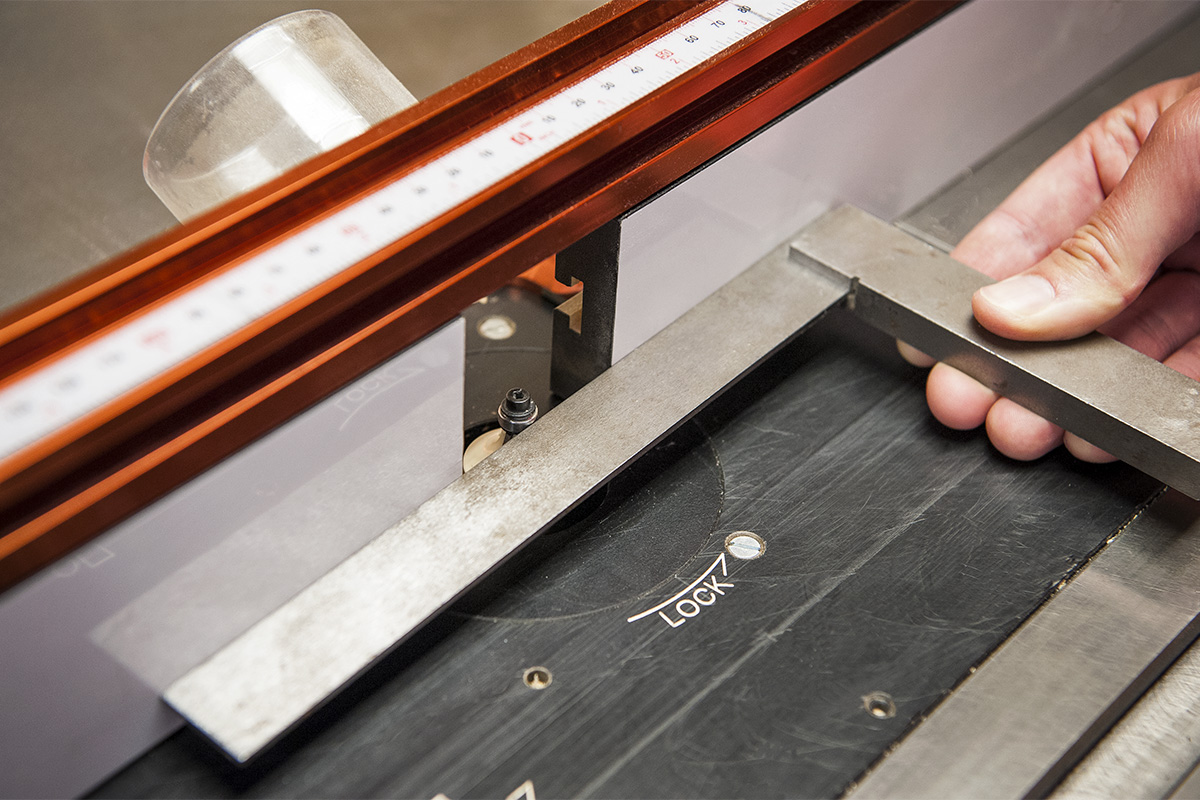
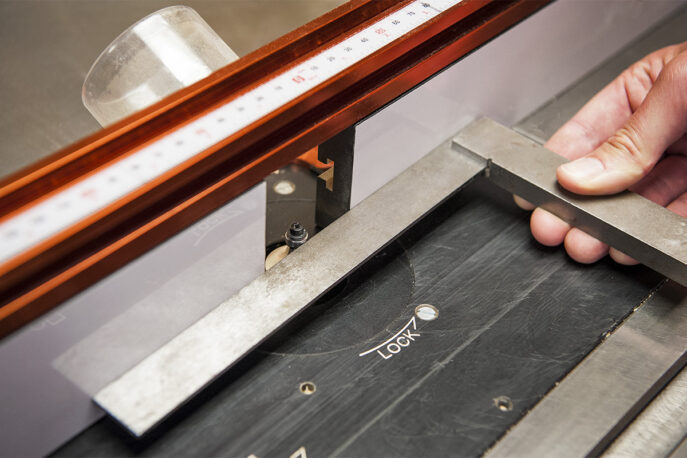
Once you've put in the insert plate you need to check that it's level. Passing a section of timber over the plate you can see if it snags where it meets the table. If the plate does need lowering there are grub screws that adjust the level. Tighten to move up and loosen to move down. The plate should sit properly so it's flush with the table. It's best to check this with a straight edge as a ruler may not necessarily be totally straight. Once you're happy with the level remember to tighten the two central bolts again. There are also bolts underneath the table which you can wind up to get everything nice and level.
Starter pin
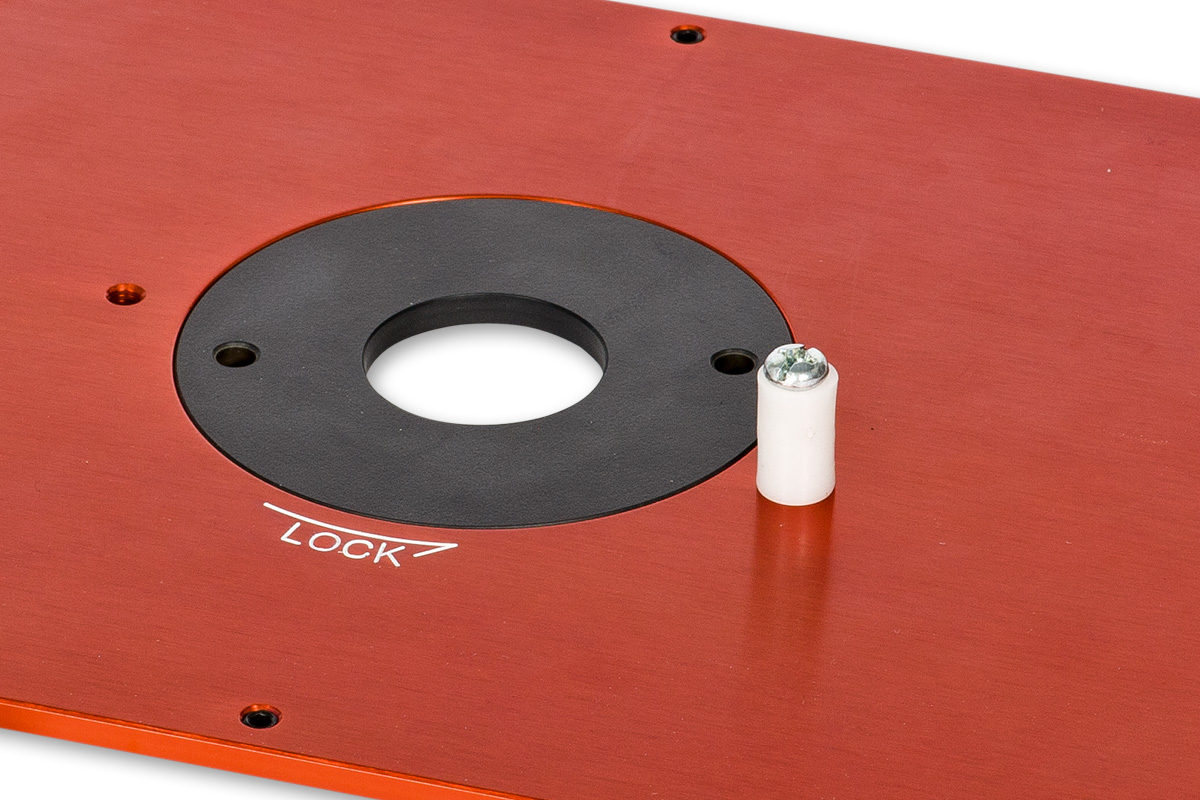
On the insert plates are two holes either side of the central insert, here you can screw in a nylon pin. The pin is great for shape work as it acts as an infeed or outfeed pin to safely guide the work onto the cutter.
Does the size of the router table insert disc matter?
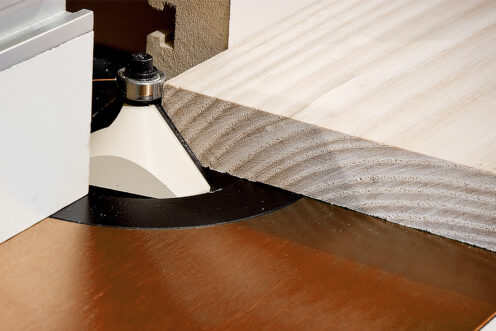
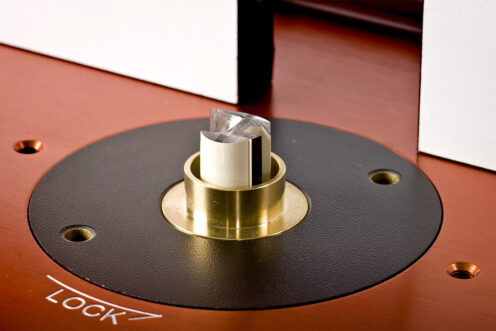
The router table insert discs will help to reduce the hole size which improves the extraction and also gives you greater stability across the table. It's important to select the correct disc size. If the hole is too big the wood may catch in the hole and hit the cutter awkwardly sending wood chips flying.
Be sure to select the insert disc depending on the size of cutter you're using. The discs are available in a variety of different sizes as well as a blank insert so you can also create your own custom hole size.
Setting the fence
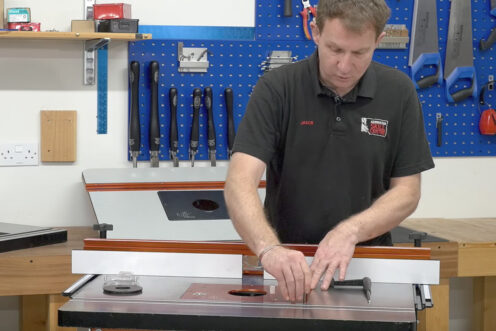
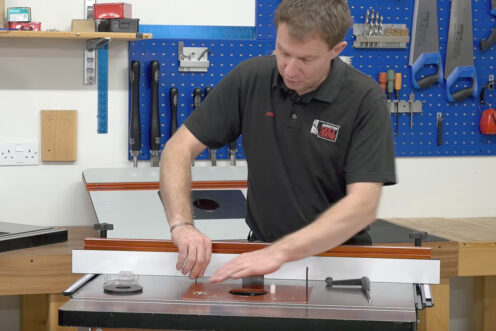
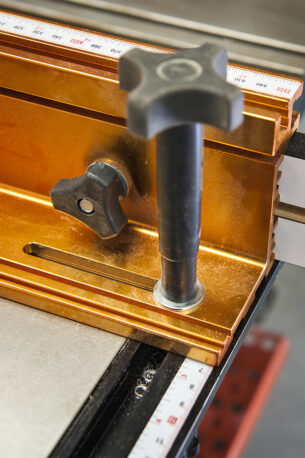
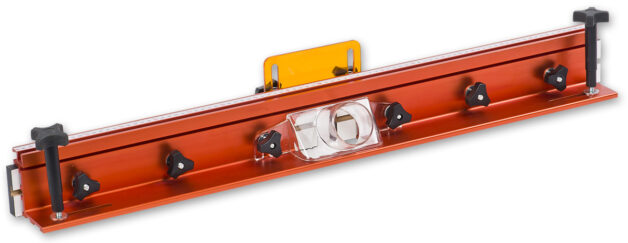
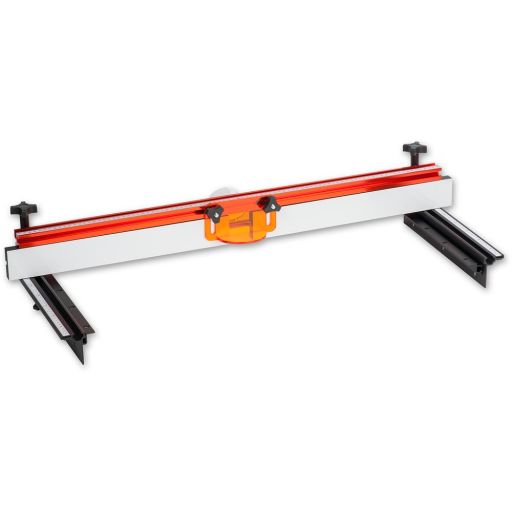
One feature with the fence is a scale on the side which you can move backwards and forwards. This enables you to accurately line the fence up with the cutter plus there's a lock knob on the side to hold it into position. Make sure the washer is on the knob to prevent wear on the slot. It doesn't matter if the fence isn't 100% parallel with the front of the table. As the work will centre around the cutter and the cutter is round you'll still achieve precise results. What's important is the cutter is removing the level of stock you want. Once you start using the t-slot at the front of the table then make sure the fence is straight.
If using a bearing guided router cutter, adjust the fence so it is align with the cutter. Using a straight edge again, run this along the fence so the outer edge of the bearing is even with the fence. If the bearing is exposed too far past the fence this will cause the wood to push out as you pass it along the fence.
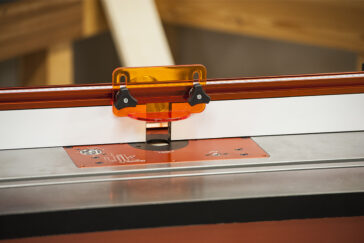
Finally once the fence is in position you can move the adjustable infeed and outfeed fences closer to the cutter. This prevents tear out in the wood and reduces exposure to the bit which makes your routing safer. The fence also comes with a transparent guard that also helps to shield the cutter. When you're happy with the position there are six knobs at the back which help to lock off the fence.
Featherboards
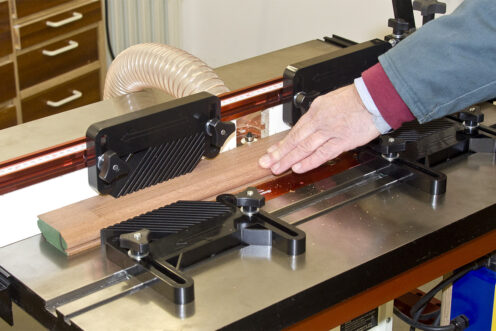
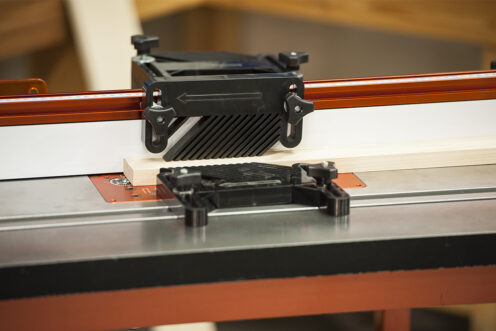
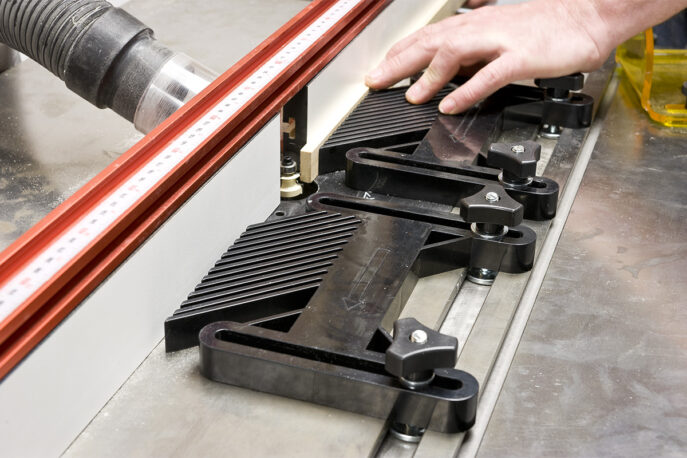
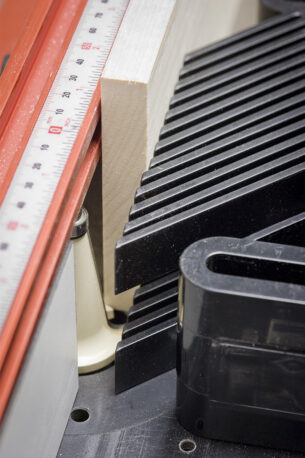
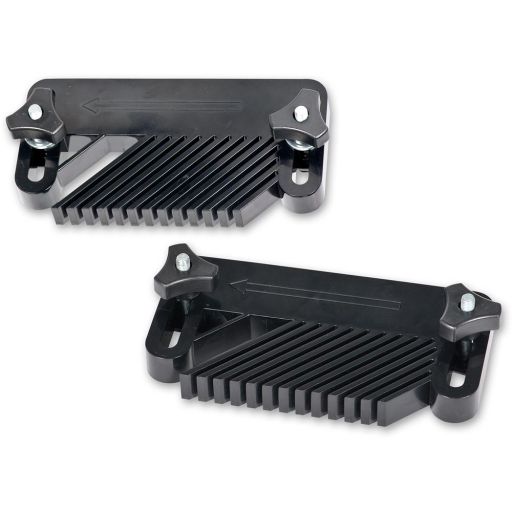
Featherboards add another element of safety as they help to keep your fingers safely away from the cutter. The vertical and horizontal featherboards help to apply even pressure against the fence and down on the table. They're adjustable and you want to tighten them so the workpiece is secure but not too tight. You should be able to pass the wood through with an even pressure without pinching. Another nice feature of the featherboards is the anti kickback fingers which make working safer and more stable.
Once everything is set up correctly and you're ready to make a pass remember to feed the wood past the cutter from right to left. In addition, as the size of the cutter you're using changes, remember to adjust the speed. The larger the cutter the slower the speed. Using a PTFE spray will also assist with preventing corrosion as well as helping the workpiece to glide smoothly across the surface of the table.


While the Trition TRA001 is a good plunge router, in my experience, it is not a good choice for a router table. I bought the TRA001 specifically to use in a router table because it has the capability to set the router depth through the base. However, before I could build my table, I used a friend's setup that was similar to what mine would be.
His TRA001 was encased in a home-built dust shroud connected to his dust collection system. In order to raise the router to change cutters, I had to open the door on the dust shroud and reach around by feel to access the power switch and turn it off so the integrated spindle lock could engage. After about six hours of running boards through his TRA001 table, I decided to abandon my plan and use an Incra Mast-R-Lift II with a dedicated motor for my table. My only regret in this decision was not making it sooner and saving a lot of money on my expensive path of discovery.