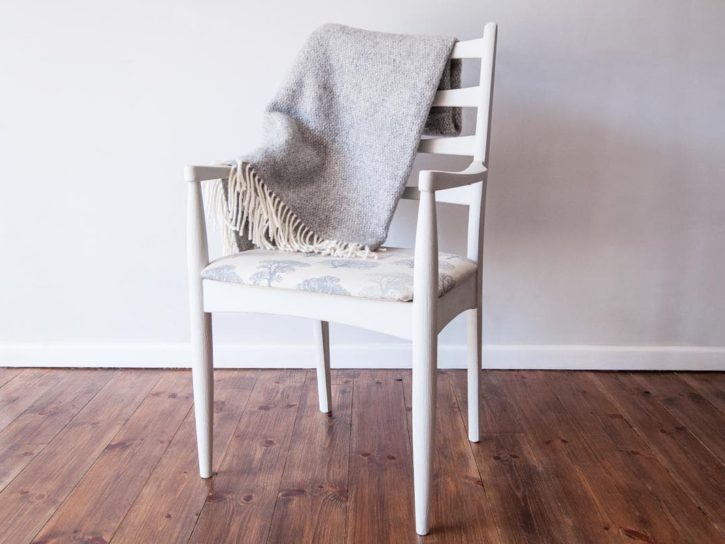
How To Restore And Reupholster A Wooden Chair
There is something quite special about restoring an old dusty chair. With these simple steps learn how easy and achievable restoration can be.


With more time at home, why not turn your hand to power tool furniture restoration? Rather than throw older furniture away, give it a new leash of life instead. Read our informative How To guide on transforming a piece of furniture using sanders and abrasives.
Give new life to an old piece of furniture and see the transformation! In our furniture restoration example, we revitalised a tired looking, poorly painted pine bedside cabinet into something fresh and clean. Get your materials together, and give it a go!


Firstly, we removed the drawer knobs and drawer runners. We set these aside to use at the end of the project.


For this project, we wanted to have a wooden top contrasting with a painted base and drawers. With this in mind, we carefully removed the top. In our example, the top was held on with cam dowel bolts and a little glue. After undoing the cam dowels, we removed the panel pins at the top of the backboard. Here, we used a soft faced mallet and a gave it a light tap to loosen.
With the cabinet fully apart, we could see what we had to work with. As the underside of the top had some dried glue still attached, we used a sharp chisel to remove it. At the same time, we also discovered a small crack in the top. This would be rectified after sanding the entire cabinet.


Here, our chosen sander was a Mirka DEROS 5650CV Random Orbit Sander. It is a great all rounder; lightweight and easy to handle with good dust clearance when attached to a vacuum extractor. Alternatively, the Makita BO5041 Random Orbit Sander is another great option.
If you use a coarse abrasive and a slightly reduced speed, a random orbital sander is very good stock removal machine. However, if you use a fine abrasive and increase the speed, it becomes an excellent finishing tool. For this project, we needed a bit of both which is why we chose two different grits of Abranet abrasive.
Abranet’s unique open mesh design provides a virtually dust free sanding experience, which leads to longer abrasive life. Other benefits include its high performance and versatility across a wide range of applications. Learn more about different Mirka abrasives.
With an 120g abrasive fitted, we lightly sanded over all surfaces of the cabinet body and the drawer fronts. We didn't need to remove the paint but simply smooth over and clean, ready for the next paint covering.


As it was difficult to get into the corners with a round base sander, a good cork block helped with this.
In terms of the cabinet top, we wanted to remove all paint to take it down to the bare wood. For this, an 80g abrasive was ideal. In our experience, we find that anything finer than 80g clogs far too quickly and doesn't perform as well. In all, using the random orbital sander, good extraction and 80g Abranet abrasive made light work of this sanding task with no clogging on the abrasive at all!


As mentioned before, we discovered a crack in the top of the unit. As we didn't want to leave the crack nor completely break open the top, we decided to glue the crack in situ.


Here, we lightly opened up the crack and forced in as much PVA glue as possible. To pull the glue through the crack to coat the inner surfaces, we used a vacuum! We then clamped it up and left for a couple of hours.

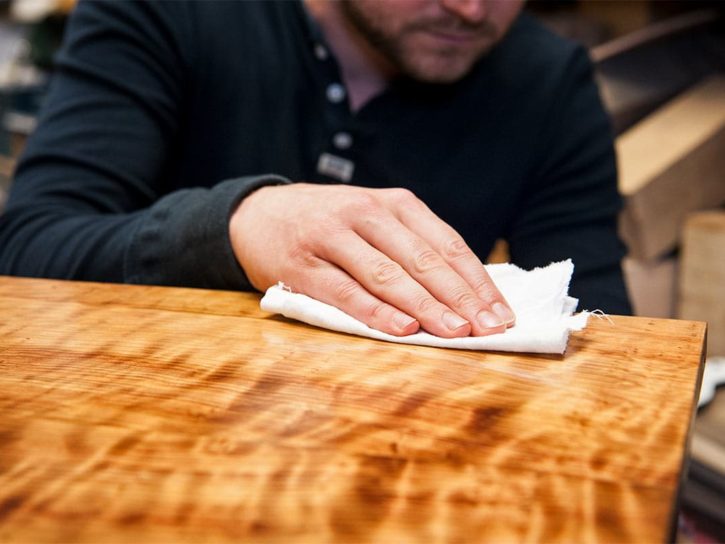
Finally, we gave the unit a thorough wipe over with a damp cloth to remove any residual dust that could affect the final chosen finish.


We then painted the cabinet body and used dye and oil on the top. As the cabinet body had some exposed knots, we treated with a knotting solution to prevent them showing through the final finish. As you can see, we chose to replace the old wooden knobs with new metal ones to finish the piece, however the choice is yours!


If you’ve enjoyed reading this furniture restoration article, why not take a look at some of our previous restoration projects below?
If you’re searching for furniture restoration projects, you’ll find them on the Knowledge website. Alternatively, follow us on Instagram and Facebook to stay up to date on all the latest from Axminster Tools.


¡Buen trabajo Hannah, gracias por mostrárnoslo.es hermoso ver cómo un poco de lija y pintura permiten que un mueble recupere toda su energía y vigor de juventud!.
A mi también me gusta desmontar y lijar bien lo que estoy restaurando, tal vez sólo lo aprecie yo, ¡pero mi conciencia queda tranquila y mi trabajo perfecto!.
¡Internet es una hermosa herramienta!.
Hi, what colour oil / dye did you use for the top? Thanks
Hi Jordan, we used Osmo Terra Satin Top Oil for for a lightly tinted transparent dark oak effect. It's SKU 107020 if you want to view the product: https://www.axminstertools.com/osmo-terra-satin-top-oil-500ml-107020
Thanks! It looks great!