Build an Outdoor Child's Play Kiosk | How To

What you'll need
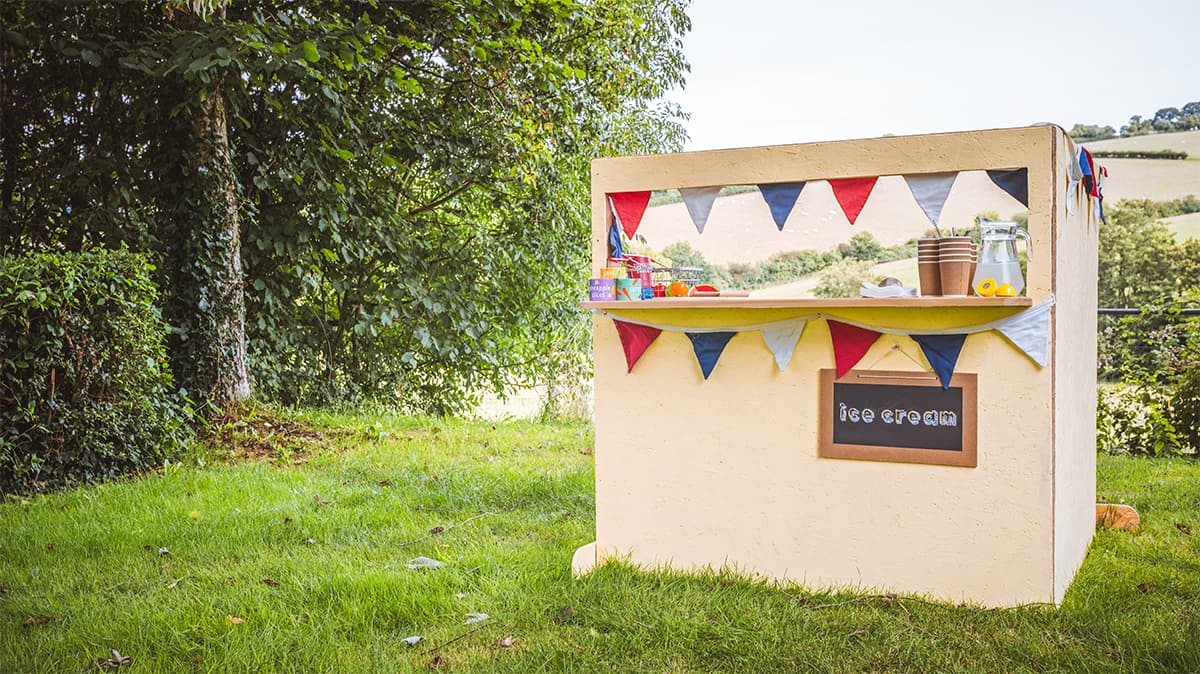
Create hours of fun during long weekends and school holidays with the outdoor child's play kiosk. The perfect outdoor garden toy to keep young children entertained for hours, and let their imaginations run wild, this simple play station can be anything you want it to be, a shop, ice cream parlour, or fast food restaurant! The possibilities are endless.
Made with a couple of pallets and a few screws, this will not only provide hours of fun but is quick and simple to knock together, even for the novice woodworker. Perfection is not needed, just some creativity and a love of making!
Join Ben as he shows you to make this child's play kiosk in our Woodworking Wisdom demo, or follow our step-by-step guide below.
Prepare your timber
For this project you will need:
- 8 x 4 pallet
- 8 x 4 sheet of OSB
- Baton
- Shelf size - 1200mm x 300mm x 20mm
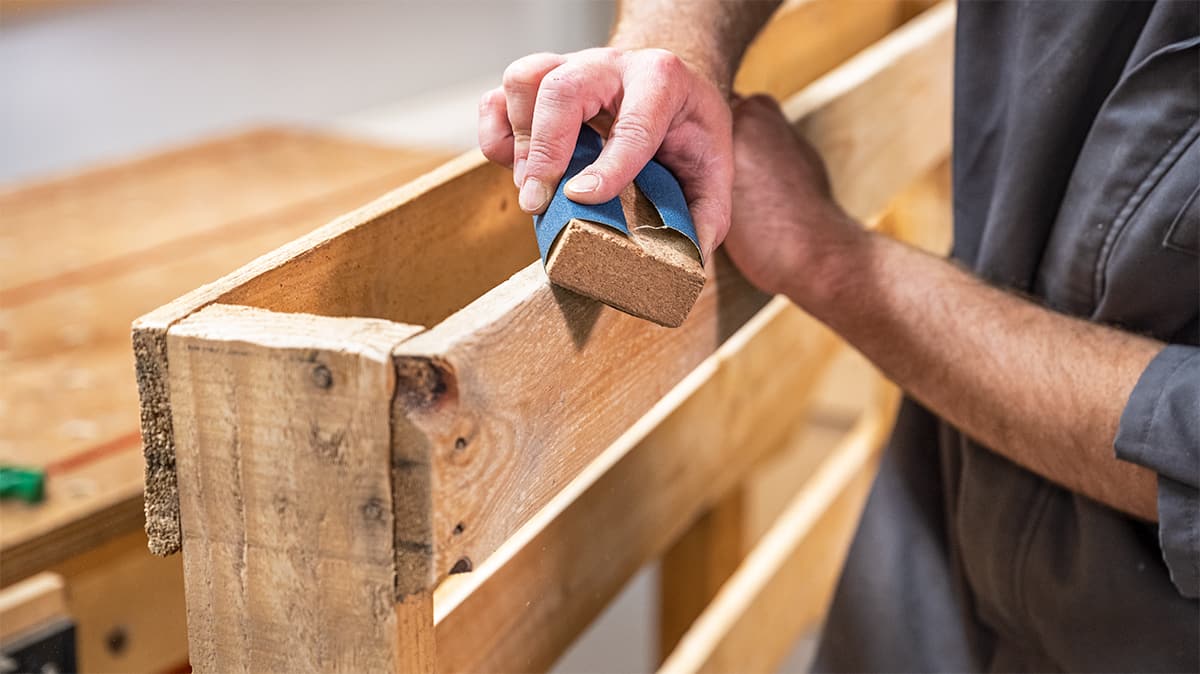
Begin by checking your pallet for splinters and use a wire brush to remove loose debris from the pallet to ensure it is clean. Then sand using paper or an orbital sander, smoothing splinters and sharps edges, ensuring you pay attention to the back of the pallet where the children will be playing.
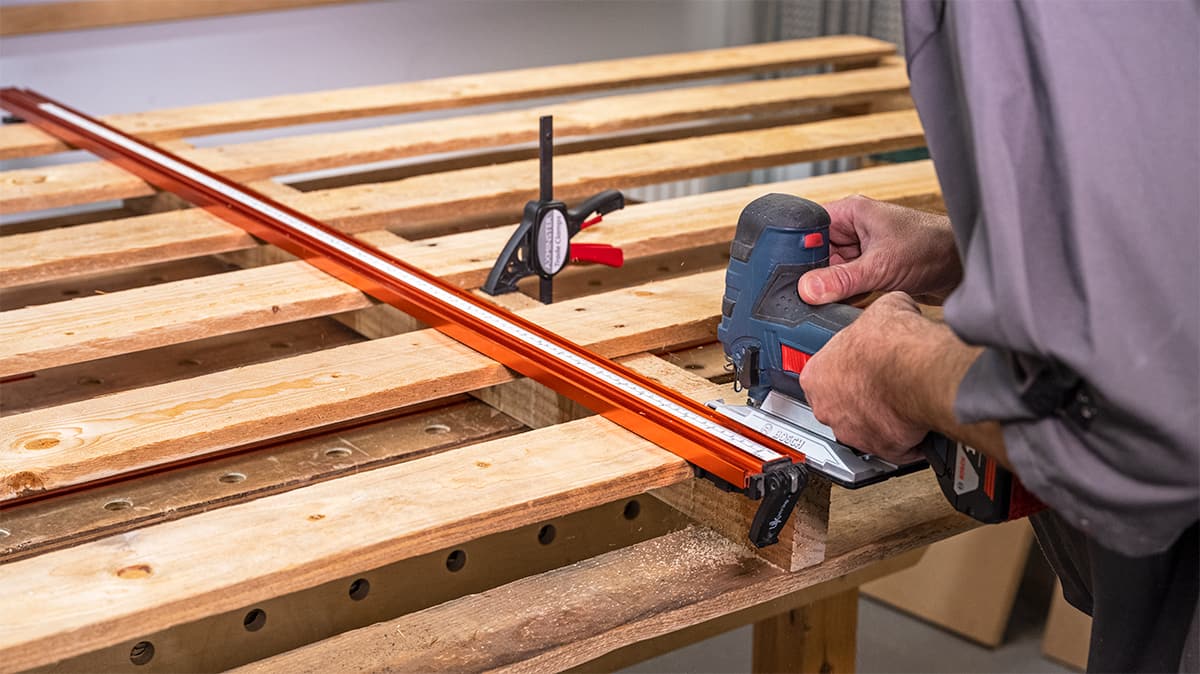
Next, hold the pallet to your bench using clamps to keep it secure. We are going to use a jigsaw to cut the pallet. First, we need to measure the depth of the pallet slats. In this case, it is 17mm. Next, measure 17mm from the supporting upright and mark using a pencil.


Next, offer up the jigsaw to the pencil mark and then mark on top of the slat using the jigsaw as a guide. Then clamp a guide rail in place. This will help guide your saw as you make the cut.


Then make your cut. Top tip: use a pine plank to support the slats and prevent them from dropping during the cut.
Make the frame
Flip the pallet ready to cut the bottom two slats. First measure the central upright - in our case, it is 100mm. Next, take your rule and mark 100mm from the left-hand side of the upright support. Then cut using a Japanese pull saw.


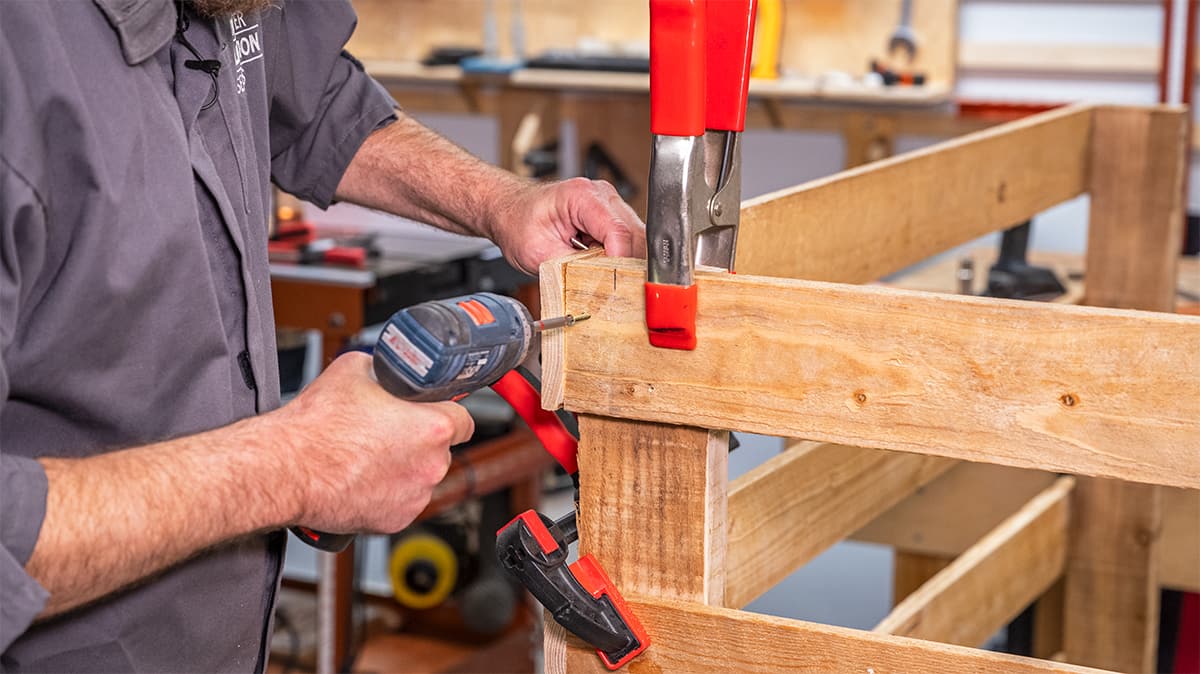
Remove from the bench and check all slats are the same length - cut those that are too long. Hold the two parts of the pallet at a right angle and clamp together ready to screw together.
Drill some pilot holes using a 2mm drill bit and then use 40mm screws, but check your screw sizing is relative to your pallet thickness.
Cut the hatch and make the feet
Remove one of the slats using a Japanese pull saw. This will form the hatch. Then use the piece removed from the pallet to make the feet.

Measure and cut off two 16-inch pieces. Round over the corners to soften the edges using a roll of masking tape as a round template. Then trim off using the bandsaw.
Screw the feet to the base of the L-shaped frame from both sides.


Fit the OSB board
Measure the front side of the kiosk - ours is 1,270mm. Measure your OSB board and again clamp a pro grip clamp. Then using the jigsaw cut the OSB board. You may want to ask a friend to support the board as you cut due to the weight.


Clamp to the front of the kiosk and using a pencil mark out where the serving hatch is. Add some pine supports and then drill some holes before cutting with the jigsaw. Then sand the edges using a sanding block to soften the edge.
Attach the OSB panel with screws.


Attach the shelf
To make the shelf, first measure the width of the supporting uprights then measure this on to the shelf board to create a recess to allow the board to slot in the serving hatch space. Our example was 125mm. Mark and cut on both sides using the bandsaw.


Do a test fit.
Finish by rounding off the corners using the masking tape roll again as a template, then cut on the bandsaw.


Put in place again and mark where your supporting batons will go. Using your shelf as a guide, mark the upright sections where the shelf sits, and then mark the line using a square. Then screw on two batons. Your shelf will now come to rest on your batons.
Finish the child's play kiosk
Finish by attaching the second OSB board. Then you are ready to decorate and finish the play station however you wish. We created a chalkboard that could be flipped to create different play scenarios. You could add wooden bunting or shelves to finish the look.
Loved this? Try this!
If you enjoyed making this child's play kiosk for your children, then why not have a go at some of these projects. These Beat the Boredom projects are so easy to make that children can have a go too!
If you have made our child's play kiosk, we would love to see it! Share your pictures with us on social media. Tag us @axminstertools on Facebook or Instagram. Or upload to our online gallery.