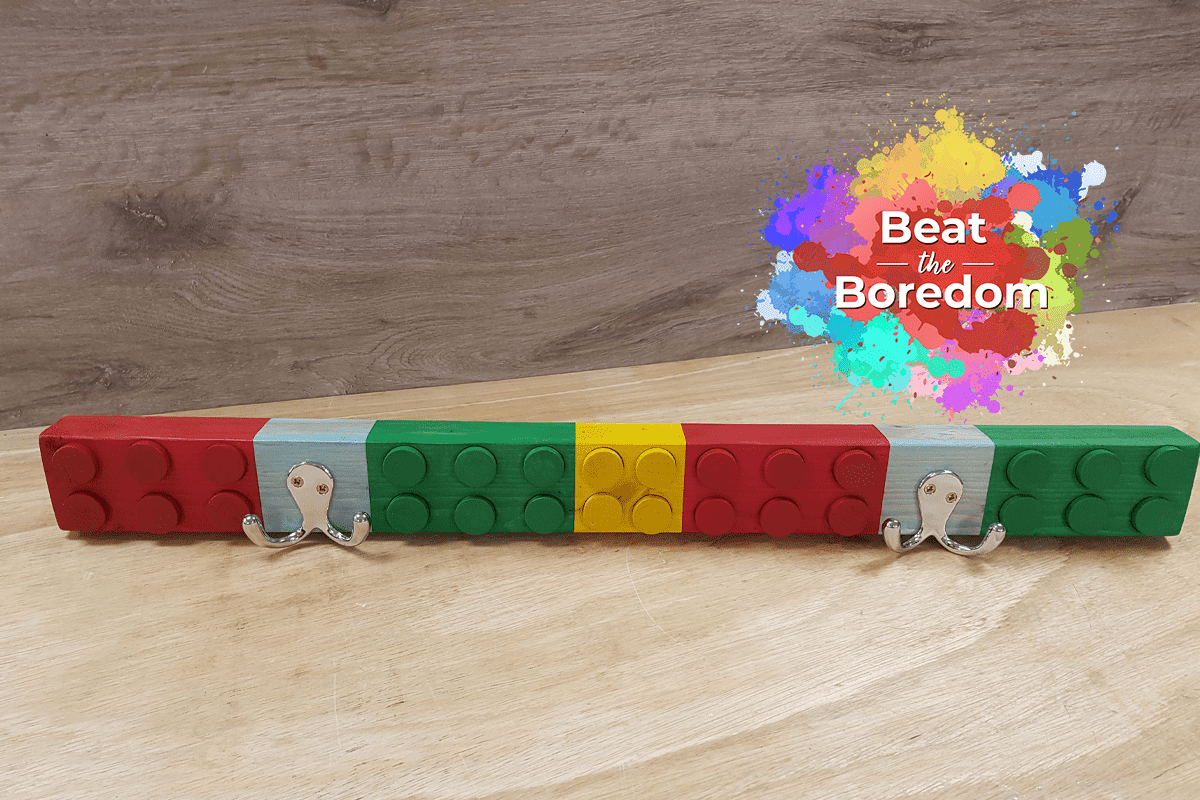
Lego Inspired Coat Rack
Our wooden coat rack project is great for a budding woodworker or anyone who wants to get some hands-on experience using machines! Perfect for little ones to hang their coats or school bags up.
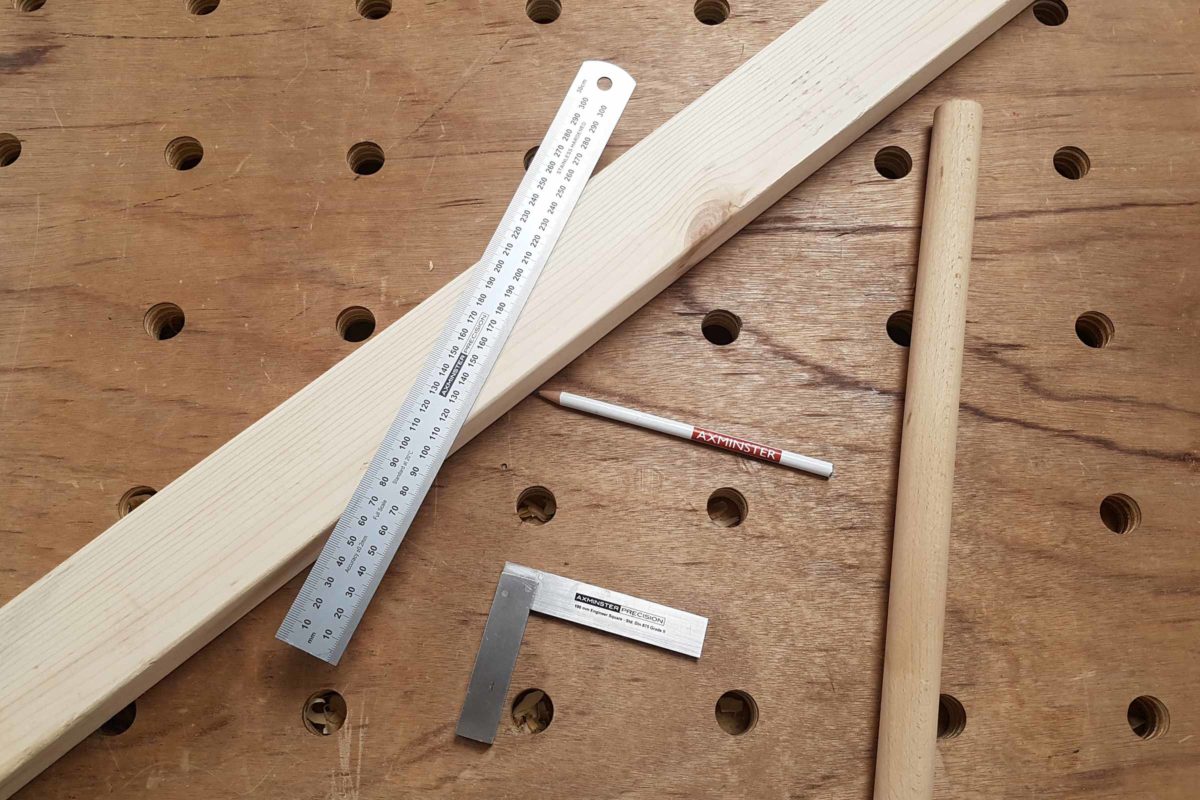
Part 1 Mark up
Mark out a centre line down the centre of the material using a metric rule. In our example, our timber was 64mm wide, so we marked a line at 32mm.
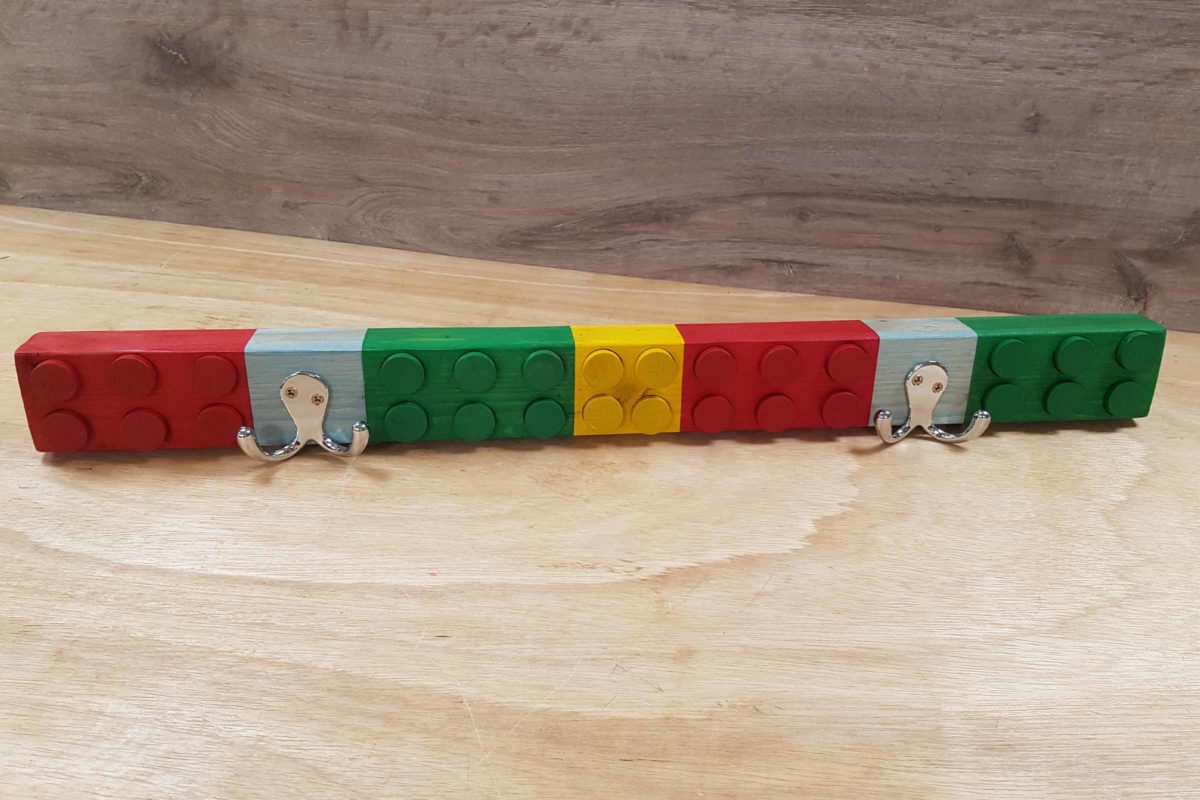
Next, work out what pattern of building blocks you want and mark out using an engineer's square. You'll see we opted for a block of six studs and a hook. This was followed by a block of six, a block of four, a block of six, a hook and another block of six studs at the other end. How you choose to design your Lego inspired coat rack is completely up to you!
Our block sizes: six studs are 128mm long and four studs and hook sections are 64mm long.
Next, on the square and rectangular sections, mark out using a pencil and make a cross. Then mark out half way of the block (at 32mm). Finally, mark out corner to corner again, as shown in the image below.
On the larger six stud pieces, mark half way along the piece. This was 64mm in our example. From the vertical centre line, make a mark at 42mm left and right and 16mm from the horizontal centre line or bottom of the piece of timber. Also make a mark on the vertical line to create the six studs. See image for reference.
Part 2 Drill the holes
Here you have the option of using a handheld drill or a pillar drill. Whichever option you choose, you'll need a 25mm Forstner bit to create the area for the studs to slot into later on.
If you use a pillar drill, we recommend using a vice to hold the workpiece in place. Set the cutting depth to 10mm. In our example, we made a dent using the bit to make sure our markings were correct. Next, drill out all of the holes.
If you use a handheld drill, clamp the timber in a bench vice and drill the holes.
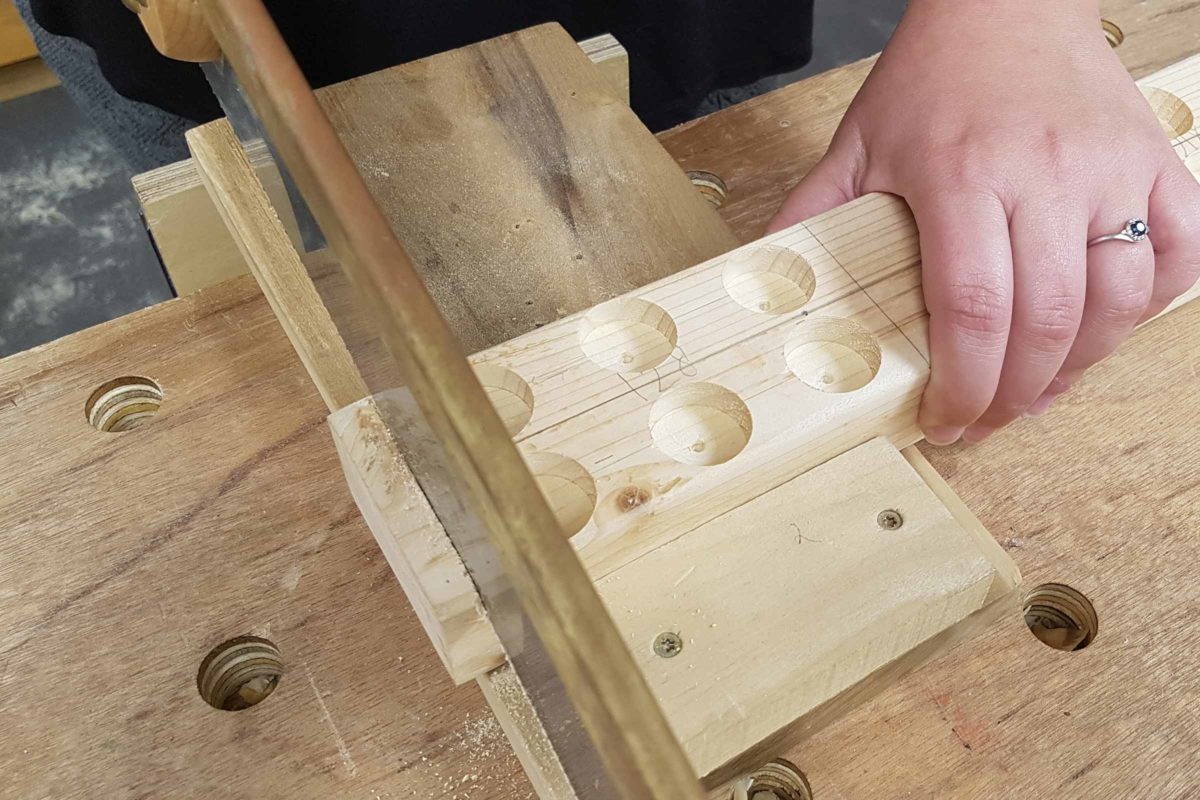
Part 3 Cut timber to length
Cut any excess timber off using a tenon saw.
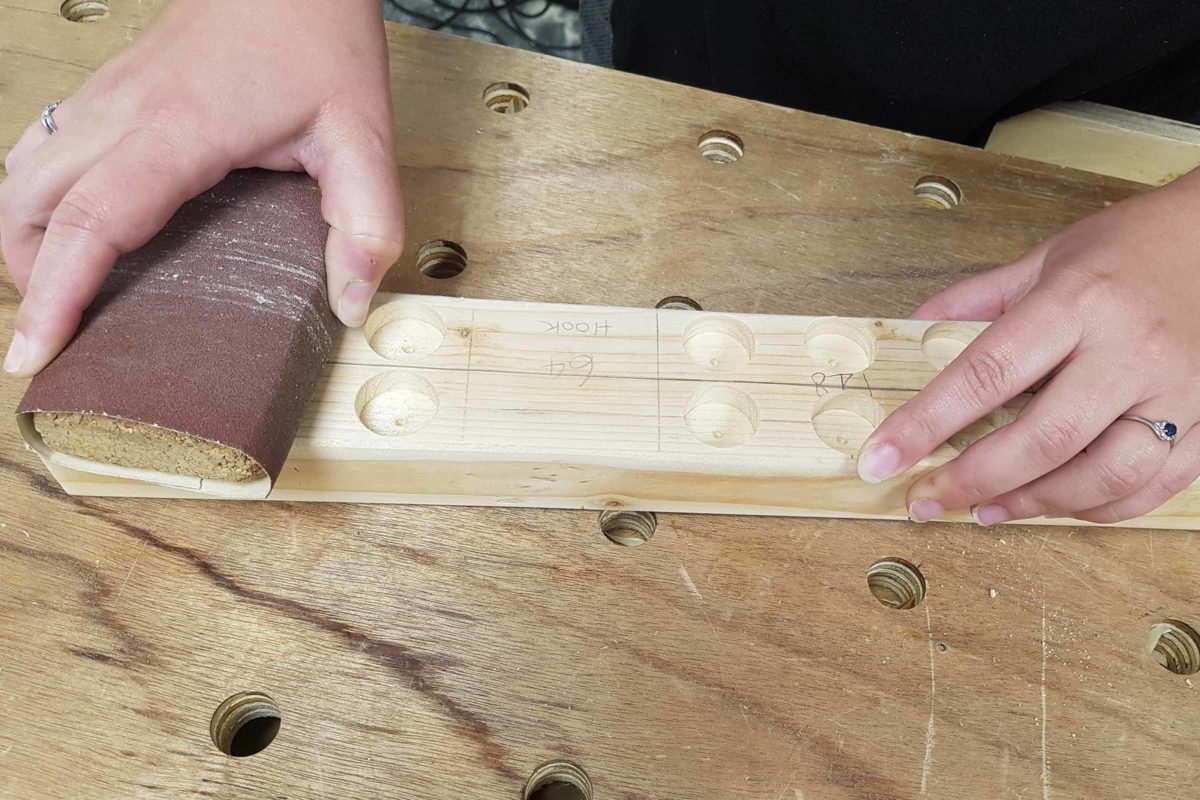
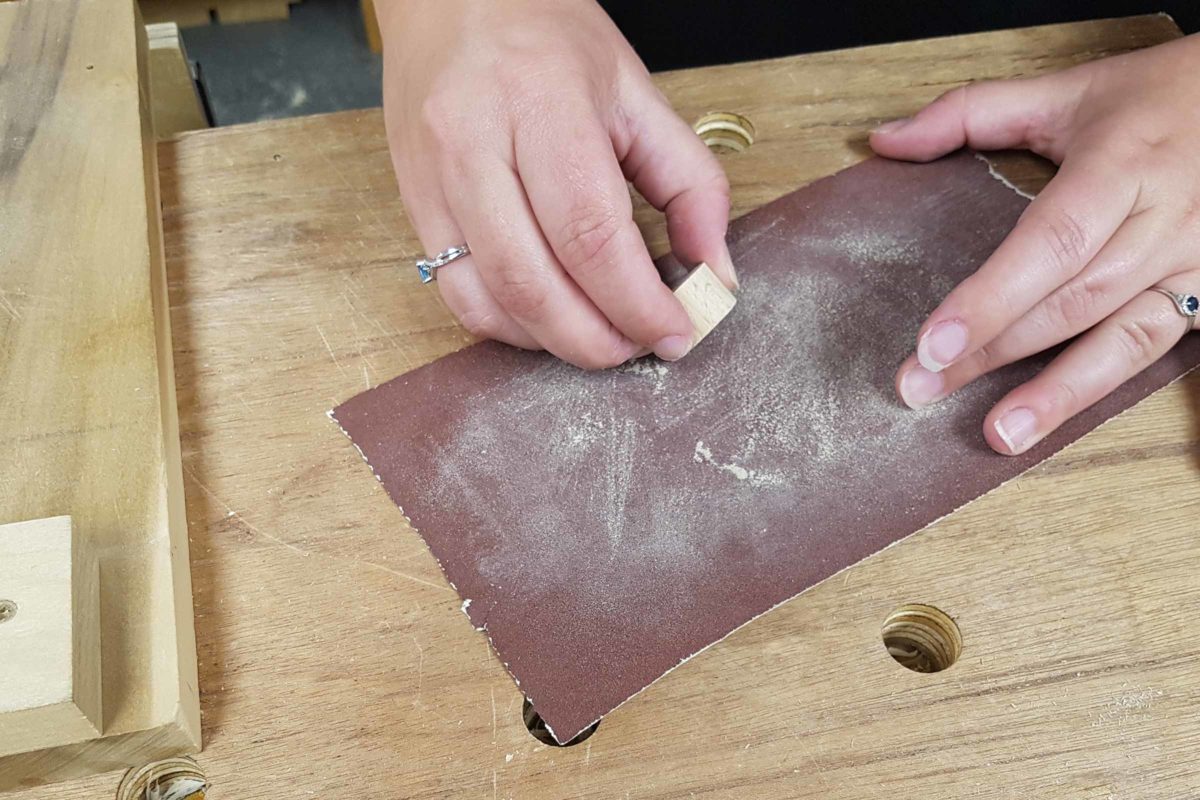
Part 4 Sand and mark out
Using 100G sandpaper and a block, remove all pencil marks and references from the timber to make it smooth. Of course, you can use a handheld sander if you prefer.
With a clear surface, mark out the Lego inspired blocks using an engineer's square.
Part 5 Cut the dowel
Next, using a tenon saw cut the dowel into 15mm slices. This will give each stud a 5mm elevation within the blocks. If you prefer, you can do this on a bandsaw.
Part 6 Sand
Sand all edges of the dowel smooth. Here, we did it all by hand as one side needs to have a more rounded edge.
Part 7 Glue
Using a small amount of good quality PVA glue, glue all of the studs into place. Wait to dry completely.
Part 8 Finish
To achieve crisp, clean lines, apply masking tape to divide up the block sections. Be sure to press the tape down completely to avoid the paint bleeding when applied.
Using a small brush, apply your chosen colours. In our example, we painted the lighter colours first (yellow and light blue) to avoid any bleed from the darker colour. Allow each block to dry. Remove the tape once dry and move on to the darker colours, masking each section as you go.
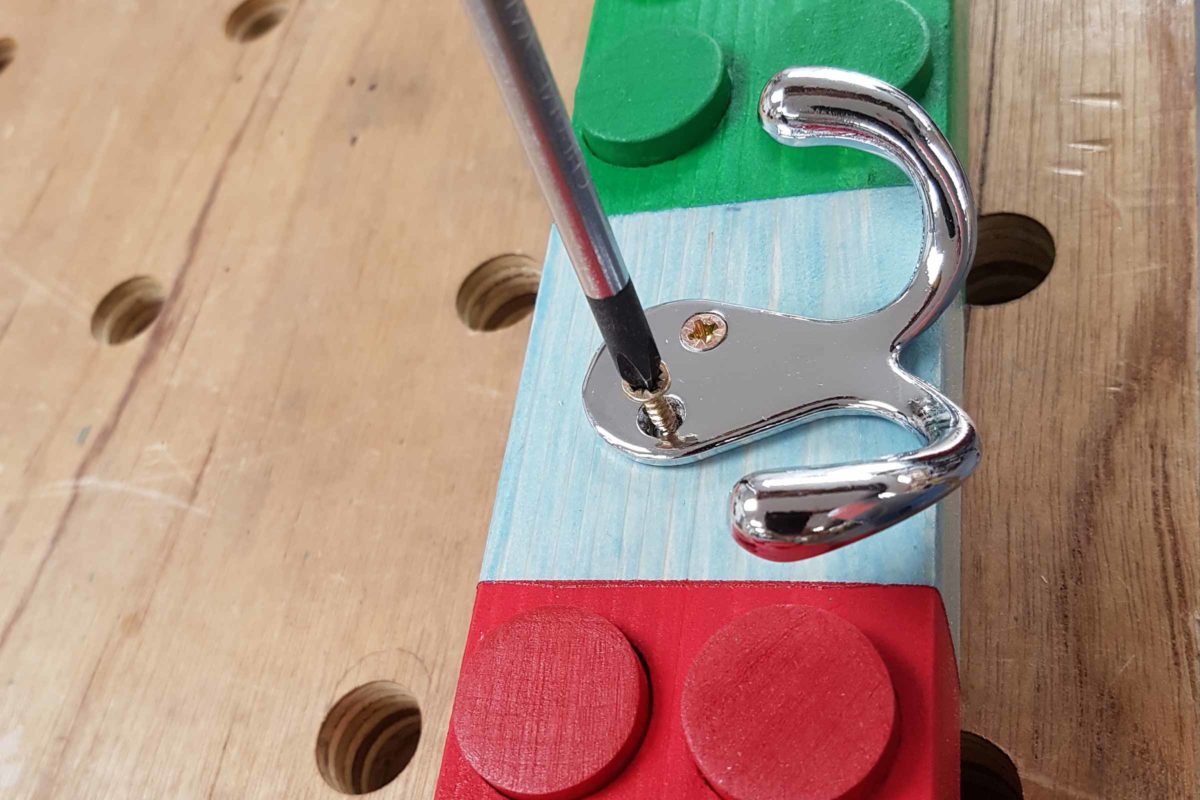
Part 9 Add the hooks
Next, position your chosen hooks. Mark the holes with a pencil, and then using a drill, drill small pilot holes. Screw the hooks in place.
Please note: When you are ready to hang the coat rack to the wall, you will need to attach some fixings to the back of the timber to be able to hang it.
Win a £25 Gift Card…
For a chance of winning at £25 Axminster Gift Card, simply show us what Beat The Boredom projects you’ve completed by uploading them to Instagram, Facebook or on to our Community Forum.
Snap It
Take a photo of your project.
Tag It
Use the #BeatTheBoredom hashtag and upload it to one of the following;
Win It
Send us your Beat The Boredom creations for a chance to win a £25 Axminster Gift Card- one to be won each month!
Discover more…
If you’ve enjoyed reading this article, keep an eye out for our next woodworking project for kids as part of our Beat The Boredom series. Watch this space for more details! Furthermore, why not take a look at all of our previous projects below?
Stuck at home with the kids? Looking for something fun to do? We have the answer with our online Beat the Boredom Series. A great way to get the children involved in a variety of...
Get connected!
If you’re searching for Beat the Boredom projects, you’ll find them on the Knowledge website. Alternatively, follow us on Instagram and Facebook to stay up to date on all the latest from our Beat the Boredom series. Connect with us using #BeatTheBoredom to @AxminsterTools.