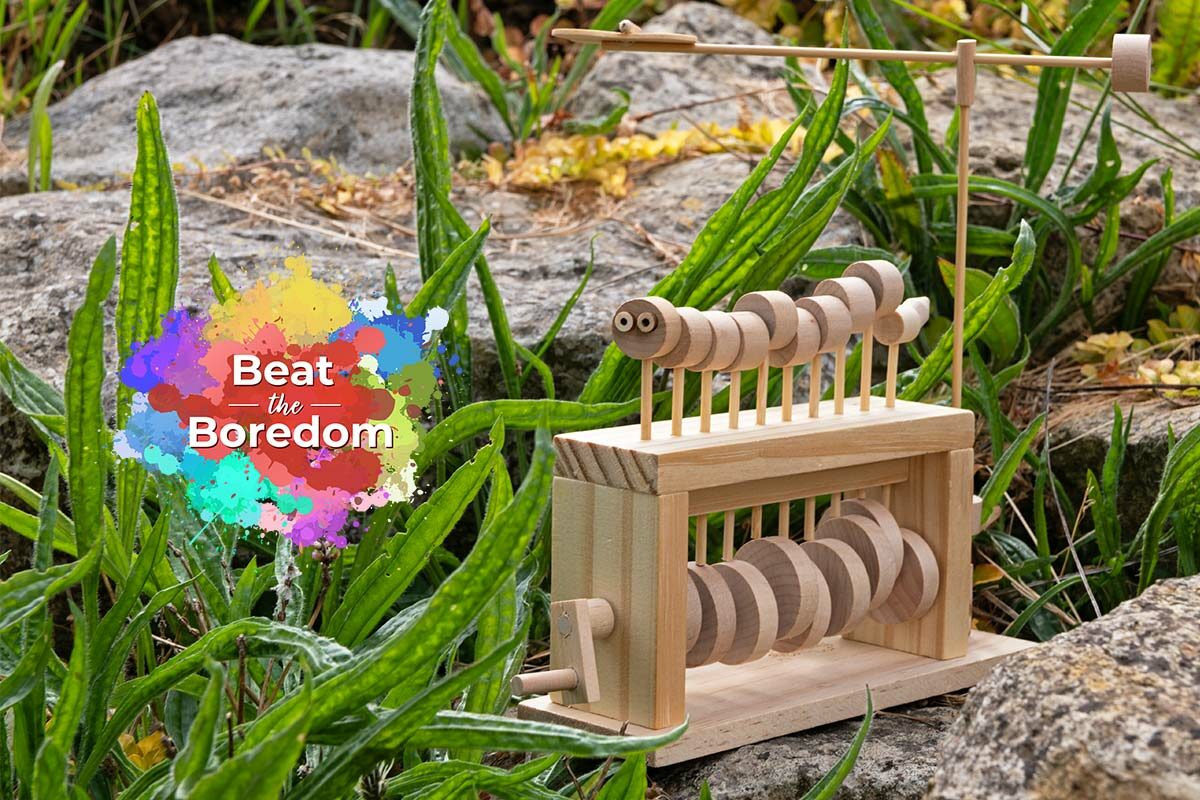
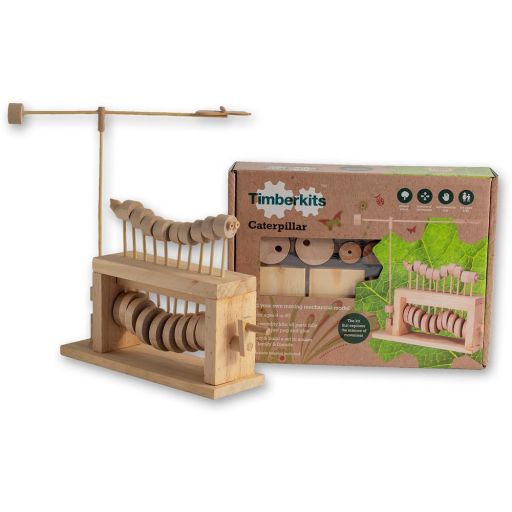
Timberkits Hungry Caterpillar | Beat the Boredom
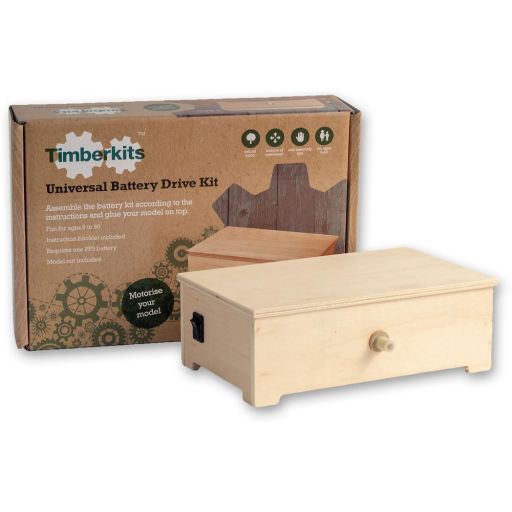
What you'll need
What better way to entertain the kids during the weekends and school holidays, than with Timberkits!
Perfect for small children and big kids alike, these wooden automata project kits are guaranteed to put a smile on everybody’s face. Great for those looking to start their woodworking journey, or for those looking for a crafty outlet, Timberkits are interactive, engaging and fun to make, whatever your age.
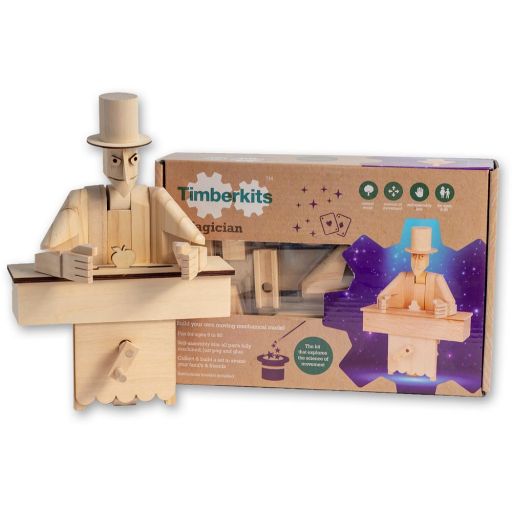
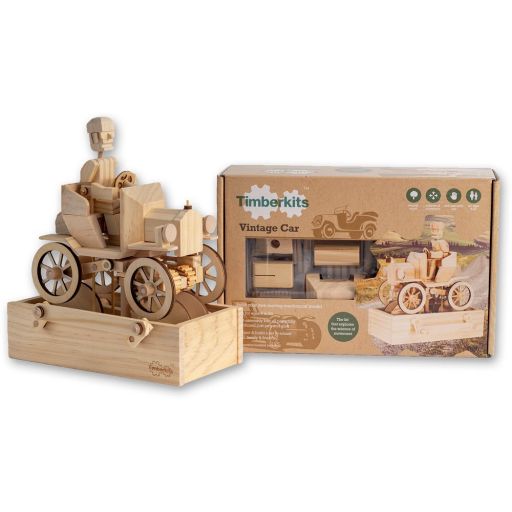
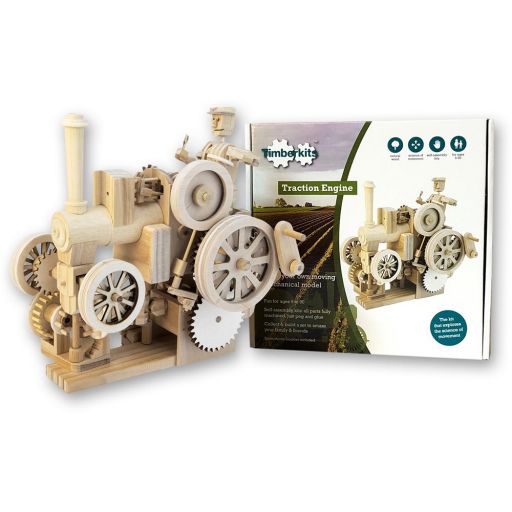
What are Timberkits?
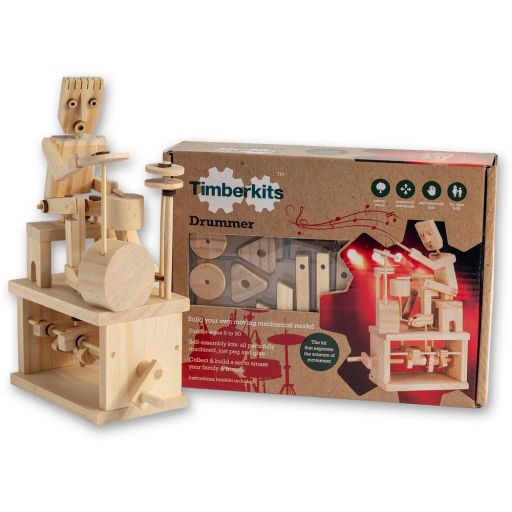
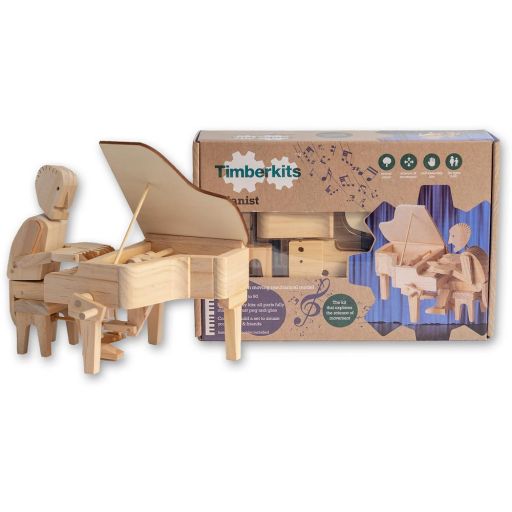
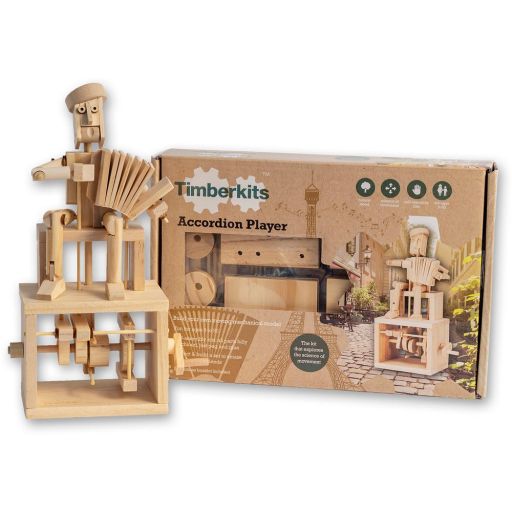
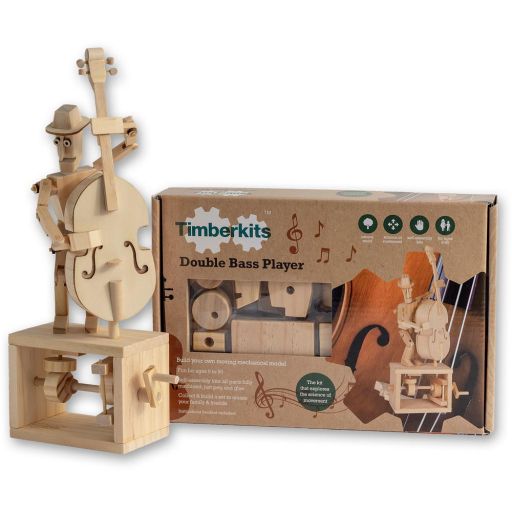
These fun mechanical model making kits are made from sustainable wood and are suitable for a range of skill levels.
Beginner

Intermediate
Confident


Advanced
Make a kit with us!
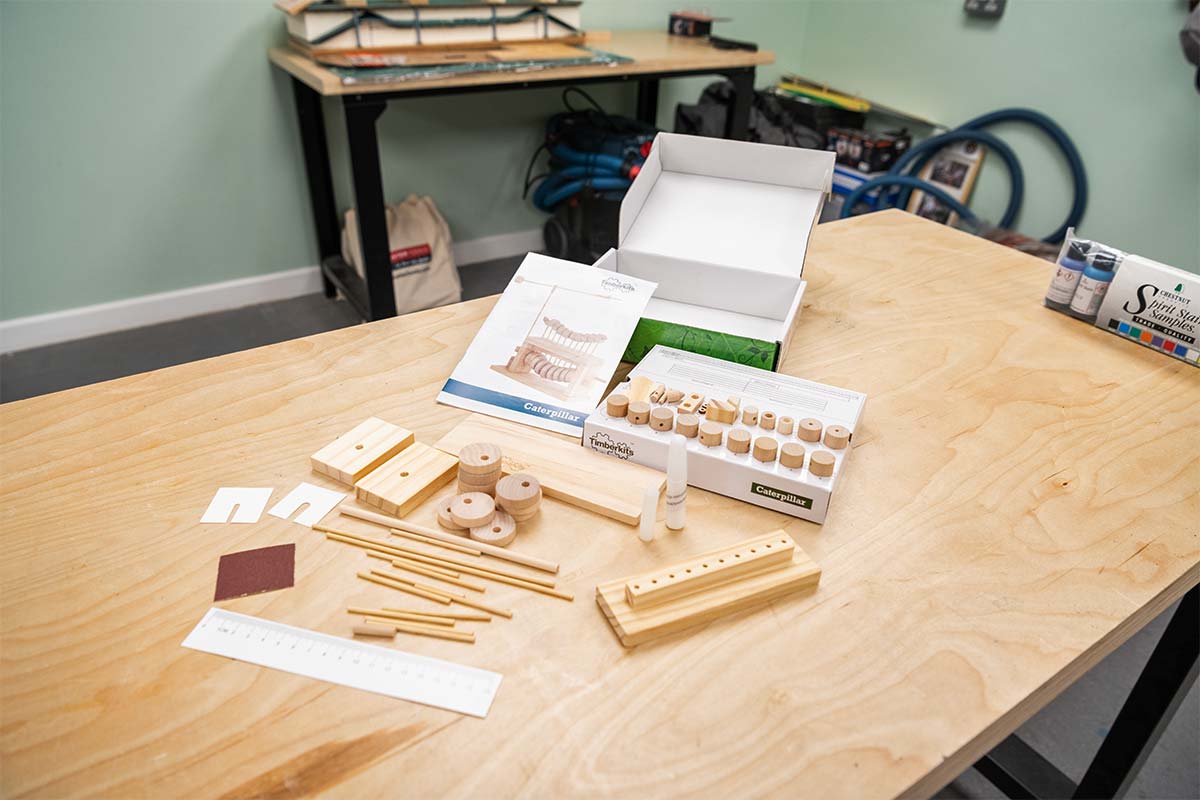
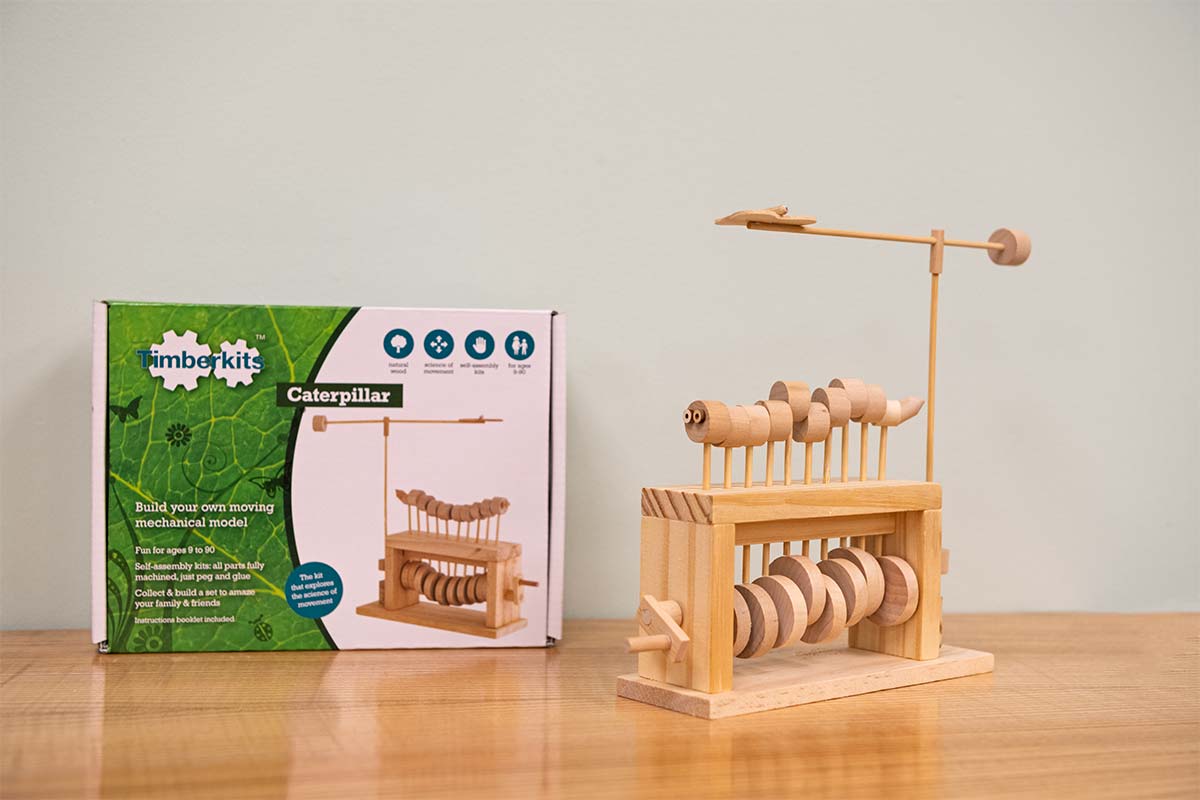
Follow our step by step guide below to make your very own hungry caterpillar. With all the tools you need in one box, you can't go wrong!
Start by laying out all the pieces from the box and use the instruction leaflet to identify the parts.
Top Tip!
You may find it easier to paint some parts before assembly
Construct the main turning handle and shaft, taking note of which parts require gluing.


Next, construct the main frame, gluing the side pieces to the bottom. Leave to dry.


Slide the cams on to the the shaft and feed through the holes on the sides, so that the handle is on the outside, and the cams sit within the frame.
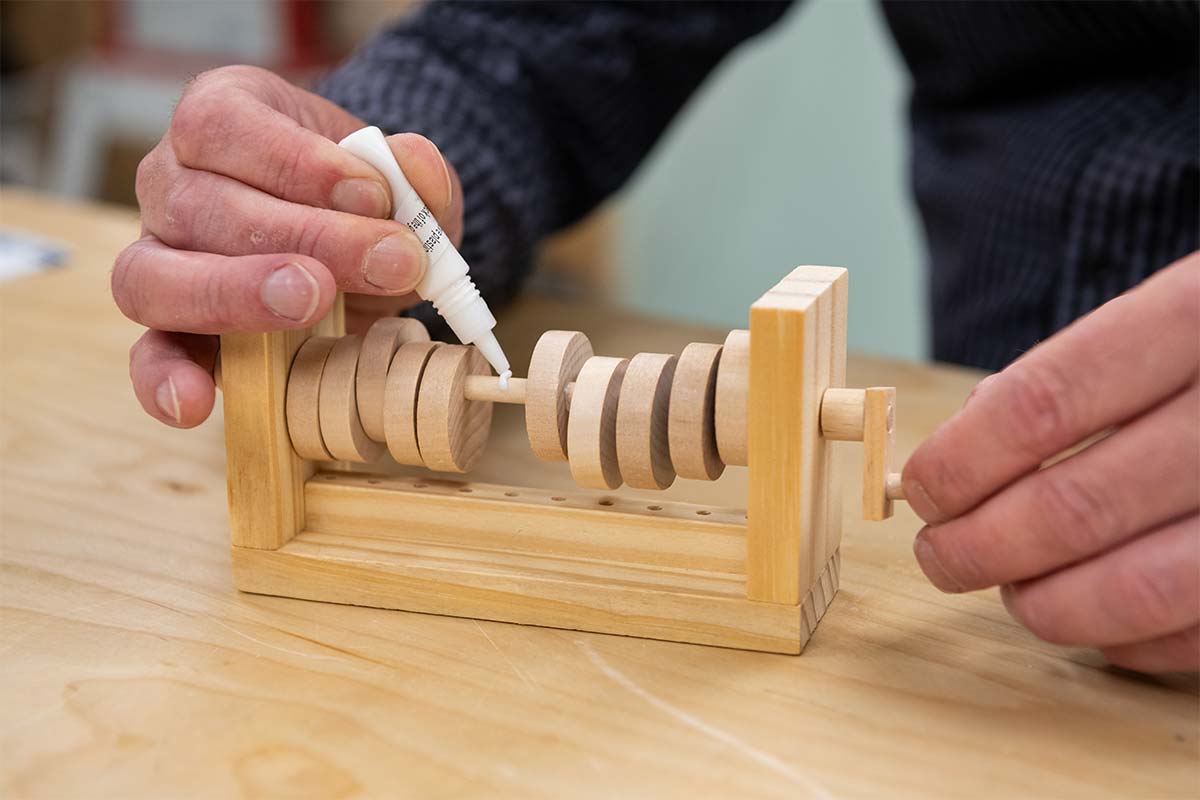
Next you you will need to glue the cams to the shaft. Push all of the cams to one end of the shaft. Using a cocktail stick, apply glue to the main shaft at the handle end.
Top Tip!
Use the supplied glue guard for the first one to ensure you do not get glue on the handle


Move the cam in place over the glue and directly above the first 3mm diameter hole. Spread the glue buy spinning the cam, and then press into place. Leave to dry for 5 mins.
Repeat this process with the remaining 9 cams to create a spiral. Each cam must sit directly above the corresponding
3mm diameter hole.
Once dry, turn the structure over and glue to the base panel. Next, position and glue 'part 7' centrally on the base so that it is directly beneath the main shaft. Leave to dry.


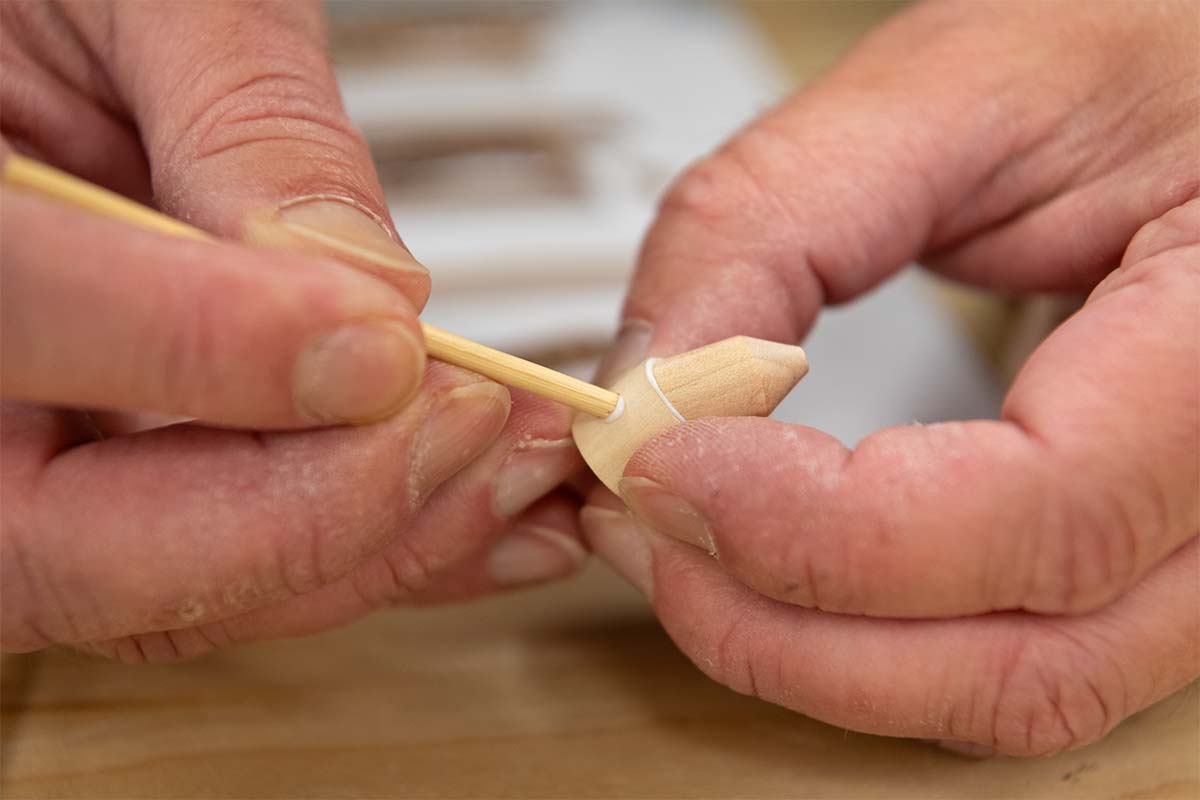
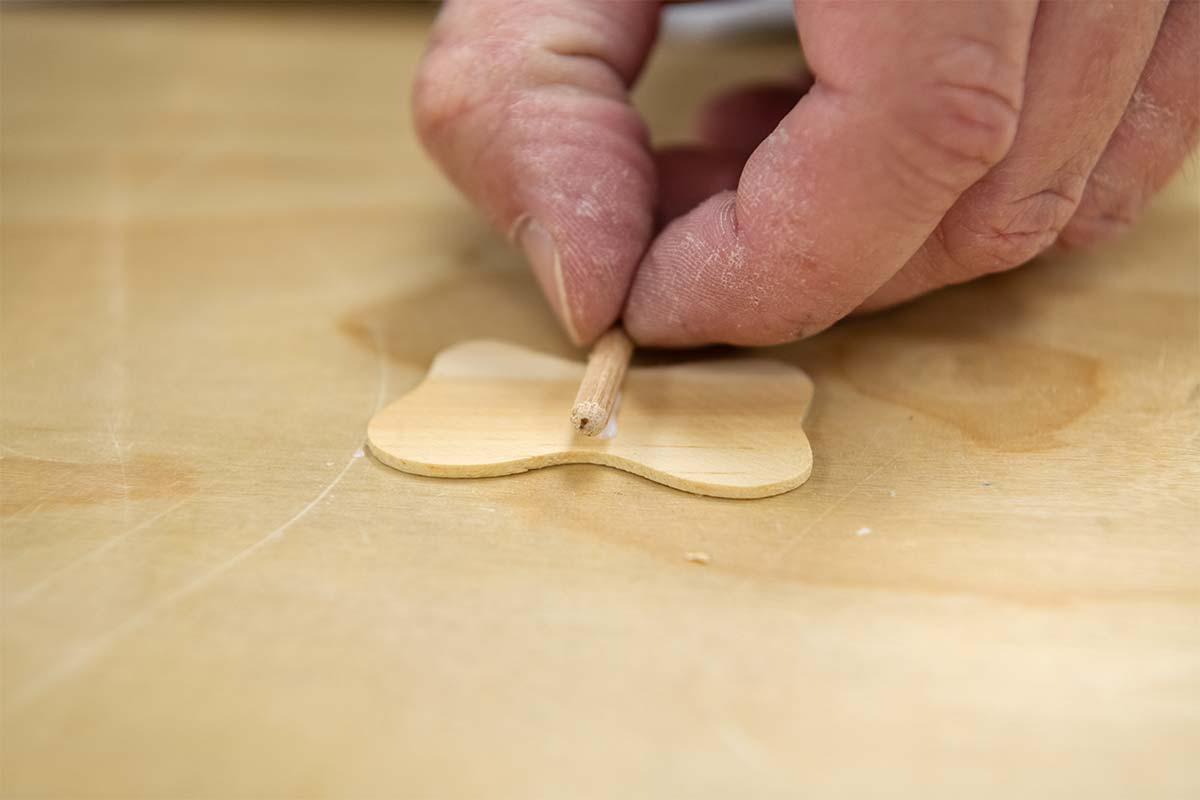
Round off with sandpaper and wax one end of all of the 3mm x 67mm pegs. Then, glue nine of these pegs into nine 'part 8s'.


Create the caterpillar face by taking one of these pegs and gluing two eyes - 'part 9'.

Then make the ail by locating the correct parts and gluing where needed.
To make the butterfly, locate the correct parts and glue together where shown.
Assemble the kit
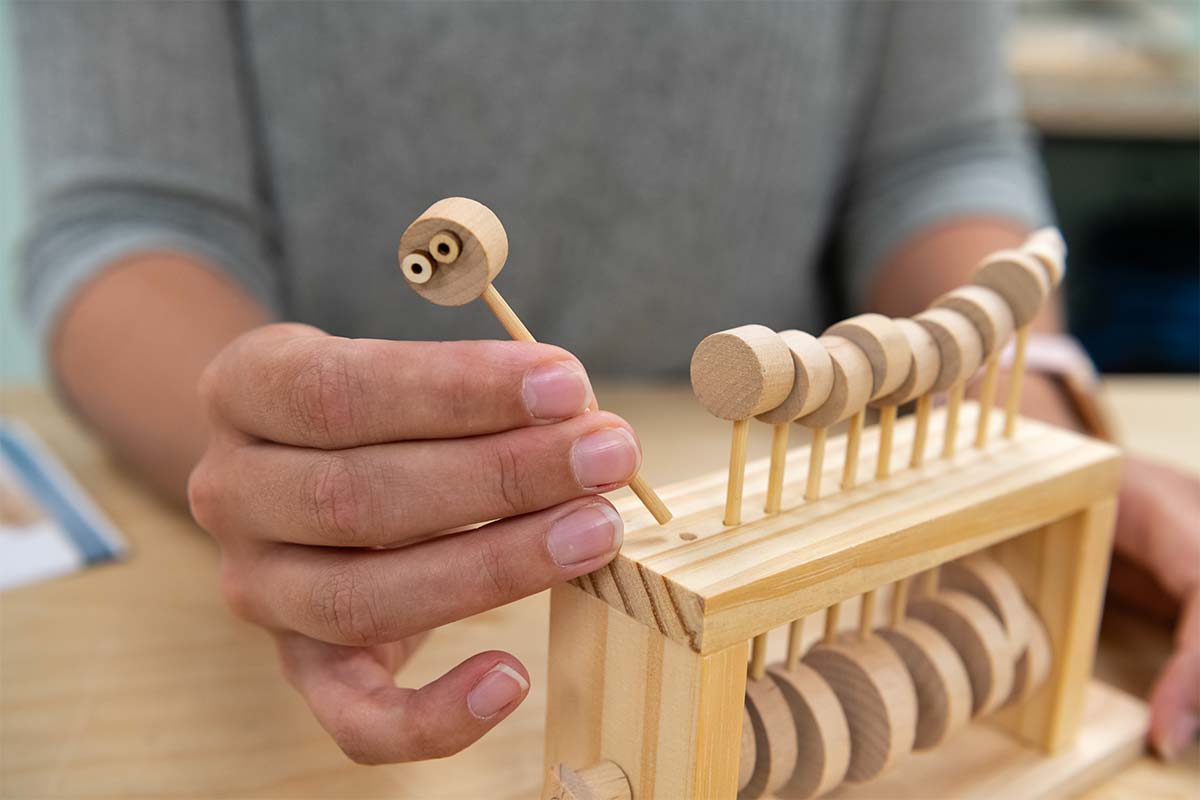
Next, wax the peg ends and insert in the holes so that they balance on the cams ensuring the tail is at one end and the head at the other. Then, position the upright bamboo piece (size 3mm x 180mm) into the block (part 7) so the drum (part 12) rests on the spacer (part 2). The bamboo should not quite reach the bottom of 'part 7'. Glue 'part 12' in this position.
Position 'part 13' to a good balance point along the bamboo and glue in place before positioning on to horizontal bamboo.
Top Tip!
If when you turn the handle it jams, try lifting the caterpillar body segments up one by one whilst trying to turn the handle, until you can identify which segment is catching on the cam below. Then lift it out and round and wax the end some more.


And there you have your finished mechanical caterpillar.
More from Timberkits
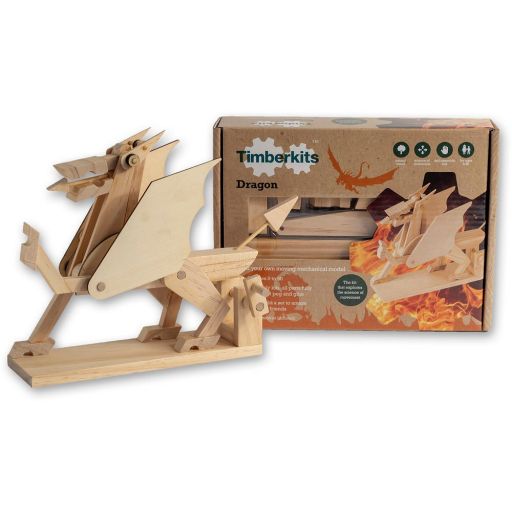
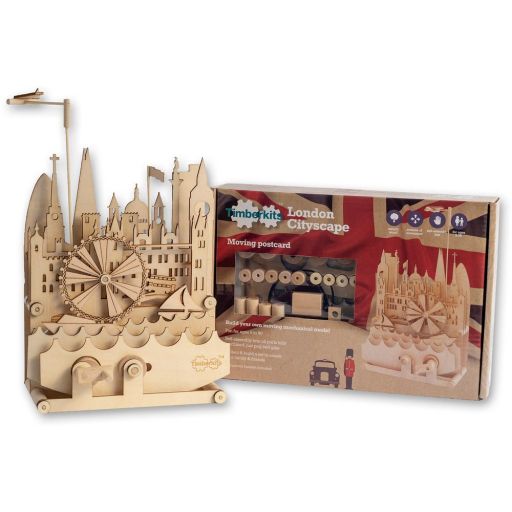
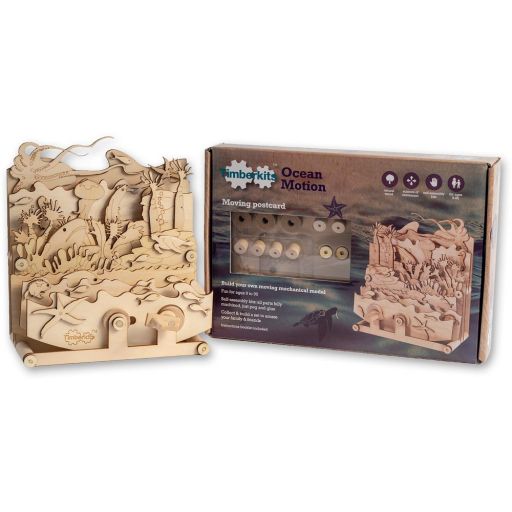
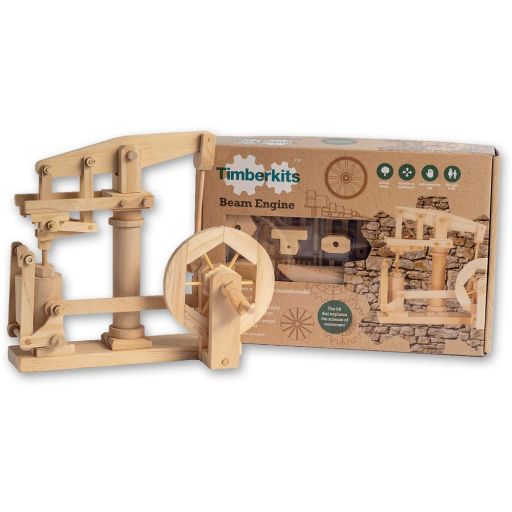
If you have enjoyed this Timberkits project, then why not explore more from the range.
-
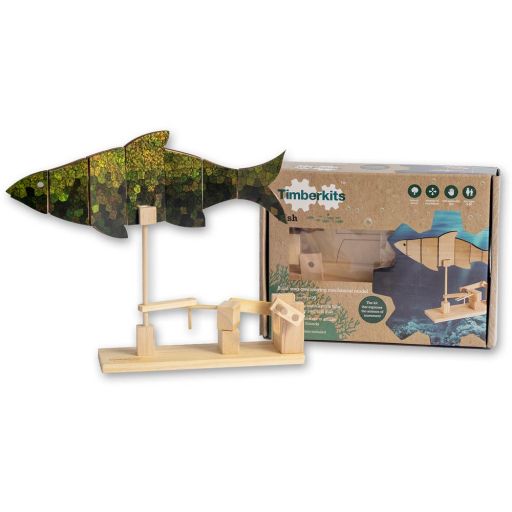
Timberkits Beginner Kit - FishFrom £12.98 £10.82
-
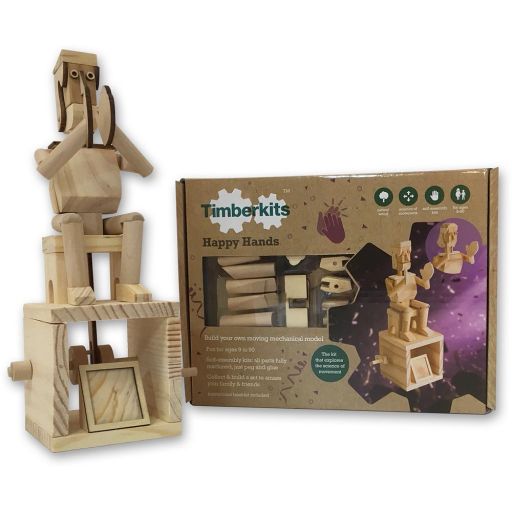
Timberkits Beginner Kit - Happy HandsFrom £17.98 £14.98
-
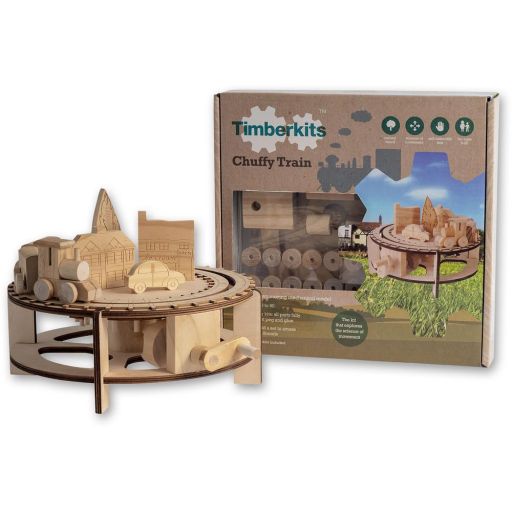
Timberkits Beginner Kit - Chuffy TrainFrom £24.98 £20.82
Made it? Share it!
We hope that you’ve enjoyed learning how to create this simple wooden automata model. If you’ve made your own, we would love to see it! Get in touch via our social media platforms. Find us on Facebook or connect with us on Instagram. Don’t forget to tag us @AxminsterTools.