Kinetic Wind Ornament | Beat The Boredom
What you'll need
Want to spend some quality time with your little ones? How about trying this beautiful and vibrant kinetic wind ornament. It is the perfect holiday activity full of fun and creativity to do with the people we love most.
Step by step guide to create the Kinetic Wind Ornament
* Please remember children should be supervised when using equipment.
Step One
Firstly cut the piece of timber into 20mm strips using the bandsaw. To do this, set the fence on the bandsaw 20mm from the blade and cut. Use a push stick for safety.


Step Two
Next, using a pillar drill, drill a hole in the centre of each strip of timber. You should also add a sacrificial piece of timber on the table of the drill to reduce break outs.


Step Three
Then it is time to stain the strips of timber using a paint brush and either spirit stain or acrylic paint. You will need a variety of colours to alternate when assembling. Ensure you allow time for the strips to dry.


Step Four
Before assembling your kinetic wind ornament you need to drill a 3mm hole through the top of the dowel.

Step Five
Next, select the strip of timber which you want to be the bottom piece of your kinetic wind ornament, and stick it to the bottom of the dowel using glue.


Step Six
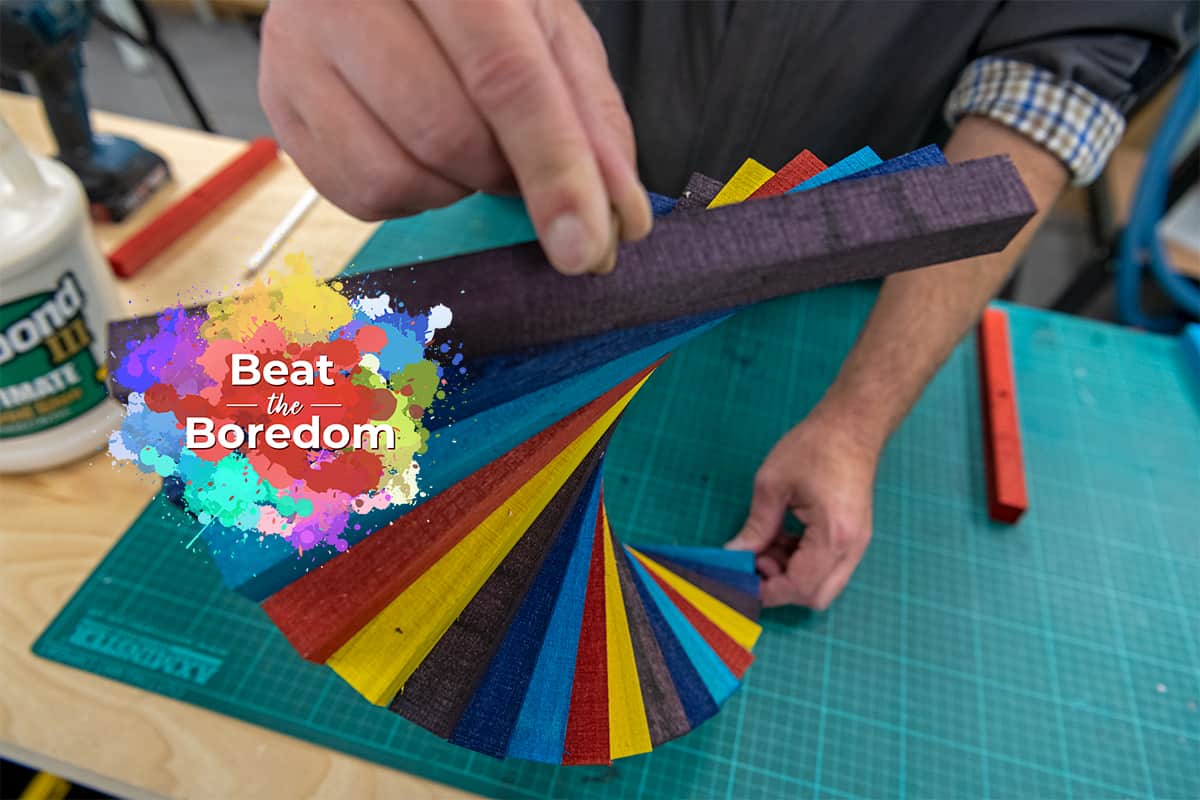
Finally, continue to stack your strips of timber in alternating colours and secure this with glue. However, make sure that when stacking the strips you ensure the bottom corner of the current strip touches the top corner of the previous strip as shown in the images below. Once all the timber has been stacked, leave your kinetic wind ornament to dry for 30 mins.


To hang your kinetic wind ornament use a piece of string or fishing wire that can hold the weight of your colourful creation.
Made it? Try these!
If you enjoyed creating this kinetic wind ornament take a look at our other Beat the Boredom projects where we aim to provide fun and easy-to-follow instructions to teach your children new skills.
Don't forget to snap a pic of your little ones' creations and tag us @axminstertools on either Instagram or Facebook