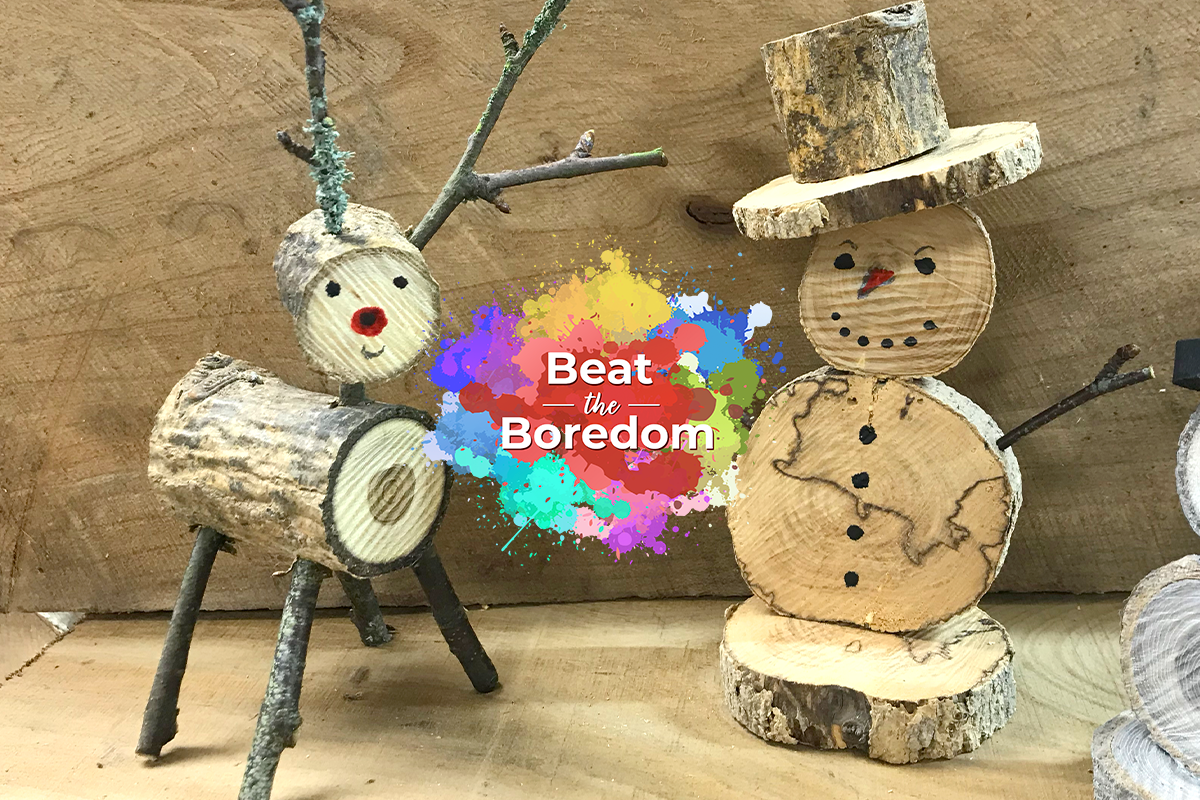
Branch Snowman
This is a nice simple little project to make use of those cut off branches from the garden or fallen branches and twigs found on your woodland walks. Ideal for younger kids with adult supervision.
Part 1 - Cut the materials
In this festive Beat The Boredom project, the snowman is made by simply cutting approximately 10mm - 12mm discs from the end of the branch. Three larger discs make the base while the body and hat rim can be made from a thicker section of the branch.
A smaller disc can be used to make a thinner branch for the head and an even smaller but slightly longer bit can be used for the top hat. These cuts are best made with a tenon saw or hand saw. For safety purposes, ensure that the branch is well clamped or a bench hook is used.
Part 2 - Glue up and drill
After you have cut all discs, it is time to join them all together. Firstly, start on the top hat by making a centre point in both pieces of the hat. Then select a twig that roughly matches the size of the drill bit you have. In this instance, we used a 4mm drill bit.
Before you begin to drill, make sure that all is clamped / gripped well. Next, drill all the way through the rim of the hat at approximately 5 - 6mm into the top part of the hat.
Squeeze some PVA wood glue into the hole in the top of the hat. Then cut off length of twig at around 20mm in length. Next, insert it into the top of the hat before you thread the rim of the hat on to the twig. At this stage, leave about 10mm protruding through the bottom of the hat.
Continue to follow the same steps to drill the holes to fit the body to the base. Next, follow the same process to drill and attach the head to the body.
The final drill is another hole drill into the top of the head to receive the hat. Here, ensure you use plenty of PVA glue!
Part 3 - Colour and finish
Your branch snowman is nearing completion. It's now time to add some finishing touches! If you want to make the snowman a little whiter, white wood dye is good option. Likewise, some watered down white paint works really well too. To finish, use paints to add colour to the hat if you wish and use a felt tip pen to draw on the eyes, nose and buttons.
Win a £25 Gift Card...
For a chance of winning at £25 Axminster Gift Card, simply show us what Beat The Boredom projects you’ve completed by uploading them to Instagram, Facebook or on to our Community Forum.
Snap It
Take a photo of your project.
Tag It
Use the #BeatTheBoredom hashtag and upload it to one of the following;
Discover more...
If you’ve enjoyed reading this article, keep an eye out for our next woodworking project for kids as part of our Beat The Boredom series. Watch this space for more details! Furthermore, why not take a look at all of our previous projects below?
Stuck at home with the kids? Looking for something fun to do? We have the answer with our online Beat the Boredom Series. A great way to get the children involved in a variety of...
Get connected!
If you’re searching for Beat the Boredom projects, you’ll find them on the Knowledge website. Alternatively, follow us on Instagram and Facebook to stay up to date on all the latest from our Beat the Boredom series. Connect with us using #BeatTheBoredom to @AxminsterTools.