Christmas Reiterlein Ornament | How To

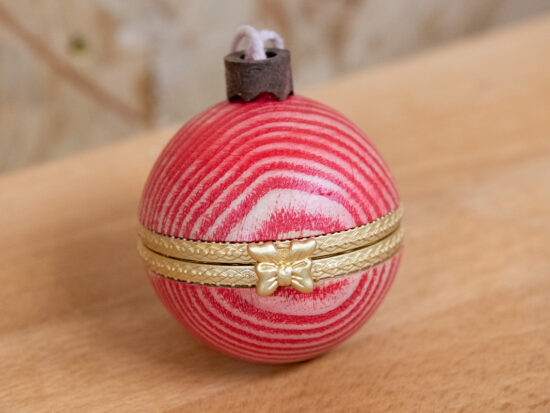
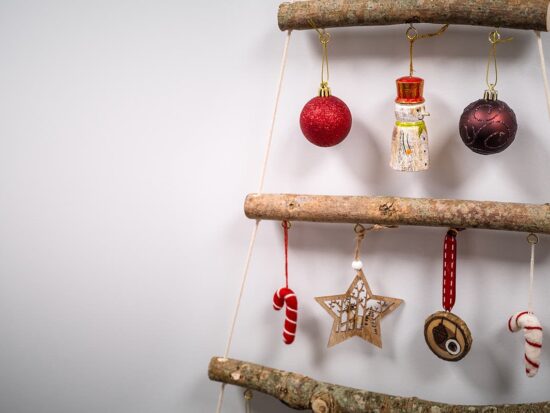
Christmas decorations and ornaments have been around for centuries adorning our homes during the festive period. Traditional wooden ornaments from Germany are hugely popular, including a Christmas Reiterlein ornament.
Reiterlein, which is German for little rider, originate from Germany's Erzgebirge region which is well known for other wooden art, particularly the German smoker and nutcracker.
These traditional wooden Christmas ornaments are popular the world over and below we show you how to make yours.
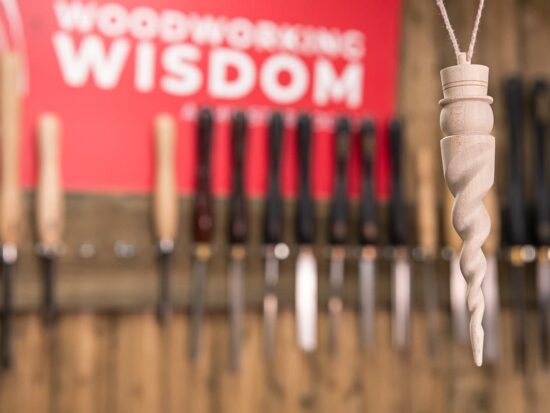
Watch Colwin in this Woodworking Wisdom demo or follow our step-by-step guide below, to make your own Christmas Reiterlein ornament.
Click here for downloadable plans
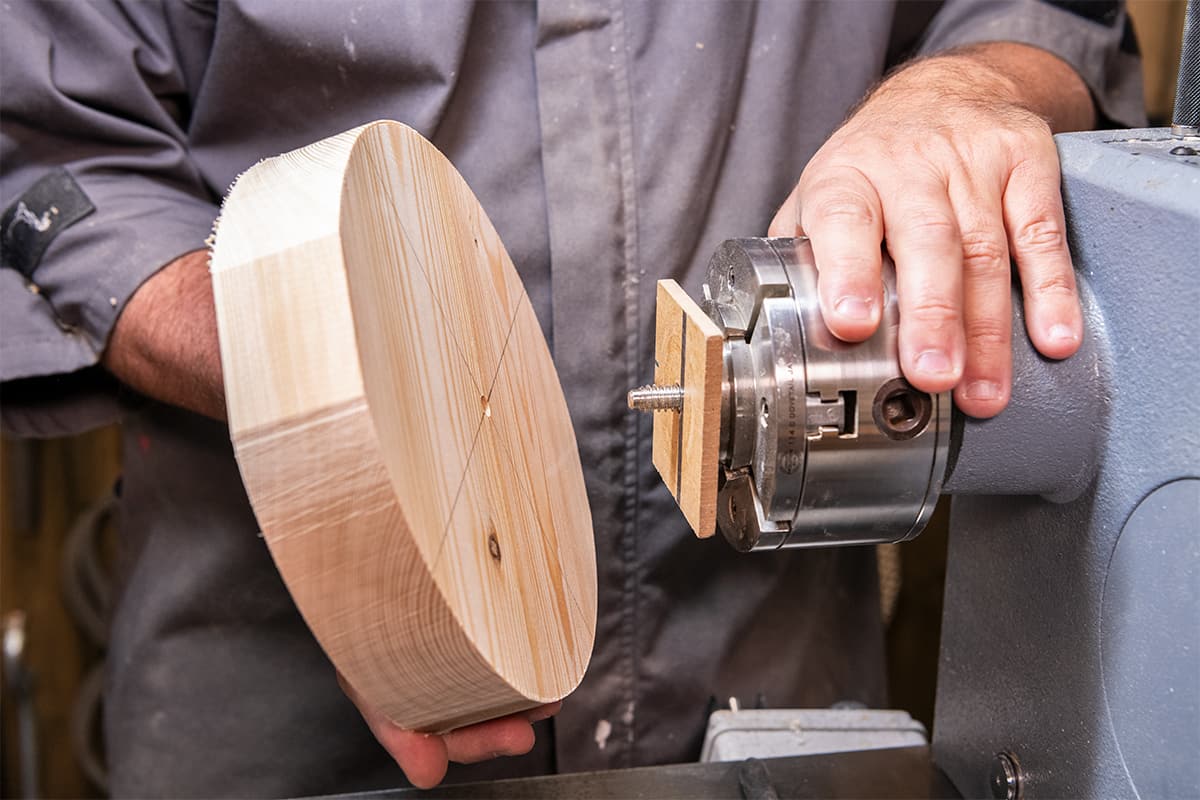
Prepare the blank
Begin by cutting your timber to 200mm x 100mm x 40mm. Then glue the two surfaces and clamp together. Once dry, mark from corner to corner to find centre.


Set your dividers and using the centre point just marked, scribe a circle 200mm in diameter.
Next, drill a through-hole dead centre to take a screw chuck before cutting your circular disc out using a bandsaw or scroll saw.


Then mount your blank by screwing onto your screw chuck.
Turn down the disc
Begin by cleaning the outer surface of your disc using a 3/8 bowl gouge and gently refine this surface using a negative rake scraper.


Sand all surfaces to a finish then flip the disc and sand the other face.
Cut the rocker
After turning you will need to cut the disc in half on the bandsaw, following along the glue line.
Next, make another cut 3mm away from the new flat face to take away some of the drill holes left in the middle. This is an optional step as the hole will be covered by the body and legs of the rider. Sand the cut surface.


Turn the rider
Mount the rider body blank between centres and rough down to a cylinder.
Cut in the waist and belt with a 6mm beading and parting tool and using the same tool, clean both ends of the blank.


Using either a skew or spindle gouge, round the body over into the waist area.
Cut a v groove ready to turn the top of the body and head (refer to the drawings to get measurements). Then, round over the head using a skew or spindle gouge before sanding to a good finish.


Turn the hat
Mount and rough down to a cylinder the hat section and then taper the hat towards the head.
Clean up the bottom of the hat to create a good join when added to the peak, then sand to a good finish.


Using a sanding disc, sand the top and bottom of the body to take away any hold points and repeat this on hat, but add a taper to the top.


Create the horse detail
Create three templates using the line drawings attached. Use the horse head template to scribe the outline on a piece of timber measuring 100mm x 100mm x 40mm. The cut and shape on a bandsaw or scroll saw.


Using a sanding disc, sand the faces of the head. Use a combination of the disc and drum sander to sand in the detail, soften all the edges when you do this to create the shape of a horses head. Then, file in the horses ears.
Mark out using your templates, the shapes for the hat peak and legs and cut out on a bandsaw or scroll saw. Then sand the profiles to a good finish.
Drill in an angled hole 10mm diameter in the main rocking body, to accept the tail in the next step.


Turn the tail and arms
Mount the tail blank between centres and turn a concave taper down to a sized 10mm tenon. Clean the top of the tail with a skew giving a slight convex curve to the surface and sand to a good finish.


Rough down the arm blanks using a skew or roughing gouge and turn the detail with your spindle turning tools. Then sand to a good finish.


Use the sanding disc to tidy up each end and take away the centre points and add flats to the hands.


Assemble your Christmas Reiterlein
Use a v block to hold the body, drill in a 6mm hole on either side of the body to accept the arms and repeat on the arms.


Also, add a 3mm hole to the head to accept the nose.
Turn a 10mm ball with a 3mm tenon then sand, this will be your nose. Then part off with a skew.
Using a piece of 6mm dowel connect the arms and body together.


Here is what your Christmas Reiterlein should look at this stage. You can now disassemble and start decorating the pieces. After painting, the pieces can be glued together.

If you have enjoyed this project, why not have a go at one of our other traditional wooden Christmas projects?
Share your pics
If you have made our Christmas Reiterlein ornament, we would love to see it. Share your pictures with us on social media. Search and tag @axminstertools on Facebook or Instagram.