Turning a Cut and Join Bowl
What you'll need
Turning a bowl is a staple skill of the avid woodturner. But after a while you may run the risk of finding the humble bowl not satisfying your creative urges.
This project shows you how to turn a simple bowl in to a unique piece with a simple cut and join technique. It opens up new opportunities to create a range of different and unique shaped bowls and let your creative juices flow.
Watch Jason in this Woodworking Wisdom demo as he shows you how to cut a bowl in half before joining the two rims together to create an alternative shaped bowl. Or, follow our guide below.
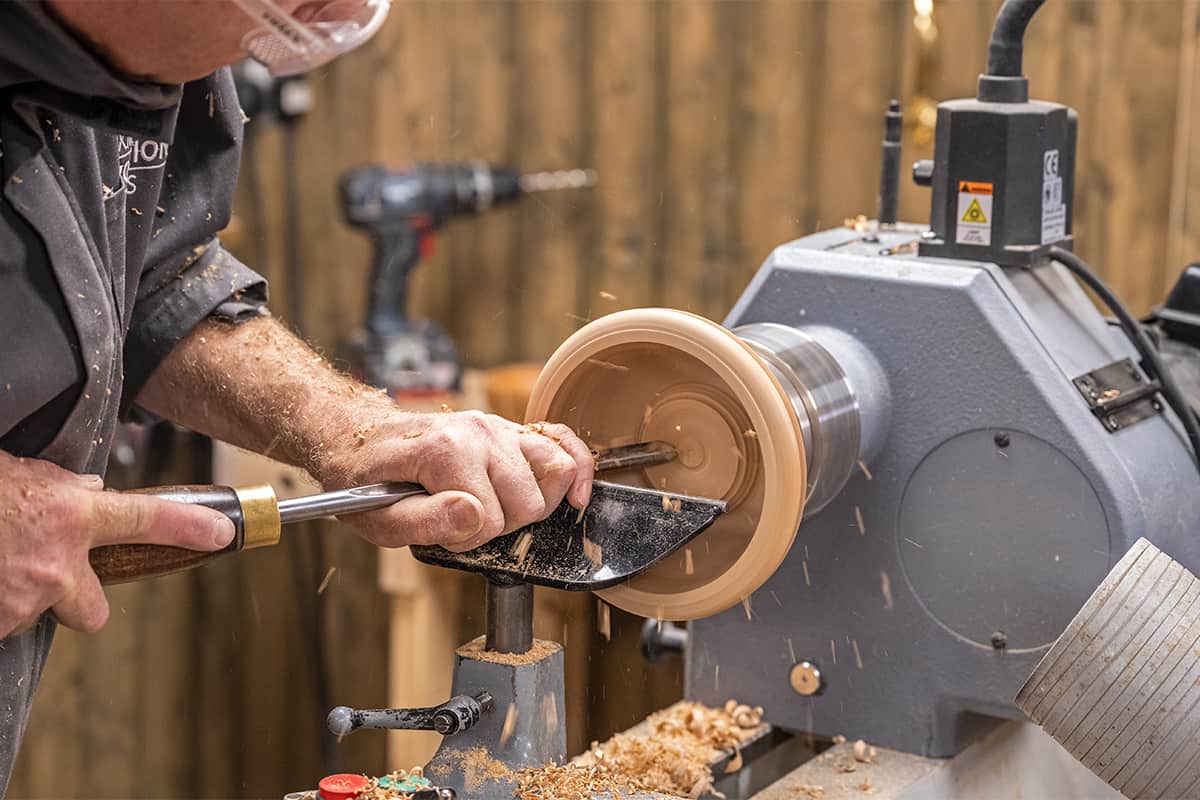
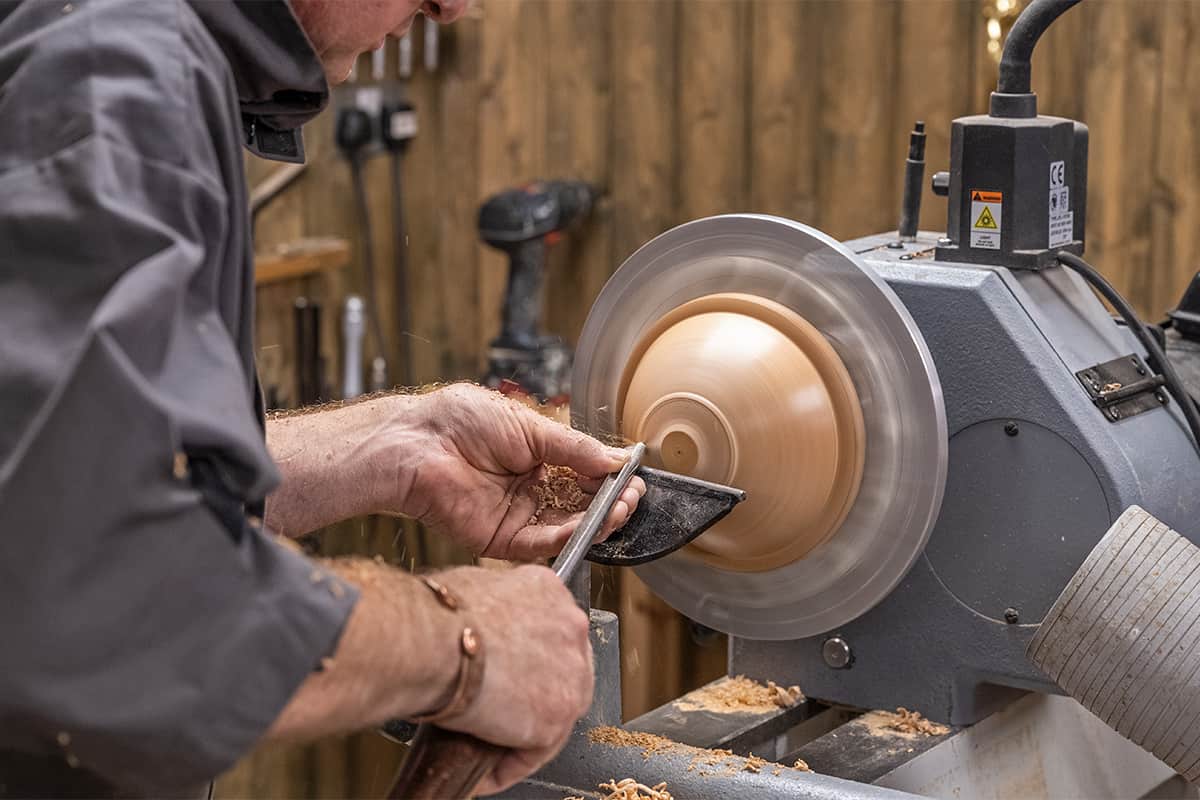
Turn a bowl
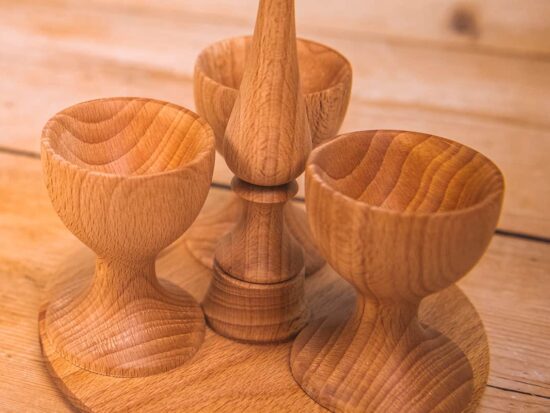
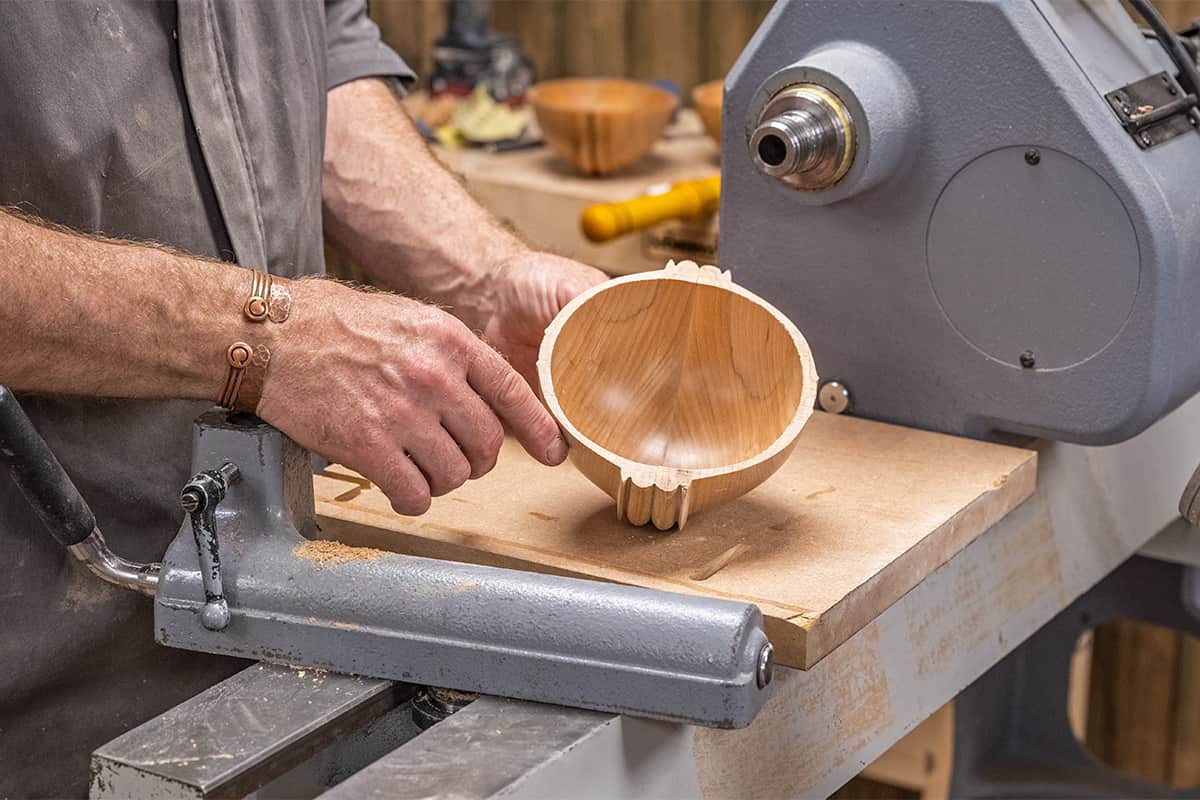
Begin by turning a bowl. You can add extra details such as beads to help elevate your final bowl and really make it different. Experiment with different sizes and heights. A deeper bowl, for example, will create a long eclipse shape.
For our bowl we used a beech blank that is 175mm diameter x 75mm. We turned the bowl with some bead detail around the rim to help give us a more unique feature when we cut and join our bowl back together.


You may want to blend the bowl foot so it blends into the bowl shape. Button jaws can help you hold your workpiece in place so you can blend in or remove the foot.
Mark up the bowl
Mark out the cut line on the bowl. Set up a table in the lathe banjo, so the tip of the pencil is level with the tailstock centre point. Lock the spindle to ensure the work is held in a fixed location and then adjust the position of the bowl within the button jaws once you have chosen where to make your cut, aligning the grain. Set up the banjo so that the pencil line can be drawn on one half of the bowl from rim to base, then reposition the banjo to do the other side.
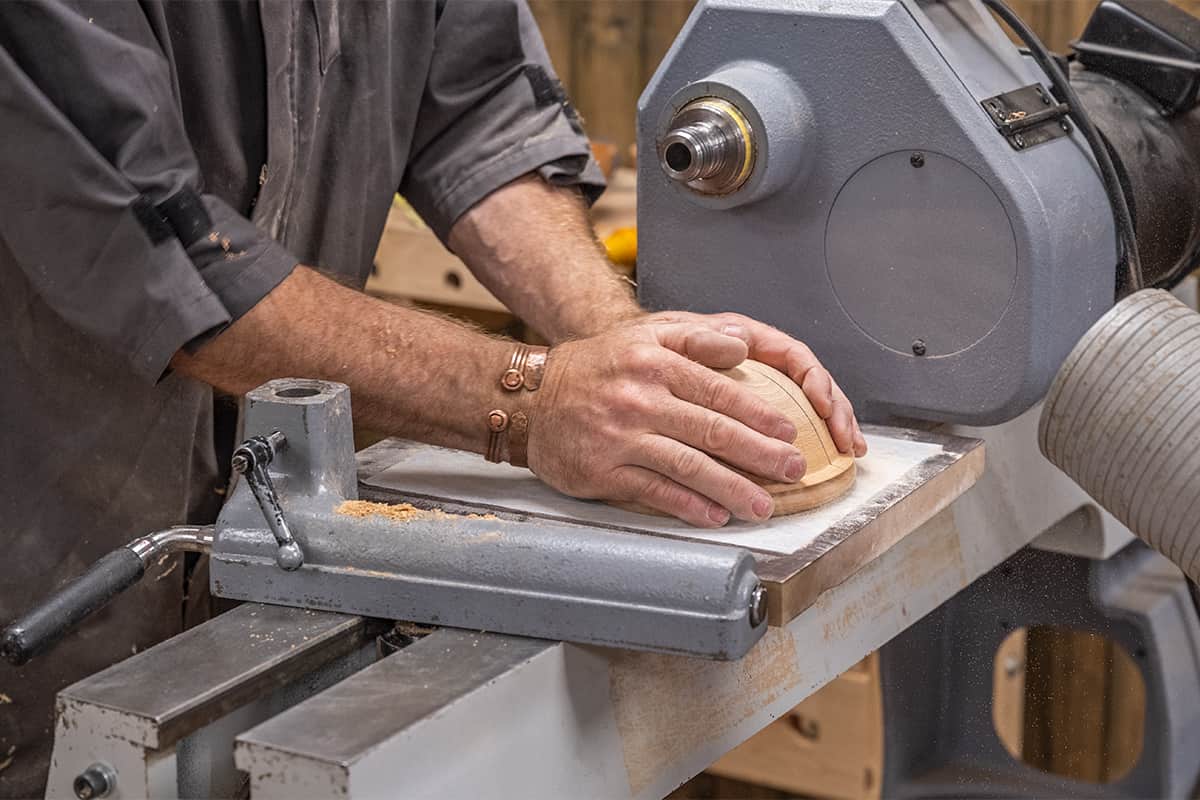
To ensure the rim is flat, create a sanding board. Use a spray mount glue to attach a sheet of abrasive to the flat surface and let this dry. Draw several pencil lines on the flat of the rim, then gently hand sand this to remove the pencil marks, ensuring this is flat.
Cut and join the bowl
To cut the bowl into two halves, set up the bandsaw. A 6TPI blade would be good as this will be less aggressive. Top tip: Ensure the guides are as near to the work as possible as it's safer and more accurate. Feed slowly through the cut and follow the pencil line.


Having cut into two halves, align the flat of the rim together to see the new shape and check how this comes together. If this looks good glue together using some PVA glue, using a rub joint to create a suction fit. Line up the inside and the rim. Top tip: Elastic bands and spring clamps can help to hold this together. Leave to dry.


Level the rim
Next you will need to level the new rim. If the bandsaw cut has been accurate, this will need a small amount of work. This can either be done on the sanding board, or on a disc sander fitted to the chuck on the lathe. If the disc sander method is used, keep the speed low, at 400-500rpm max. This will make it easier to control the sanding and prolong the life of the abrasive. A flat can also be sanded to the bottom on the bead to create a foot for the bowl to sit on. This can be done so it will sit at an angle if wanted.


Level the inside of the bowl
To level any misalignment inside the bowl, use a drill chuck held in the headstock. Into this, hold a 50mm sanding pad with a 75mm 240 and 400 grit disc. The larger diameter disc will blend into the shape of the bowl and not create a hard line that can happen if the edge of the 50mm disc is used. Again, run the lathe at a slower speed, 400-500rpm, as this makes it easier to control.


Finally, apply your chosen finish.
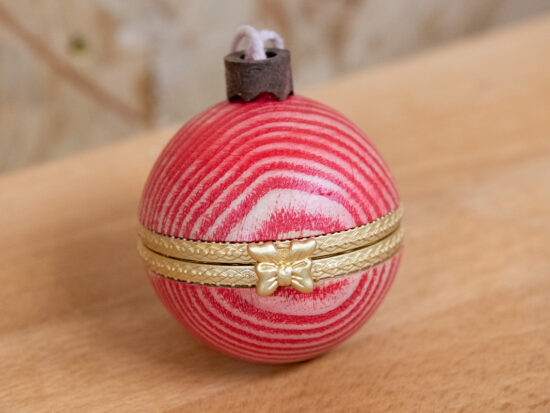
More decorative bowl projects
If you are looking at turning a bowl, here are some more creative ideas for a more unique piece.