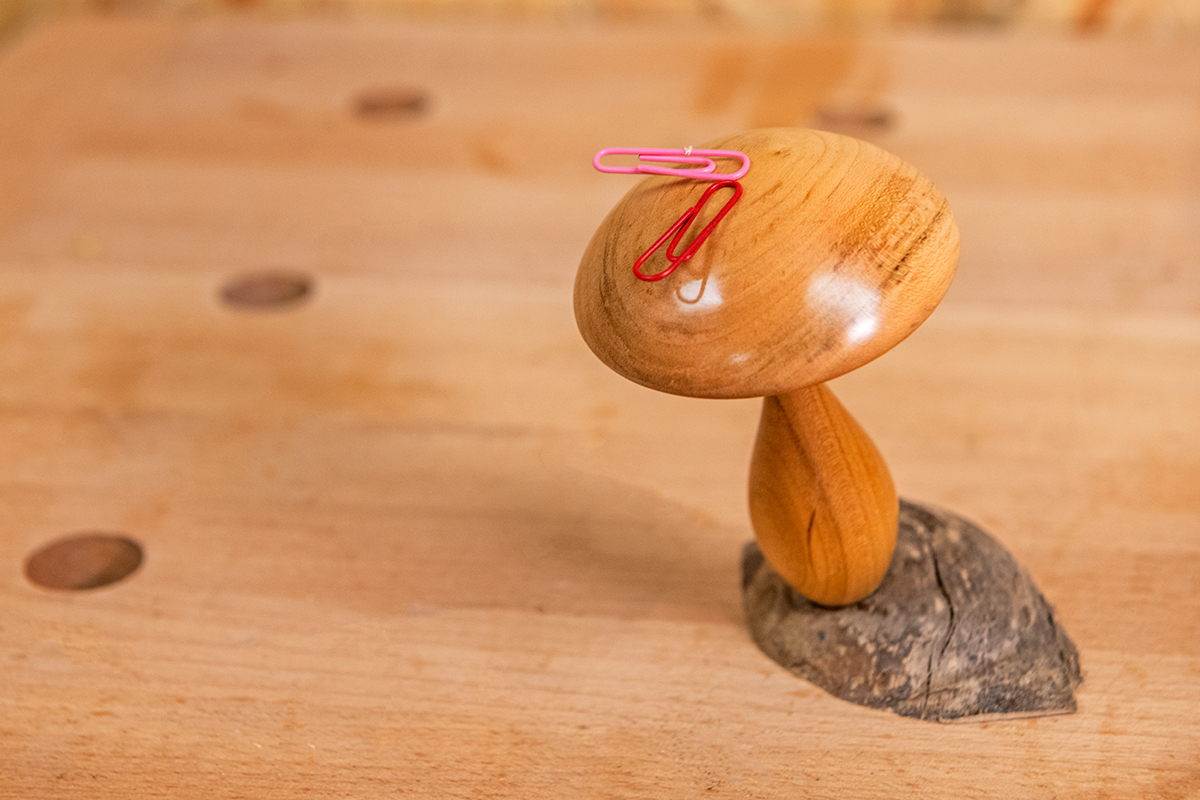
Unusual Woodturning Projects | Magnetic Mushroom
What you'll need
We love coming up with unusual woodturning projects and creative ways to use up workshop off cuts. And this magnetic mushroom project ticks all those boxes!
A quirky little project, that's a bit of fun to make and use. These magnetic mushrooms are a fun addition to your desk to hold all your paperclips and other small metallic items.
Join Jason in this Woodworking Wisdom demo or follow our step by step guide below.
Prep the timber
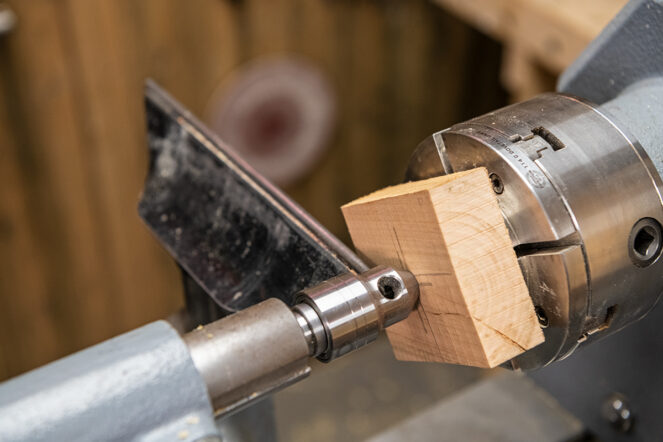
This in one of many unusual woodturning projects which is great for using up workshop scraps and the shape and sizes can easily be changed to suit what is available. The top of the mushroom is made from a square blank of cross grain material, in our example, the waste bit off the end of a 25mm plank. This is cut to a square section of about 65mm-70mm.
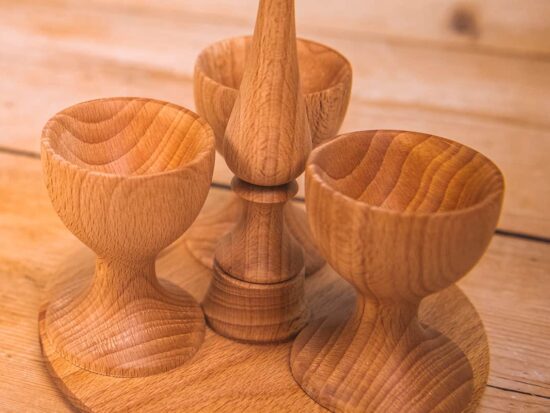
The stem is a short spindle blank approximately 90mm long and 25mm-30mm square. The base can be a turned disc, or a decorative off cut of natural edge burr or bark edged material.
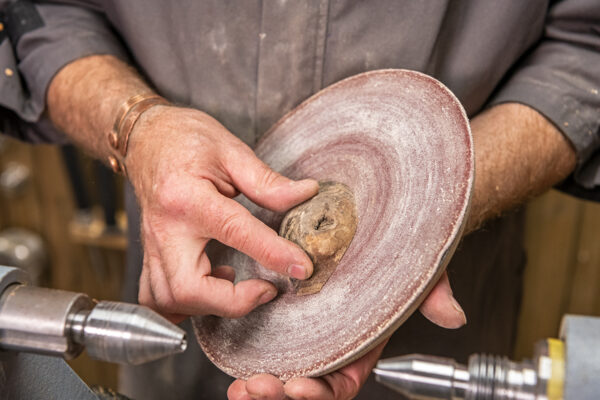
Make and hollow the mushroom cap
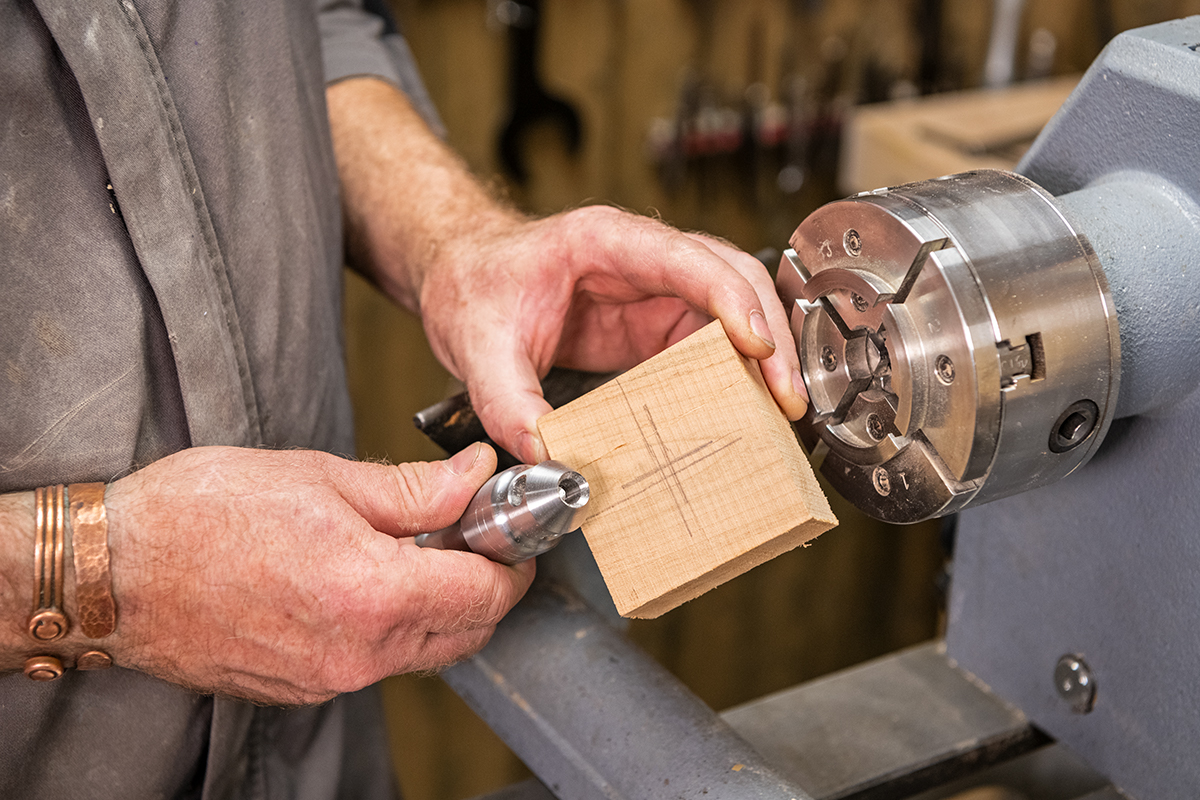
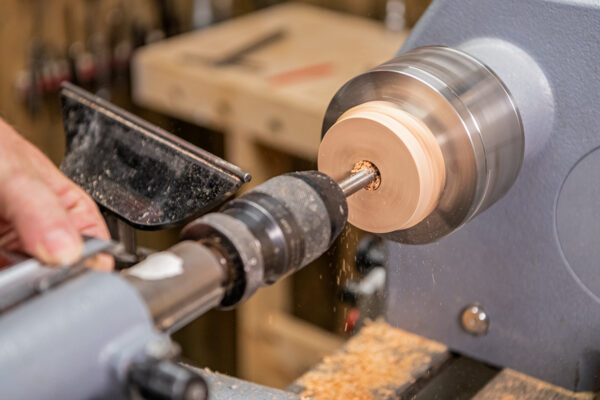
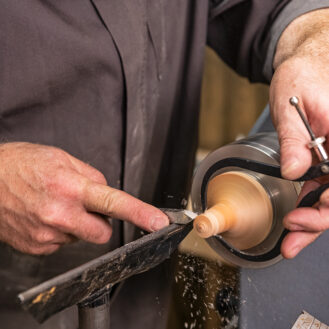
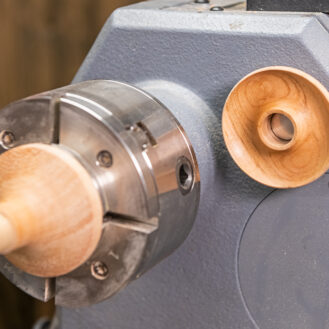
Use a pencil to mark the centre of what will be the top of the mushroom cap. This will be held between the chuck jaws and a hollow revolving tailstock centre, which has the central point removed. Removing this reduces the damage that the tip will create.
Clamp the block between the closed chuck jaws and bring up the tailstock and tighten to hold this in place. Using a bowl gouge, turn the corners away then create a tenon to fit into the chuck jaws. Reverse the blank holding the tenon in the chuck jaws.
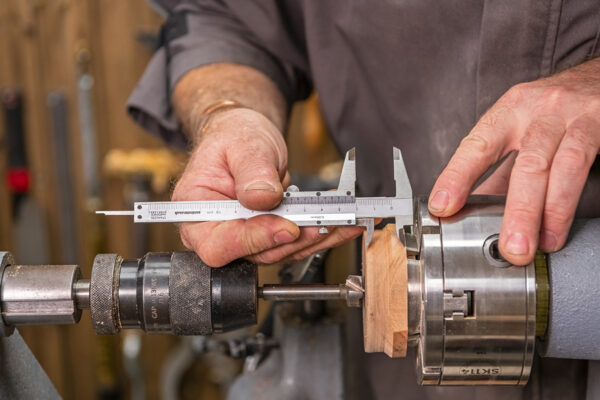
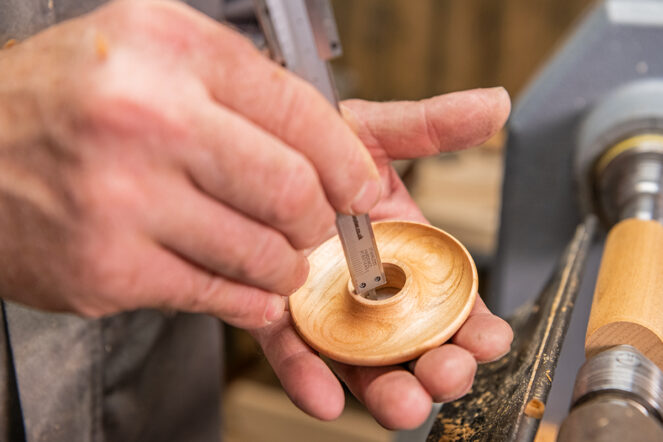
Measure the depth of the blank and take 5mm off this depth. Set up the drill chuck and drill bit (matching the diameter to the magnet - in our case 19mm) and drill the hole to this depth. Top tip: lower the lathe speed (400-500rpm) to make it safer.
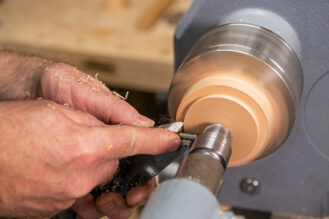
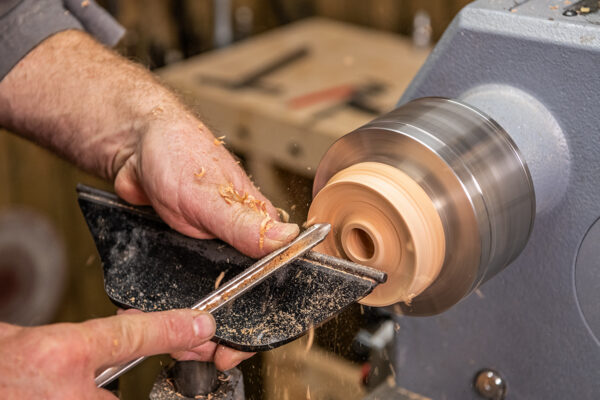
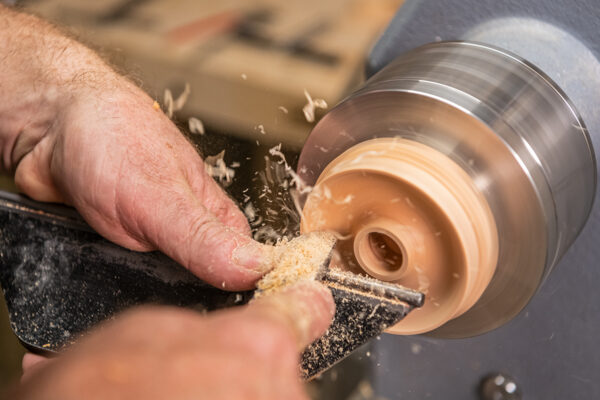
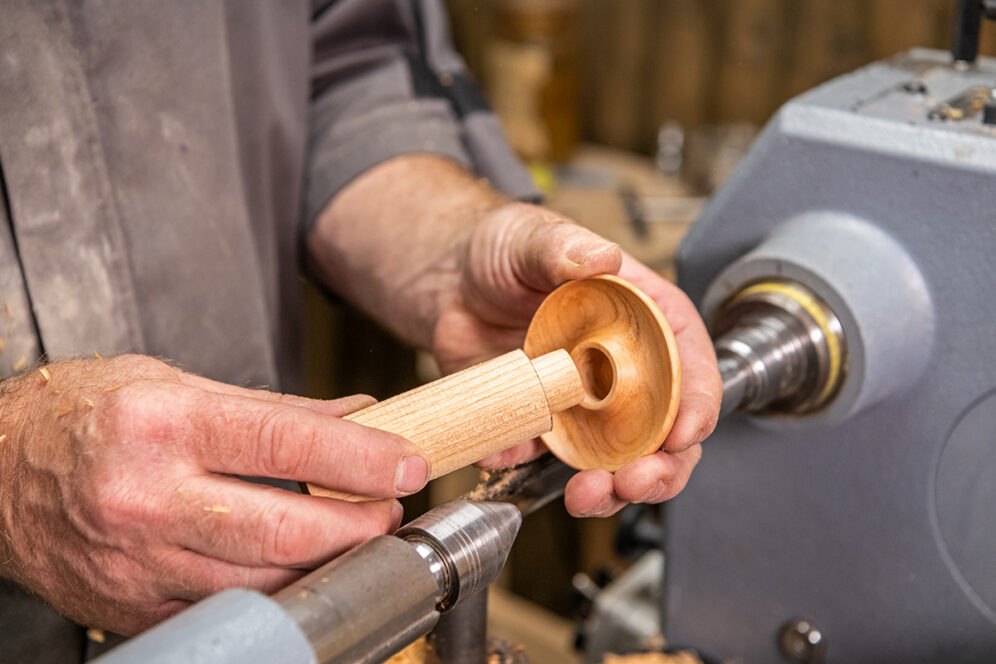
Start to hollow the section outside the drill hole using a gouge working towards the centre of this hollow. Refine this with a round nose scraper then level off a small flat section between the drilled hole and the hollowed cup to ensure the cap and stem join nicely. Sand the hollow cup and apply a finish.
The top of the cap
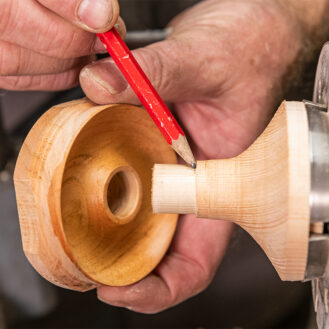
Load a scrap block into the chuck and turn this to make a funnel shape. On the tailstock end, carefully reduce the size using a beading tool so that this matches the size of the drilled hole in the cap. Ensure that there is a shoulder on this to allow the flat section of the cap to meet square onto it. The cap needs to fit onto this firmly and run true.
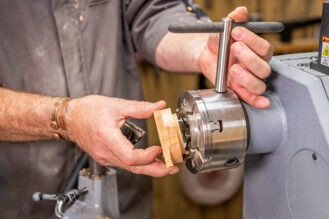
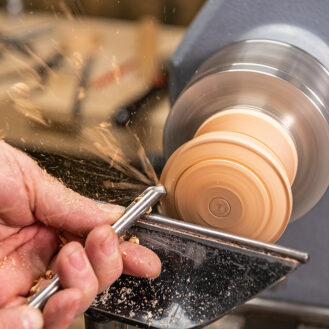
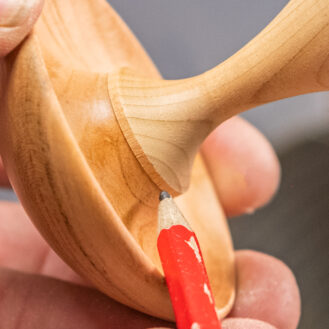
With the cap loaded and held firmly on the scrap block, shape the top of the mushroom cap using a bowl gouge. To test the magnetic strength through the timber, remove the mushroom cap from the jam chuck, insert the magnet, then attach this to the steel on the lathe. If this slides down, then remove a little more material from the central area of the cap. Repeat this until it holds in place. Sand and seal this and set aside.
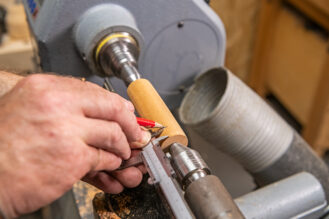
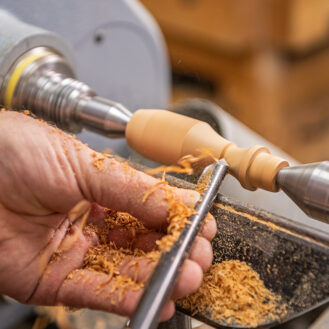
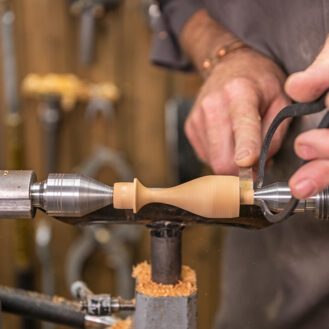
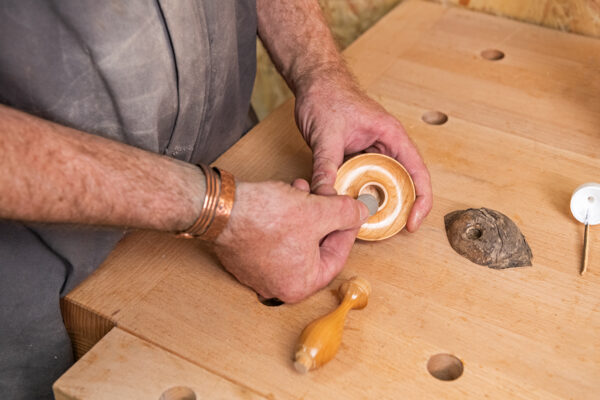
Make the stem
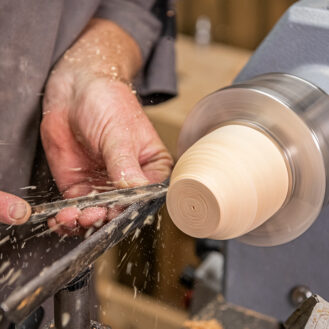
Mount the stem blank between the ring centres and turn this down to a straight cylinder. Measure the depth of the hole in the cap with the magnet in place, mark this length onto the tailstock end of the stem and, using a beading tool, reduce the diameter of this marked section to match and fit securely into the cap. Test this fits.
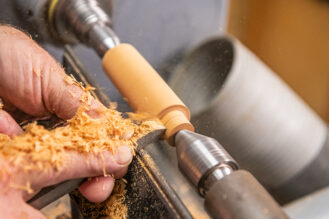
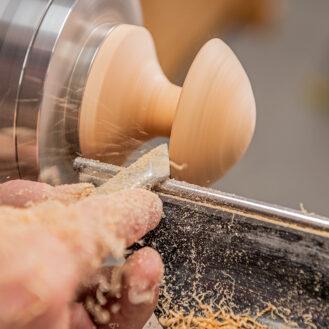
Shape the stem using the gouge. Ensure that you leave a collar where the cap and stem come together. On the headstock end, cut a tenon using a beading tool to match a drill size (in our case 10mm).
Sand and seal this with your chosen finish.
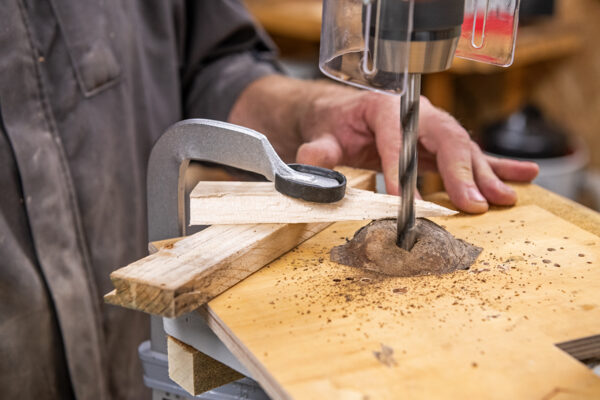
Make the base and assemble
We have chosen to use a small burr or bark edged off cut to make a decorative base. The underside of this needs to be clean and sanded. To drill the hole into the base, use either a pillar drill or do it free hand. This will need clamping to hold this. Use the same size drill as the turned tenon (10mm) and use masking tape to create a depth stop guide.
Insert the magnet and use a little PVA glue to secure the cap and stem together. Then glue this into the decorative base. Paper clips are an optional extra touch!

Enjoyed making this? Try this!
If you have enjoyed making this magnetic mushroom, then why not try one of our other more unusual woodturning projects?
Turning a Cut and Join Bowl - Woodworking Wisdom | Axminster Tools
How to Make a Corn Cob Pen Blank - Woodworking Wisdom | Axminster Tools
Turn a Banksia Nut and Resin Apple - Woodworking Wisdom | Axminster Tools
If you have made any of these projects we would love to see it. Share your images on social media by searching and tagging @axminstertools on Facebook and Instagram. Or upload to our online gallery.