How To Make A Cheeseboard
Make our cheeseboard to display a great selection of tangy cheeses and crackers. Learn how to get it just right with this simple guide.


An ideal project to complete your Christmas or dinner party table, this cheeseboard with a difference is sure to wow guests.
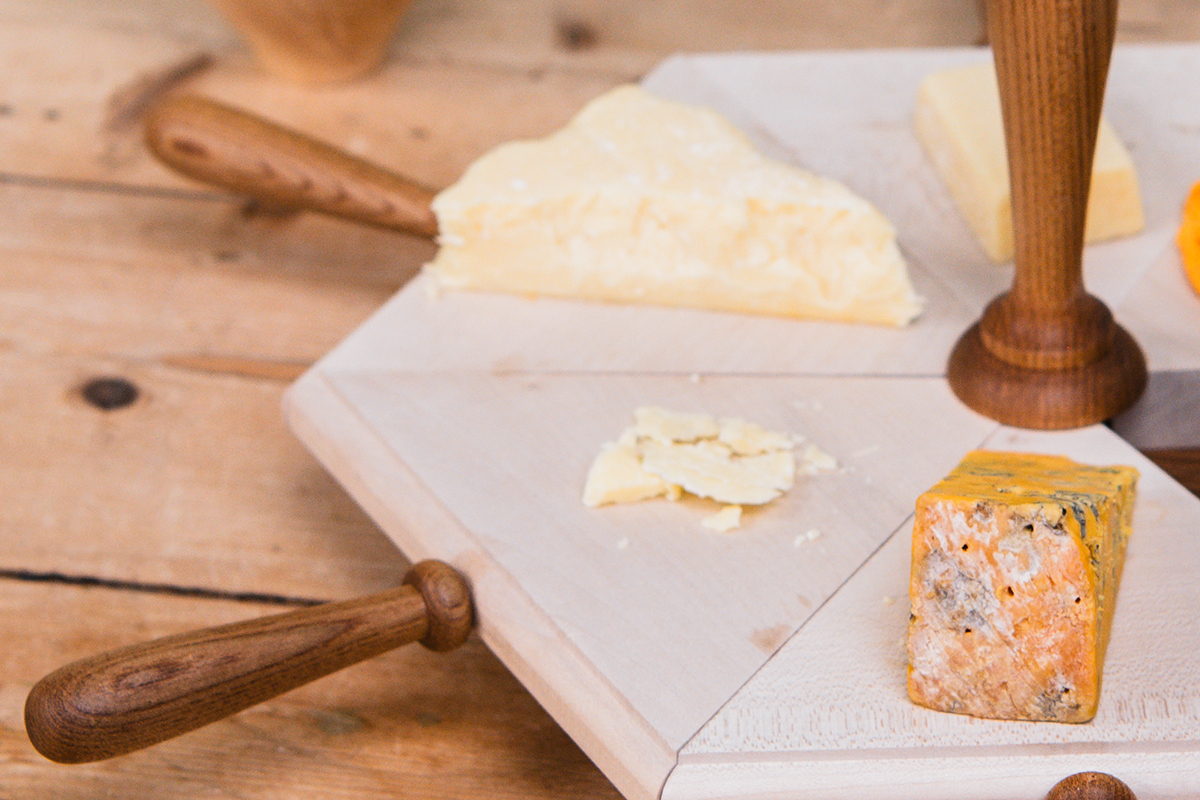
With separate 'cheese wedge' sections and carry handles, this cheeseboard is the ultimate sharing platter. Choose your wedge, take your cheese and pass around with friends.
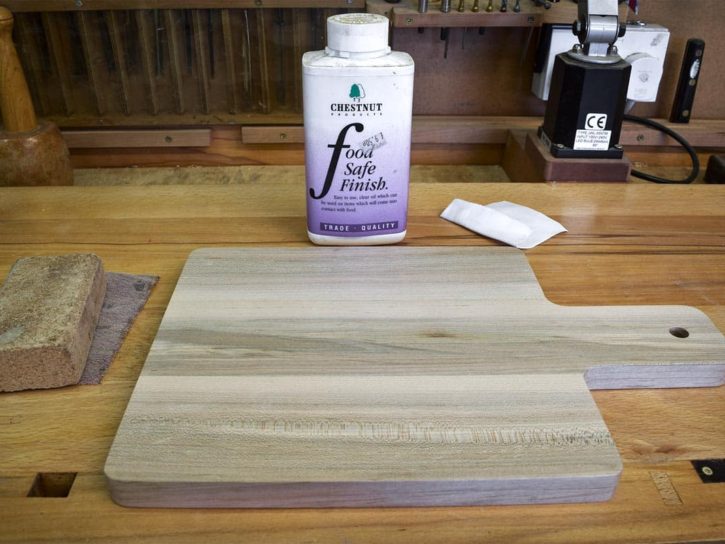
Choose your materials carefully. The base board and handles can be whatever timber you like, but the serving boards that the cheese sits on needs to be food safe. Sycamore is a good choice for this.
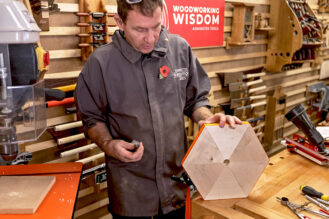
Watch Jason in our Woodworking Wisdom demo, as he runs through how to make project. Perfect as a gift or simply to use when hosting over the Christmas holidays, follow our step by step guide to make yours.
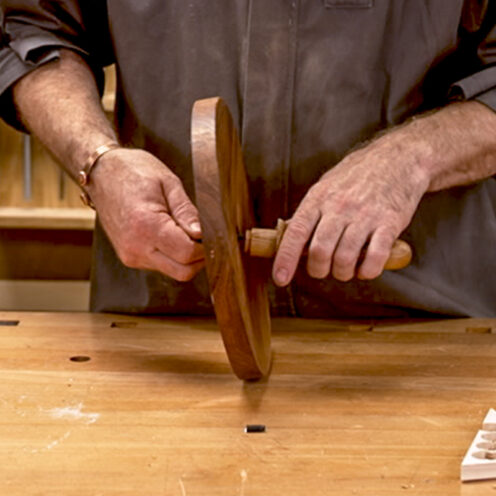
The lower base board needs machining flat and cutting out in to a circle on the bandsaw (260mm diameter). On the top face, mark the centre and drill a 20mm diameter hole, 11mm deep. Then change the drill to a 6mm lip and spur, align with the centre point of the 20mm hole and drill all the way through. For this we used a piece of elm.
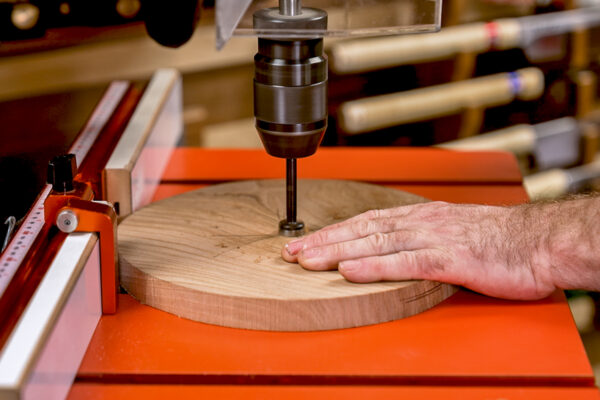
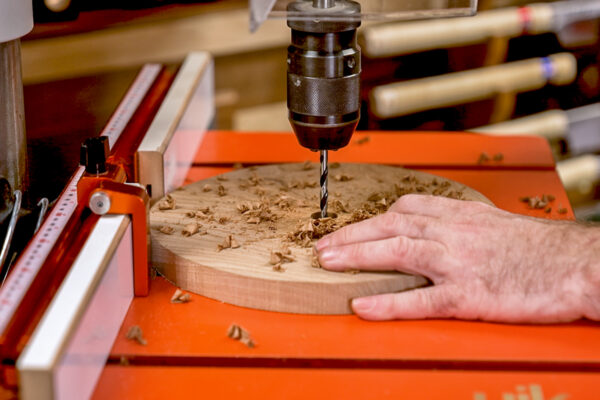
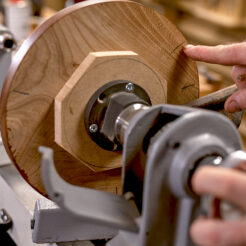
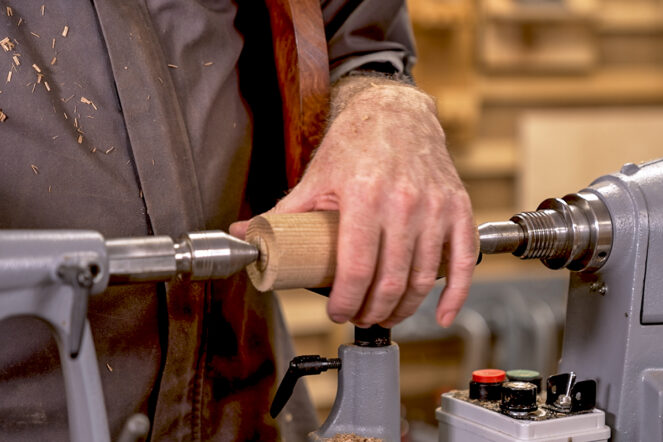
To mount this onto the lathe, make a carrier board fixed onto a face plate. This has a central hole (7.5mm). Drill through then into this insert a T nut from the back and drawn into place. Feed a T bolt through from the 20mm recessed side and then thread this onto the faceplate disc, doing this up tight.
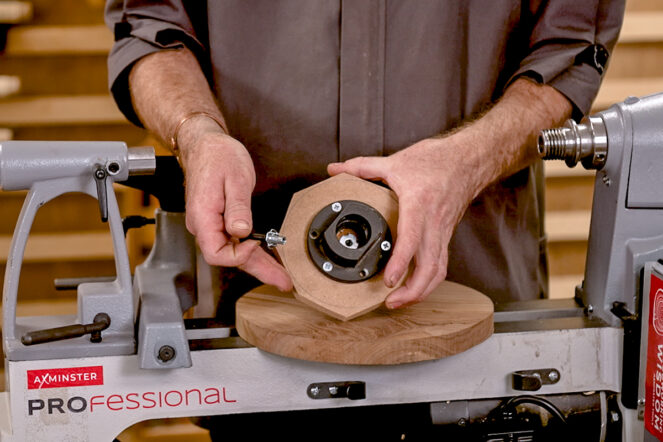
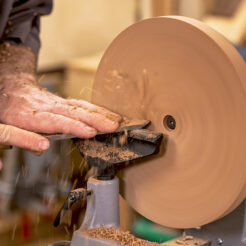
Clean up the outer edge of the disc using a bowl gouge then hollow the surface so that the middle is 6mm lower than the outer rim. This is done with a bowl gouge and then refined with a round nose refinement tool or scraper. This needs to be flat in section, from the edge to the centre. Then sand to a finish. If the lathe has an index facility, then it is worth marking out the position for the three inserted feet on the underside of the disc. These are set in about 20mm from the edge.
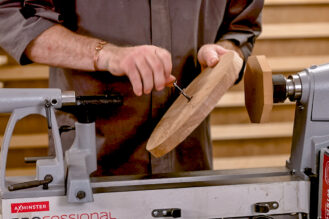
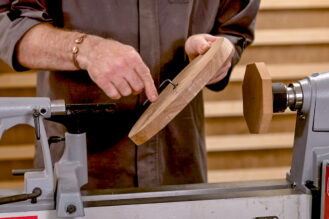
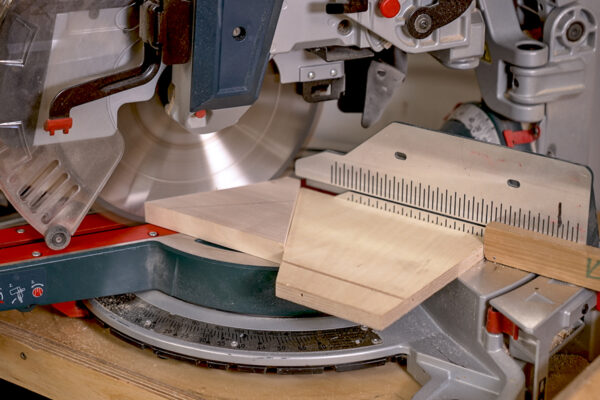
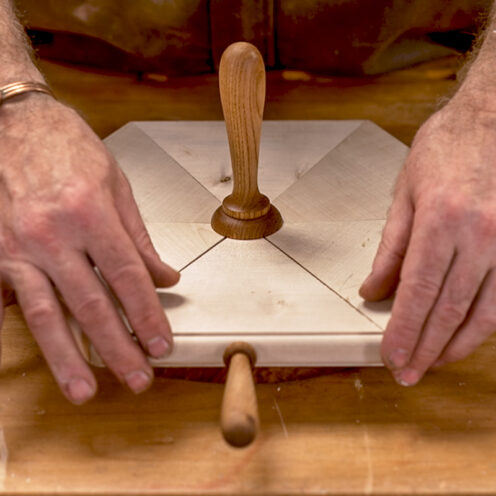
The individual sycamore sections are machined up from one plank, 21mm thick and about 140mm wide, squared up on all sides. Cut these accurately to a 60-degree angle using a table or mitre saw. Take time with this as these need to come together accurately to look good, the long back edge is about 170mm long.
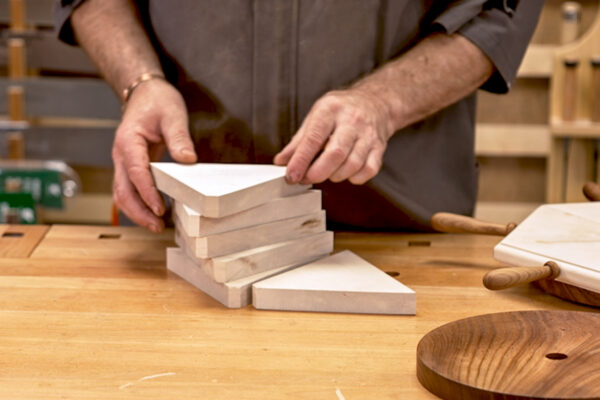
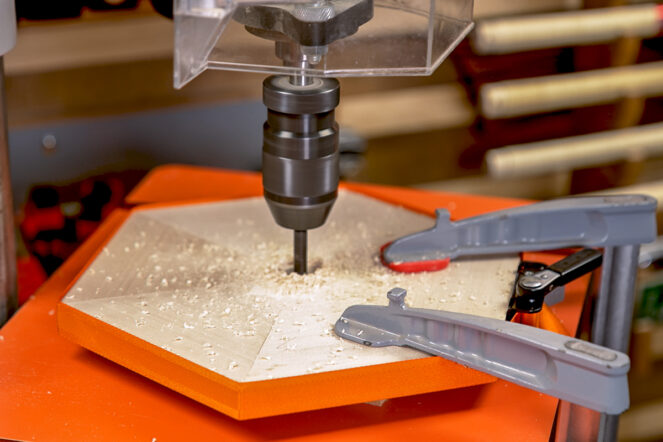
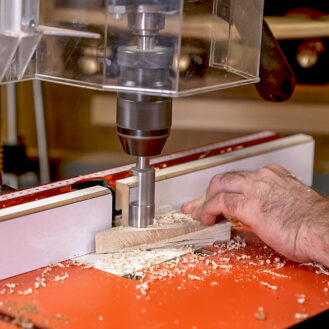
Strap the six pieces together using a strap clamp, using masking tape cover the central hexagonal hole. Then mark the centre of the blank. Set up a 25mm forstner bit in the pillar drill, position the blank and clamp in place with a scrap bit positioned between the blank and the workpiece. Drill through to create a clean 25mm hole.
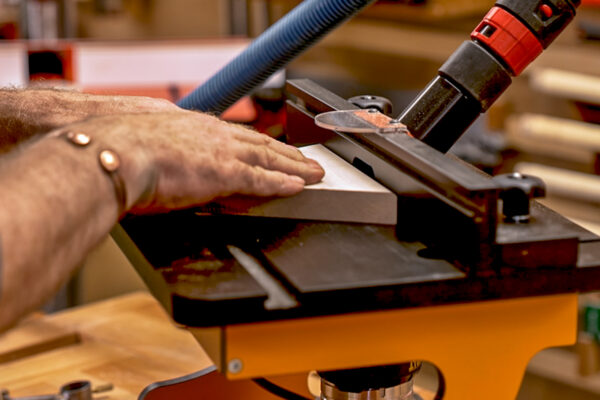
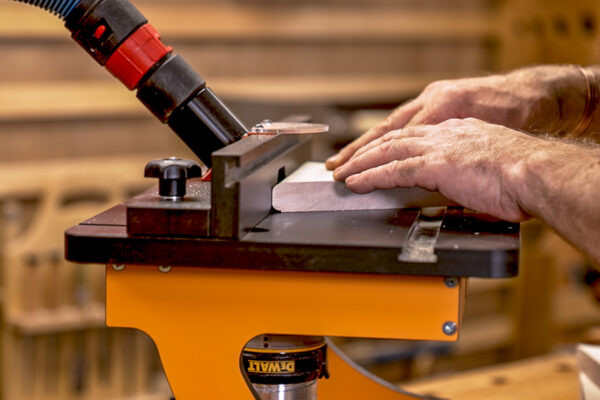
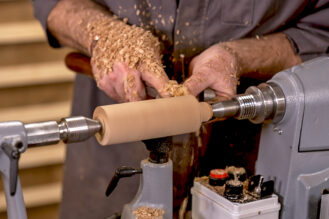
Use a router table set up with a round over cutter to create the outer moulded edge. Take 2-3 passes to bring the cutter up to achieve the desired effect, this will leave a better finish.
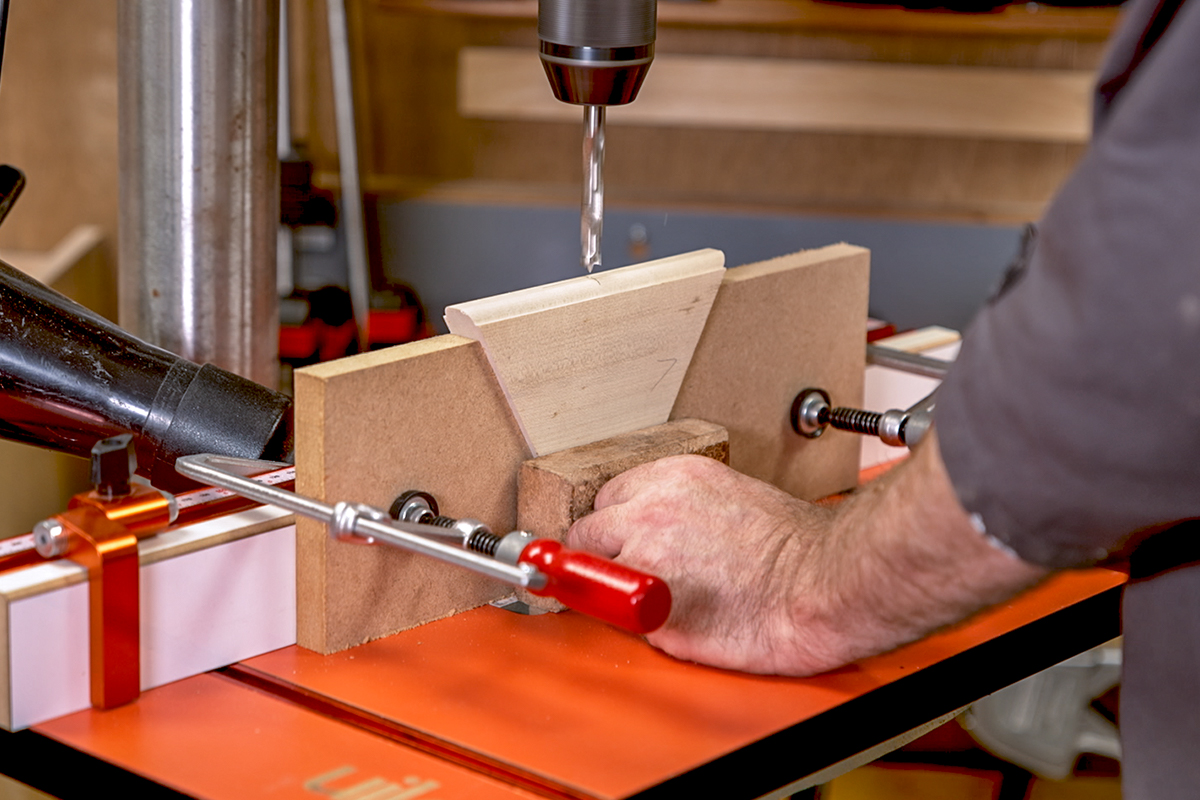
Use a pillar drill to drill the holes in the edge of the sycamore section to fit the handles into. The hole is 10mm diameter and 15mm deep. The off cuts from the angle cutting are clamped to the back support on the table making this quick and repeatable. Measure the long-moulded face and mark the halfway point.
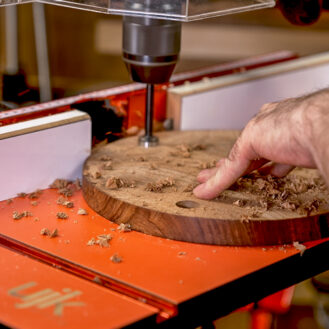
The underside of the board has three 20mm diameter feet set in, these are cut in the off cuts of the sycamore. They are drilled out using a 20mm barrel plug cutter, 15mm long. Drill and then cut three to length. To mark the holes to insert these into, on the underside of the elm board, use with the indexing on the lathe or a compass in the same way as marking out a hexagon. The centre of these is set in 20mm from the edge. Using the pillar drill with the depth stop set, drill the three holes to a depth that allows the feet to be about 3mm proud of the surface.

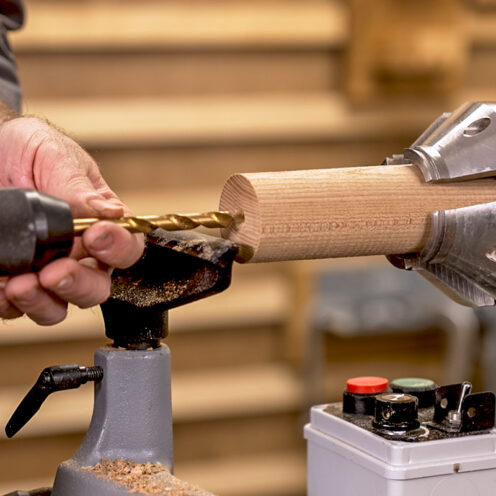
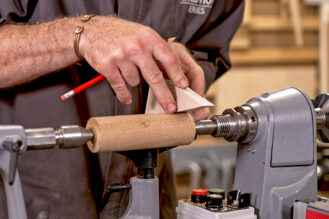
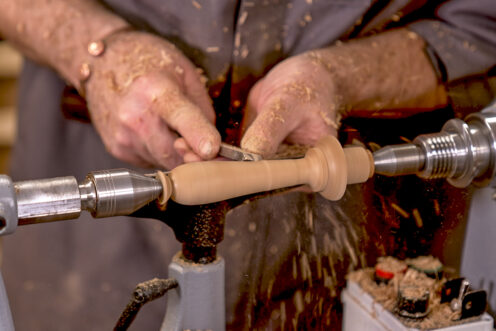
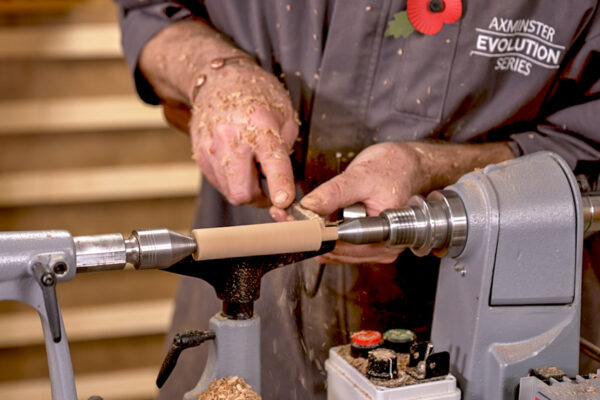
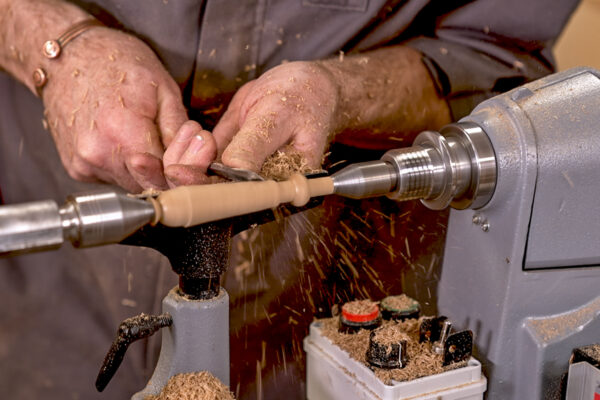
The main handle for the board needs to be turned to a clean cylinder with a chuck tenon created on one end and inserted into the chuck. Set up a 9.5mm to 10mm drill in a tailstock drill chuck, and drill a hole 18mm-20mm deep. The threaded insert needs to be screwed in parallel to the hole. Using the tailstock as a guide will help to get this correct.
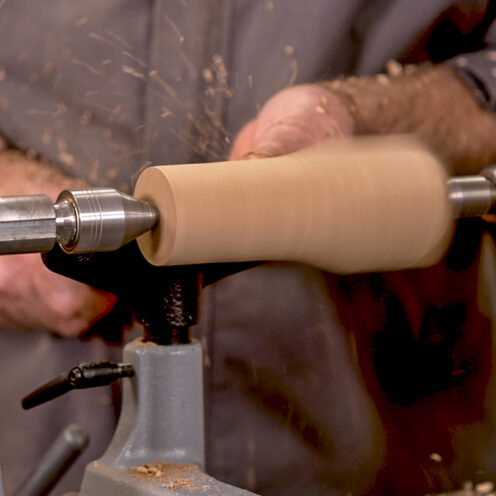
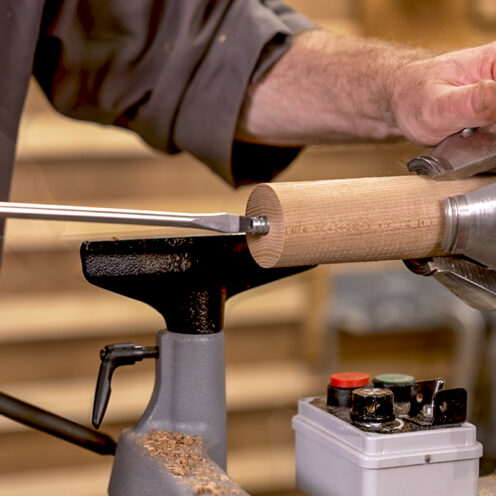
Remount the handle between centres and turn a 6mm long, 20mm diameter tenon on the end with the hole. Check that this fits into the drilled hole in the centre of the base disc. Mark up from this tenon the thickness of the sycamore board and turn this to 25mm diameter. The top of this needs a square shoulder, which the sycamore section will fit in under. This needs to be 35mm-40mm diameter. Turn the handle to the desired shape, sand and finish.
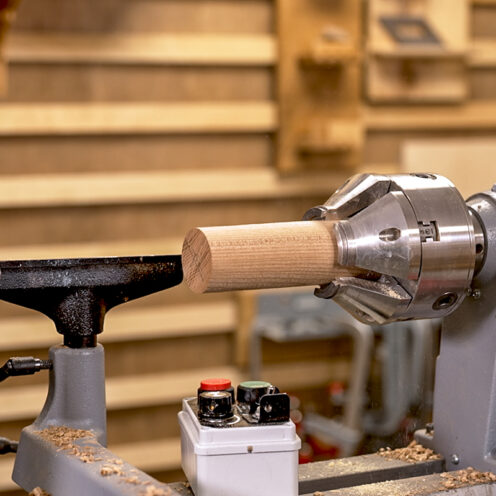
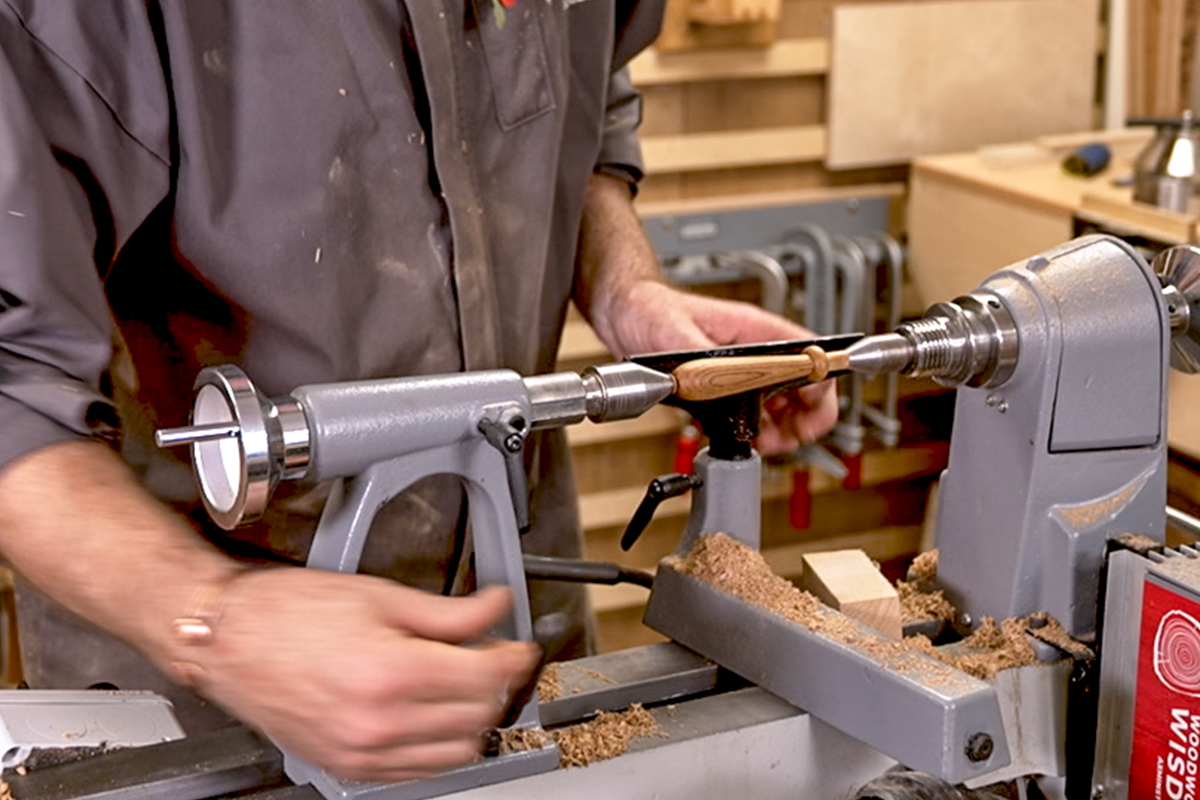
Mount the six short handles on the ring centres and turn to a cylinder. Turn the tenon to fit into the drilled holes (10mm) on the sycamore, which are 15mm long. These need to be snug fit so that they hold without gluing. Then turn to the desired shape. The bead adds decoration, and blends into the beaded edge of the sycamore.
Turn these all to the shape first before sanding, as you might need to adapt these so they look equal, then sand and finish. Then trim the shapes as much as possible. Check the fit of these into the sycamore triangle, and adjust if needed. These should fit firmly, but should allow for them to be removed so they can easily be stored.
To clean up the ends of the handles use a soft pad sander in a drill chuck, with slow speed to add control. Use a coarser grit to remove the waste, followed by a finer one for finishing.
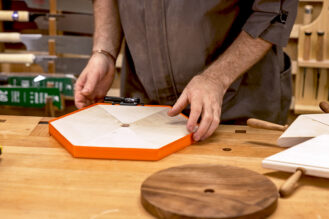
With this complete, do a a final clean up with the orbital sander on the sycamore sections and the underside of the base. Glue in the sycamore feet, and soften the edges of the triangles by hand.
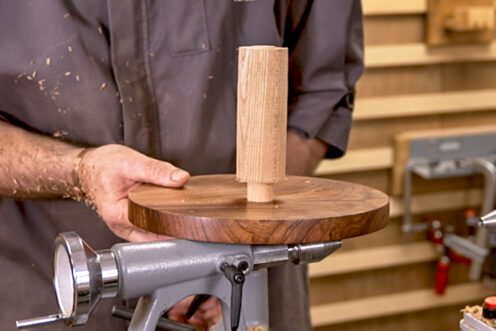
Fix the main handle stem in place screwing the sections together from the underside, and push the handles into the triangles and then locate these onto the board.
All that's left is to place your different cheeses onto each sycamore section of your sharing cheeseboard!
If you have felt inspired by this cheeseboard project and have had a go, we would love to see your pics! Take a picture, and share it with us on social media. Search and tag @axminstertools on Facebook and Instagram or upload to our online gallery.
If you have enjoyed our cheeseboard project we have some different ideas to try.