Make a Table Lamp Using a Router Table
What you'll need
When making a lamp, one of the obvious choices would be to opt for a woodturning lathe. But what if you don't have a lathe? In this article we show you how to use your router table to make a table lamp that's a little bit different.
There are many other methods and techniques that could be used to make a table lamp. Using a router table and a range of cutters can make fantastic items jointed together.
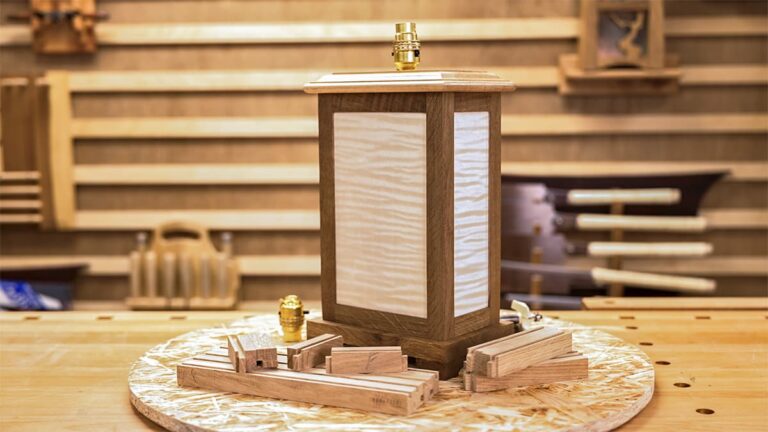
Table Lamp design
Our lamp has been designed with a piece of sheet material that was rescued from a skip in mind. The materials used are English oak and rippled sycamore, with veneered rippled sycamore MDF.
The shape of our lamp is designed around getting the best out of the veneered sheet. We did a rough drawing before a scaled version to prepare for cutting. Doing this highlights any design issues before cutting in to the expensive material.
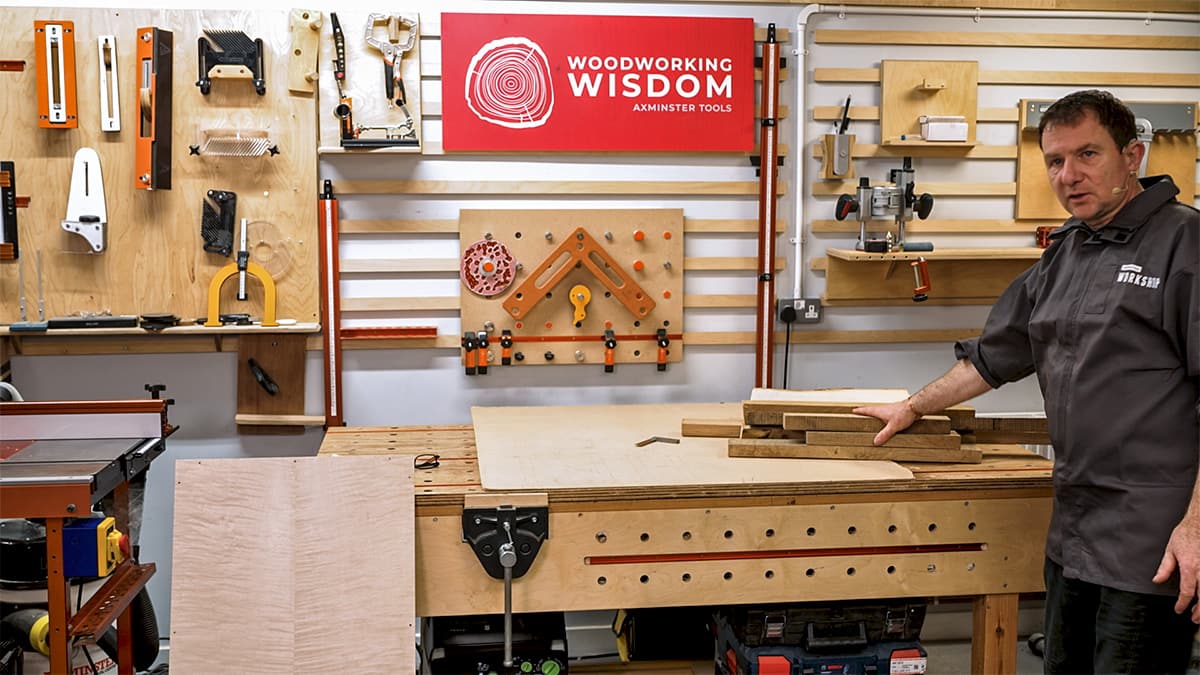
Watch our Woodworking Wisdom demonstration to see different techniques of setting up and using a router table, that could easily be adapted to different projects. Therefore, you can tailor the shape and size of your lamp to suit your own material choices.
Prep your timber
Once you have selected your materials, and labelled them so that you understand which piece is which, they will need to be machined to size and square so that all the joins are accurate. You can square your timber by hand or using a planer thicknesser. The upright and top and bottom rails are left as longer lengths, this make this easier to machine up to size with less pieces to handle.
Mark up the front face and the sides where the grooves will sit for the panels to fit into.
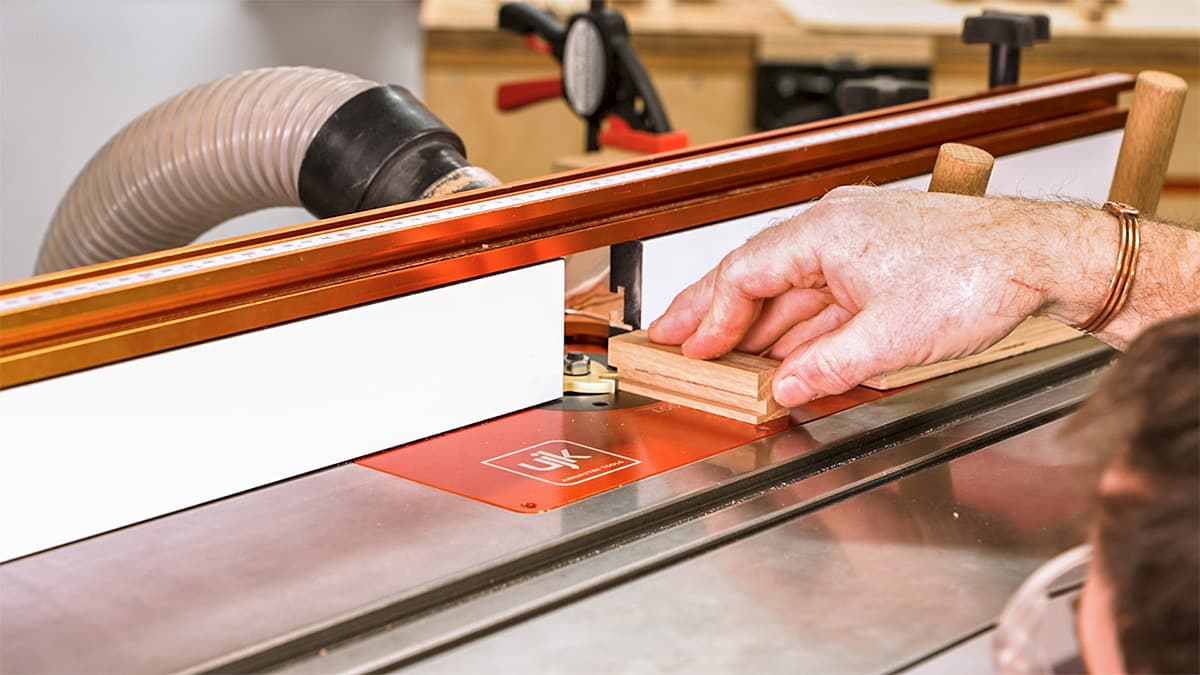
Next you need to cut the grooves for the panels. This uses a 3-wing slot cutter to create 6mm wide grooves that are 6mm deep. Set up the cutter to height and to the maximum depth. Clamping a block either end behind the fence creates a reset point; the fence can then be pulled forward to take the first cut of 1mm deep. This creates a scribe line and reduces the chipping of the fibres either side of the groove. The fence can be moved back to the clamped blocks to allow the overall depth of 6mm deep. The feather board keeps constant pressure on the timber, making this more accurate than feeding just by hand, and it's safer too. The corner sections will have two grooves and the tops and bottom are only grooved on one face.


Cut the sections to the desired length. The uprights are cut to the overall lengths as required. The top and bottoms rails will incorporate a tenon which will need to be accounted for within the overall length of these sections. The MDF sheet material can also be cut to size. The width is the same as the top and bottom rails.
Cut the tenons
The same slot cutter is used to cut the tenons. These are smaller in width than the opening between the fence, this means that these will get pulled inwards towards the cutter resulting in a very uneven tenon shoulder. To get over this issue, a false fence can be fitted onto the main fence and clamped in place. Before the false fence is added, set up the cutter height.


To push these short rails through the cutter, support with a sturdy push block. This has an accurately cut right angle corner which helps to ensure the shoulder on the tenon is accurately cut and square. Adjust the cutter height to remove the material. This results in an accurately fitting joint.


Cut the panels
Dry assemble the frames and double check the sizes of the panel material. The panels can then be cut to size. If using solid wood panels, allow for movement across the grain. Using the same cutter, cut the rebate on the back face of the panels, working around the panels so that these will accurately fit into the groove of the frames.


Sand and finish the panels
To create a contrast between the rippled sycamore and the oak frame, the panels are sanded at this stage, and then sprayed with Chestnut Cellulose sanding sealer. Leave to dry and rub back lightly with 320 grit and apply several light coats of Chestnut Spray Melamine lacquer. This results in a hardwearing glossy finish. When the lacquer has dried, the frames can be glued up in sections resulting with the rectangular shape.


Cut the tops and bottoms
Next, cut the tops and bottoms to size. The tops are routed to create the decorative moulding on the four sides. Two to three cuts are taken to create the desired effect. These will require a light hand sand to clean up. A selection of homemade sanding sticks make this easy to do.


The main section of the base is left square with no moulding and the underside of the base stands on four feet. These have a moulding on the internal faces. They are machined as one block working around the squared block and then cut to the smaller size after the moulding is machined. They are then glued onto the main base section, aligning the grain direction.


Insert the lamp fitting
The top and bottom has a central hole of 9.5 mm drilled all the way through to allow the cable for the table lamp fittings to be inserted. A pine section is machined and cut so this accurately fits into the centre of the lamp carcass. These also have a hole drilled all the way through, positioned onto the base and top and glued in place. The lamp fitting nipple, also needs screwing into the top


Assemble your table lamp
Glue the top and bottom in place and add the cable and fittings after the final finish has been applied. We oiled the oak to create a contrast to the high gloss of the sycamore.

Your next project
Have you made our panelled table lamp? You might like to try making our panelled mission clock. Using similar techniques, and also made in oak, it would complement your new table lamp nicely.
If you have made this project or any of our Woodworking Wisdom projects we would love to see them. Share with us your pictures on social media by searching and tagging @axminstertools on Facebook or Instagram