Tumble Track Wooden Toy | How To
What you'll need
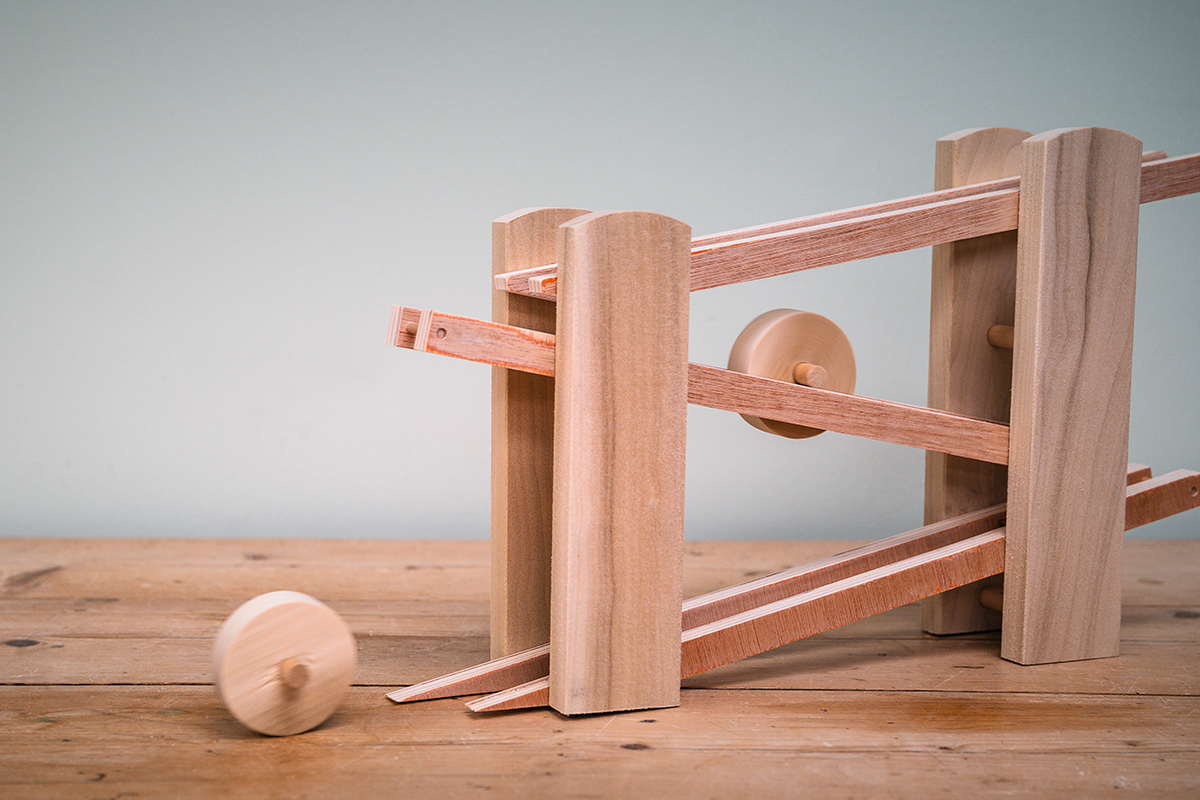
This super fun tumble track wooden toy will put a smile on any child's face. Simple to make, this tumbling toy will create hours of fun for small and big kids alike.
Its simple design sees the wooden ball placed and the top, which when dropped, races down the ramps to the bottom.
Watch Ben in our Woodworking Wisdom demo as he shows you how to make this fun, gravity powered wooden toy.
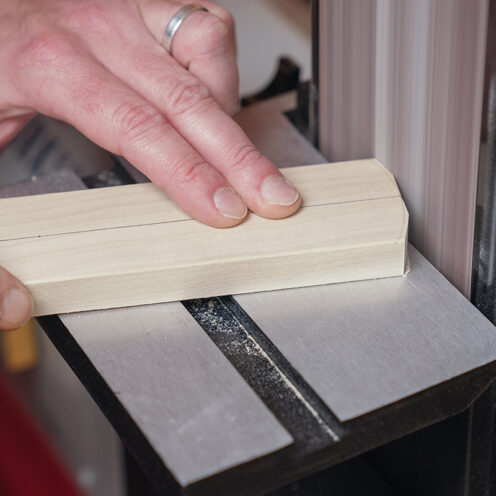
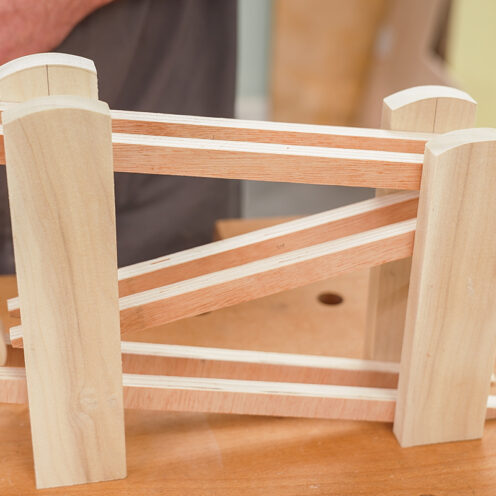
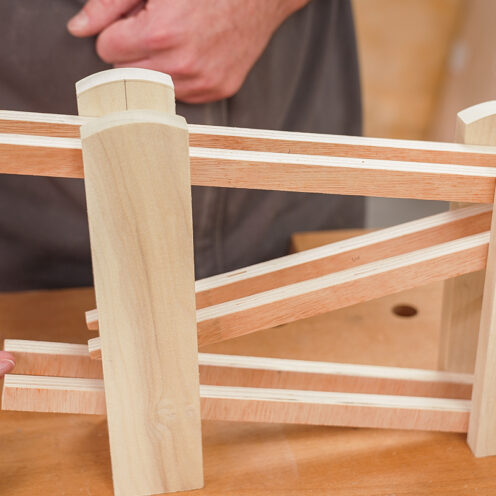
Cut and drill the uprights
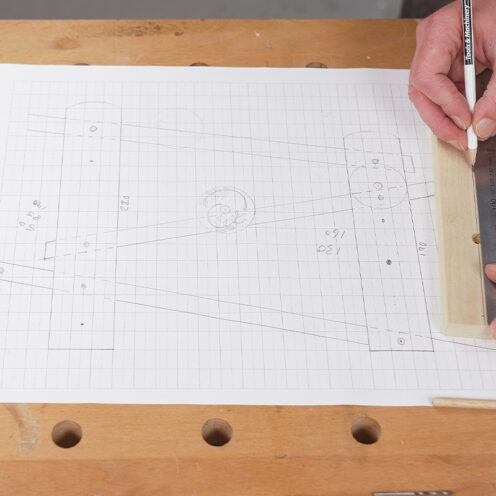
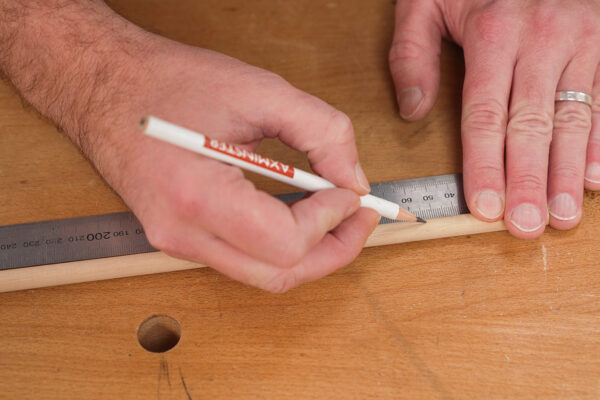
Begin by cutting the material for the uprights. These can be cut to any size to suit your project. Ours were 220mm x 45mm x 15mm for the taller ones and 190mm x 45mm x 15mm for the shorter ones
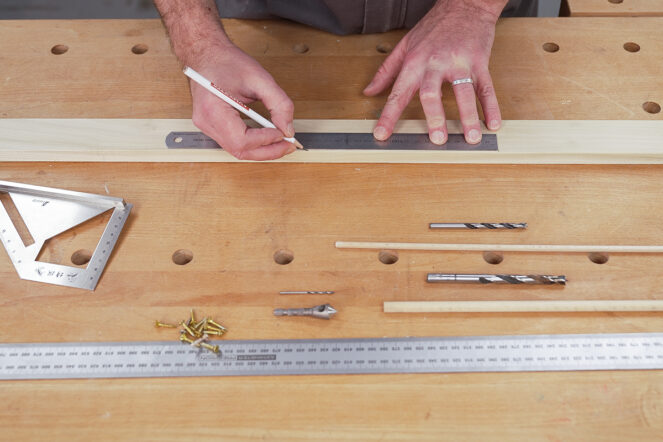
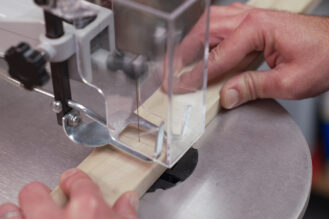
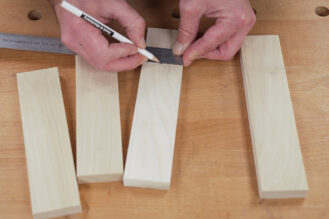
Shape the top on a belt or disk sander to remove the hard corners. Then, measure and mark a centre line on each of the uprights.
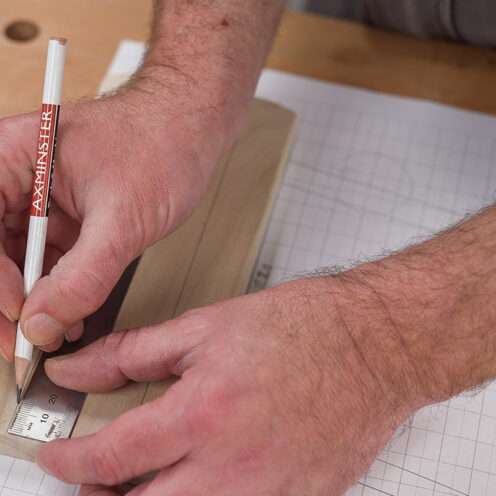
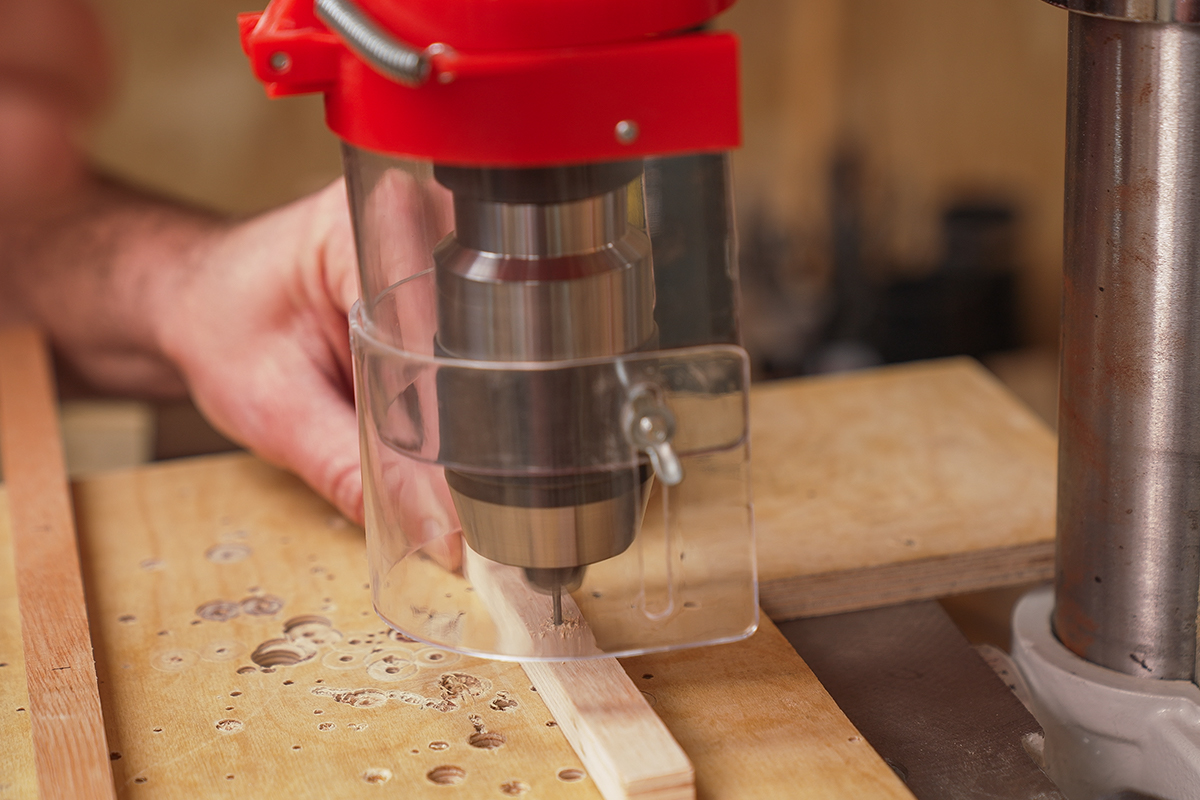
Set the depth on the pillar drill to drill a blind hole (the drill bit needs to match the dowel used to fix together) on the centreline of the longer (220mm) uprights. Drill at 15mm from the bottom and again at 130mm.
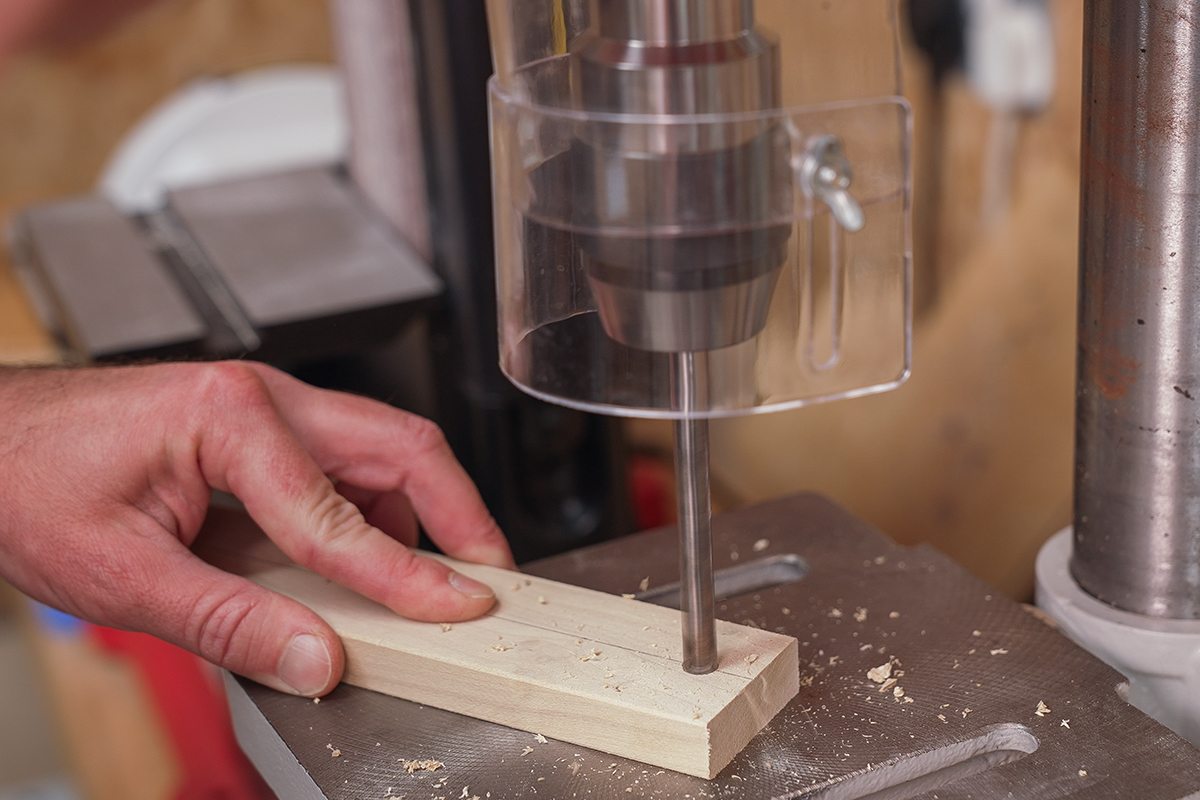
Drill the shorter upright (190mm) on the centreline at 70mm from the bottom.
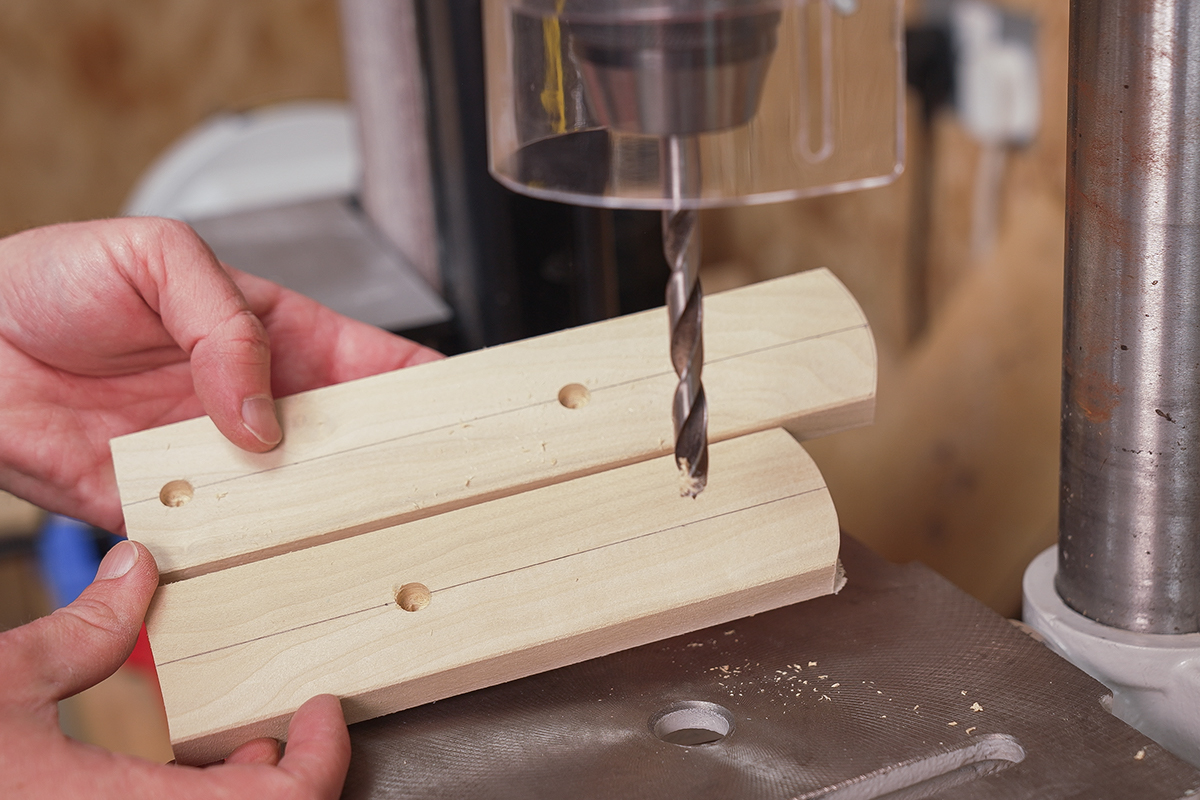
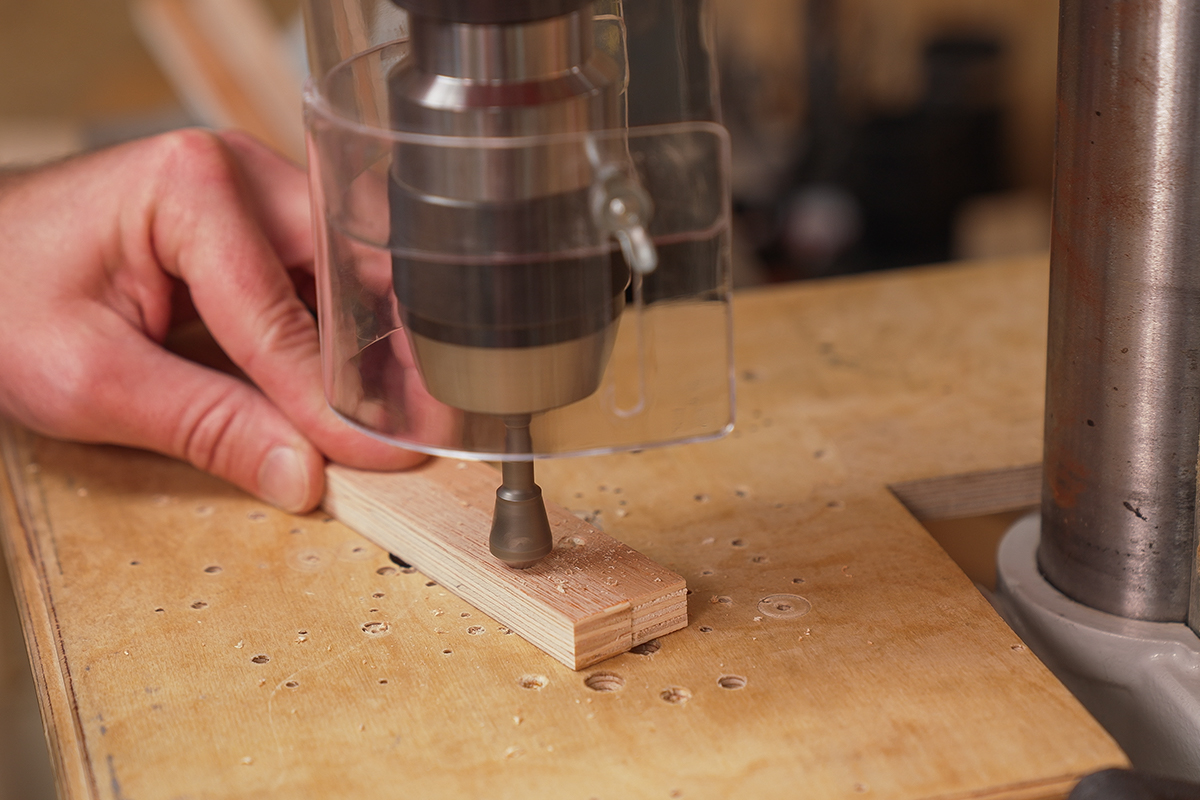
Next we will pre-drill some pilot holes with a 2mm drill bit in the locations that the rails will attach. For the longer uprights drill at 50mm, 85mm and 190mm from the bottom
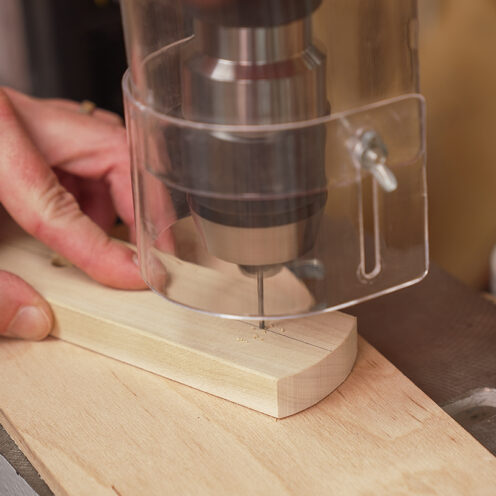
The short uprights (190mm) need drilling at 10mm, 130mm and 160mm from the bottom.
Cut the rails
The ply rails were cut 320mm x 15mm x 12mm. We also drilled the ply rails 80mm from one end with a 210mm spacing (there should be an overhang at one end where the wheel can be launched/caught). We will need six of these in total
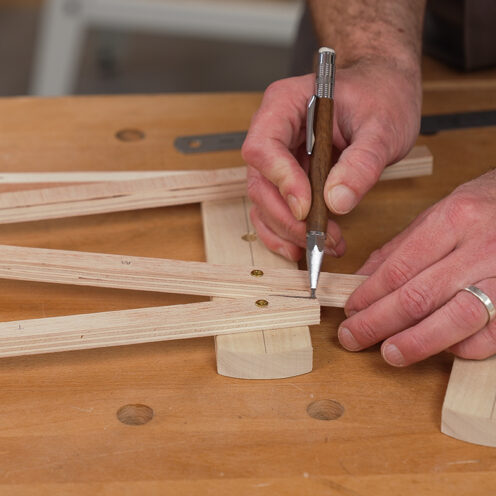
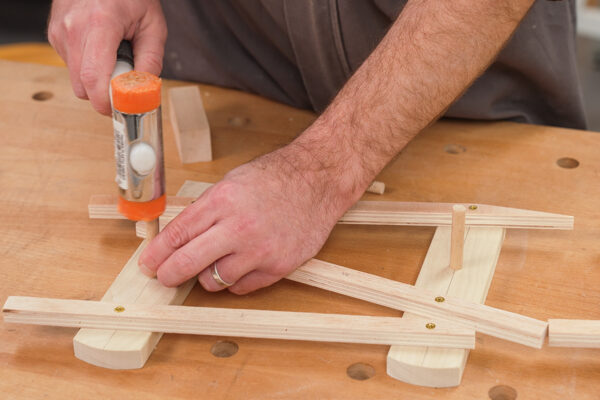
Countersink all the pilot holes on the rails and attach to the uprights.
Now check that the path of the rolling wheel will be clear. Trim or sand away the end of the rails so that there is at least a 11mm gap, allowing the 10mm dowel to roll though these bottlenecks.
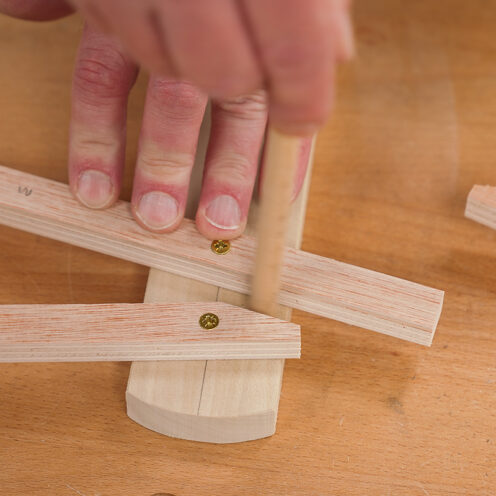
Prepare the dowels
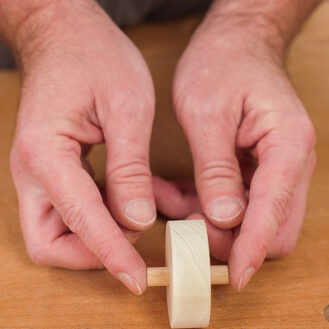
With the rails attached, we now need to work out the length of the dowels that will hold the frame together. This will depend on the thickness of the wheels. In our example, the dowels are 60mm long. That leaves enough room for the wheel to roll central.
Fit the 60mm long 10mm dowel into the frame. Do not glue at this point as you may need to make some adjustments.
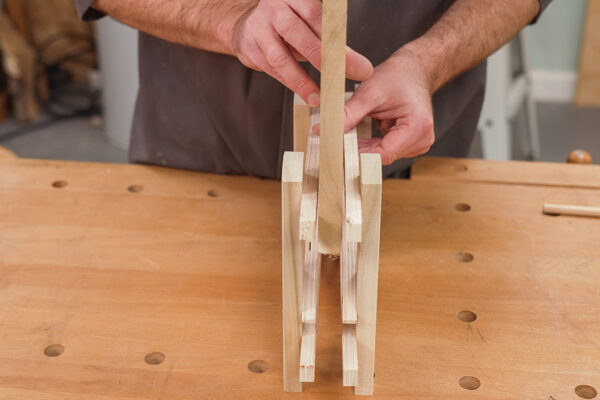

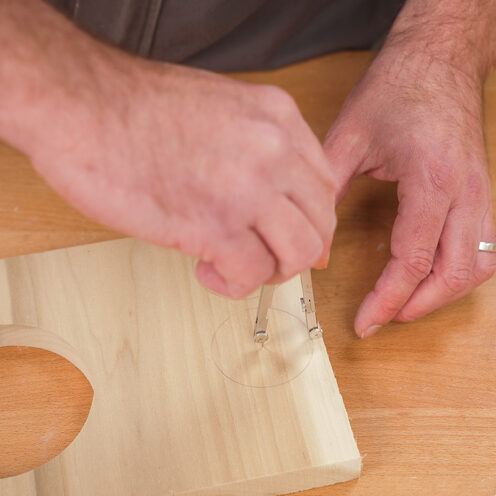
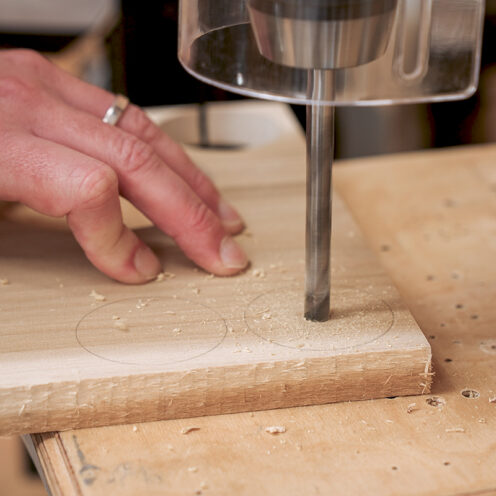
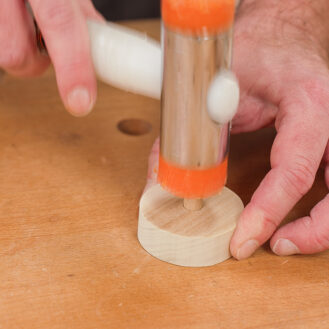
Make the wheels
The wheels are 50mm diameter. Set a compass at 25mm and draw your wheels on to your selected piece of timber. Drill on centre with the 10mm drill.
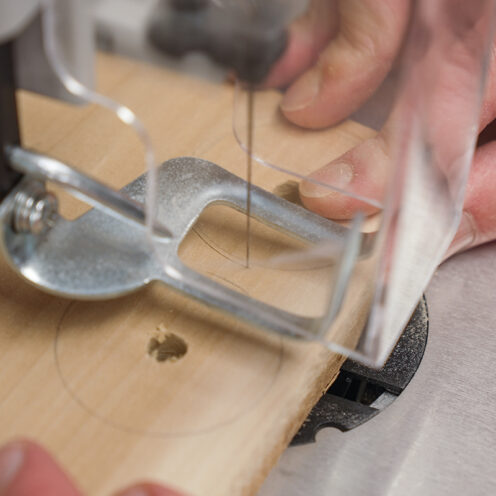
Cut out on the scroll saw. Top tip: cut just outside the line and trim back to a perfect circle on the belt or disc sander.

Hand sand any fluffy fibres away and knock in the 10mm dowels so that they protrude evenly on both sides.

Drill with a 4mm drill bit through the end where we need to create a stop (at the top of the second and third tier) to prevent the wheel rolling off the ends by pushing a 4mm dowel though.
Test your tumble track wooden toy
Test the wheel by rolling it from the highest point on the top tier. If the wheel gets stuck you may need to sand in a couple of areas to reduce friction.
Decorate and play with your new gravity powered tumble track!
Made it? Share it!
If you have felt inspired by this wooden toy project and have had a go, we would love to see your pics! Take a picture, and share it with us on social media. Search and tag @axminstertools on Facebook and Instagram or upload to our online gallery.