Mirror head -165mm x 21mm thick bowl blank disc machined flat
Mirror handle - 230mm x 25mm sawn spindle blank
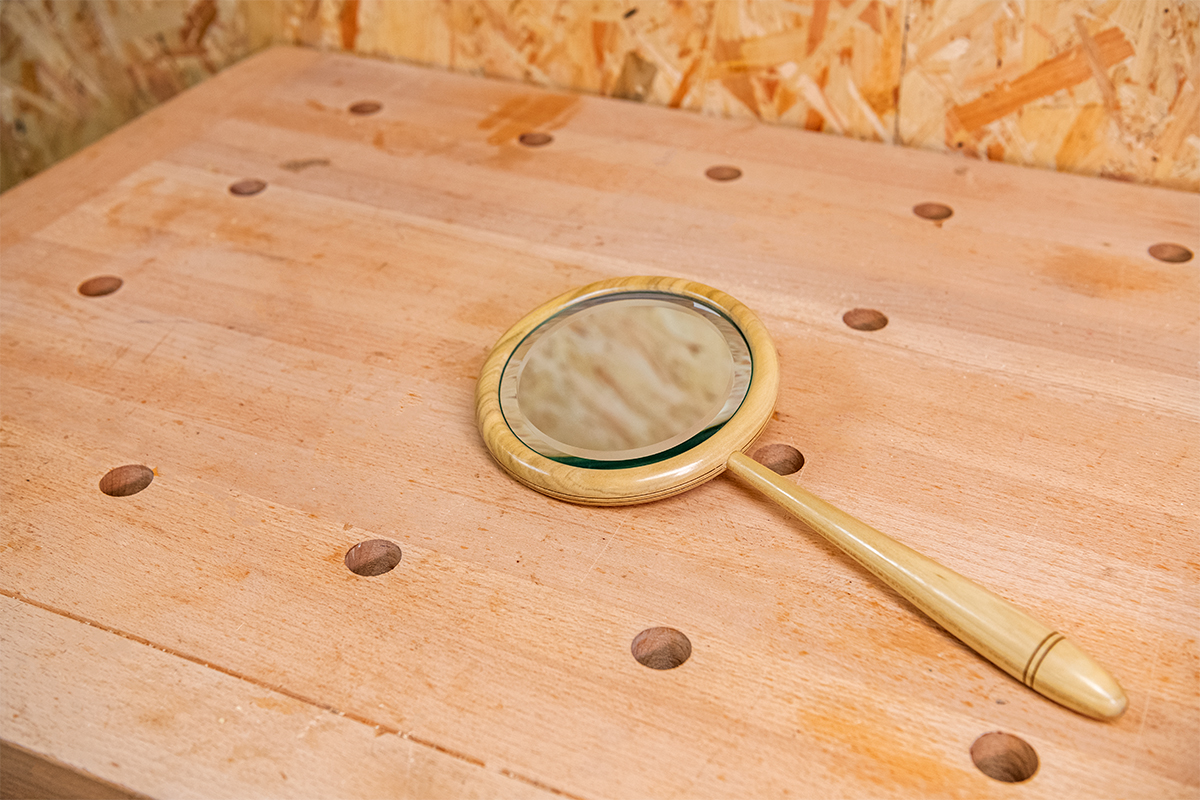
A woodturned mirror is not only a beautiful gift to give a loved one, but is a basic woodturning project that combines faceplate and spindle turning to make a simple and decorative piece.
This as an item is made up of two components - the mirror head and handle. One of the tricky parts of this project is how to hold the material to make the mirror head without damaging the overall piece.
Join Jason in this Woodworking Wisdom demo, or follow our step by step guide below to learn how to make your own woodturned mirror.
Cut the recess for the mirror
The circular blank is loaded and held on the lathe using a set of button jaws fitted with a set of stacking studs. The decorative back of the mirror head is placed against the button jaws. The stackers are closed to grip onto the wooden circular blank. Holding this securely using a set of dividers, mark out the diameter of the mirror to be set into the face of the disk. With the lathe running at a slow speed mark out this diameter. Using a parting tool, cut a groove on the internal of this line to a depth of about 6mm deep.
The material inside the parting cut needs to be removed down to this depth ensuring that this cut surface is flat. Start to check that the mirror will fit into this recess. There needs to be a gap of about 1mm all the way around the mirror as the timber will expand and contract across the grain. Adjust the fitting of this using the long point of a skew chisel. Top tip: A piece of masking tape on the mirror makes it easy to put the mirror in place and also to remove.
Mark out the size of the 38mm O'Donnell Jaws which will allow the reverse of the blank to be held. Cut this recess using a parting tool. Check that the chuck will fit into this. Clean the edge of the blank to create a true circle, carefully working down towards the stackers stopping short of these, then shape the rim edge of the blank to an even curve.
Flip the mirror head
Remove the blank from the stackers, swap the chuck jaws, and reload onto the O'Donnell jaws, expanding into the cut recess. Shape the edge blending into the machined back of the mirror head. With the shaping done, sand this to a finish. The O'Donnell jaws allow access to sand from the recessed side. This can then be sealed with the cellulose sanding sealer.
Drill the hole for the handle. Do this by making a drilling block that fits into the banjo of the lathe. Set the drill point so that this is level with the tailstock centre point, then lock the spindle so that the work is held in place. Top tip: Drilling across the grain provides more strength.
Masking tape can be place where the hole is going to be drill to reduce tear out of the fibres due to the curved shape. Position and lock the banjo and drilling block in place and drill the 9mm diameter hole to a depth of about 15mm. To add a bit of decoration, two burn lines can be added to the edge using an Easy Wood tools Burning Kit.
Turn the handle
Mount the handle between the centres and rough down to a clean cylinder using the spindle roughing gouge. On the tailstock end use a parting tool to cut a tenon to 9mm diameter to fit into the drilled hole.
Shape the handle to the required shape, using whatever tools you are comfortable with. Check that the tenon fits into the drilled 9mm hole in the mirror head, adjusted if required, then sand this through the grade to a finish and then seal with the sealer. Two burn lines have been added at this stage to create a little decoration.
Shape as much of the handle as possible, part off, and blend in the end using a pad sander head held in a collet chuck to refine the shape. Seal this and polish the mirror head and handle using a buffing wheel set up.
Assemble the woodturned mirror
Glue the mirror head and handle together using a wood glue. The mirror is fixed and held in place using a contact adhesive.
Made this? Try this!
If you have enjoyed making this woodturned mirror project, then why not have ago at some of our other projects which are perfect for your dressing table.
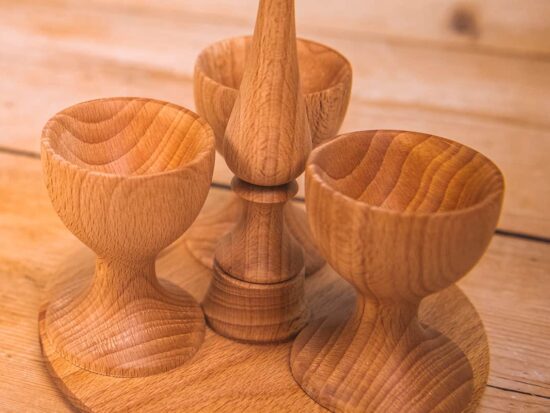
Give a gift she’ll love with project inspiration from the Woodworking Wisdom team. Perfect for Mother’s Day, birthdays, Valentine’s Day or just because, this attractive earring stand that would look beautiful on any dressing table....
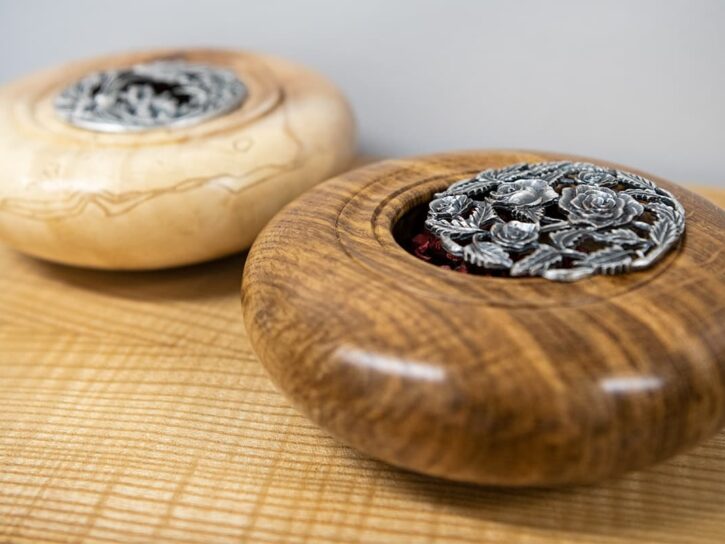
If you are looking for an interesting woodturning project look no further than this Potpourri Pot how to. A great project for someone who is starting out in their woodturning journey.
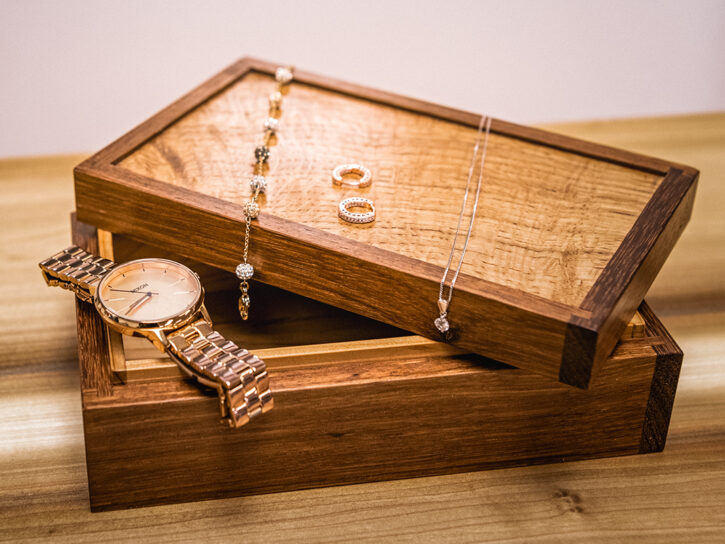
The ideal gift for Mother’s Day, birthdays, Valentine’s Day or just because, this beautiful wooden box is perfect for keeping those treasured possessions safe. Box sizes: Sides 900 x 70 x 10mm Top 300 x...