Wood Turned Chess Pieces | How To
What you'll need
If you have made our laminated chess board, then you will be after some beautiful hand turned chess pieces to go with it! A challenging task, but one which is great for practicing repeatable cuts, rolling beads, coves, concave shapes and hand carving skills to create a unique chess set to last for years to come.
Follow our step by step guide below, or watch Colwin Way turn his own chess pieces in our Woodworking Wisdom video.
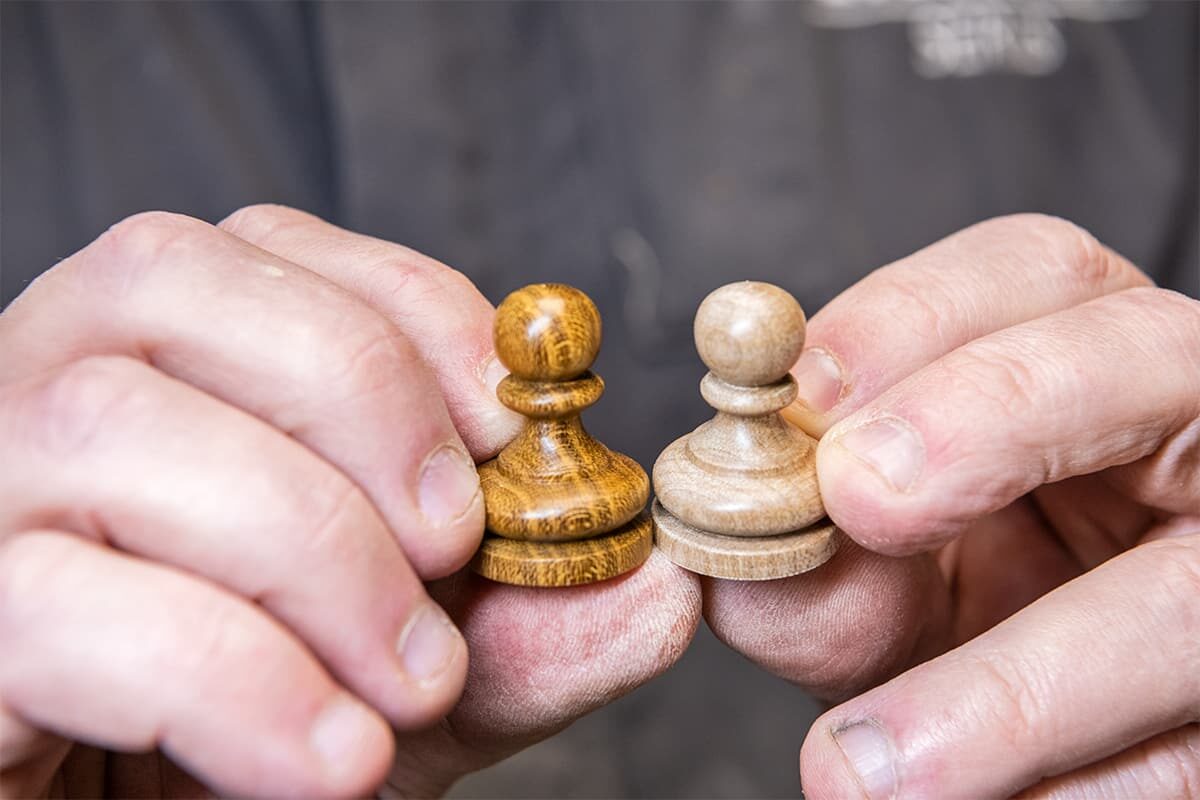
For this project you will need two contrasting colour timbers for the playing pieces. We used Laburnum and Sycamore.
There are 32 pieces in total - 8 pawns, 2 bishops, 2 knights, 2 castles and a king and queen for each colour. The pawns are where you can practice your repeatable cuts. And once perfected, these can be adapted to basic shapes of the other pieces where some further shaping using some simple carving skills will be required.
Timber prep
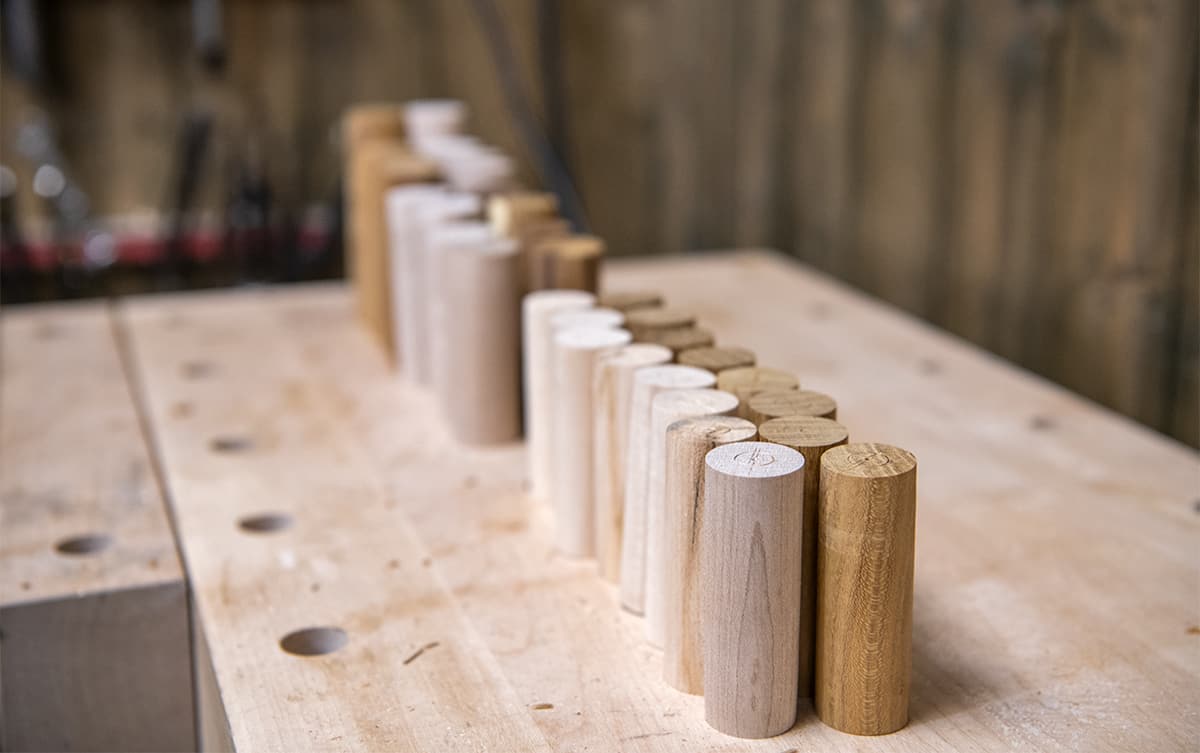
Cut and prep all of your chess piece blanks to size allowing allowing 30 per cent extra in the length for holding on the lathe.
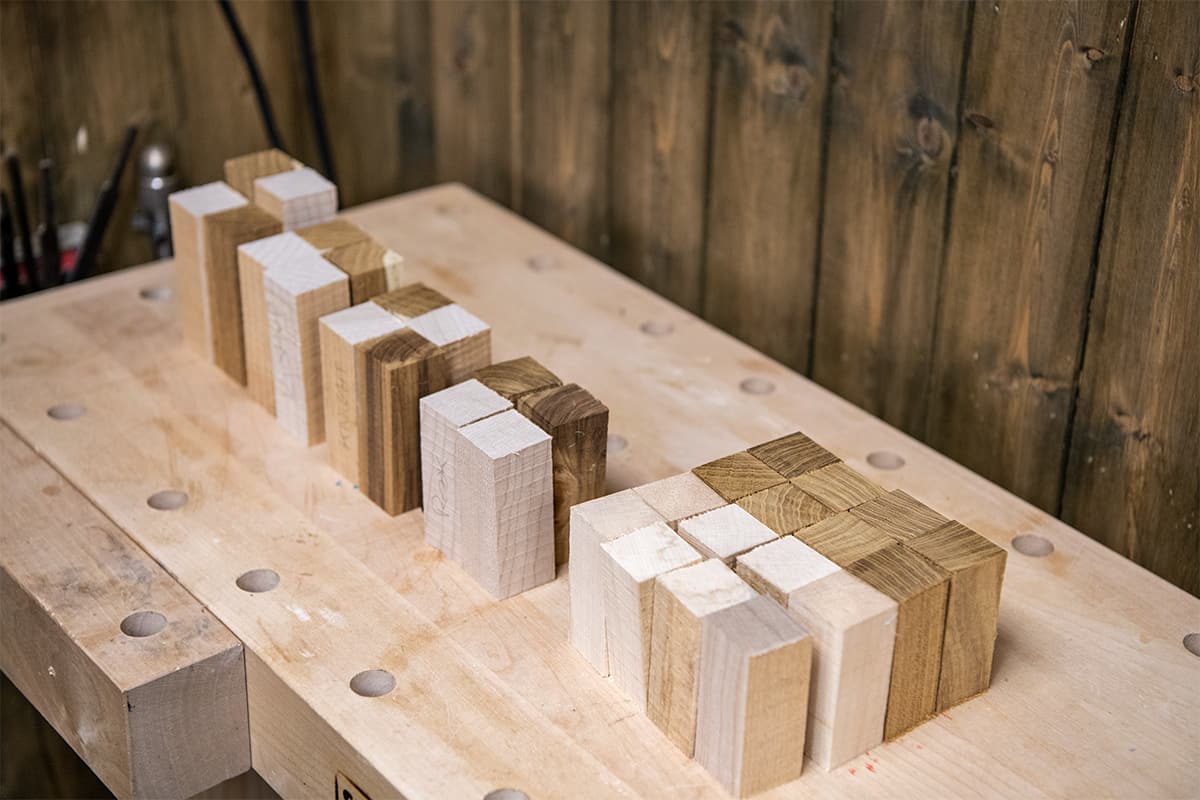
Find the centre point of each piece using a marking gauge and bradawl. Then mount between centres and rough down to a cylinder shape.


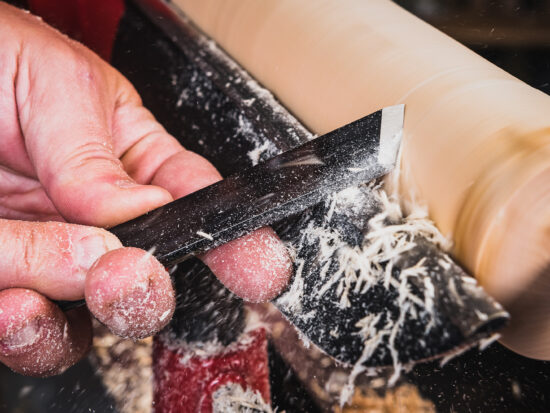
Measure and cut down each piece to the correct diameter and tidy the finish with a skew chisel.


All pieces are now ready for shaping.
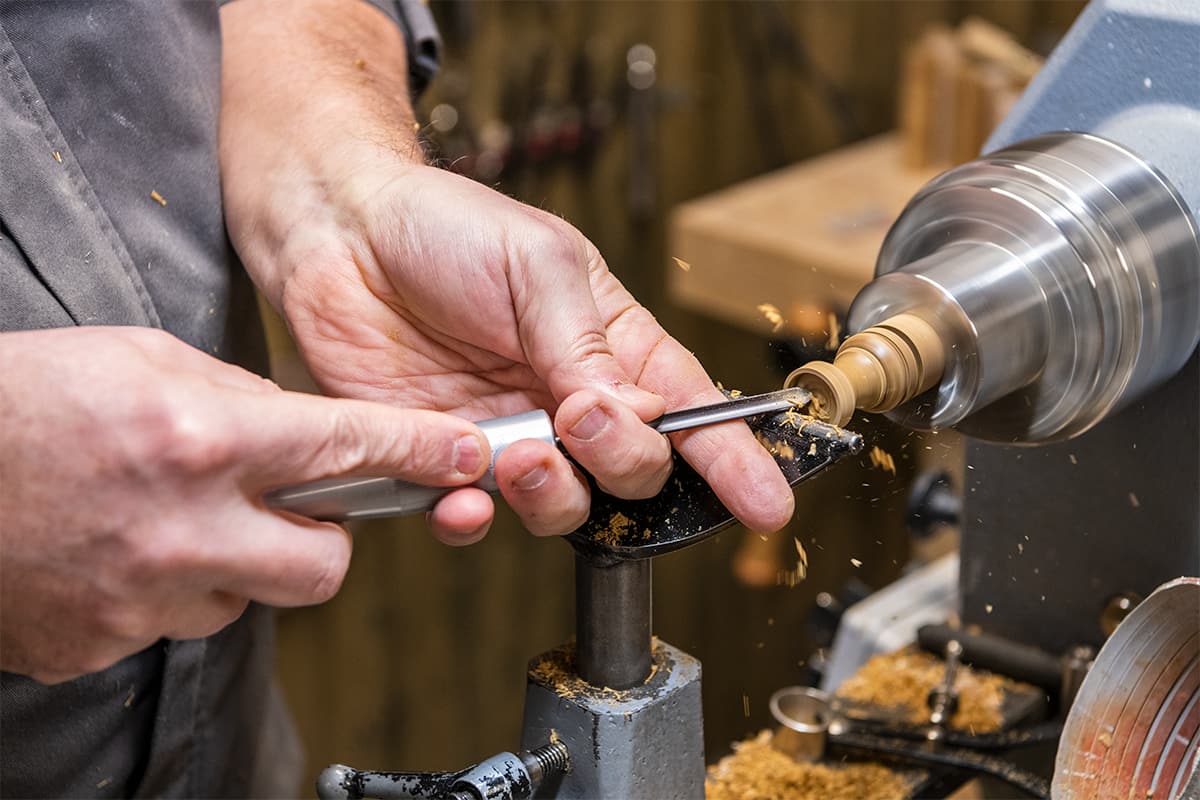
Turning the pawns
Using a set of cylinder or pin jaws, hold your first piece allowing enough length exposed for the entire chess piece.
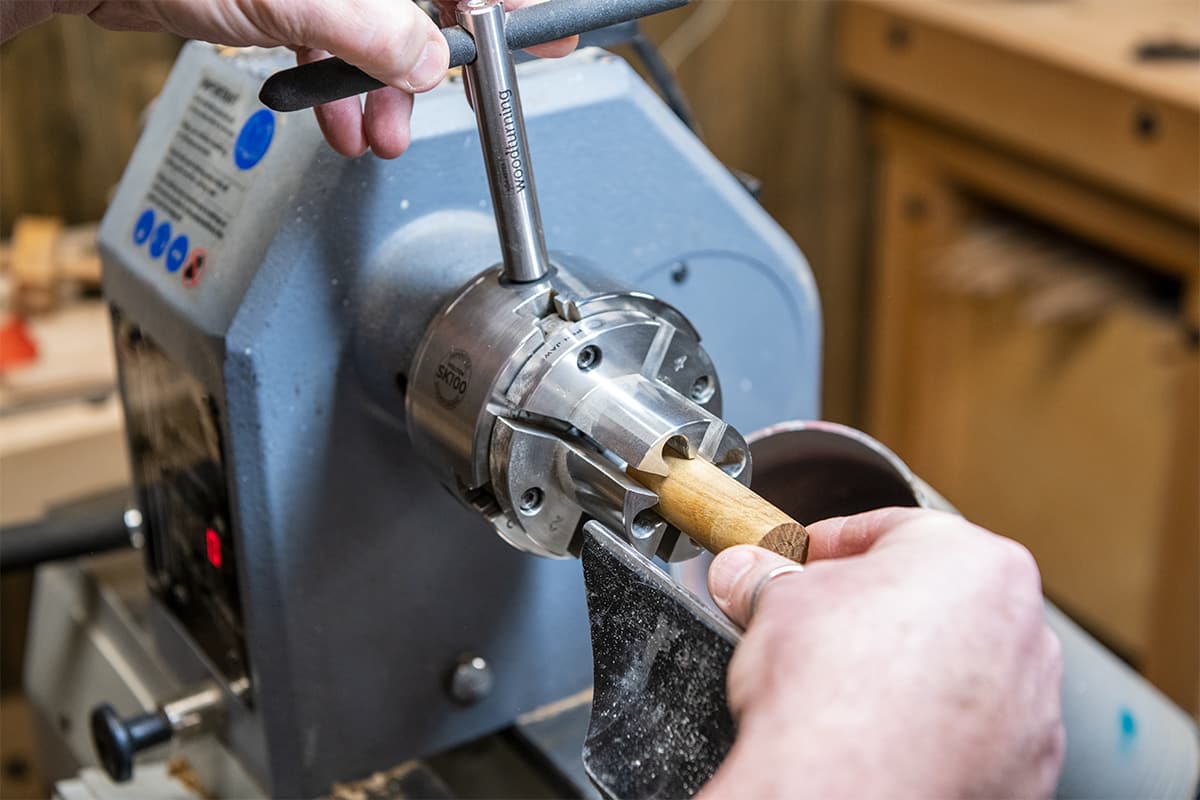
Begin by cleaning up the exposed end grain then mark in the positions of the features. We used a piece of card to repeat the features on every pawn.


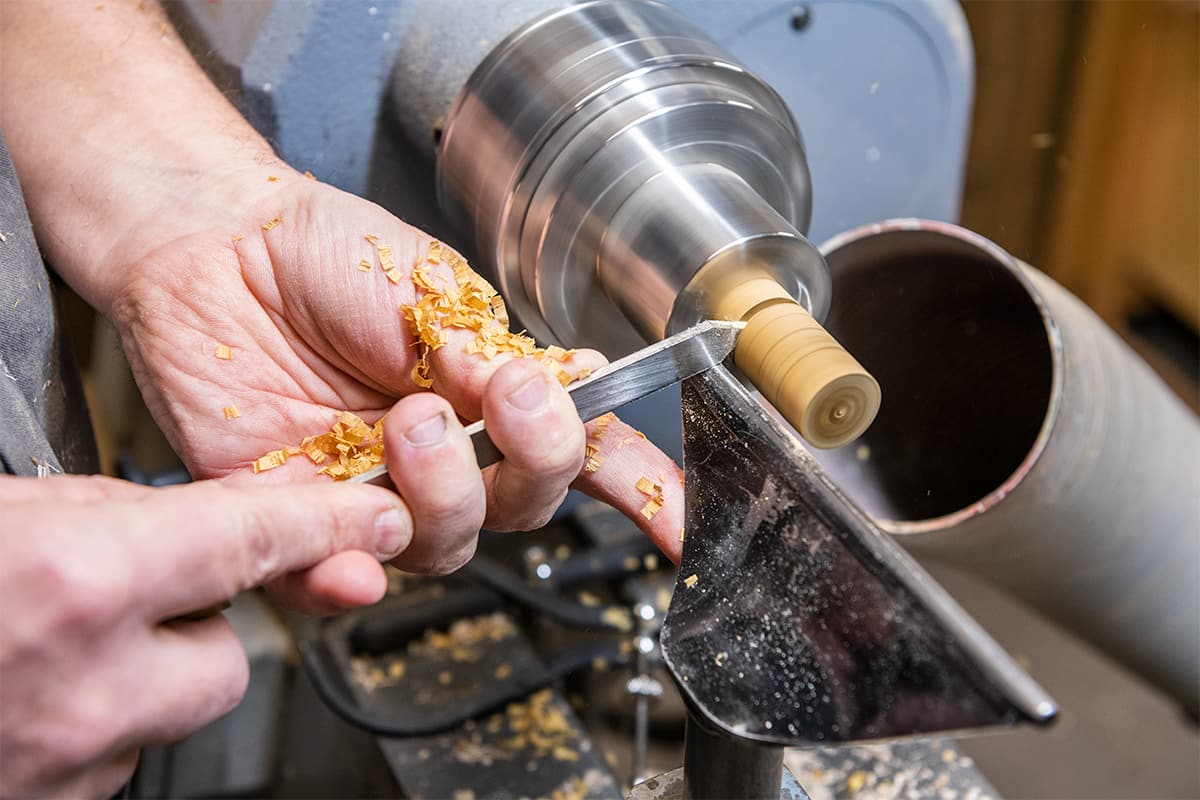
Once marked out, measure the overall length and make a shallow cut where the piece will be parted off.


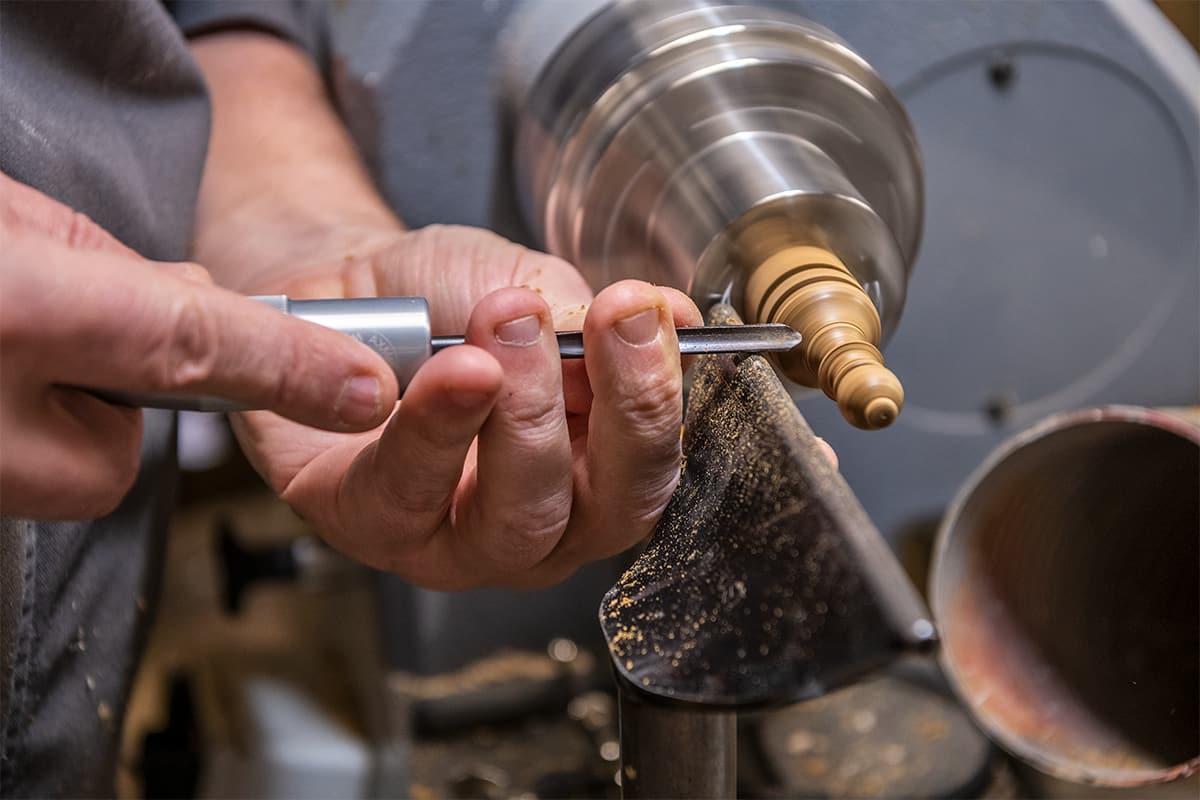
Start to cut and measure the individual features, one at a time. After measuring, each feature can be shaped.
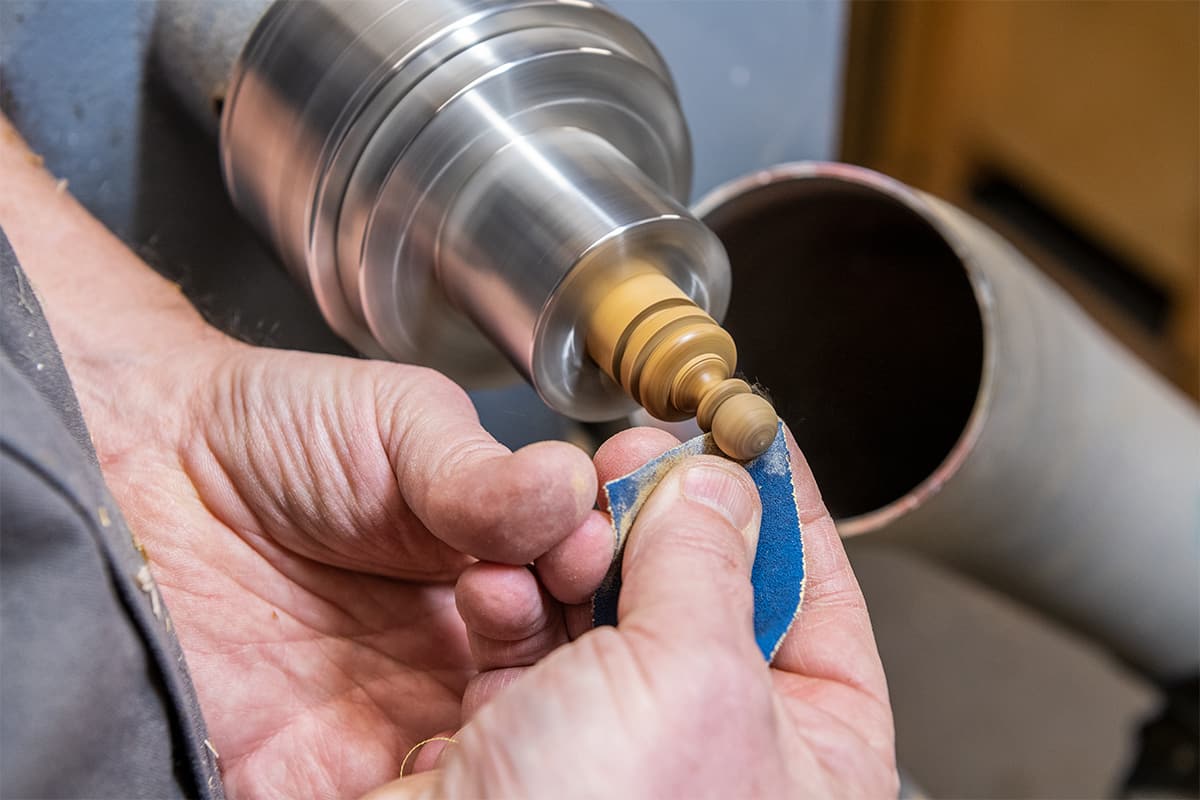
Once happy with the shape, sand to a good finish through the grits, starting at 150 to 240, 320, 400, and finishing at 600.


Each piece can be sealed with sanding sealer and wiped dry before parting off.

Repeat this process for all pawn pieces.
Shaping the chess pieces
Now you have mastered these repeatable cuts, you can replicate these basic concave and convex shapes as you move on through the pieces turning each one to shape and adding the unique features of each piece.
The Rook:
After turning the Rook, cut in 3 cuts with a flush cut pull saw and sanding platform. Top tip: use the indexing on the lathe to divide the cuts equally.


Make your cuts to the depth of your turret and then repeat the sand, seal and parting steps.
The Knight:
Start the Knight in the same way as the pawns, adding detailing to the lower section. Now round over the top area to produce what will be the main and ears and begin to sand the detail.


Using a sanding disc, sand out two flats, tapering from the lower detail to the top of the head, but leaving at the thinnest point about 5mm
Swap your sanding disc for a drum sander and turn these flats into concaves.


Next, sketch out your knight features with a pencil and using a coping saw cut the knight to shape.


Clean up the shape with a rasp and file to clear away the saw cuts. Refine the shape further by using small carving chisels and whittling knives.


Wrap abrasive around your files to hand sand to a good finish, seal and part off.


The Bishop:
The bishop is quite straightforward. Follow the same process as the pawn. Remember this piece is taller and requires an angled cut at the top. To do this, use a fine pull saw. Repeat the sand, seal and parting process.
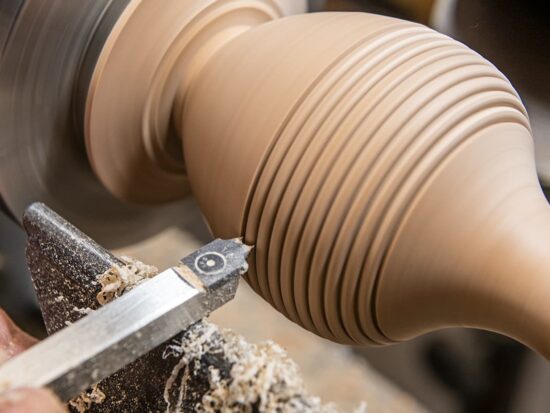
The Queen:
The queen requires her characteristic crown at the top. To do this, use a round file to cut in the concave grooves. You can use the indexing on the lathe for this. Or mark out and then file.


Sand, seal and part off.
The King:
Start the king in exactly the same way as everything else. Follow the process through to sanding, sealing and parting off, but remember to turn in the shape of the cross.


Sand two flat sides to form the cross.
To finish, ensure each piece is nice and flat. You could add some baize to the bottoms or just seal and leave.


You should now have 32, uniform playing pieces ready to play chess!
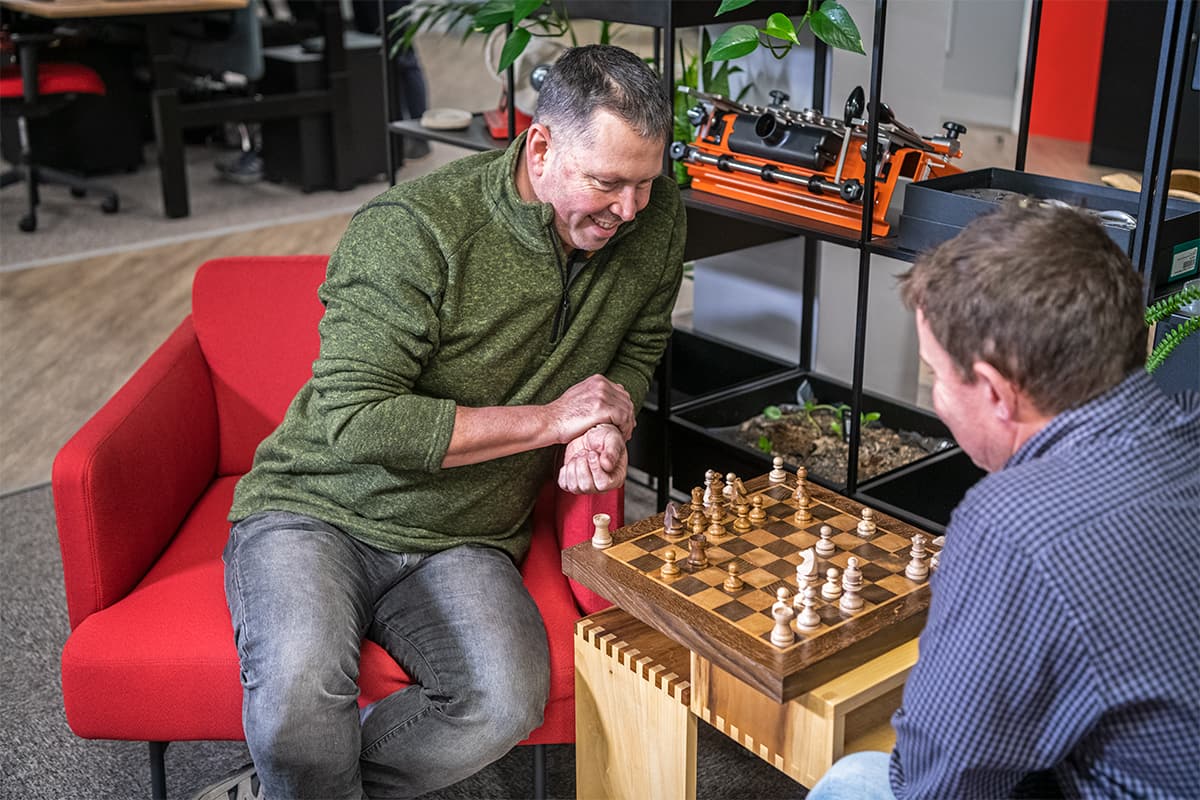
Made the pieces, now make the board!
If you have had a go at turning the pieces, why not challenge yourself and make the playing board too. Follow our step by step guide, or watch our Woodworking Wisdom video to learn how to make your own chess board to complete your chess set.
Made it, share it!
If you have mastered these techniques and have made our chess board and chess pieces projects, share your pictures with us! Tag us in your photos on social media with @axminstertools and show us what you’ve made. Find us on Facebook and Instagram.