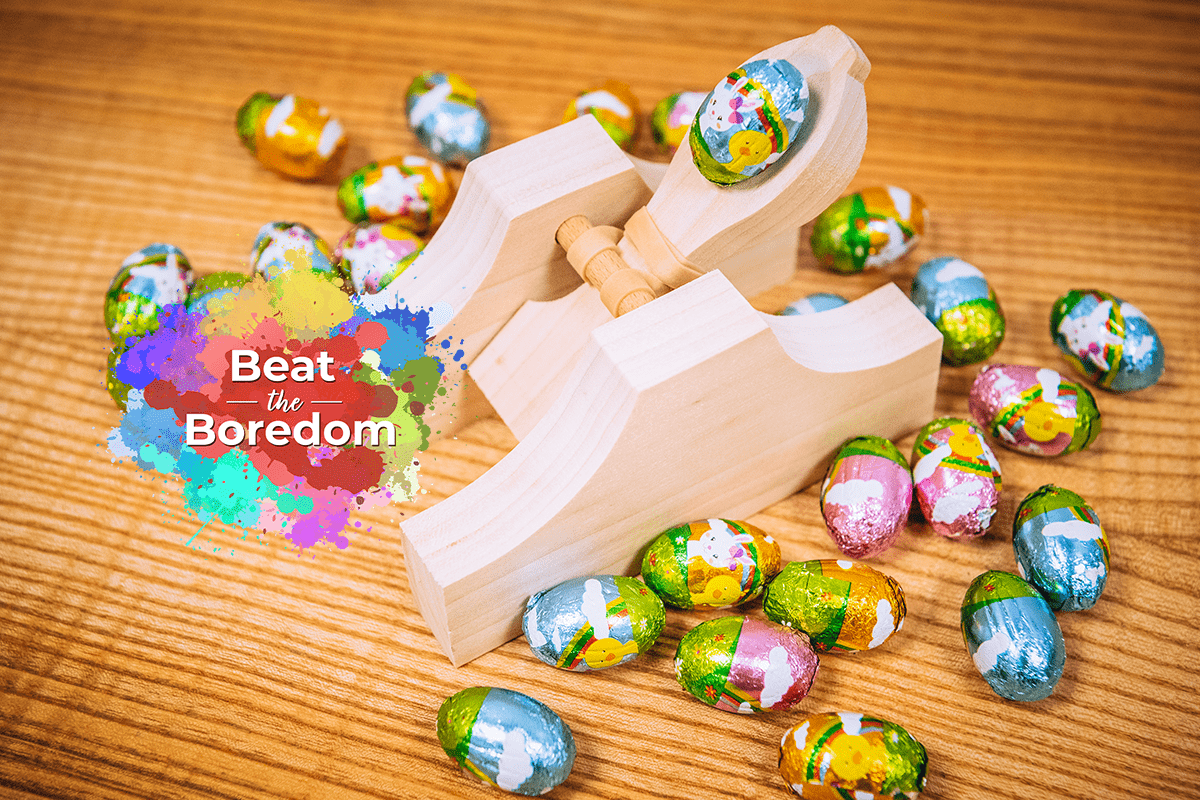
Easter Egg Catapult
Want to get creative with the kids? Why not give our fun Easter Egg Catapult project a try? Designed for beginners with supervision when drilling.
Part 1 – Organise the template
Print off the template of the catapult. Transfer or stick the template onto your piece of timber. Align the flat base with the edge of the board. In our example, we have used 18mm thick Poplar.
Part 2 – Cut out
Next, cut the individual pieces on your scroll saw.
Part 3 – Clamp and carve
Clamp the arm and bucket piece and carve out the bucket using a Hook Knife. Please note: These come in right and left hand variations.
Part 4 – Set the depth
Set the depth on the pillar drill or drill guide so that the drill bit will cut roughly half way through the project. It worked out at about 9mm in our 18mm board.
Part 5 – Drill holes
Drill holes in the three locations shown on the template on both of the side pieces.
Part 6 – Mark and drill
Mark a centre line with the arm and bucket on edge and drill all the way through.
Part 7 – Sand
Remove template or sand off any remaining transfer marks.
Part 8 – Cut lengths
Cut three lengths of 6mm dowel at 50mm long.
Part 9 – Assemble
Next, locate the dowel in one of the sides. Push a piece of dowel through the arm and bucket. We dry assembled the separate components before gluing to ensure everything will fit.
Part 10 – Disassemble and glue
Once you’re happy everything will fit, disassemble. Glue the dowels into place on one side. Next, slide the bucket and arm over one of the dowels closest to the base. Wrap an elastic band around the arm and bucket and loop around the top dowel. If you wish, you can wrap the elastic band around multiple times to adjust the power of the catapult.
Glue the other side panel on and clamp.
Once dry, remove the clamp and you’re ready to start launching!
Please refer to the side of glue bottle for drying times.
Win a £25 Gift Card…
For a chance of winning at £25 Axminster Gift Card, simply show us what Beat The Boredom projects you’ve completed by uploading them to Instagram, Facebook or on to our Community Forum.
Snap It
Take a photo of your project.
Tag It
Use the #BeatTheBoredom hashtag and upload it to one of the following;
Discover more…
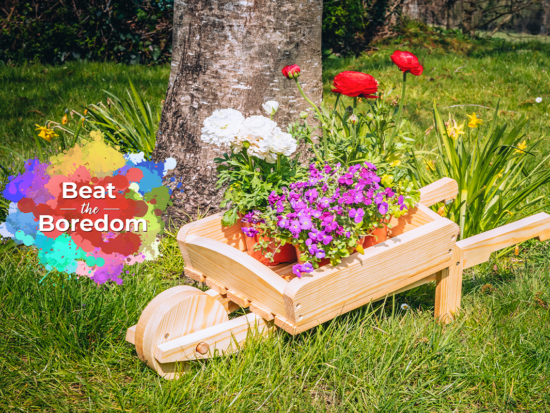
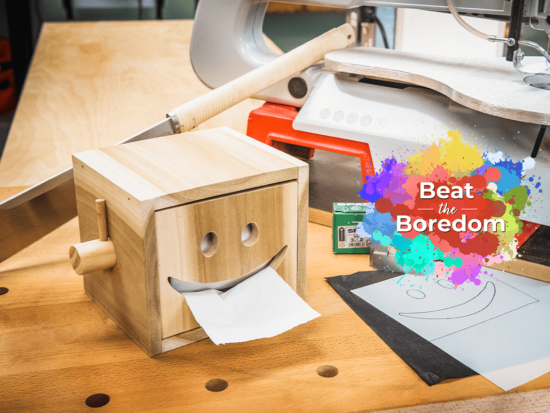
If you’ve enjoyed reading this article, keep an eye out for our next woodworking project for kids as part of our online Beat The Boredom series. Watch this space for more details! Furthermore, why not take a look at all of our previous projects below?
Stuck at home with the kids? Looking for something fun to do? We have the answer with our online Beat the Boredom Series. A great way to get the children involved in a variety of...
Get connected!
Follow us on Instagram and Facebook to stay up to date on all the latest from our Beat the Boredom series. Connect with us using #BeatTheBoredom to @AxminsterTools.


Oh well this is eggzactly the project I need to make in my life..I made the Party Popper cannon by Colwyn Way and used at every occasion.....Now I will be firing eggs across the room... crash helmets ar the ready
Cracking project Hannah ...