Buying Guides | Spokeshaves Overview
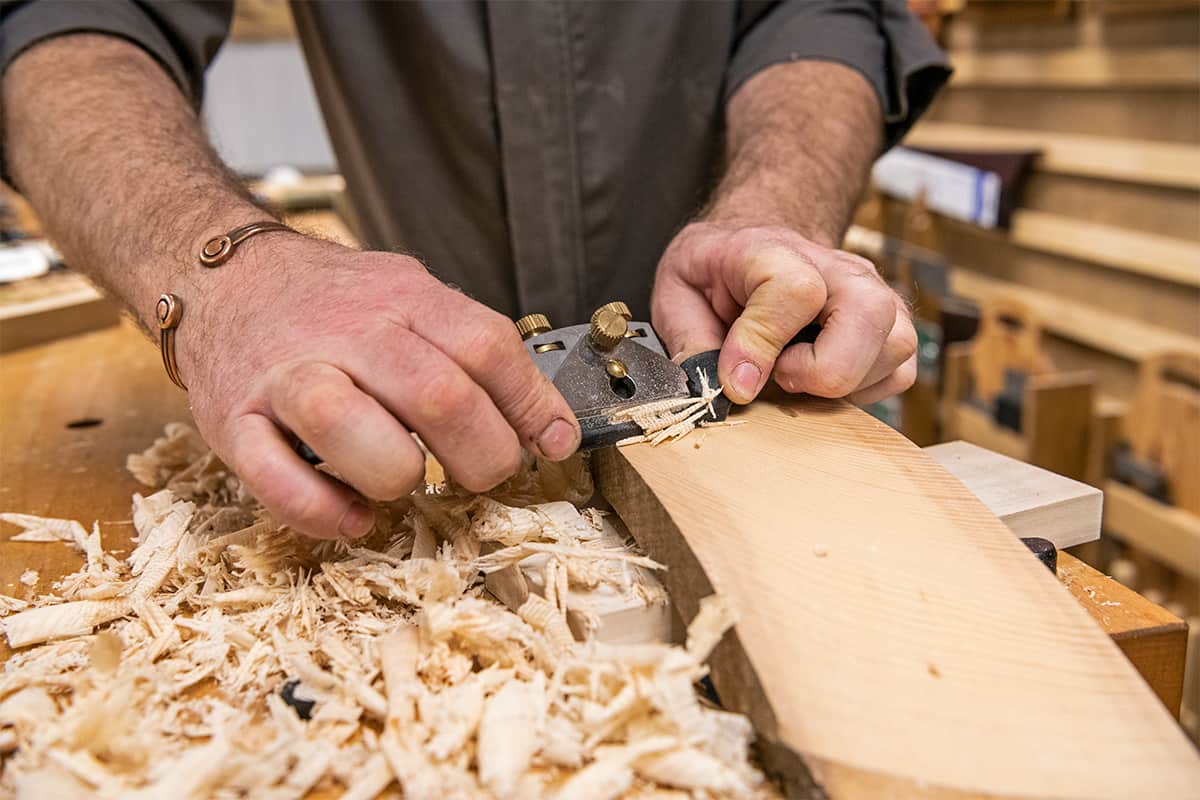
Traditionally a wheelwright's tool, spokeshaves are commonly used tools to shape the spokes of wheels and other curved surfaces. They are also useful for shaping and smoothing the edges of boards and other woodworking projects.
For an in depth look at spokeshaves, watch these Woodworking Wisdom videos, where Jason Breach will talk you through common uses, how to set them up and how to sharpen them. He also explores common issues users face with their spokeshaves. Or read our helpful article below.
Spokeshave uses
Below are a few reasons why you may need a spokeshave in your woodworking.
Shaping curves - spokeshaves are excellent for shaping and smoothing curved surfaces on wood. They can be used to create the curved shapes for chair legs, wheel spokes, and other decorative or functional details.
Trimming edges - they can be used to trim the edges of boards and other woodworking projects. This is especially useful for shaping the edges of doors or windows.
Chamfering - they can be used to create chamfers, or angled edges, on wood. This can be useful for creating decorative edges or for making joints that fit together more tightly. They can also be used to fine-tune joints, making them fit together more precisely. This is especially useful when creating mortise and tenon joints or dovetail joints.
Removing rough spots - spokeshaves are great for removing rough spots or bumps on wood surfaces. This can be especially helpful when working with reclaimed or salvaged wood that may have some irregularities.


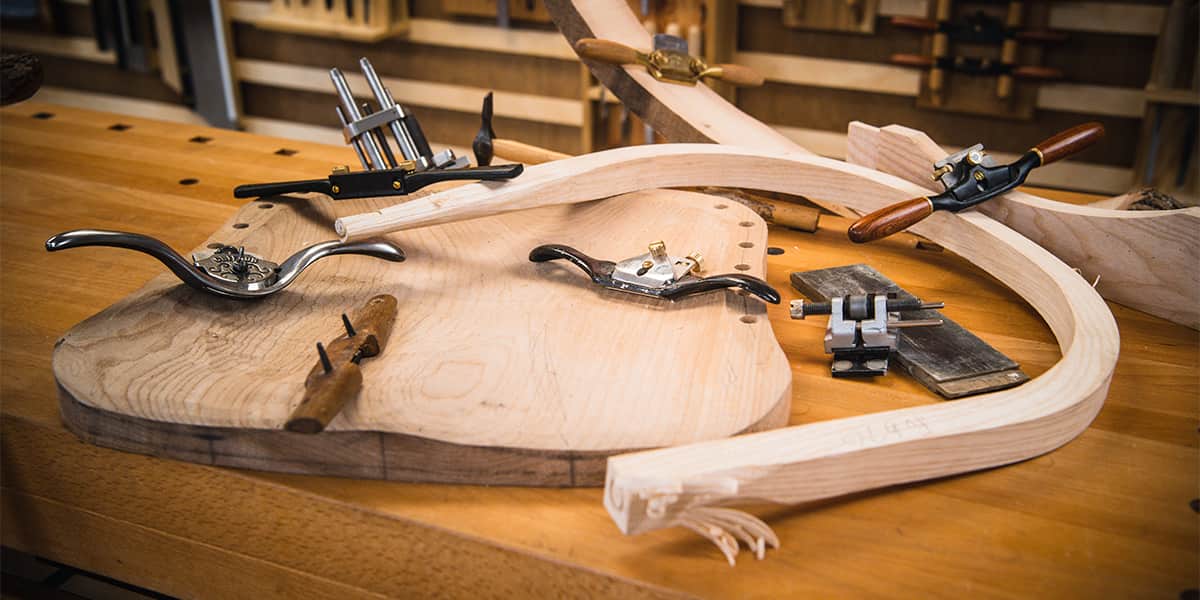
Types of spokeshave
There are several different types of spokeshave, each designed for a specific task and application.
Flat spokeshave -this is the most common type, with a flat sole and a straight blade. It is useful for shaping flat surfaces and edges, and for creating chamfers.
Round spokeshave - this has a rounded sole and a curved blade, making it ideal for shaping rounded surfaces and curves, such as the spokes of a wheel or the curved legs of a chair.
Low angle spokeshave - used for shaping, the blade is set level with the body, which produces a lower cutting angle more effectively and more easily and it great on end grain,
Convex spokeshave - this spokeshave has a curved sole and a straight blade, making it useful for shaping convex curves and surfaces.
Concave spokeshave - this has a curved sole and a curved blade, making it ideal for shaping concave curves and surfaces, such as the inside of a bowl.
Adjustable spokeshave - this has an adjustable blade angle, allowing you to easily switch between cutting a convex or concave curve.
Bullnose spokeshave - this has a short blade and a small, curved sole, making it useful for shaping small, tight curves and corners.
Explore our full range of spokeshaves
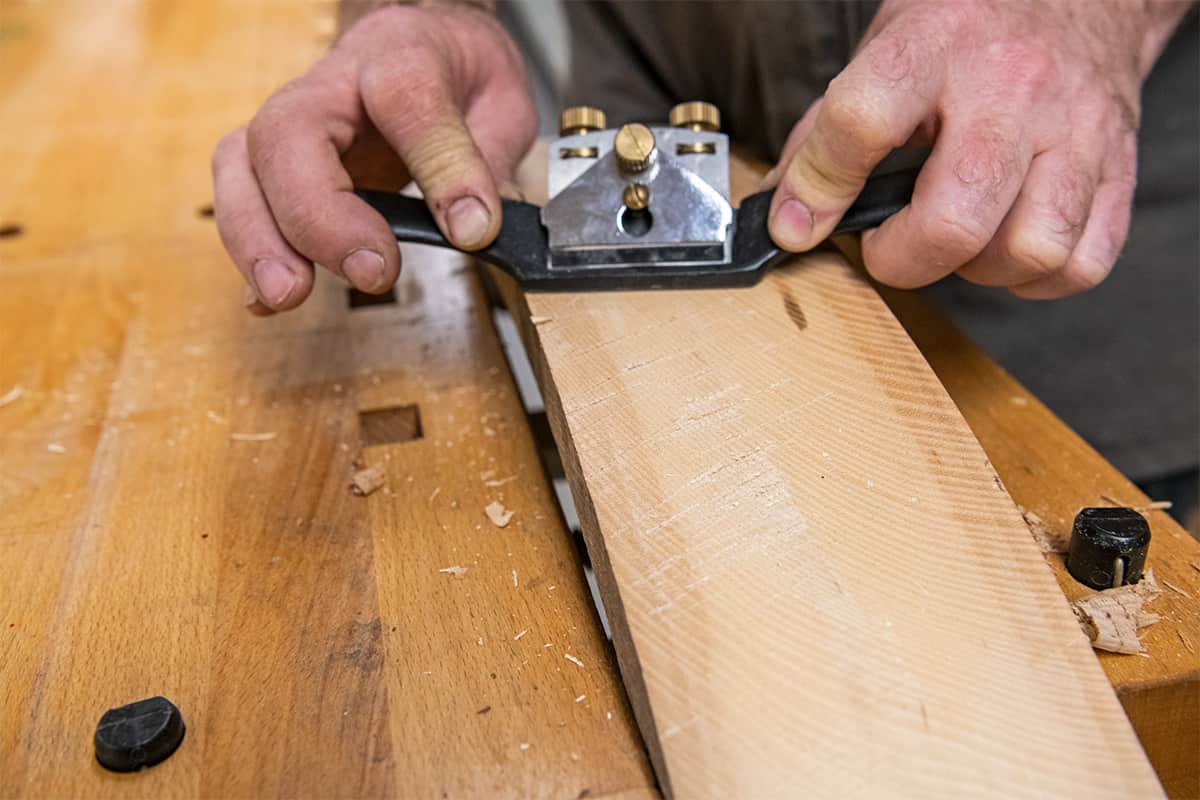
Setting up your spokeshave
Setting up a spokeshave involves adjusting the blade to suit your needs.
Here are the steps to set up a spokeshave:
Install the blade
If the spokeshave blade is not already installed, insert it into the metal body and secure it in place with the screw or clamp.


Adjust the blade depth
Loosen the adjusting screw on the body, and then adjust the blade depth by moving it up or down until it is just above the sole of the body. Tighten the adjusting screw.
Adjust the blade angle
Loosen the blade-angle adjusting screw, and then adjust the blade angle by tilting it forward or backward until it is at the angle that suits your needs. Tighten the blade-angle adjusting screw.


Adjust the handles
The two handles on either side of the blade can be adjusted on some spokeshaves to suit the size of your hands and the angle of the blade. Loosen the handle screws, and then adjust the handles to the desired position. Tighten the handle screws.
Test the setup
Once you have adjusted the blade, test it out on a scrap piece of wood to ensure it is cutting properly. Adjust the blade depth or angle as necessary.

Common issues users face
Some common issues that people may face when using a spokeshave include:
- Difficulty in controlling the blade depth - It can be challenging to adjust the blade depth just right, especially for beginners. This can result in uneven or rough cuts
- Blade chatter - When the blade is not secured tightly, it can vibrate or chatter during use, resulting in a rough or wavy cut
- Blade dullness - If the blade is not sharp, it can result in rough, uneven, or jagged cuts
- Tear-out - Tear-out occurs when the blade cuts against the grain of the wood, resulting in splintering or rough edges
- Skewing - If the spokeshave is not held at the correct angle, it can cause the blade to skew and produce uneven cuts
- Blade rust - If the spokeshave is not properly maintained, the blade can rust
To avoid these issues, it is important to properly set up and maintain your spokeshave. Regularly sharpen the blade and use the correct techniques, to get the best out of your spokeshave.