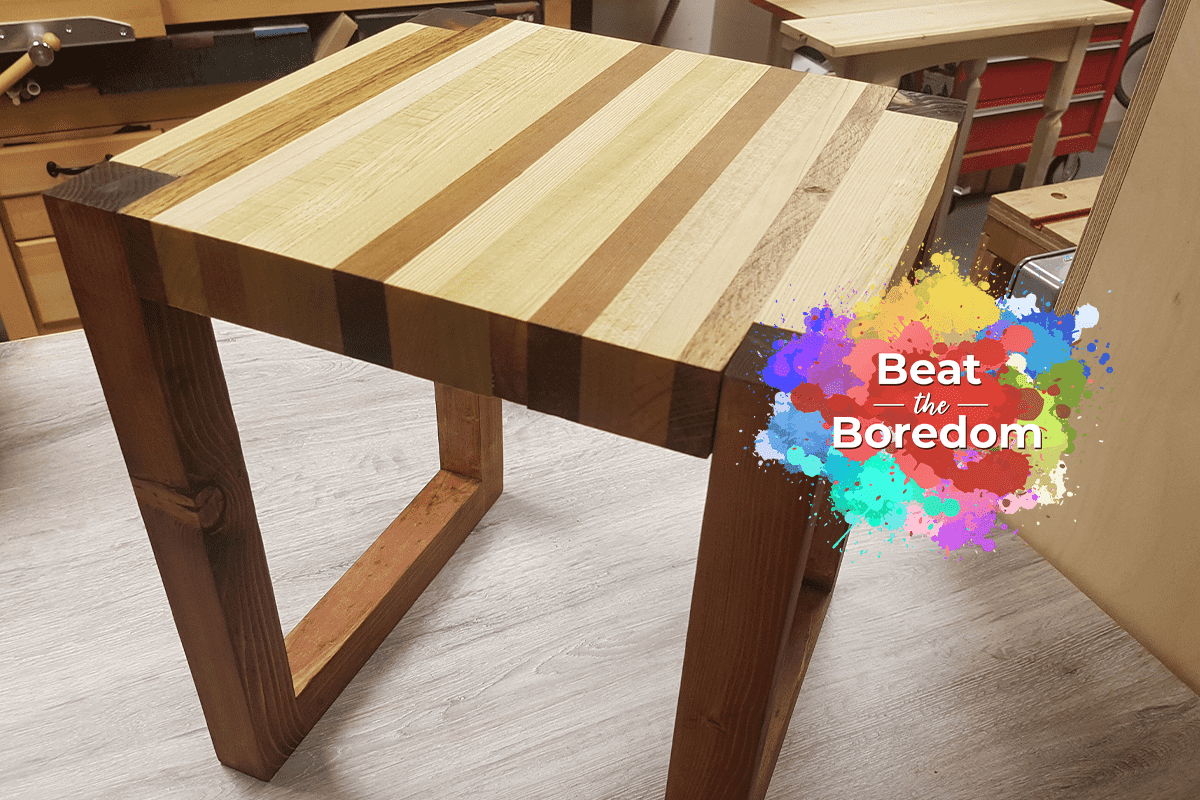
Scrap Wood Table Project
An ideal project for intermediate woodworkers, this woodworking project is a great way to pass some time at home with your older children. With tools and materials from your workshop, get your older kids involved in creating a funky yet practical scrap wood table with the help of your workshop machines. If you've got a stash of timber you've been holding on with the view that'll 'it'll come in handy one day', this is the ideal chance to put to good use. As with any project involving tools, there must be a supervising adult overseeing the woodworking project at all times.
Let’s get started…
Part 1 – Materials & marking out
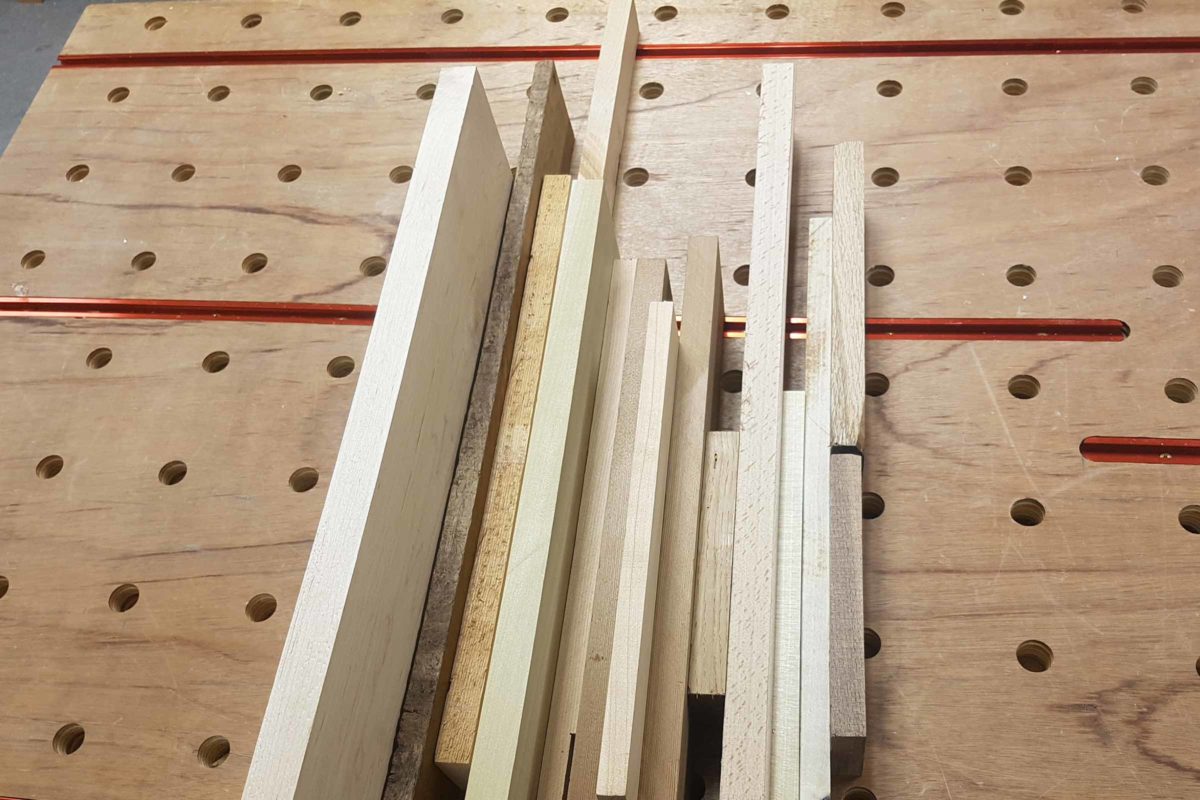
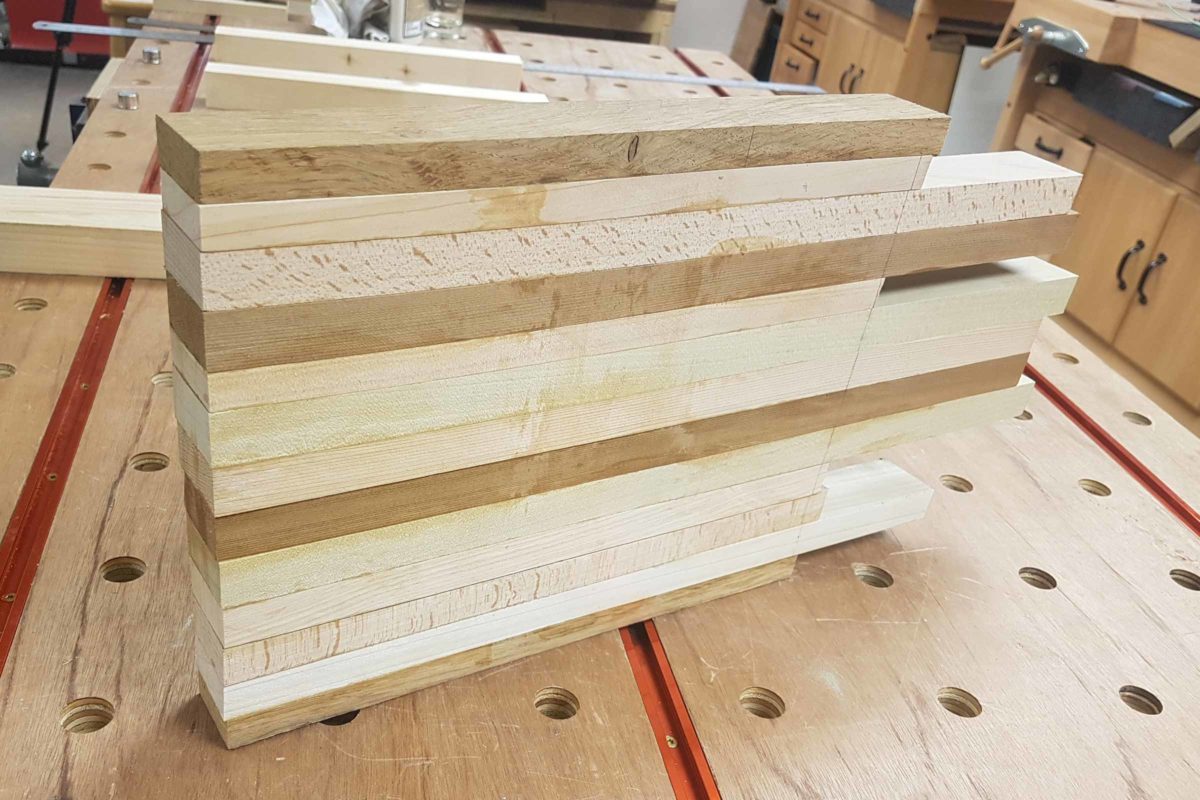
In terms of the materials, we chose pine, oak, maple, cedar & poplar as we had a selection of suitable timber available to use. But for your project, find whatever timber you'd like to choose for your scrap wood table.
Firstly, lay all of the timber out on your bench so you can see what you have for the top and the legs.
Here, be sure to select a variety of thinner strips for the table top as well as some more chunkier timber to make the legs.
Next, arrange the thinner top strips out to gauge what size table top can be made from the timber you have.
In this instance, our table top will be around 300mm square at 35mm thick. This size would make a really nice little side table or plant stand. The legs will be around the same at 35mm square and will provide balanced look to the project.
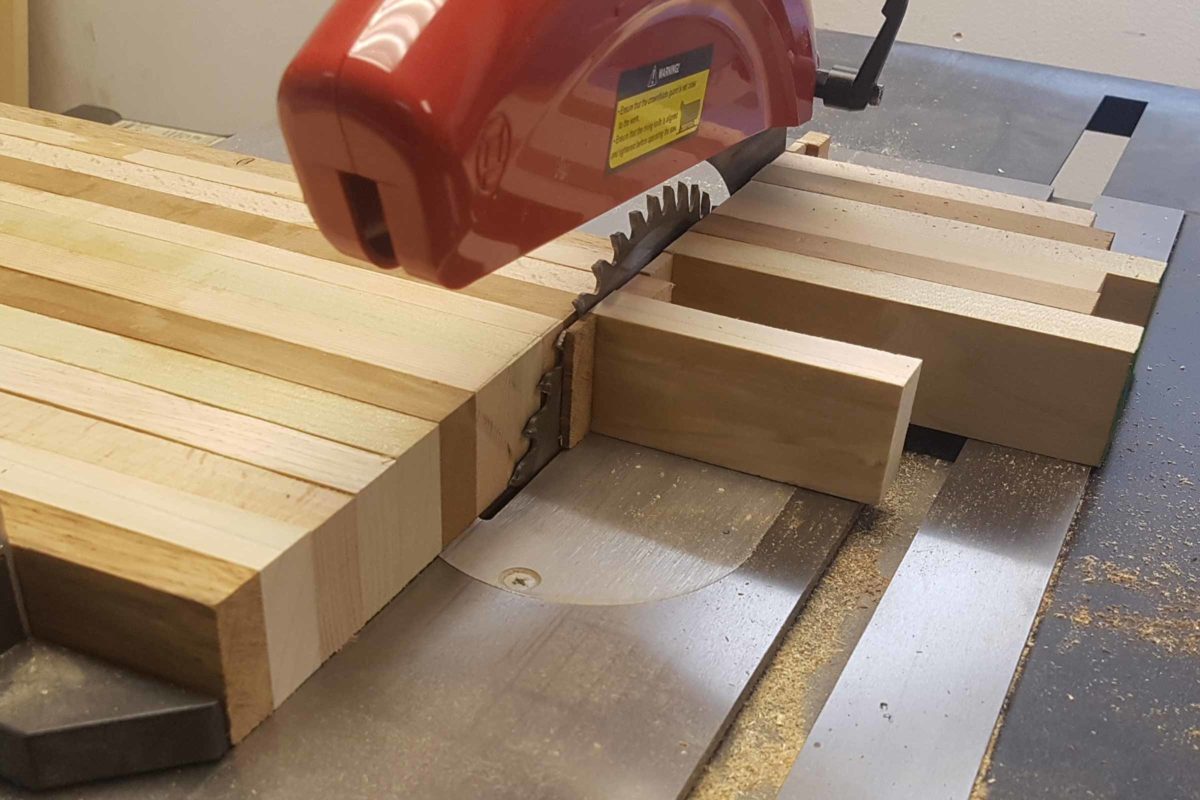
Part 2 – Cut and size the timber for the top
Using a table saw or bandsaw with the fence set to 37mm, cut the timber for the top down to width. At this stage, timber length and thicknesser isn't a priority.
For health and safety purposes, please ensure that all guards are in place and push sticks are used at all times.
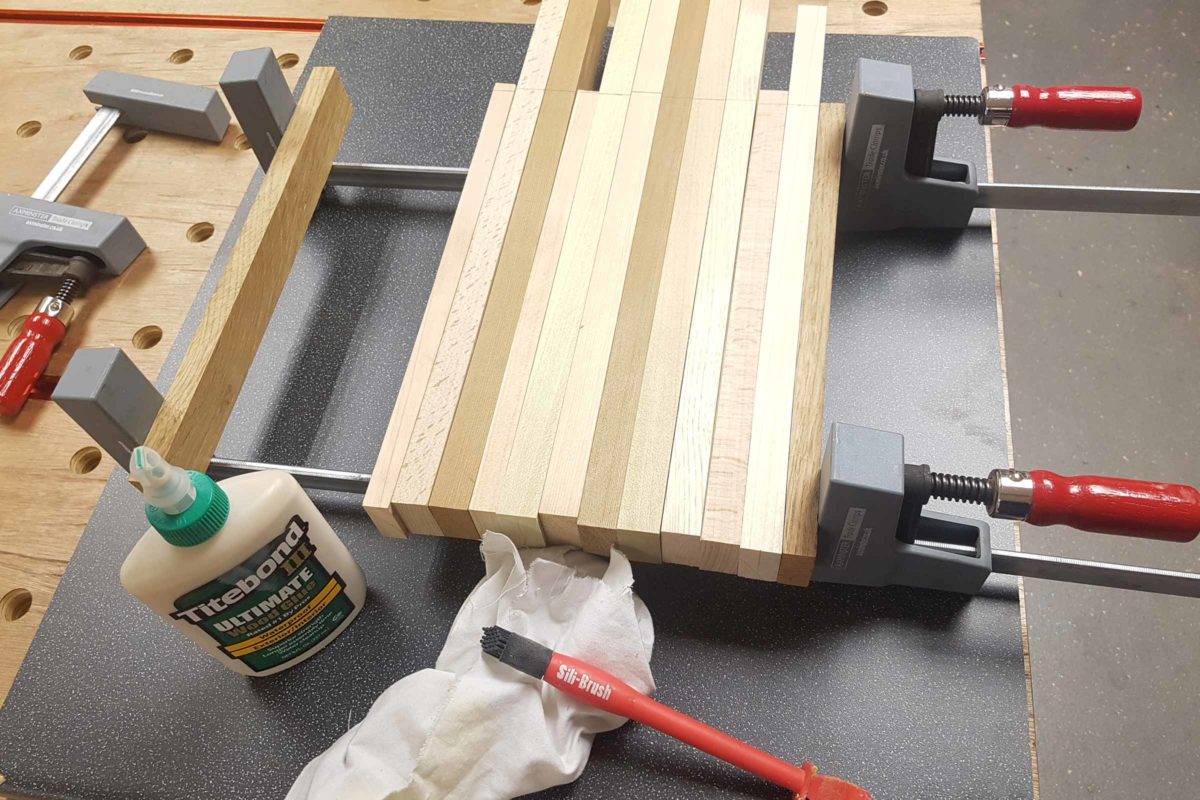
Part 3 – Glue up the top
The next step is to arrange the timber for the top in order. If possible, try to make sure that different coloured pieces of timber are alternated for contrast.
In terms of gluing up anything, preparation is key:
- Ensure that all faces that are to be glued together are planed, smooth and clean.
- Make sure that you have the clamps laid out ready in exactly the right position.
- Ensure that you have a wet cloth ready to wipe off the squeezed out excess glue. It is far easier to clean up at this stage instead of chiselling off later.
At this stage, glue up around 230mm in width between the clamp jaws.
Working swiftly and systematically, spread a good quality PVA glue to the faces. It is important to make sure that all is covered.
Next, align one edge of the timber before gently clamping up. Then tap all timber flat and level.
Once everything is all in position, apply a little more pressure with the clamps but do not do up fully. This is because another clamp or two will be need to help keep the top as flat as possible.
Finally, apply full clamp pressure until you see glue oozing from the joints. Wipe up all excess glue and set aside until dry. For drying times, read the instructions on the glue, but it is typically half a day approximately.
Part 4 - Cut and size the legs
While you wait for the glue to dry on the top of the table, turn your attention to making the table legs.
In this instance, we chose pine for the scrap wood table legs. The timber was fairly chunky so it was a great choice. Plus, pine is easy to work with. What's more, it's simple enough to dye it at a later stage if you want a different colour.
With the fence still set, cut the timber legs down to 37mm on a table saw to get 37mm x 37mm squares. (pics 27 - 31). Alternatively, you could use a bandsaw if you prefer. A great all round bandsaw for the DIY home workshop is the Axminster Craft AC2305B Bandsaw however, any bandsaw from the Axminster Craft range would be suitable for use here.
Next, we suggest planing these up by hand, or using a benchtop thicknesser to clean up and plane to a final 35mm square.
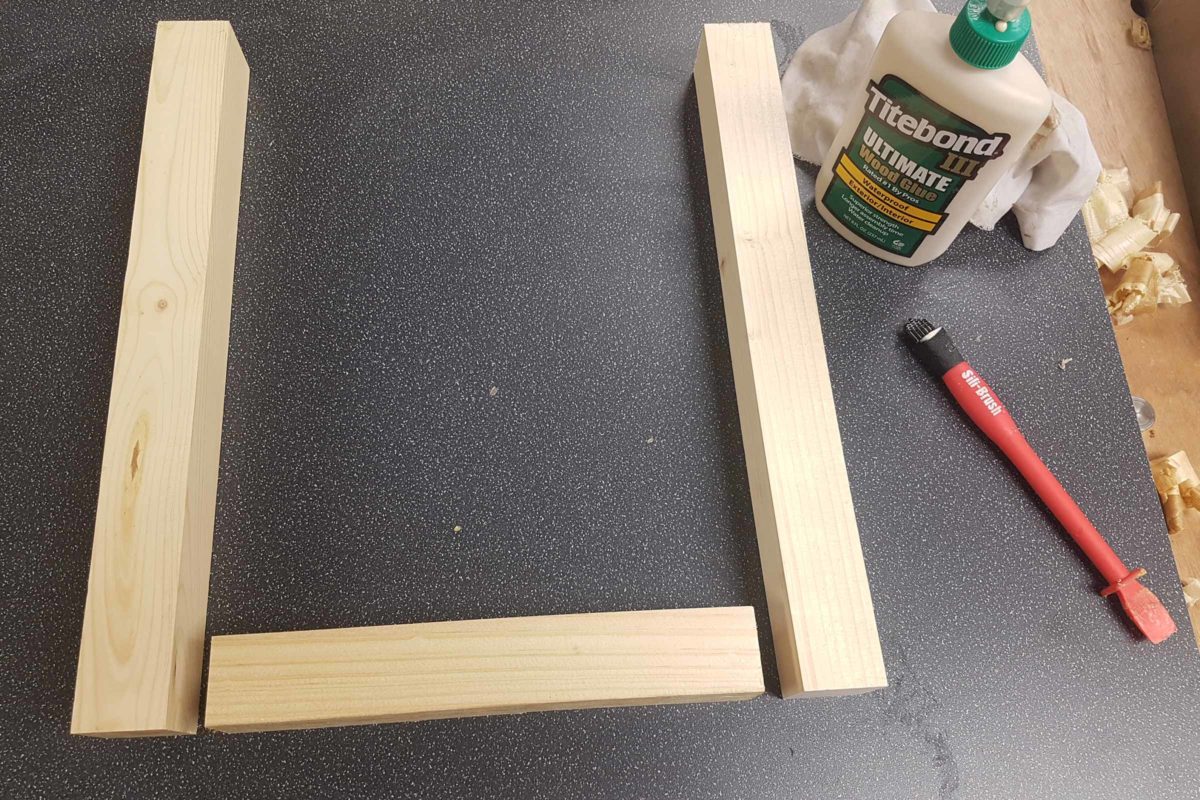
In our example, we've chosen 350mm long legs. We machined up six in total; four legs plus enough to join the legs together at the base.
Finished leg size - 35mm x 35mm x 350mm.
For the base leg joiner, we referred to the table top for our sizing.
We wanted a 300mm x 300mm top but only glued up 230mm in width. This left 70mm, two x 35mm leg corners. This size will match the leg joiner. Here, cut 2 x 230mm lengths from the 35mm x 35mm pine.
Part 5 - Join the legs
We opted to use a simple single pocket hole joint with a good PVA glue. This was done from the underneath so the pocket hole screw wasn't visible.
Firstly, glue up the pieces, clamp and leave to dry.
Once dry, remove the clamps and put in a single pocket screw.
Part 6 - Finish the table top
Now that the table top has enough time to let the glue dry, it's time to remove the clamps so you can see what you have to work with.
In our example, we had a 230mm wide top. One end was flush and the other end needed cutting off at 300mm.
Using your table saw or bandsaw cut the top off at 300mm. Alternatively, cut by hand.
Next, lightly skim the flush edge first to give a perfectly clean and flat edge.
The top now needs the infill pieces cutting and gluing to the rest of the top. These are equal to the 230mm leg base joiners that were cut and used to join the bottom of the legs together earlier.
To double check the dimensions you need to cut, offer the legs up to the top. As previously mentioned, this should be the same as the leg base joiners at 230mm.
Top infill pieces will be 37mm x 37mm x 230mm.
Two of these will be required to in-fill the gap between each set of legs.
Next, offer all components up to the table top, legs and top infill pieces. Check they all fit well and that the legs are where they should be on the corners.
Now, mark up the position of the infill pieces to the table top and then glue.
Once the glue is dry, plane up the top side and under side of the table top. This can be done by hand or with a bench top thickness planer.
You have now completed the table top. Our table measured 300mm x 300mm with 35mm x 35mm square cutouts on each corner to allow the legs to be fixed.
Part 7 - Assemble
As this is a relatively small project, we opted for a good PVA glue and pocket hole screws to join the legs to the top. If you don't already have a pocket hole jig and screws, we suggest purchasing the UJK Mini Pocket Hole Jig Kit.
A second pocket hole screw could be added into the other side of the leg to give it extra strength on a larger table, if desired.
If you want to add any colour to your table legs, this would be ideal time to do it. Some wood dye on the pine legs would work perfectly here.
On a clean, flat surface assemble the table upside down. It is important to ensure that the top of the legs finish flush with the table top.
Give the table a final sand.
Finally, to complete the scrap wood table project, apply two coats of Osmo Polyx oil.
Discover more…
If you’ve enjoyed reading this article, keep an eye out for our next woodworking project for kids as part of our Beat The Boredom series. Watch this space for more details!
Furthermore, why not take a look at some of our previous Beat The Boredom projects below?
You May Also Like...
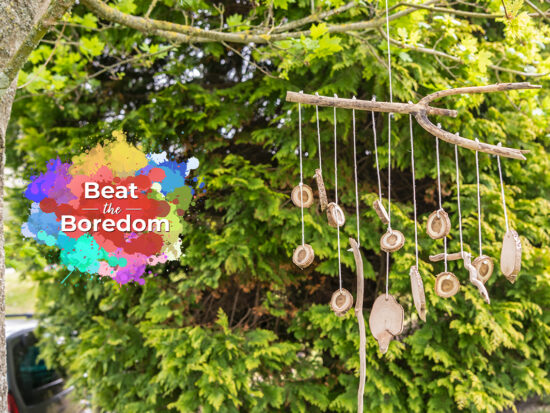
Part of our online Beat The Boredom series, here's another fun woodworking project to try with the children this weekend. Have a go at making a wooden hand clapper toy, designed for slightly older kids...
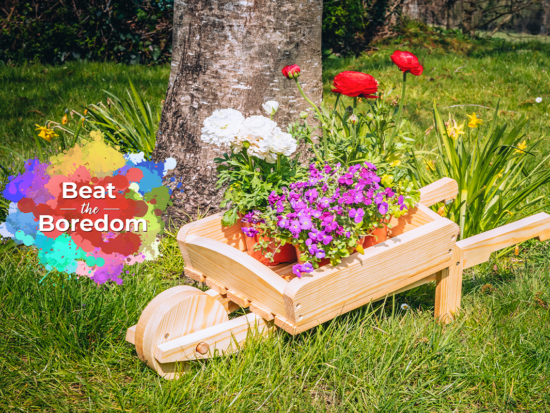
Part of our online Beat The Boredom series, this week we’ve got a brilliant yet simple woodworking project to get your younger kids inspired. Ideal for young children with adult supervision, our latest woodworking project...
We've got another fantastic woodworking project for kids; our wooden robot project is ideal for any beginner woodworker. Ideal for young children with an interest in learning more about woodworking and getting hands on, this is...
Looking for another great woodworking project for young kids? Take a look at our Wooden Heart project, designed for little ones with the help of an adult. Forming part of our online Beat the Boredom...
Check out our first Beat the Boredom woodworking project for young kids- a simple nail & string project, using tools and materials found at home.
Stuck at home with the kids? Looking for something fun to do? We have the answer with our online Beat the Boredom Series. A great way to get the children involved in a variety of...
Win a £25 Gift Card…
For a chance of winning at £25 Axminster Gift Card, simply show us what Beat the Boredom projects you’ve completed by uploading them to Instagram, Facebook or on to our Community Forum.
Snap It
Take a photo of your project.
Tag It
Use the #BeatTheBoredom hashtag and upload it to one of the following;
Win It
Send us your Beat the Boredom creations for a chance to win a £25 Axminster Gift Card- one to be won each month!
Get connected!
If you’re searching for Beat the Boredom projects, you’ll find them on the Knowledge website. Alternatively, follow us on Instagram and Facebook to stay up to date on all the latest from our Beat the Boredom series. Connect with us using #BeatTheBoredom to @AxminsterTools.